Some people sign their letters “sincerely yours.” The late, great armed-defense expert Colonel Jeff Cooper used “DVC” for his signature line. It was the acronym for “Diligentia, Vis, Celeritas.” It came from Latin. Diligentia means diligence, or doing things correctly, and in Cooper’s view it stood for “accuracy.” Vis can translate to “power” or “force.” And celeritas means “speed,” the root word for the English term “celerity,” with the same meaning, as in, “The intended victim solved the problem with great celerity.”
Thus, the Colonel’s “DVC” stood for “accuracy, power and speed.”
The formula is still accepted. Accuracy is essential because a bullet that doesn’t hit the right place can’t be counted upon to stop a violent attack. Power because the more he is damaged, the sooner he becomes incapable of continuing his lethal assault. Speed because if you don’t stop him in time, he stops you.
Advertisement — Continue Reading Below
Cooper has left us, but his teachings continue under the able management of Buz Mills at the Gunsite Academy, which Cooper founded in the 1970s. There are many good drills to be learned there, which will make you a faster, surer, more competent manipulator of handguns. A cottage industry of private citizen training options has burgeoned since Gunsite paved the way, and going to one of the good ones puts you on a fast track to developing defensive handgun skills.
As good as those options are, they are simply not practically available to many good citizens with our nation’s stagnant economy. Lots of folks don’t have the funds for it. With that in mind, let’s look at a few drills you can do by yourself to enhance your reactive capabilities with a sidearm.
True Accuracy
Advertisement — Continue Reading Below

Most firearms instructors agree that starting with speed and then trying to develop accuracy is like pushing a rope. The history of shooting shows that developing accuracy first, and then accelerating the skillset to enhance speed, is a much more effective approach.
Another thing most seasoned instructors agree on is that trigger control is the single most important component of an accurate shot on demand. That little lever inside the triggerguard has to be brought straight back, smoothly, with the exact instant of the discharge coming as a surprise. You’re applying more than the gun’s weight to that trigger, and the least bit of anticipation will jerk the shot away from the path you intended for it.
RELATED STORY: Tight Fights – Skills & Drills For Close-Quarters Personal Defense
Advertisement — Continue Reading Below
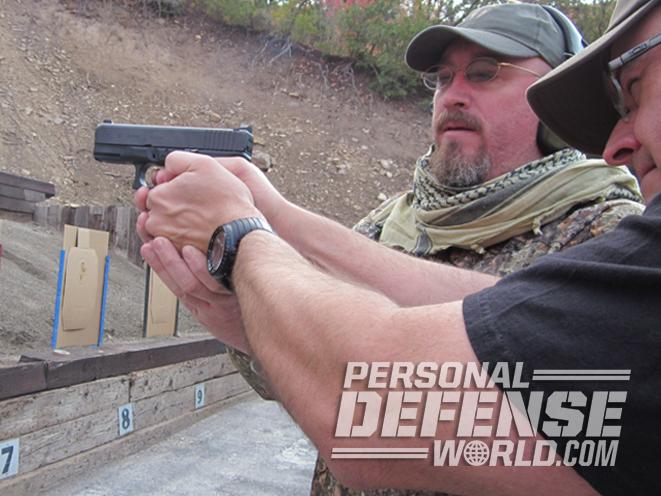
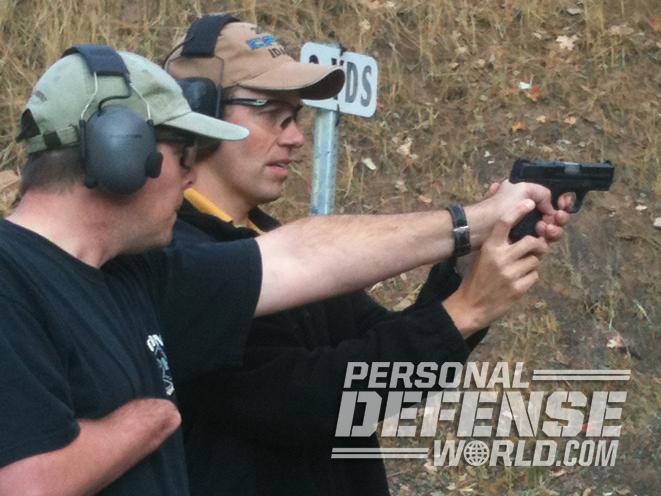
Exemplar Drill: One thing I like to do as early as possible in the training continuum is what I call the Exemplar Drill. It’s hard to verbally explain a felt sensation, and it may be impossible to adequately describe it verbally to someone who hasn’t felt it before. So, my advice to the person who doesn’t think they’ve got it down pat is have someone you know to be a good shot put their trigger finger on yours and show you.
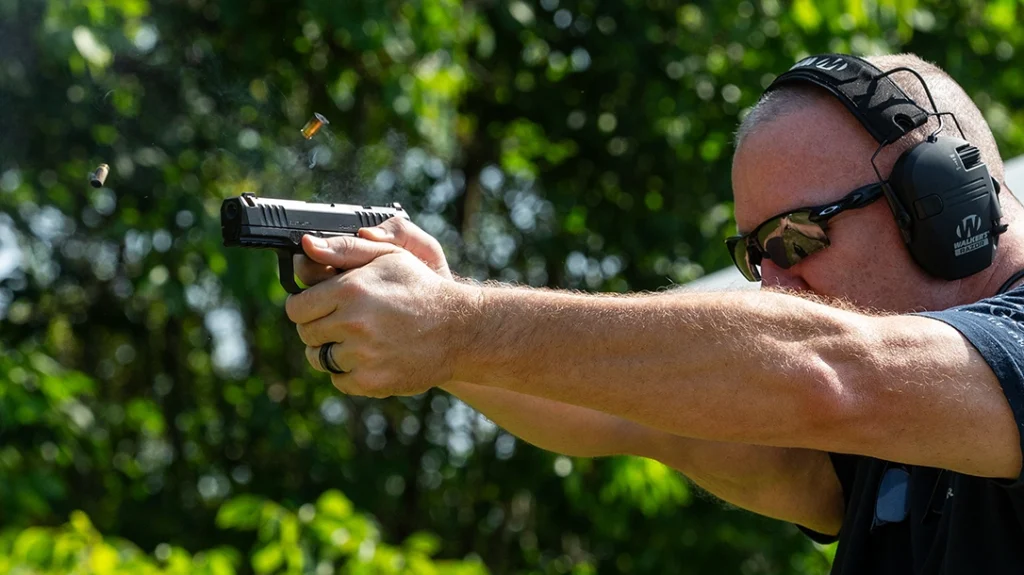
The way we do it at MAG (Massad Ayoob Group) classes is, the shooter takes his or her preferred two-handed stance and locks their sights on target. They hold the pistol firmly with all their fingers except the index finger of the gun hand. The coach comes in from the student’s dominant-hand side. Then the student’s trigger finger lightly touches the trigger, exerting no pressure in any direction, and the coach’s trigger finger goes in front of theirs. The coach gently presses the student’s trigger finger straight back until the shot is fired.

I’ve found that six shots done that way, followed by six more with the student and the coach applying the same amount of pressure at the same speed, and finally six rounds fired by the student with the coach’s finger just lightly touching theirs to monitor the movement, is sufficient to make “the light bulb come on.” Once the shooter knows what a good trigger pull should feel like, the path to good shooting has been smoothed dramatically. He or she now knows what they’re supposed to be doing.
Advertisement — Continue Reading Below
The Exemplar Drill can save thousands of rounds and prevent years of bad shooting habits. I’d love to be able to say I came up with something that works this remarkably well. But I didn’t. I learned it from the great Ray Chapman more than three decades ago. I would love to be able to say that Ray developed it, because he certified me to be one of his instructors and I could proudly announce that I got it from “The Source.” However, Ray told me he learned it in the Marine Corps in the 1940s. Further study indicates that the USMC was using this in training since before WWII.
Focus Drill: I introduce all my first-level students to what I call a Focus Drill. Pick a tiny spot on the target and make that your aiming point; some instructors use dots and call it a “Dot Drill.” It’s the Same concept. Start in close. The object is to put every shot “on the mark,” or “on the dot.” When you’re done, you hope to have every shot in one hole.
When I have the luxury of training for a major match, I’ll start and finish every shooting session with a Focus Drill. As I’ve told my students for many, many years, it hardwires everything from the trigger finger to the brain for what it takes to make a perfect shot. And that, really, is the best foundation I’ve found in 60 years of shooting. You can’t build anything of value without a foundation.
Advertisement — Continue Reading Below
Blind Swordsman Drill: What I call the Blind Swordsman Drill comes next. It’s named after Zaitoishi, the fictional Japanese hero who was blind but so attuned to his senses and body that he could wield his katana with deadly skill to defeat any assassin who thought him an easy mark. In this drill, the student locks in on the target with a sharp sight picture and then closes their eyes and fires a single shot. Keeping the gun on target, the student removes the finger from the triggerguard and opens their eyes. This lets the student see if the sight picture has moved since last seen, and to assess the hit. The student takes aim again, closes their eyes and repeats.
RELATED STORY: Clear & Present – 3 Must-Know Malfunction-Clearance Drills
This drill allows shooters to concentrate on the key element of trigger pull, the sense of touch. We’ve pretty much solved the distraction of hearing with good ear protection, and taste and smell don’t really enter into it. It’s vision that distracts the shooter. The eye sees the sight picture crossing the exact spot he wants to hit; the shooter thinks “Now!” and jerks the trigger, resulting in a bad hit. With the eyes closed, it’s actually easier to keep that trigger rolling smoothly straight back.
Advertisement — Continue Reading Below
Give this a try. You’ll be amazed at how well you can shoot with your eyes closed. Some people actually do better than they did with their eyes open. The trick is to open the eyes between shots, every time. Otherwise, you can’t assess which shot went where. There could also be a safety problem with multiple shots “fired blind.”
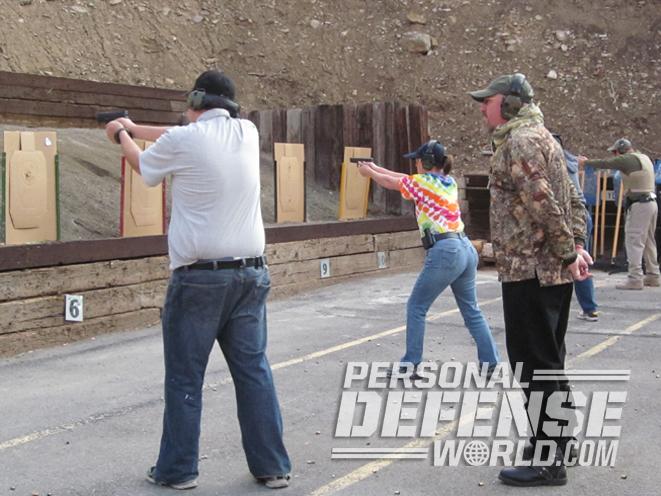
I do all these drills at close range, from 3 to 5 yards. Why not from, say, 25 yards? If you miss by 3 inches at that distance, it could be the ammunition, it could be the gun. But if you miss by 3 inches from four or so paces away, you’ll know it was something on the shooter’s end, and you won’t kid yourself about what you’ve just learned.
More Power
Advertisement — Continue Reading Below

Power is necessary to do enough damage to stop a homicidal opponent’s attack. The more powerful your gun, the more recoil you get in the bargain.
There’s some psychology to recoil control, but there’s more physiology to it. Stance and grasp are critical. The harder the gun kicks, the harder you have to hold it if you want to be able to deliver fast follow-up shots. The mantra of “grasp with 40 percent of your strong hand’s strength and 60 percent of your support hand’s strength” was developed in a world of shooting competitions where light-kicking guns were prized. It does not translate well to a gun like the Glock 33—the size of a snub-nosed .38, barely more than a pound and a quarter in weight, with a trigger pull weighing 5.5 to 12 pounds depending on how it’s set up, and delivering the power of a .357 Magnum revolver with its .357 SIG cartridge. The harder you hold it, the less it will move.
Personally, I’ve had the best luck with the “crush grip,” that is, with both hands applying maximum grasping strength. The gun simply comes back on target faster. It will also twist less in hand.
Advertisement — Continue Reading Below
RELATED STORY: 3 Range Drills for Developing Accuracy, Speed & the Ability to Shoot Under Pressure
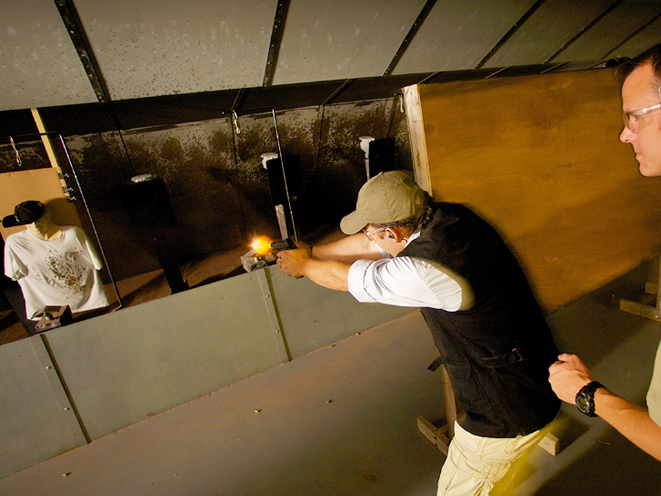
Grip is one element, as described above, and is confined to the hands. Stance is another, and it encompasses the entire body. In a fistfight, “rolling with the punch” can minimize your pain and injury when you take the hit, but it can also take you off balance and make the counter-punch you throw that much weaker. In the same vein, leaning back away from the gun or even standing straight upright can rock your upper body backward from the recoil, but leaning forward, toward the target, will put your body weight into the gun and drive it back down to the target from recoil faster. It allows you to better absorb the recoil of the gun, recover from it and deliver each successive “ballistic counter-punch” faster.
Flex both legs. The forward knee wants to be bent significantly forward, so that leg can better support your weight. You want at least 60 percent of your body weight on that forward leg. I like to have the rear leg just off a full lock, maybe less than an inch of flex, but some flex. That will let you dig your rear foot into the ground to drive your whole body forward into the gun. (A locked rear leg would be hyperextended, and a hyperextended limb can no longer push.)
Here are a couple of drills that will let you test your recoil control (along with the totality of your shooting skills).
5 In 5 At 5 Drill: I learned the “5 In 5 At 5” Drill from Gila Hayes. This slender woman has beaten brawny men at multiple recoil-intensive shooting games. At the Washington State Law Enforcement Firearms Instructors annual association meeting, training session and combat shoot, she once outshot all the men, including the most buffed-out SWAT studs, in a shotgun match. She was shooting a Remington 870 pump gun with full-power rifled slugs. Gila used the same firm grasp and dynamic body-forward stance described before. She was shooting the same way when I watched her win the Stock Gun Champion title at the Washington State bowling pin championships using a 1911 with full-power .45 ACP ammunition.
Gila’s drill puts you at 5 yards and gives you five seconds to fire five shots, hence the name “5 In 5 At 5.” Do it with each gun you carry. Check the times to see which you were fastest with, and pay careful attention to which delivered the best hits.
Bill Drill: Accelerate then to the Bill Drill, created by Bill Wilson, who at one time was captain of the U.S. team at the IPSC World Championship. You stand at 7 yards, facing an IPSC silhouette target. On the start signal, you draw and fire six shots. The object of the original Bill Drill was to get all six shots into the vertically rectangular A-zone located in the center of the target’s “torso” in two seconds.
Lots of folks these days realize that only expert and master shooters can consistently get all the hits in the center in that timeframe from their holsters. Many instructors now modify the Bill Drill to simply draw at the signal, fire six shots at 7 yards at the IPSC target, and assess and analyze both your elapsed time and your hits. This is a useful diagnostic for any shooter. More to the point, the Bill Drill is an excellent way to assess whether the 9mm or the .45 ACP or anything else is hitting the center fast enough for you to take advantage of its power.
Faster Hits
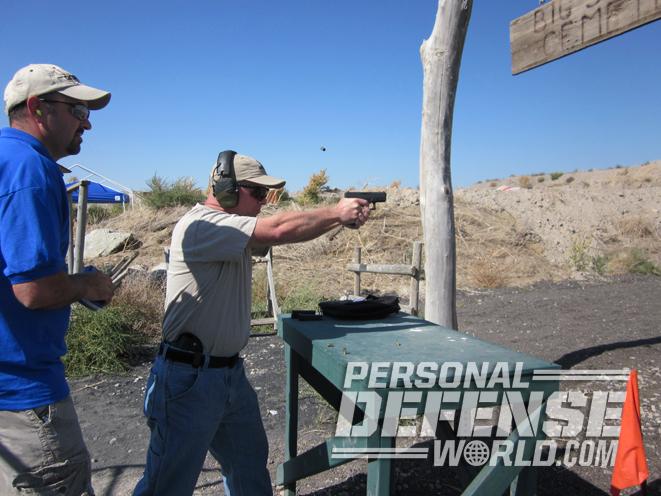
Speed is going to be dependent to some degree on both accuracy and power. How fast you can make loud noises and put spent brass in the air doesn’t count. What counts is how fast you can get hits—particularly the first one—into the spot you need to hit. Here grip and stance are absolutely on point, too. The quicker you recover from recoil, the quicker you can get your next shot on target.
But speed will also depend on trigger manipulation. See how Diligentia, Vis and Celeritas all intertwine? The best revolver shooter alive today—quite possibly the best who ever lived—is a man named Jerry Miculek, who I’m proud to call a friend. I took his revolver class a decade ago and found it most worthwhile. Jerry teaches a key lesson for when sustained fire goes fast: Keep the trigger alive.
When he says “keep the trigger alive,” he means that when you have to fire more than one shot, the trigger should be moving the entire time—either coming back to fire the next shot, or returning forward to fire the next one after that. If you pull the trigger and then leave your trigger finger still—whether it’s forward or back—as you come back to your point of aim, Jerry calls that a “dead trigger.” You’ll have to start the pull all over again. If instead you’ve been allowing it to reset during the recoil and rolling it back under good control the whole time, you get the next shot into the center faster, and the next shot, and the next.
RELATED STORY: Massad Ayoob’s Speed and Accuracy Shooting Drills
Record a video of yourself shooting and carefully study the results. The video will tell the tale. You’ll see if you’re jerking the muzzle down, if you’re looking over the gun (which will often cause your shots to go high) or if your trigger finger is waiting to come on target instead of being “alive.”
While some slow-fire shooters like to close one eye, your serious practical shooters today will almost always keep both eyes open. When transitioning between multiple targets while the clock is running in a “he who hits fastest wins” environment, this better allows the eye to lead the gun and get the sights onto the next target that much faster.
The aforementioned “5 In 5 At 5” and Bill Drills are great for this, for delivering sustained fire on a single, static target. For multiple targets, the choice is yours. The ancient standby of tin cans on the back fence is useful. Bianchi Cup falling plates make a great drill. Six 8-inch diameter steel plates face you. In a Glock Sport Shooting Foundation (GSSF) match, you’ll start at low ready from 11 yards and knock the plates over with 11 shots. Back in the day when I shot the Bianchi Cup, you had only six shots for every array of six plates, and missing one cost you 10 points. At 10 yards, you had six seconds. At 15 yards, you had seven. Eight seconds was all you had at 20 yards, and nine seconds was your allotment at 25 yards. The one shot you had at each plate put 10 points on the credit side of your ledger if your bullet knocked it over, and put you 10 points in the hole if you didn’t. Yes, it was a pressure cooker, but not nearly as much as needing to get that hit if your life was the stakes on the betting table, instead of cash and merchandise prizes and trophies.
Cooper’s Quest

Colonel Cooper had it right. Accuracy, power and speed, each in equal measure. Over the years, these practice drills have served me well, and if you try them, I think you’ll find they’ll serve you well also. You need two people for the coach-and-pupil Exemplar Drill. The rest you can do on your own with an electronic timer and, in one case, with a camcorder. It’s still a good idea to have a companion with you during the training. Shooting, like swimming, exposes you to hazards that are best dealt with via the buddy system. Give these drills a try. I hope they work as well for you as they have for me and my students.
