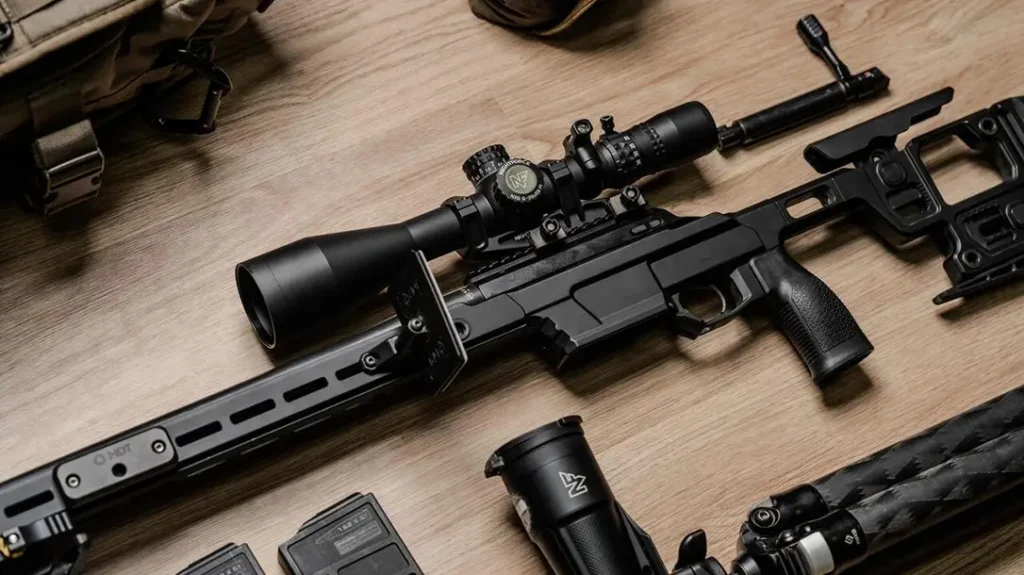
Aside from painting the house or cutting the grass, the next most exciting thing in your life comes when its time to sight in a new or existing rifle. You know the drill: Gather up the heavy rest, sandbags, spotting scope and balance of range paraphernalia and mentally prepare yourself for a few hours of repetitive work at the local range.
If you feel like that, year after year, you probably don’t have the right mindset for an enjoyable outing. The rifle you are going to test should be up to the job and prepared for the range. If it’s a new rifle, it should be cleaned properly, have a good number of rounds fired through it to settle it in, and, if applic-able, have a securely mounted scope. Next, you should have the right equipment, which will provide you the level of comfort you need to complete the process without getting fatigued.
Solid Range Prep
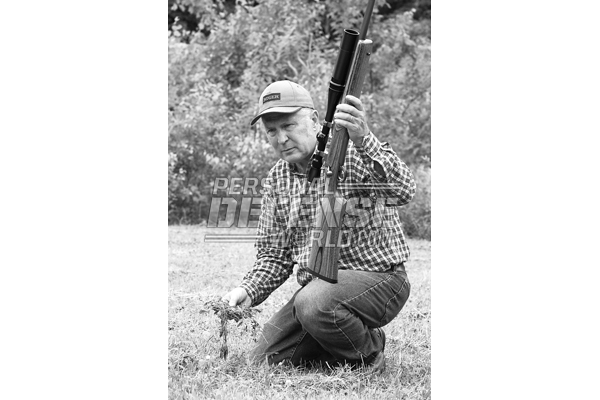
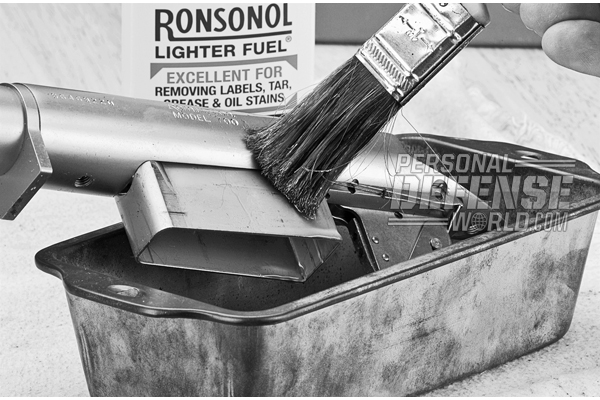
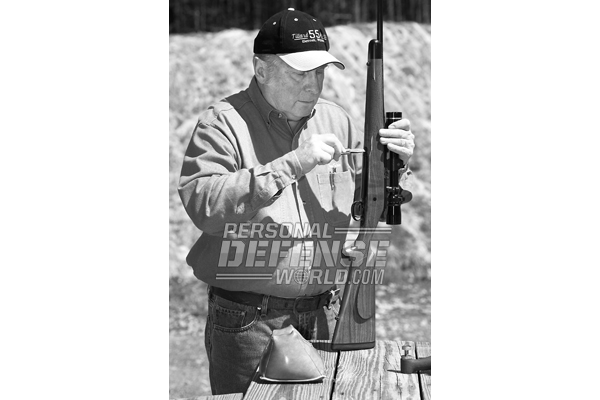
New rifles are good for range-testing—there is always something exciting about them. When I get a new rifle home, prior to my range work I tear the gun down, clean it thoroughly, and make sure that everything is working right and that I don’t have to return the gun to the factory for warranty work. I check the action for smoothness, get rid of the machining oil that is typical of new equipment, and take the gun out of the stock for a complete inspection.
Advertisement — Continue Reading Below
You may shrug your shoulders at that idea, but removing the action from the stock allows you to not only see the quality of the manufacturer’s work but also check the stock for cracks or defects that sometimes appear within the far reaches of the stock. While I have only sent one stock back in over 50 years of shooting, it’s good to ensure that you can complete the entire test without the stock or its related parts going south on you midway through the process.
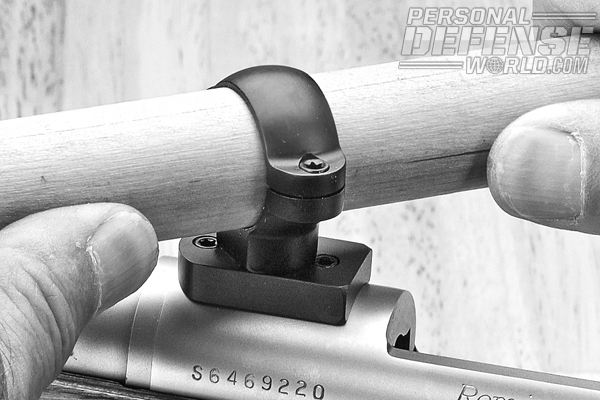
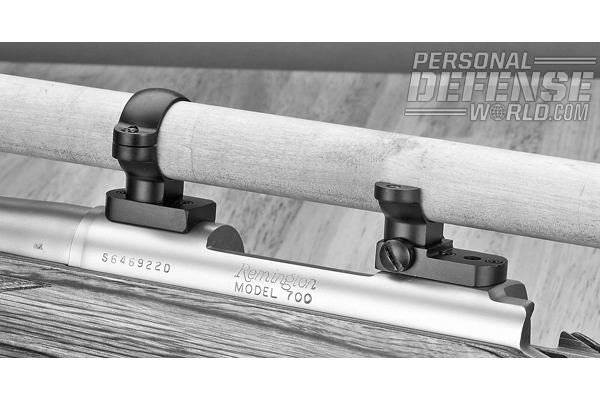
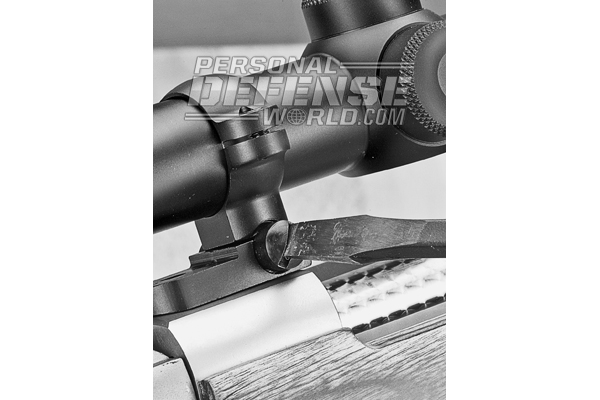
When mounting the scope, make sure the mounting holes on the receiver are clean and free of factory oil. Mount the bases carefully and use Loctite to secure the base to the rifle. Mount the scope, again making sure that the scope fits perfectly within the scope rings, check the reticle for proper alignment (vertical and horizontal), and adjust the eye relief.
Get A Good Rest
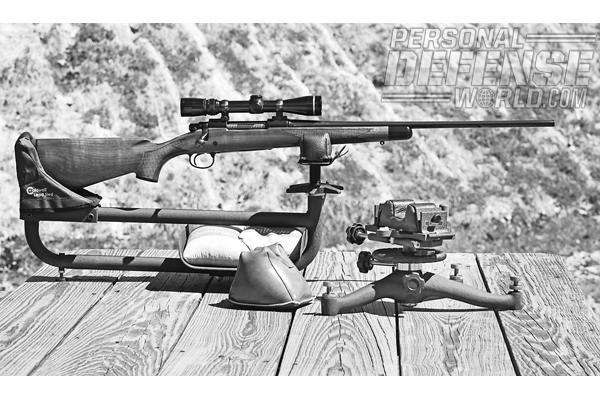
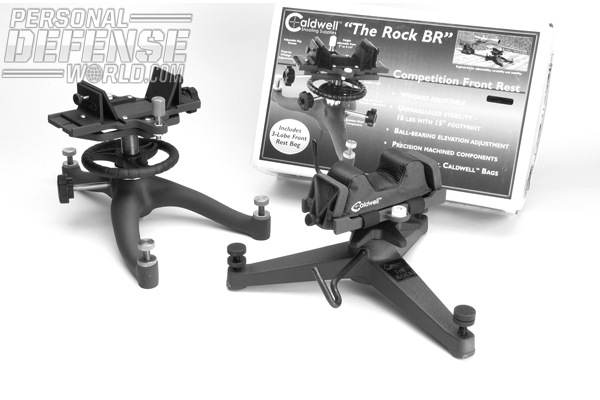
No, I don’t mean plenty of sleep. One of the most important pieces of equipment you will need for accurate groups is a first-rate, front rifle rest and a good, hefty rear sandbag. One look at any of the major mail-order books will reveal that there are many options offered by various companies. When I first started out, Hoppe’s was the rest for me, and I still have that front rest. This goes to show that heavy-duty cast-iron equipment does not wear out. Even if you have to spend a few more dollars, that investment will pay off in the long run. Over the past year, I have upgraded my range gear and settled on a pair of Midway front rifle rests produced under the Caldwell brand. Caldwells are all very tough and competitively priced.
Advertisement — Continue Reading Below
One of the best value-added rests to come along is the Caldwell Rock Deluxe rest. It has a finely tuned elevation-adjustment that goes from 4.5 to 7.25 inches, three rugged feet with hard points for stability, a forend stop, and a bag to help align the rifle downrange. The second offering—and the one I chose—is the Caldwell Rock BR, which includes all of the above features and weighs in at around 15.5 pounds. It has a wide stance, more than enough elevation space on the vertical shaft, and a thrust bearing to keep everything smooth and long-lasting when it comes to adjustments.
The final offering is for people like me who do not like to fire large-caliber rifles over long periods of formal testing. It is called the Lead Sled and, as the name implies, has the ability to store two and up to four bags of lead shot (that’s 100 pounds) under the rifle, to keep it from pounding you to death at the shooting bench. It has an upright rear rest to support the gun and trans-fer the energy to the rest itself, not to the shooter. The front part of the rest is adjustable for elevation, and it’s said to reduce felt recoil to the shooter by up to 90 percent. Now I’m all for that!
The Right Setup
If you want to shoot those small groups, you need to find a stable bench at the range. It should be the best one out there, made from heavy lumber or reinforced concrete, and deeply rooted to the ground. (The last thing you need is a bench that’s “walking” while you’re shooting that heavy-caliber gun.) Now, get everything out: your front rest, sandbag, ammunition, spotting scope, and ear and eye protection. Once you are settled in and shooting, stay there—don’t pop up and down, going back and forth to the car for supplies or additional equipment. You’ll be surprised how consistent groups are formed by shooters who stay put during a string of shots.
Advertisement — Continue Reading Below
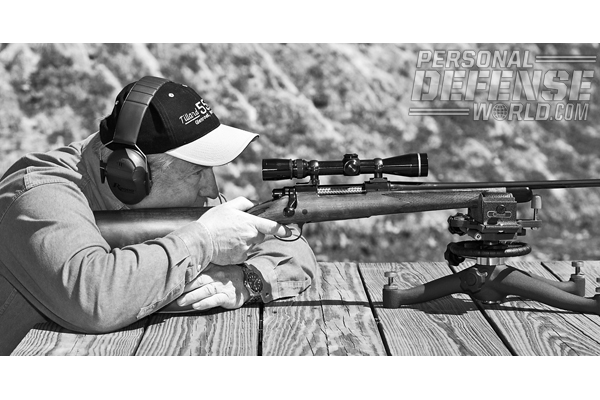
Before firing any shots, make sure the stock screws are tight and the action is properly seated in the stock. Now sit down, get comfortable, and loosen up. Take the front rifle rest and place it under the gun, just behind the front sling swivel if it’s a reasonable distance from the forend’s tip. Consistency is the goal here. You’ll want to keep the rifle in the same place on the rest, shot after shot. Some of the newer rifle rests have a forend stop to keep the rifle in the same location during each volley. If yours is so equipped, use it.
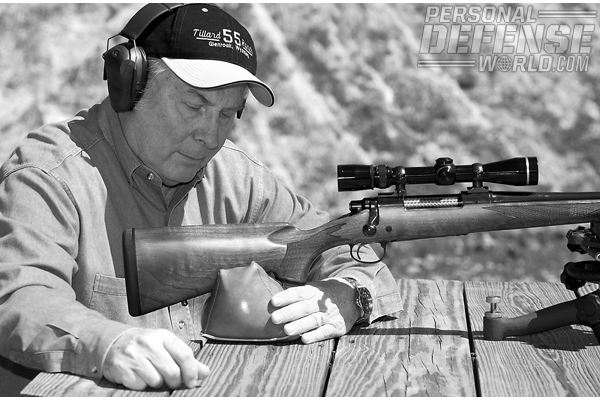
The sandbag goes under the buttstock at the rear of the gun. To start, position this bag so the rifle is level when sitting on both the front and rear rests. This rear bag is very important in benchrest shooting and when used properly can make or break the entire shooting session. Sit down and align the rifle to the target downrange. If the crosshairs are not dead center, use the rear bag to align them. Grasp the forward part of the rear bag with your left hand if you are a right-hand shooter. This means that you will have to take your left arm and literally wrap it around the buttstock of the gun to make adjustments with the rear bag. Move it up or down, left or right, until the crosshairs are where you want them on the target. In effect, you are controlling the rifle with your left hand and it will stay in this position during the entire session. The left hand will not be used to hold the forend. When the rifle goes off, it will come back and up slightly, and except with the largest of cartridges, it will stay within the confines of the front bag and rest.
Your right hand is used for firing the gun and placing pressure of the weapon against your shoulder. Your trigger finger goes on the trigger in such a way that only the first joint is used to fire the gun. The third, fourth and pinky finger will be wrapped around the pistol grip with just enough pressure to hold the gun against your shoulder. Never steer the rifle with your right hand, as you will wind up with lateral stringing on the target.
Advertisement — Continue Reading Below
Shots Downrange
When you get to actually shooting the rifle, try to keep the same cheek pressure on the stock of the gun, round after round. The point in this whole exercise is to see how good the rifle (not the shooter) shoots. If you can keep all the outside variables to a minimum, you’ll wind up with some fine groups. When shooting in warm weather, I try to get a bench beneath the range canopy and let the barrel cool down a minimum of three minutes between shots. Groups are a personal item—some like three shots while others go for five. I like three shots for practical accuracy. But varmint hunters who shoot and shoot all day like to witness what their barrel will actually do under similar conditions, so five- or even ten-shot groups would better suit their needs. Regardless of your preference, you want to consistently hold and shoot your rifle on the bench.
When shooting a new rifle for the first time, it’s always a good idea to bring it to a range session before the final sighting-in, to settle the gun in the stock or smooth out the bore. Firing 20 to 30 rounds is just about right and, as with breaking in a new car, go easy on your gun. Don’t rapid-fire just to get it over with. Instead, shoot three rounds, rest and then repeat the process until all of your ammunition is expended. This also accomplishes yet another item on your list: zeroing your scope. Taking the time to break in your gun before you get serious is a big bonus. The barrel will stay cooler longer, and you will be more at ease shooting the gun and not have the nerve-racking chore of sighting it in beforehand. Believe me, it works.
When sighting in your rifle, be demanding of yourself and the gun. With a fresh rifle, never be satisfied with the first couple of groups. Keep trying with various ammunition or handloads until you get where you want to be. I’m never satisfied until I can get a hunting rifle to shoot groups that circle at least 1-inch. For varmint rigs, the requirements are much tougher: Here I’m looking for groups under an inch, especially with specialized, hardcore varmint rigs.
Advertisement — Continue Reading Below
Another aspect of bench-resting is reading targets. If you have a target with horizontal stringing, chances are you are flinching, using your right hand to steer the rifle or yanking the trigger. Remember, squeeze the trigger. Don’t punch it just to get off the shot. Vertical stringing is common with rifles that have sporter-weight (0.55- to 0.6-inch muzzle diameter) barrels and heat up quickly, so pace your shots and allow the barrel to cool for a true evaluation of your rifle’s capability. Finally, one shot that is separated from a fine group could mean the barrel was not cleaned properly or that it’s starting to foul from too much shooting.
Weather is an important factor. Stay away from cold weather that’s near freez-ing or hot weather in the 90s. Cooler weather can show erratic performance at the bench and may require you to switch to magnum primers, which is not the way to go when sorting out handloads. Extremely hot temperatures could raise pressures, and again, this is not a good way to evaluate your firearm. Windy days are out, especially for smaller, drift-prone cartridges.
In the end, proper bench-resting techniques can make having a rifle a real pleasure. The idea of testing your new rifle, working with handloads and taking it on your next hunt overshadows any of the negatives you experience at the very beginning. Besides, it sure beats painting the house or cutting the grass.
Advertisement — Continue Reading Below
For More Information:
Battenfeld Technologies
877-509-9160
battenfeldtechnologies.com
Hoppe’s
800-423-3537
hoppes.com
Advertisement — Continue Reading Below
Midway USA
800-243-3220
midwayusa.com
To get this issue, visit /.
