I don’t get to the comedy club often, so I like to visit online forums to supplement my need for laughter. One day while sitting on the john, I read a long post that rivals the length of this article about how precision shooting is a rich man’s sport and not for people “without the means.” I laughed so hard I almost responded. Instead, I sought out to build an affordable precision rifle.
Precision Rifle Build
With today’s advanced manufacturing processes, it doesn’t take a lot to build a gun that will shoot sub-MOA groups. At the same time, quality optics have also become easier to manufacture at a lower price point. To prove it, I set out to build a precision rifle setup that would cost less than $1,000—glass and all.
Anderson Foundation
I decided to go with Anderson Manufacturing as the core of my build. In 2017, Anderson produced and sold 211,382 miscellaneous firearms, which we all know is BATFE talk for a stripped lower receiver. It’s pretty hard to put numbers like that out and stay in business if they are of poor quality. And although stripped lowers are Anderson’s bread and butter, the company makes nearly every other rifle component as well, including barrels, which is impressive since a lot of the bigger companies sub that work out.
Advertisement — Continue Reading Below
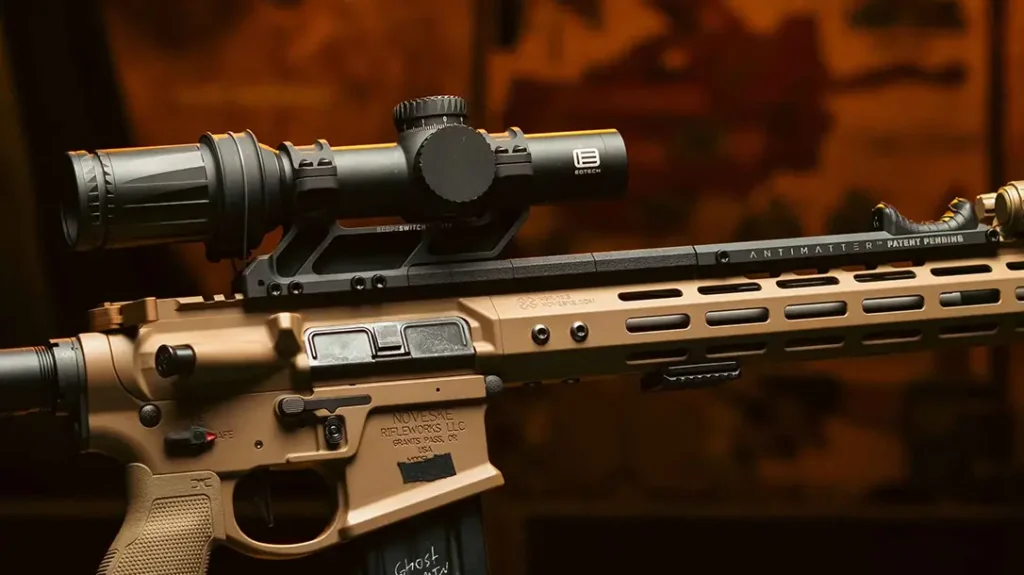
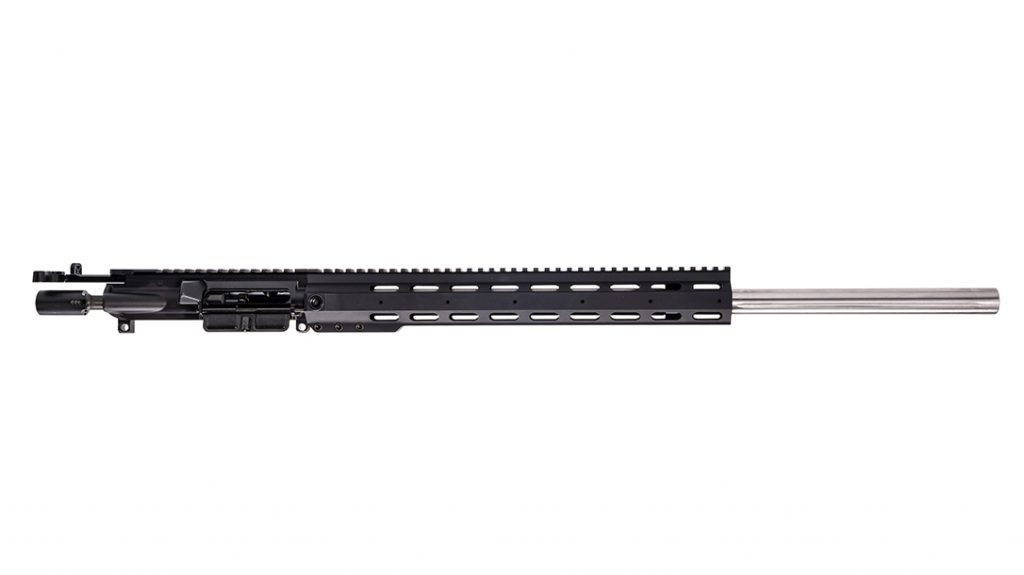
I only had experience with Anderson’s lowers, but I decided to go with the rest of the company’s components for this build as well. I spent the majority of my budget on one of Anderson’s 24-inch-barreled Sniper upper receiver groups. If you’re going to spend money, do it here, as this is the most important component for accuracy. The Sniper upper consists of a heavy, stainless steel barrel with functional fluting that helps dissipate heat. The barrel also has 1-in-8-inch-twist button rifling, which will suffice for bullets up to 75 grains, and some might even argue a tad heavier.
The bolt carrier group is coated with Anderson’s proprietary RF-85, which allows it to run with absolutely zero lube and makes cleaning as simple as wiping the parts down with soap and water. I also used another one of the same lowers that we have been using for years commercially at Renaissance Firearms Instruction, except this time I got lucky and the company had a blemished receiver available that saved me $5.
Cheap Trigger FTW
Advertisement — Continue Reading Below
I finished the receiver with one of Anderson’s stainless steel lower parts kits. I hit the sear engagement surfaces with a little jeweler’s rouge on a high-speed rotary tool to make them shine like, well, jewelry. This has to be the cheapest “trigger job” on the face of the earth, and it really goes a long way to lighten things up and remove any grittiness. Using a Lyman Digital Trigger Gauge, I confirmed the break at just 6.13 pounds.
I finished the lower with a Luth-AR MBA-2 buttstock. I went this route because Luth-AR makes one hell of a solid stock that puts your face exactly where it needs to be for a proper cheekweld. The company also makes adjustable models for just a few dollars more, but in the interest of saving some coin, I stayed conservative.
Zeroing In
I slapped the entire rifle together in less than an hour using a Real Avid AR-15 Armorer’s Master Kit and topped it off with the new Riton 6-24x50mm X1 Conquer scope. This optic played a major role in staying under the $1,000 budget and delivered the specs I needed to make this an effective precision build. I chose it because Riton has earned a reputation for clean, quality and repeatable mechanics. This latest innovation gave me a little more than 60 MOA of adjustment to play with using the turrets and 20 MOA in the glass, allowing me to make most shots within 5.56mm range without even having to dial. I already had a Riton QD mount from previous projects, so I reused it. If you don’t happen to have one of these lying around, a decent pair of affordable rings can be found for less than $20.
Advertisement — Continue Reading Below
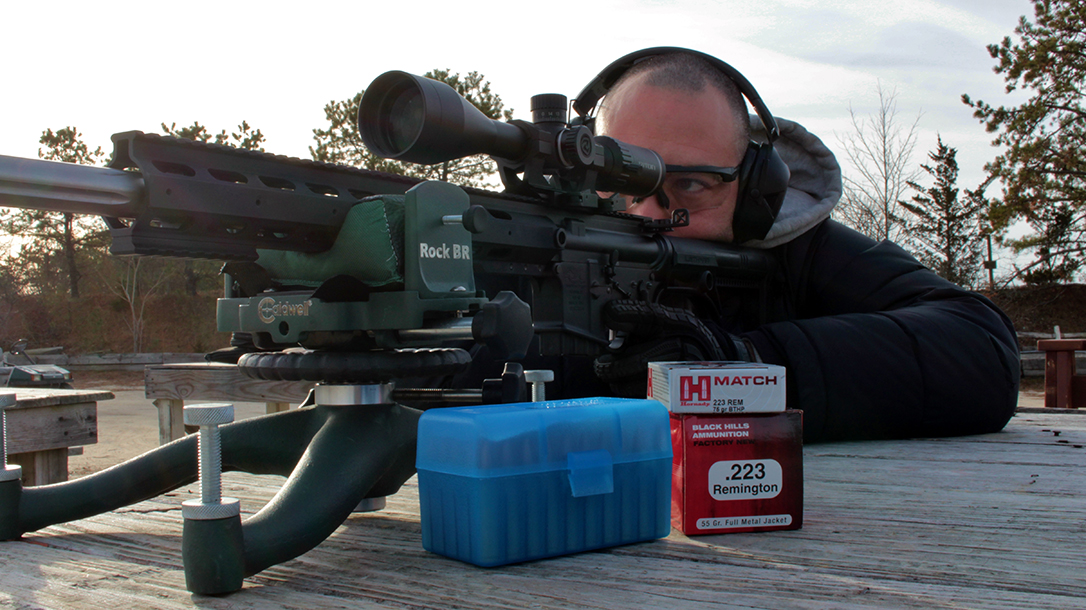
Now I just needed some ammo. I grabbed some 55-grain Black Hills FMJs and 75-grain Hornady Match BTHPs and tossed them into my range bag. I chose the Black Hills ammo because it has always given me stupid-accurate performance inside of 300 yards. For greater distances, the Hornady 75-grain Match BTHPs have proven accurate all the way out to 1,040 yards in our long-range courses. With the car packed, my friends and I were ready to finally put some rounds on paper.
Rounds Downrange
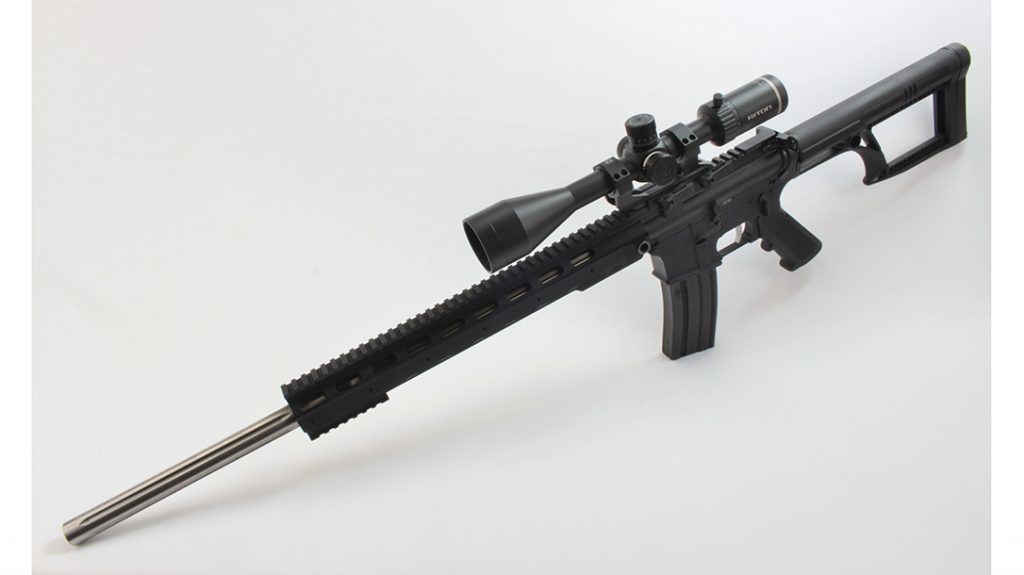
Our range day was pretty cold—about 30 degrees when we started and reaching a high of only 42 later. But thankfully there was no wind. Using a bench, a Caldwell shooting rest and a sand sock for support, we fired five 5-shot groups at 100 yards. With the Black Hills ammo, we got groups as small as 0.94 inches. This certainly validated the sub-MOA hypothesis, but I really wanted a gun that would do the job at extended distances, and that’s tough to do with 55-grain rounds. So, we continued with our testing and performed the same routine with the Hornady ammo. Again, the results were stellar, confirming that our barrel had what it took to stabilize the longer, heavier pills. We saw groups as small as 0.82 inches, which shouldn’t surprise anybody who has fired Hornady’s match-grade ammo.
Advertisement — Continue Reading Below
Getting Dialed In
After returning home, I started cooking up some handloads. Whenever I’m looking to save money, I start with the brass. Low-quality brass will ruin the entire round, but you don’t have to spend a lot of money to get good brass, either. Lake City brass can be found pretty easily at most ranges, particularly if the military trains there. I collect it by the bucket full thanks to our friends at the 106th Rescue Wing.
And I feel like I should be wearing skinny jeans and rocking a man bun when I say this, but I only use 2004 Lake City brass that weighs between 92 and 93 grains after a full match prep. Use whatever year and weight you want, but consistency is key. For projectiles, I chose the same Hornady 75-grain BTHPs I was using in the factory-loaded ammo. I chose Varget powder and CCI BR-4 Benchrest primers. Yes, these primers add a few more cents to each round, but I have found the accuracy improvement easily justifies the cost. Besides, it’s still going to be much cheaper than purchasing match ammo while certainly outshooting it.
Second Session
Back at the range, the conditions were similar to our initial test day’s, which helps a lot when you’re trying to compare apples to apples. From the same bench with the same rest, I fired five-round groups looking to see where the node was. In the process, we found one at 23.2 grains of powder and 23.8 grains of powder, with 23.2 turning in a five-shot group that was just over 0.5 MOA. The first four shots of 23.8 might have been even more impressive, as they were inside of 0.25 MOA until the fifth opened it up to about 0.6 MOA. Stepping off the range, I bristled with pride because I had once again built a sub-MOA package for far less than most people believe possible.
Advertisement — Continue Reading Below
The entire process reminded me of a begrudged shooter that I met once very early in my shooting career. Our interaction began when he suggested that I put my gear on the wet ground so he could share the bench with me because he felt like sleeping in and no other benches were available. While containing my laughter, I told him he could put his gear on the ground and shoot prone. After the man huffed and puffed for a bit, a bench opened up, and he proceeded to fire his uber high-end rimfire rifle. After about 20 minutes, he grunted and stormed off of the range, leaving his target behind.
Incredibly, he could only manage a 4-inch group with that expensive rig. So, remember folks, it isn’t always a money-spending contest out there. Good gear with a great shooter will outperform great gear with a good shooter each and every time.
This article is from the April-May 2020 issue of Tactical Life magazine. Grab your copy at OutdoorGroupStore.com.
Advertisement — Continue Reading Below
