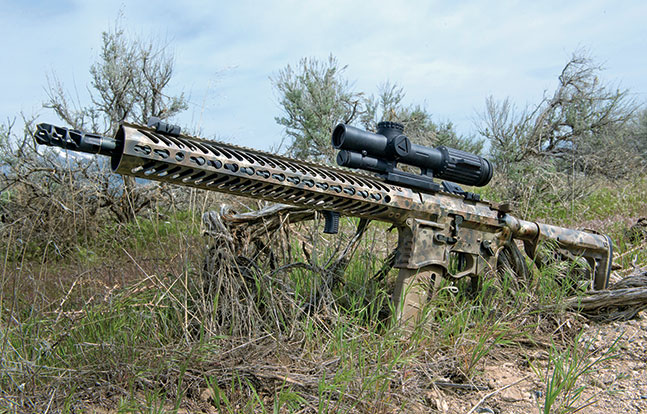
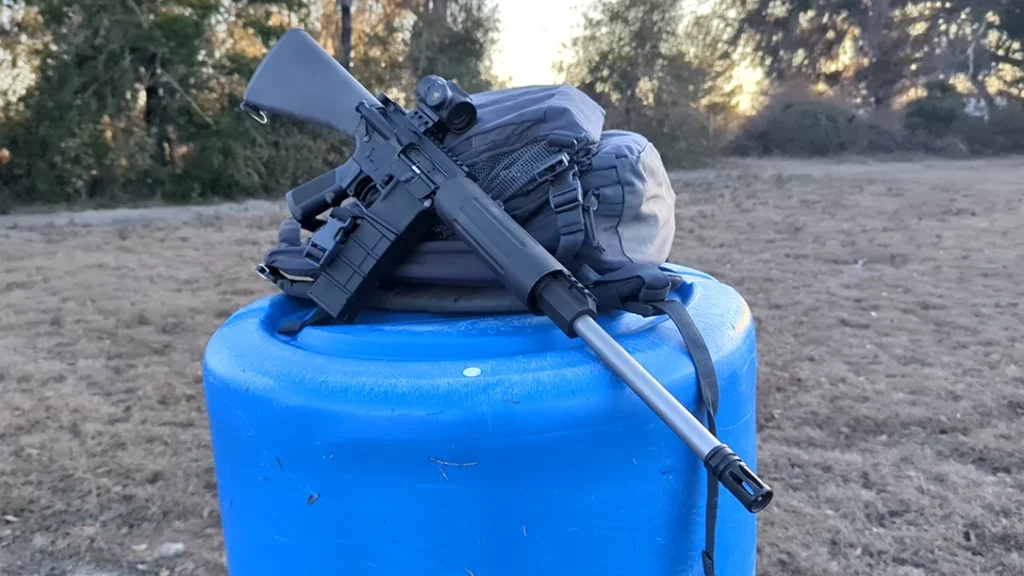
It seems obvious, but many shooters miss the primary reason to break down and clean their rifle after any reasonable use.
Rifles are mechanical devices; they can and do break. Tearing your rifle down is as much about inspection as it is cleaning. This is true for anyone, but more so for professionals or when dealing with a rifle specifically tasked with self-defense. Your rifle is a life-saving tool; it must work to perform that function, and regular maintenance ensures that.
Advertisement — Continue Reading Below
How Often Should I Clean My Rifle?
It depends on what you do, the rifle’s design and where or how you use it. My precision AR rifles receive the same cleaning regimen as my precision bolt rifles. Carbines require a bit less attention. Officers should always go to work with a clean gun. Attending training in pouring rain and mud, or rolling in the desert silt, may require more frequent cleaning. Suppressed rifles get dirty faster, especially on direct-impingement guns. Ammunition can be a huge factor, with loads ranging from clean running to downright filthy or even corrosive.
Piston-driven rifles run cleaner and can be less maintenance intensive, but not always. Chromed and coated bolt carriers help with cleaning, too. As a rule, clean after any significant range session. At the very least take it apart, wipe it down, inspect it, oil it and perform a function check. Intensive range days or training may require more, including tearing the bolt down. Frequent cleaning is often easier than waiting for it to build up.
Advertisement — Continue Reading Below
How Much Should I Clean?
Barring broken parts, or severe maintenance, two processes cover most users. Basic cleaning encompasses removal of the bolt carrier group and its disassembly. The chamber, lug recesses and feed ramps are cleaned. Trigger parts are inspected and wiped clean, or blown out with compressed air (from a can or otherwise). Remove the buffer and wipe it down, checking the retaining pin and tube for damage or debris.
Advertisement — Continue Reading Below
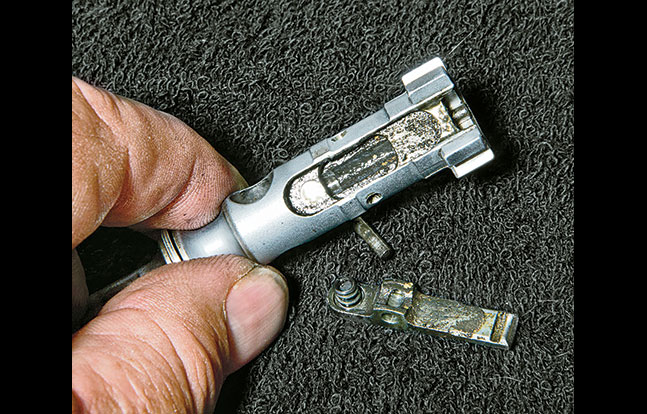
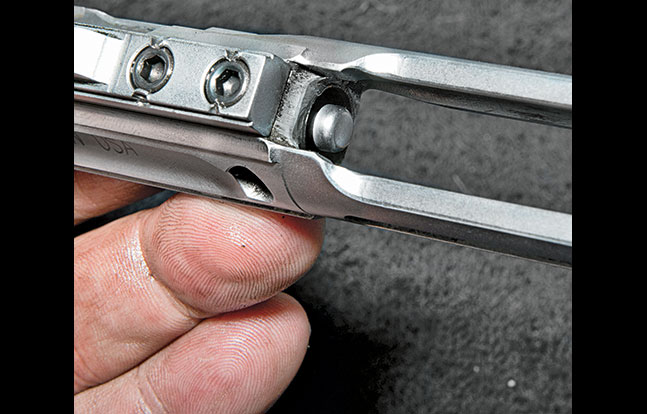
If necessary, the bolt can be broken down for further cleaning and inspection. Leave the ejector alone. Don’t remove it unless you are experiencing problems with ejection, or if it is stuck or broken (a very rare occurrence).
Cleaning Procedure
Advertisement — Continue Reading Below
Find a clean and relatively dust-free area and ensure your rifle is not loaded. Also make sure there are no loaded magazines or ammunition within reach.
Push the rear pin on the lower. If it is tight, a punch can be used. Remove the bolt carrier group and charging handle. Remove the firing pin retaining cotter key, firing pin, bolt retainer and finally the bolt. Spray it down with your favorite cleaner, setting it aside and letting it soak on a clean rag.
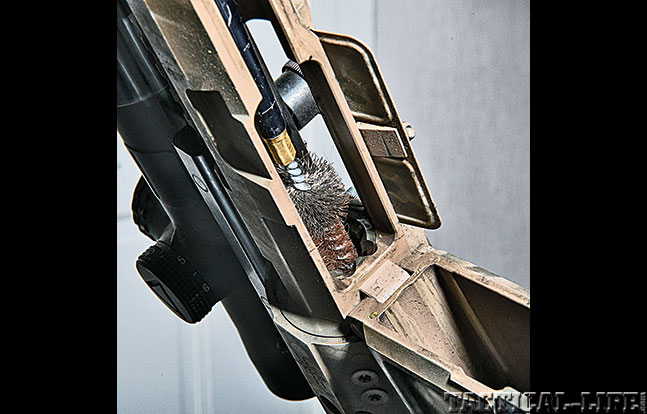
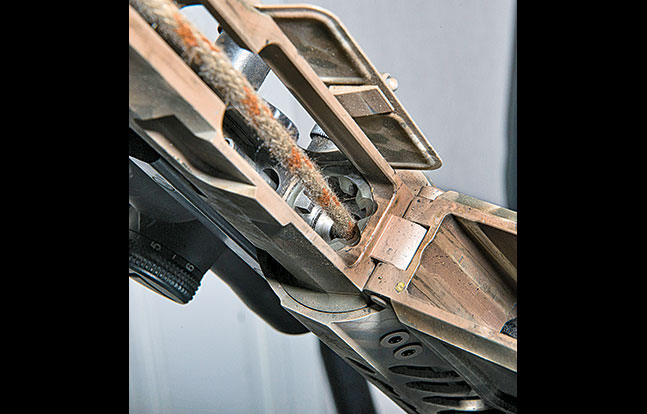
Moving to the barrel, clean the locking lug recesses, chamber and feed ramps. You can use rags, chamber brushes, Q-tips or cleaning patches. Once these areas are as clean as possible, clean your rifle bore. On chrome-lined or coated bores, I use an Otis Ripcord, especially in the field. Spray bore cleaner down the bore until it runs out the muzzle, then run the Ripcord through it until happy (five times for me). Point the muzzle at some light, or shine your flashlight down the bore, to look for obstructions or debris. Clean the upper receiver, where the bolt carrier group sits. Wipe it out or blow it out, but clean it out being careful not to damage the gas tube. Double check the bore and chamber and clean again if needed.
Advertisement — Continue Reading Below
Inspect the lower receiver carefully. Look for loose parts, brass shavings, primers or other debris. Use air or a rag and clean it all out. If oiling, keep it light and restricted to pivot and contact points. Too much oil attracts dust and can gum up the works. Push down on the buffer retaining pin; remove the buffer and spring. Wipe them down and check the buffer tube for debris. Make sure the retaining pin moves freely, then put it back together.
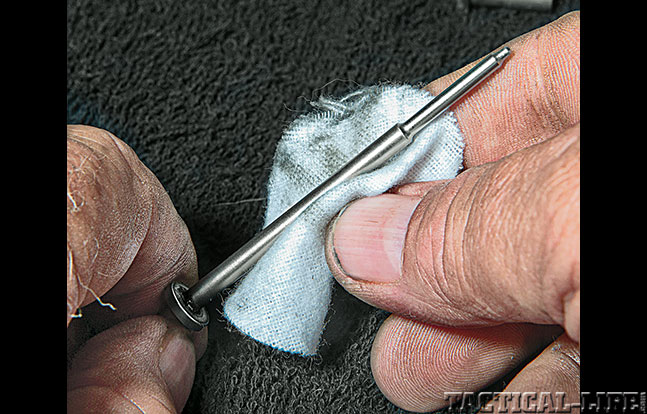
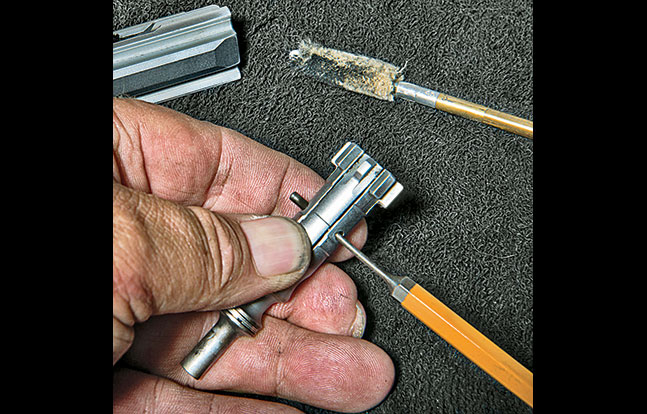
Wipe each part of your bolt carrier group down and clean as needed. Use chamber mops or rags through every opening. The tools used should be plastic, or be very careful not to scratch anything. The most difficult part will be the coned end opposite the locking lugs. Clean this aggressively, just don’t scratch it. Scotch-type pads or more aggressive cleaning solutions should work. Get this as clean as possible, but don’t expect it to look like new.
Check every part for damage. Check the firing pin tip for pitting, bends or other damage. Check the locking lugs for damage. Push out on the extractor; it should move with resistance. Look for pitting or over-pressure signs on the bolt face. Push on the ejector, making sure it moves freely. Inspect the gas rings but do not remove them. There are generally three, each with an open end; make sure those don’t line up and they are not broken.
Advertisement — Continue Reading Below
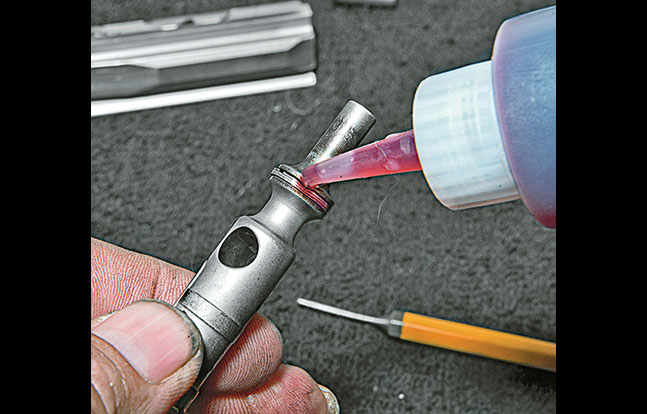
Lightly oil the rings and the raised section on the bolt. Oil the inside of the carrier and insert the bolt, turning it so the extractor faces the right side. Insert the retaining pin sideways and then turn it, inserting the firing pin. Press the firing pin and bolt together; hold them in place while inserting the cotter key. Pull the bolt out and push it back in a few times. It should stay in place and move smoothly with some friction. Lightly tap the rear of the carrier on the bench; the firing pin should not fall out. If it does, remove the cotter key, ensure the firing pin is completely inserted and re-insert the key.
Oil the bearing surfaces of the carrier where it contacts the upper receiver. These rifles generally don’t like to run completely dry so get some oil in there. Oil the raised ends of the charging handle and the insert. Place the gas key into the groove on the charging handle with the bolt extended and drop into the receiver. Make sure the hammer is down, close the lower and push the pin back in.
Again, ensure the weapon is not loaded and there are no loaded magazines in your cleaning area. Cycle the bolt, making sure the hammer falls when the trigger is pressed. Run the bolt and check the trigger for proper reset. Put the safety on, making sure the hammer does not fall when the trigger is pressed. Repeat a few times and you are ready to rock.
Advertisement — Continue Reading Below
Removing The Extractor
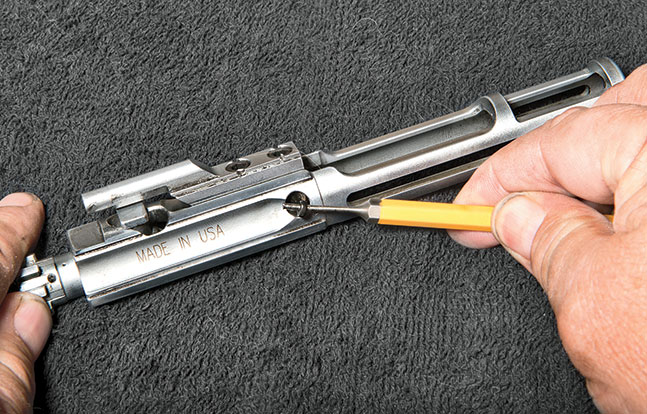
With the bolt removed, push on the back of the extractor with your thumb, compressing the spring. Push the pin out using a punch. The extractor should come off with the spring on it. Do not remove this spring unless you intend to replace it; just blow it off or clean around it. Clean everything up, looking closely at the rim of the extractor for chips or cracks, and the pin holes for cracking. If all is good then reverse the process. The pin should be under tension but push in easily. Once it’s together make sure the extractor moves freely and is under tension, then reassemble.
Advertisement — Continue Reading Below
Final Thoughts
Use your favorite oil or cleaner. Honestly, all the good ones work. Many shooters use the latest synthetic, lightweight motor oils with great effect. Some use grease products in really hot climates. Just remember that oils and grease attract dust and dirt, so don’t get carried away or you will gum up the works. Bolt groups that are chromed or coated may work better, but they still need some oil to work properly.
If you are cleaning a piston rifle you will not see gas rings or a gas key. An op rod may be attached to the bolt, or it will be a flat spot where a rod strikes it. If there are gas key bolts make sure they are staked and have not come loose. Some are machined into the bolt, so you just have to check. Make sure you follow your manufacturer’s instructions when it comes to gas piston tubes (where the piston goes). In most cases these are seldom cleaned and often work better when fouled—get carried away here and your gun may not run. Everything else should be pretty much the same.
Any mechanical device needs maintenance, and your rifle is no exception. With just a bit of time and attention you can make certain your rifle will provide years of service with little or no repairs or maintenance. Given that it may just save your life some day, it is more than worth the effort!
