The unloaded table start drill is one of the most fun and challenging drills I like to practice. I have been to hundreds of shooting competitions, and this is a common start for a stage that match directors will throw in to make it more challenging. Occasionally, they’ll up the ante by requiring all your ammunition to start on the barrel next to your pistol. So, you must stow your magazines before loading your gun and taking off to shoot the stage. This drill will focus on a singular starter magazine and unloaded pistol. But stay tuned for a drill that will build on this one.
Equipment Needed For the Unloaded Table Start Drill
- Pistol
- One Magazine
- Ammunition
- Barrel, Table, or Other Surface
- Steel Target
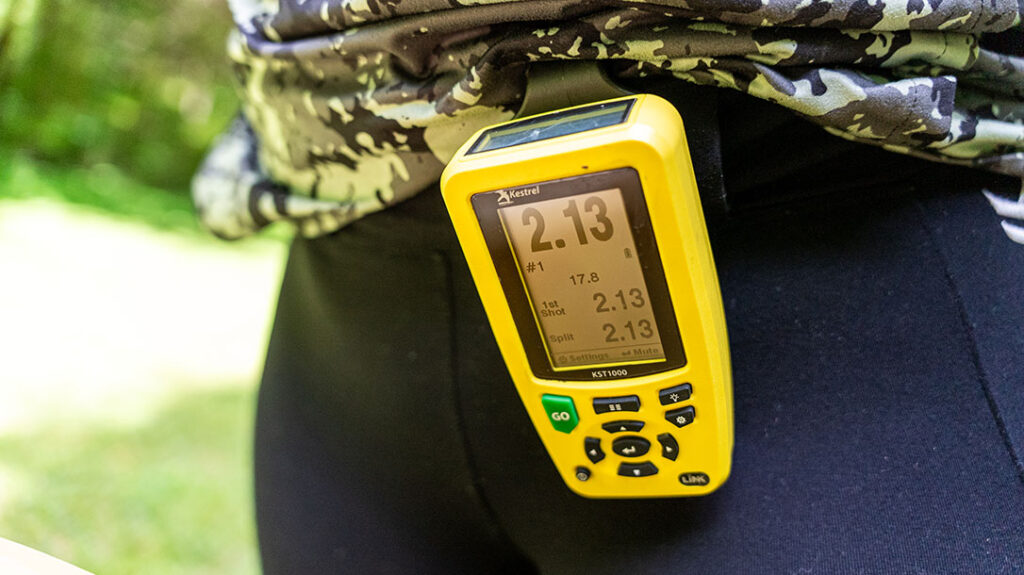
- Kestrel Timer
The Drill Setup
Setting up this drill is straightforward. You’ll need a barrel, table, or other flat, sturdy surface to set your gun and magazine on. I recommend a tall surface at least waist level or higher for comfort.
Your pistol must be completely unloaded with the slide forward. I haven’t been to a shooting competition where they’ve allowed you to start with the pistol slide locked back. That would make it too easy. You’ll start with one fully loaded magazine next to the gun.
Advertisement — Continue Reading Below
I like to practice this drill with the start position of wrists below the belt or wrists above the shoulders. These are typically the start positions for IDPA, USPSA, and Steel Challenge competitions. So, you might as well get used to running this drill that way.
With your timer set to a delayed start, you’re ready to run this drill.
Advertisement — Continue Reading Below
On the beep, you will pick up your pistol with one hand and magazine with the other. Then, insert the magazine into the gun and rack the slide to load a round into the chamber. Finally, aim and fire the gun at your steel target.
Be sure to note the time if you want to track your progression.
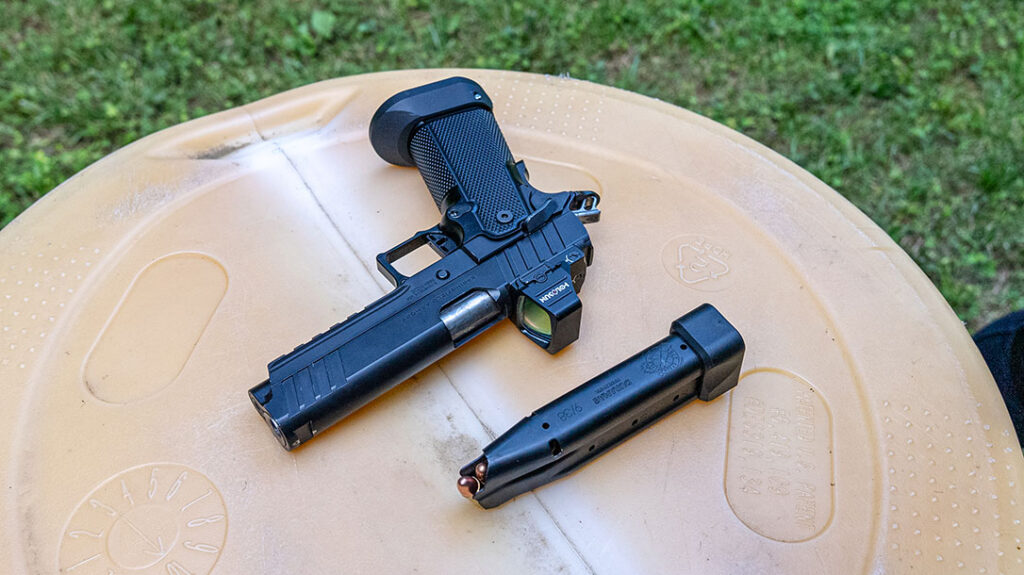
The Gun & Magazine Layout
The biggest mistake I see new shooters make in executing any drill is not knowing how to set themselves up for success. For this drill specifically, notice how my magazine is pointed with the bullets facing upward.
Advertisement — Continue Reading Below
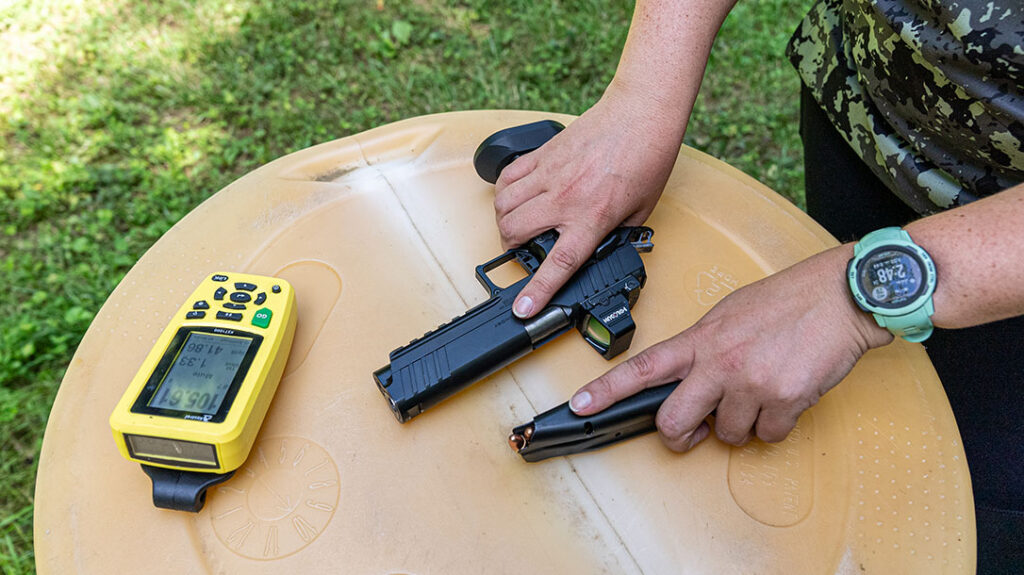
Why is that? When I start this drill, my index finger rests on top of the magazine, with the tip of my finger pointing up toward the bullets. This is to replicate how I would pull a fresh magazine off my belt. So, loading the gun is just like performing any other reload.
Think about it. When you draw a new magazine from a pouch on your belt, your index finger should always rest on the top of the magazine with bullet tips facing up. From there, use your index finger to guide the magazine into the mag well for a clean and stable reload.
Advertisement — Continue Reading Below
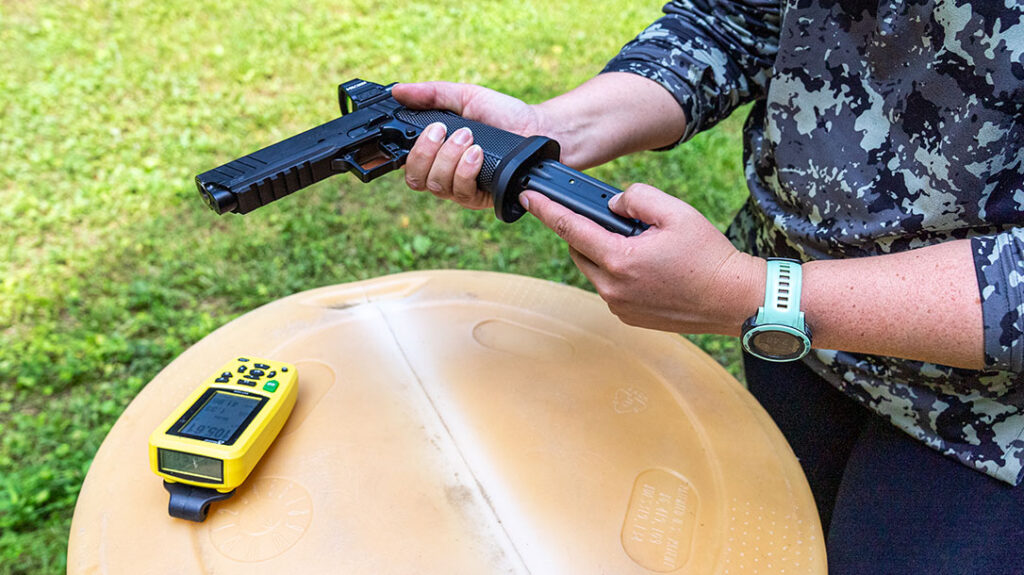
Your finger eventually gets out of the way of the mag well, and you use your palm to seat the magazine.
If your index finger were wrapped around the magazine sideways or off to the left or right side of the magazine, there would be no straight stability for inserting it. This is how you fumble a reload, either dropping the magazine completely or hitting the outside of the mag well. You must then try again to insert it into the gun.
Advertisement — Continue Reading Below
Your index finger is the guide for your magazine.
Loading the Gun
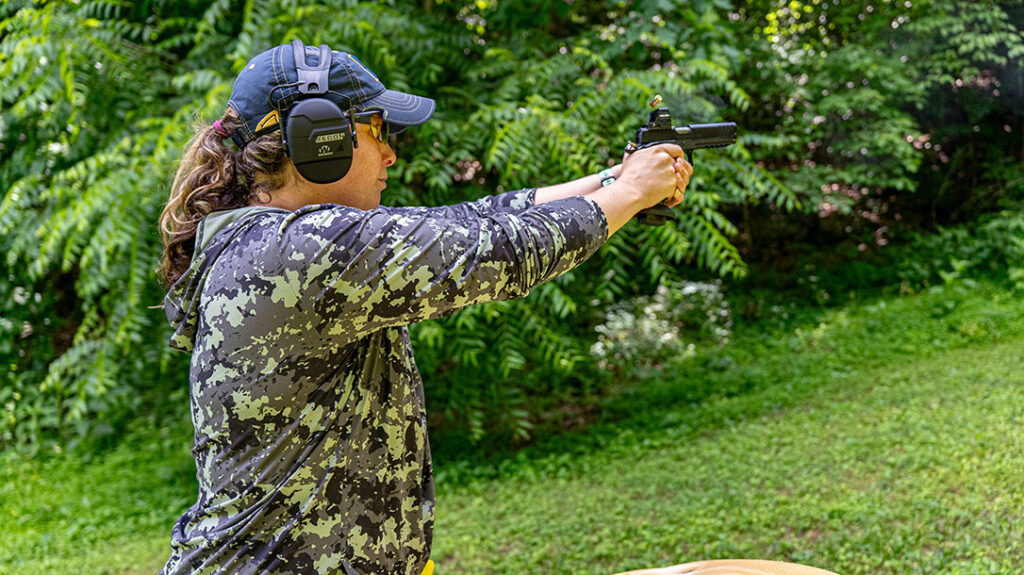
The way you chamber a round into your gun might look different than how I load my gun. In this drill, I’m using a custom Springfield Armory Prodigy with a Phoenix Trinity HERO grip, Taran Tactical Innovations mag well, internal EGW gun parts, and topped off with the Holosun 507Comp optic.
This gun is a single-action pistol with an easy-to-manipulate slide. So, I use the web of my thumb and index finger to pull back the slide from the front serrations to load a round.
Advertisement — Continue Reading Below
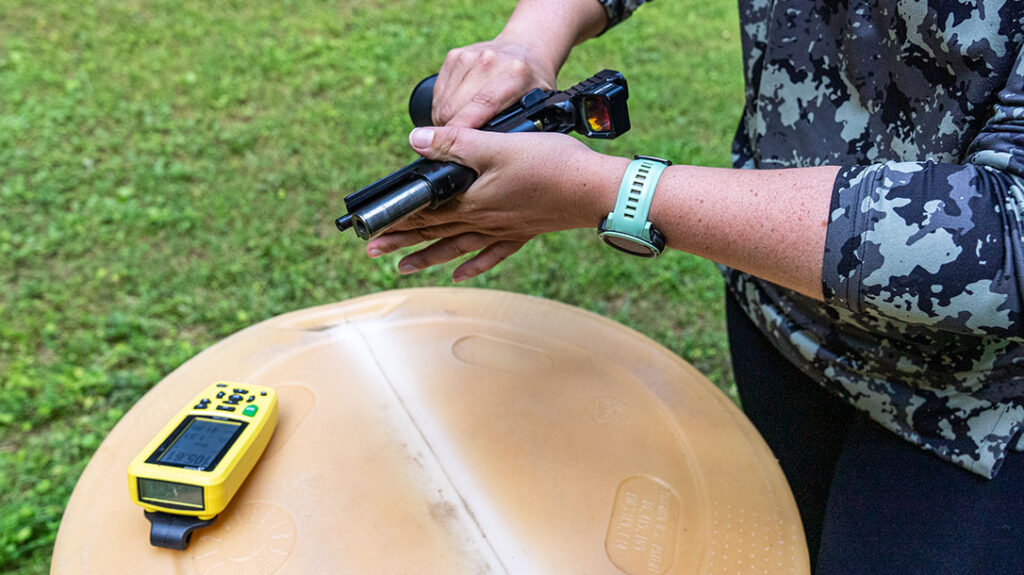
If you shoot a striker-fired handgun, you might not be able to load your gun this way. If you have a red dot optic mounted, some shooters use the optic as leverage to pull the slide back and load a round into the chamber.
If you use iron sights, you might use the C-clamp method to grip on either side of the rear serrations. Then, pull back on the slide and load the top round from the magazine. Whatever method works for you, make sure it’s repeatable and consistent.