In the realm of defensive shooting, manipulations are essential. An instructor shared the most hard-hitting expression of that with me decades ago. “You can be the best shooter in the world, but if you can’t clear malfunctions, you will be a bullet sponge.” With that in mind, we will look at the basics of clearing type1 and 2 handgun malfunctions.
Clearing Type1 and 2 Handgun Malfunctions
I am putting type 1 and type 2 together because the manipulations are identical. This is a nice bonus for people just entering the Firearms world. There are a couple of quick points that need to be addressed before we begin. First, our goal is to clear the malfunction and get the gun operating again. You mustn’t get wrapped around the axle with why the gun malfunctioned. There will be time for that later.
Our goal is to simply get the gun back into the fight. The second point is that you should take malfunction clearances as seriously as you do your shooting. That means that you spend time each day practicing manipulations at least briefly. This will ingrain the skills which will make you faster and more consistent.
Advertisement — Continue Reading Below
Type 1
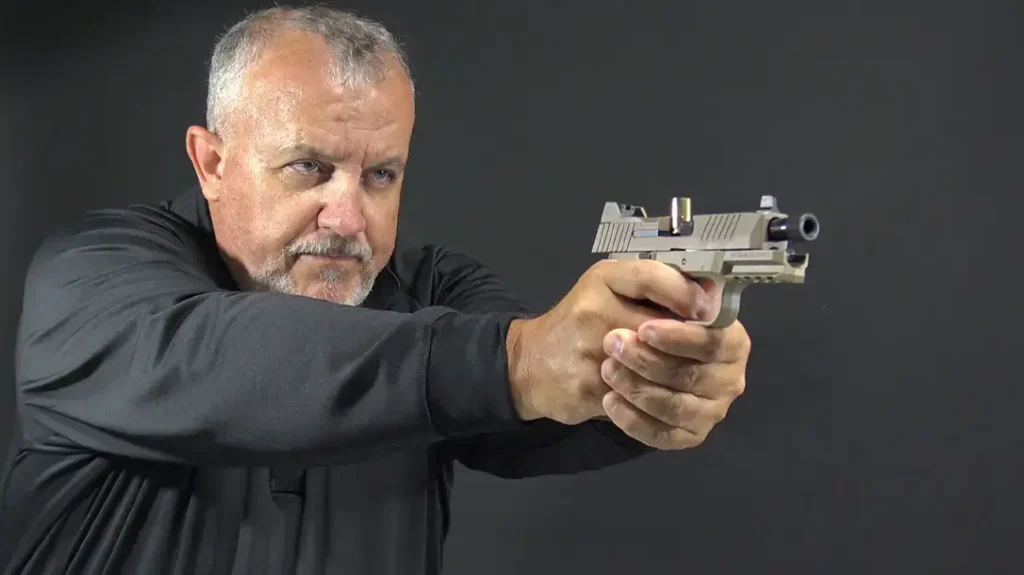
The type 1 malfunction is also called a stovepipe. This is because the brass does not extract completely from the gun, resulting in a split piece of brass partially sticking out of the ejection port. At first glance, it resembles a stovepipe. Once again, it’s important not to worry about what happened. We need to focus on getting the gun-running.
The process is as follows: You are on the range shooting, and the gun goes silent. Keeping the gun pointed down range, you slightly raise the barrel and inspect the gun. We observe the brass stuck inside the action, and now we move to clear it. First, we will tap the bottom of the magazine. This ensures that the magazine is indeed seated correctly.
Advertisement — Continue Reading Below
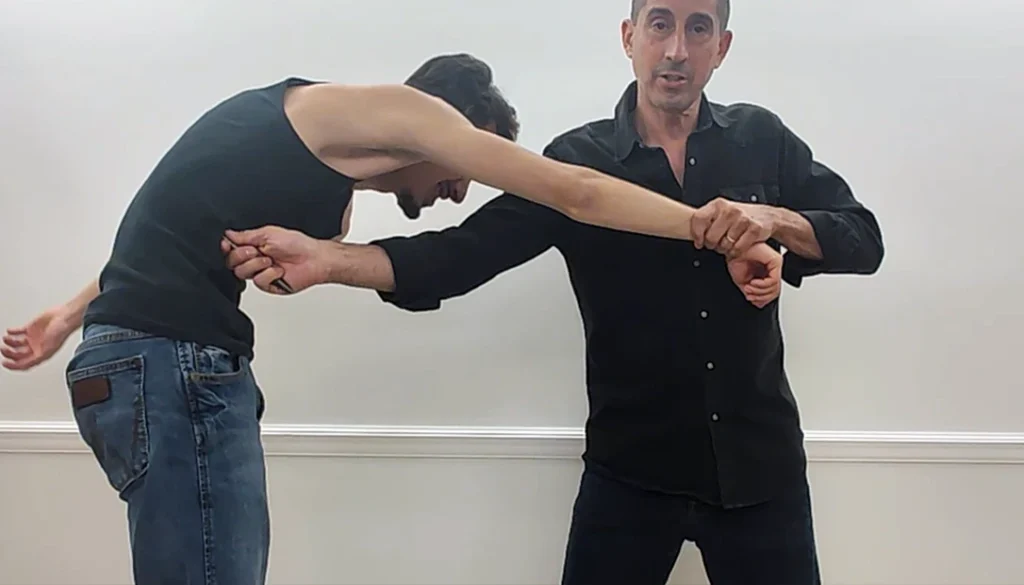
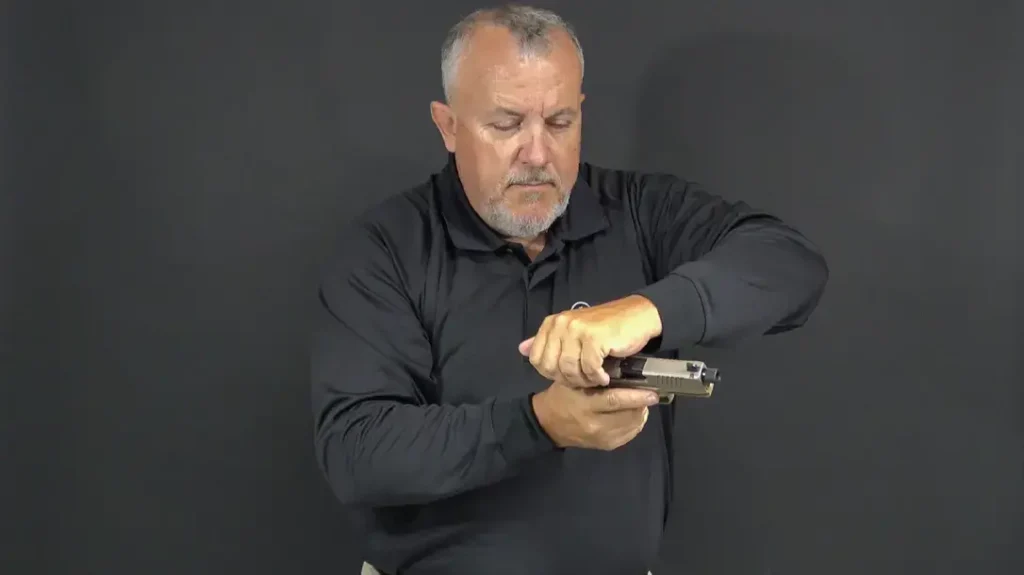
Secondly, we’ll rotate our hand up and firmly grab the slide. We will now rack the slide firmly as we push the grip forward. Simultaneously, we will tilt the gun slightly to the right. This enables gravity to help us get the spent piece of brass out of the gun, so the motion is tap, rack, and flip. This technique will quickly remove the piece of brass from your gun and allow a new round to be chambered. You are now back in the fight.
Type 2
A type 2 malfunction is also called a failure to fire. For whatever reason, your gun has gone silent. Yet, once again, I encourage you not to worry about why it happened. Instead, focus on getting the gun back into action. The manipulations on this clearance are identical to what we did with the type one.
Advertisement — Continue Reading Below
the process goes as follows. You are pointed in firing your gun, and it stops firing. slightly raise the barrel to inspect the weapon. And once again, we tap the magazine rack and flip the gun down to the right. it is important that you rack the slide with intensity. It’s equally important that you release a slide and let the spring drive the action forward. If we leave our hands on the slide, there’s the potential for an additional malfunction. once you execute the clearance, the gun should be back in operation.

Practice Makes Permanent
As with anything centered around firearms, safety is critical. If you are on the range and it is safe to do so, you can practice these drills with live ammunition. If you’re indoors, I encourage you to use dummy rounds. Remove all live ammunition and place it in another room just to be extra safe. While not as much fun as shooting, manipulations are critical parts of our defensive skill set. I encourage you to practice clearing type1 and 2 handgun malfunctions with the same intensity as you would your shooting.
Advertisement — Continue Reading Below
For more information visit: https://www.gunsite.com/