Building a shooting belt is a critical step in advancing your firearms skills. A belt is a necessity for moving from a static range bench to competitions and developing shooting proficiency. This guide shares proven best practices to build a shooting belt that feels like a natural extension of your body, helping you shoot faster, more efficiently, and with greater confidence.
Whether you’re competing in USPSA, running a 2-gun match, training for long-range precision or gearing up for tactical scenarios, your belt setup can make or break your performance. Consistent placement builds reliable muscle memory, reduces fumbling under stress and keeps you moving efficiently.
Choosing Your Shooting Belt System
When picking out the items for your belt ensure that the pouches and belt itself are compatible. For instance, some belt systems are designed for velcro attachments while others may use molle or clips/direct attachments. When you first purchase your belt and pouches it’s a good idea to reach out to the company to ensure everything is compatible.
Advertisement — Continue Reading Below
In addition to pouch compatibility, it’s important to decide how you’d like your belt to attach to yourself. The most popular option is via a keeper belt. A keeper belt is typically a velcro belt that you put on through your belt loops. The shooting belt is then velcro’d in place over the keeper belt, so that you can quickly put it on/off and ensure everything is secured in place.
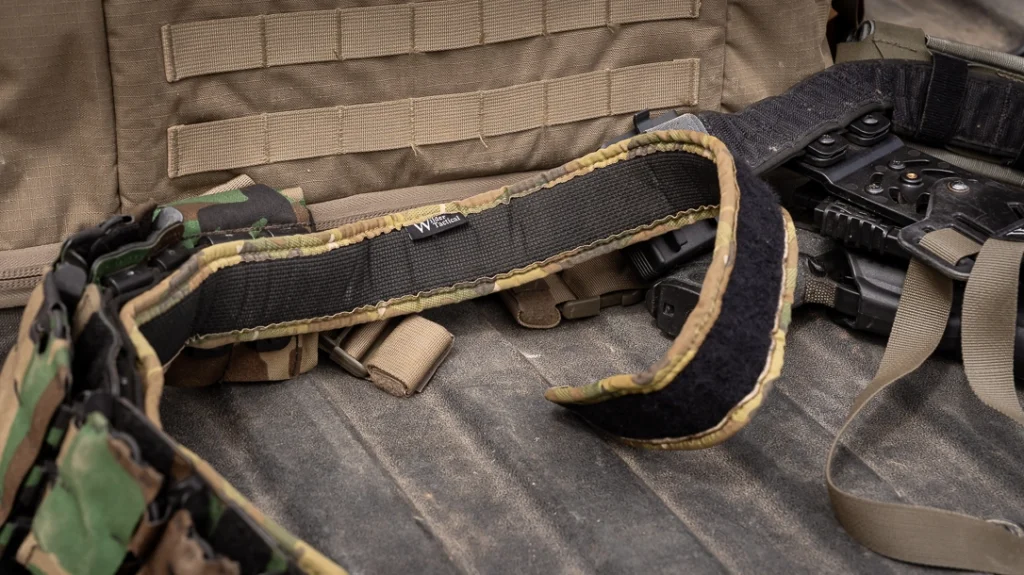
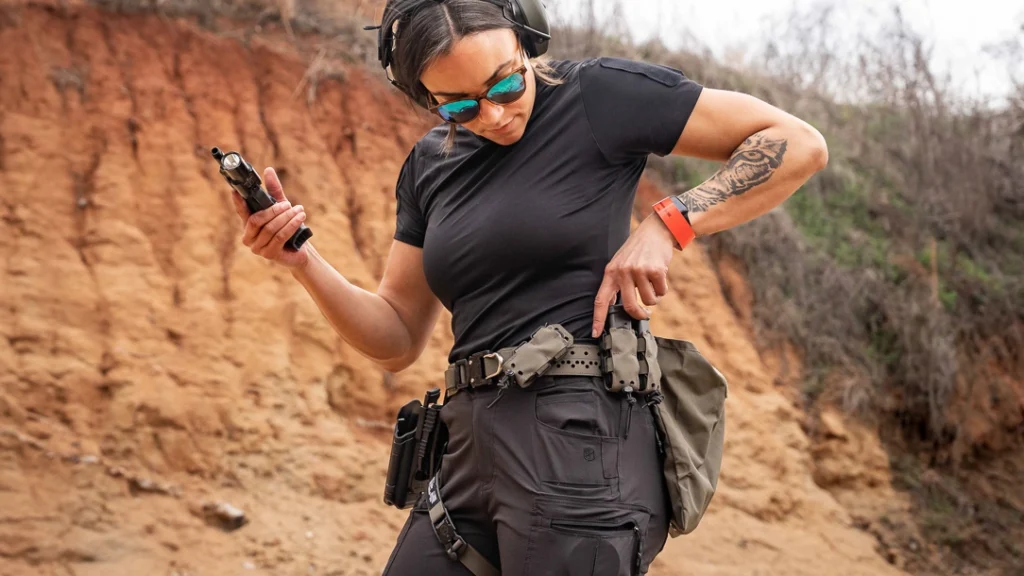
Another option is using a belt with built in padding that doesn’t require belt loops and can quickly be placed over your clothing. This is especially popular for women who prefer to shoot in leggings or for home defense applications when you may not have time to put on pants. There are some companies like Wilder Tactical that sell velcro belt pads allowing you to use your belt in both applications.
Advertisement — Continue Reading Below
Building your Belt
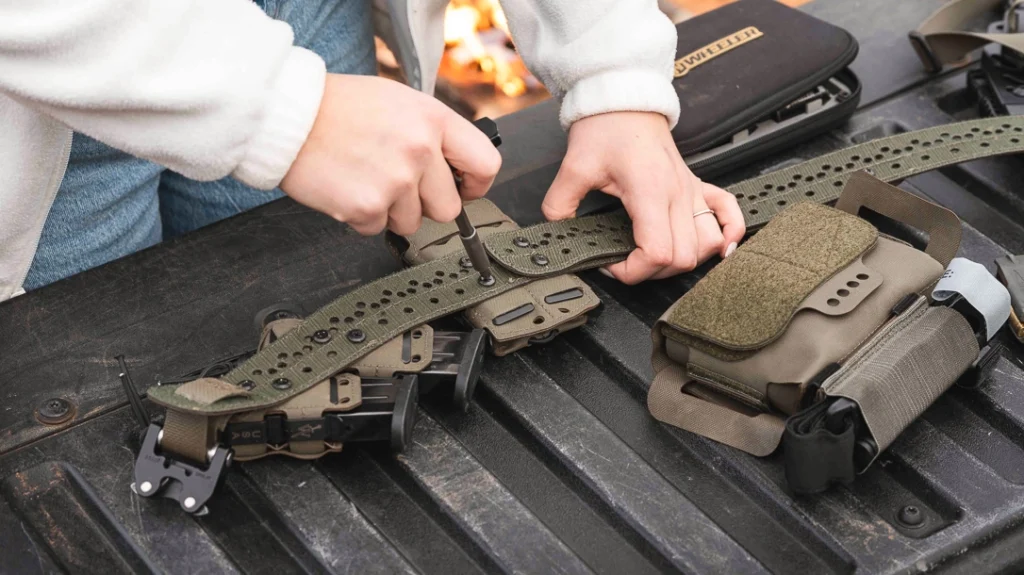
You should position most items starting at or near your forward hip bones. Vertical pouches directly in front of your hips can dig into your gut when you bend or squat. This is especially noticeable when wearing a plate carrier. Canting (angling) magazine pouches lets you bring them farther forward for better access, but it consumes more belt real estate.
When you first get your belt, adjust it to your exact size, put it on and take note of the position of where you’d like your items to start on each side of the belt. Start building your belt from those positions and move inwards. This will ensure you don’t run out of space and when you put your belt on everything will be in the proper placement.
Advertisement — Continue Reading Below
For right-handed shooters, mount your handgun holster on the strong (right) side and magazine pouches on the support (left) side. Reverse this for left-handers. On the magazine side, start with pistol magazines first (they’re shorter and allow better range of motion when bending or under a plate carrier), followed by rifle magazines. A common layout is two pistol mags followed by one or two rifle mags.
Dump Pouch & More
If you’re planning to use a dump pouch, place it right behind your magazines. This spot is ideal because it’s typically used to hold magazines after a tactical reload (when you reload your firearm and retain the magazine) and will reduce unneeded movement. Even if you never plan to perform tactical reloads, a dump pouch is helpful for holding ear pro, additional magazines or any other misc. range items.
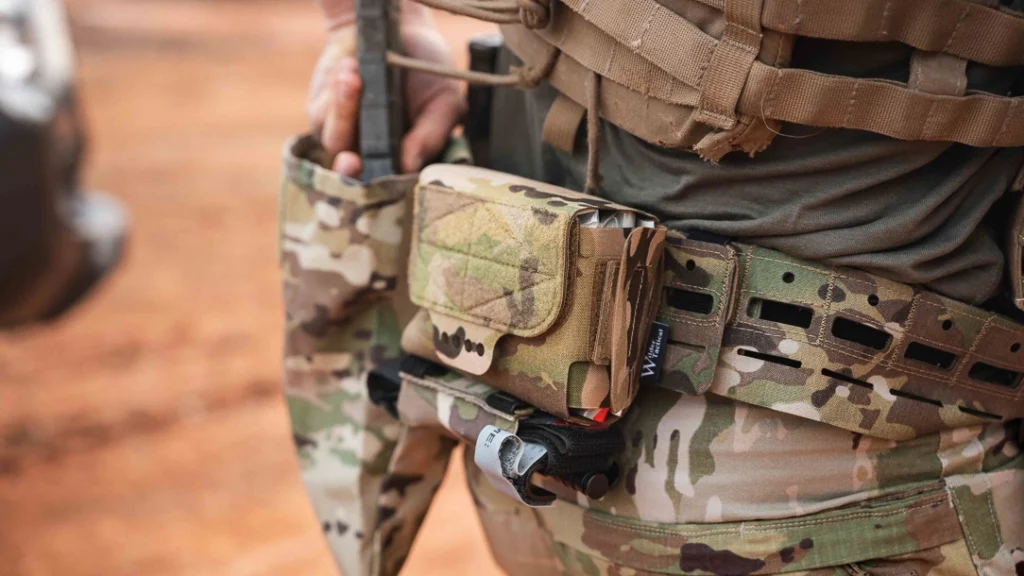
If you’re going to have an IFAK, it will typically be on the rear of your belt. This allows you to access the IFAK with either hand. Since the IFAK is at the rear of your belt it’s important you can remove items like tourniquets quickly without having to remove your belt to access them.
Advertisement — Continue Reading Below
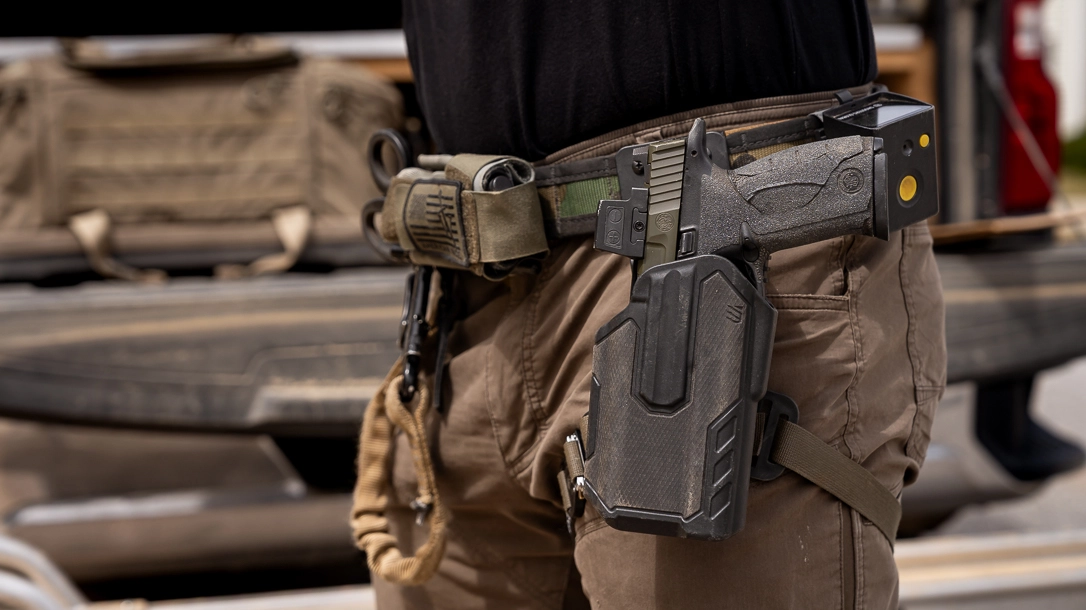
Most shooters position the front of the holster near the forward edge of their shooting-side hip bone for fast, natural access without sacrificing maneuverability. Drop-leg holsters have become popular because they eliminate the awkward “chicken wing” elbow lift needed for a high-ride belt holster. Many shooters prefer the top of the pistol grip roughly level with the belt for a comfortable, consistent draw. Adjustable drop-leg platforms let you fine-tune height, and a lower leg strap helps stabilize everything during movement.
Optimizing Your Shooting Belt: Discipline Specific Belts
If you train or compete in multiple disciplines, you should maximize similarities between your shooting belts. Having completely different magazine locations between your belts will either prevent you from building muscle memory or have you constantly fighting it. Having consistency between your belts lets you draw and reload instinctively.
Advertisement — Continue Reading Below
USPSA (Handgun-Focused Competition)
USPSA belts are optimized for pistol-only stages. Most competitors run four or more pistol magazines to avoid running dry mid-stage. With no rifle gear needed, you have extra room to space out mag pouches and apply a slight cant for faster reloads. The setup typically stays minimalist: holster on the strong side, mag pouches on the support side, often with an inner/outer belt system for rigidity and stability.
2-Gun Competitions (Handgun + Rifle or PCC)
This follows the general principles closely: pistol mags first on the support side, followed by rifle mags, dump pouch behind them, and optional medical gear. Many competitors skip full IFAK to stay light, since medical stations are usually available at stages; however, keeping at least one tourniquet on the belt is smart. In an arterial bleed, you don’t want to hunt for gear.
Advertisement — Continue Reading Below
Long-Range & Sniper Matches
Many long-range and sniper events still require a handgun, so the base setup resembles 2-gun.The primary difference is that you typically won’t need as many magazine pouches and the rifle pouches most likely will be sized for .30cal instead of 5.56 magazines. Some additional considerations are a pouch for a Kestrel (a wind meter that can also have ballistic solutions) and a carabiner to hold shooting bags.
Tactical (with Plate Carrier)
Tactical belts serve as a supplement to a plate carrier, spreading the load and providing fast reloads. This belt setup is similar to the 2-gun belt however, it typically has less magazine pouches since the plate carrier will hold most of your magazines. A drop pouch and medical supplies are a must for this belt setup. You may also leave room for grenade pouches or mission specific items. Having a D-Ring is also important to hold your lanyard for helicopter operations and emergency rappelling situations.
Wrapping It Up
Whether you’re chasing steel in a competition or training for real-world scenarios, small placement decisions add up. If you’re building or refining your own rig, start with the core principles above and tweak based on your body type, dominant hand, and specific activities. Once your belt is built, the real work begins. Spending time dry firing, focusing on your draw and reloads will build your muscle memory and help you out shoot your friends before you know it.
WHY OUR ARTICLES/REVIEWS DO NOT HAVE AFFILIATE LINKS
Affiliate links create a financial incentive for writers to promote certain products, which can lead to biased recommendations. This blurs the line between genuine advice and marketing, reducing trust in the content.