According to my log book, the first time I fired a 9mm was on December 8, 1977. I fired a brand-new Smith & Wesson Model 39, and the 9mm load consisted of a Speer 100-grain JHP over 5.6 grains of Winchester 231 powder. Maybe it was the way the Model 39 shot or something else, but it was love at first sight. I still have that gun some four decades later. Out in the field, the gun still feels as good in my hand as it did the first day I shot it.
Stepping Back
In the late 1940s, C.R. Hellstrom took the reins of Smith & Wesson, and one of his first priorities was to get a semi-automatic pistol chambered for the 9mm on the market. The original plan was to market both single- and double-action models. However there didn’t seem to be significant interest at the time; the idea as a whole was put on the back burner. When the 9mm’s popularity started to take off again some years later, the Model 39 was introduced in both aluminum- and steel-framed versions, and it helped pave the way for the wide variety of 9mm handguns we have today.
Advertisement — Continue Reading Below
The brainchild of Georg Luger, the 9mm round was born out of a modification of the 7.65x21mm Parabellum case — which, by the way, was not readily accepted by the German military forces. Feeling he was on to something, Luger reconsidered the design and decided to drop the shoulder a bit. Thus, the 9mm Luger was born. That was almost 120 years ago, and today the 9mm round is still in service with law enforcement, militaries and civilians around the globe.
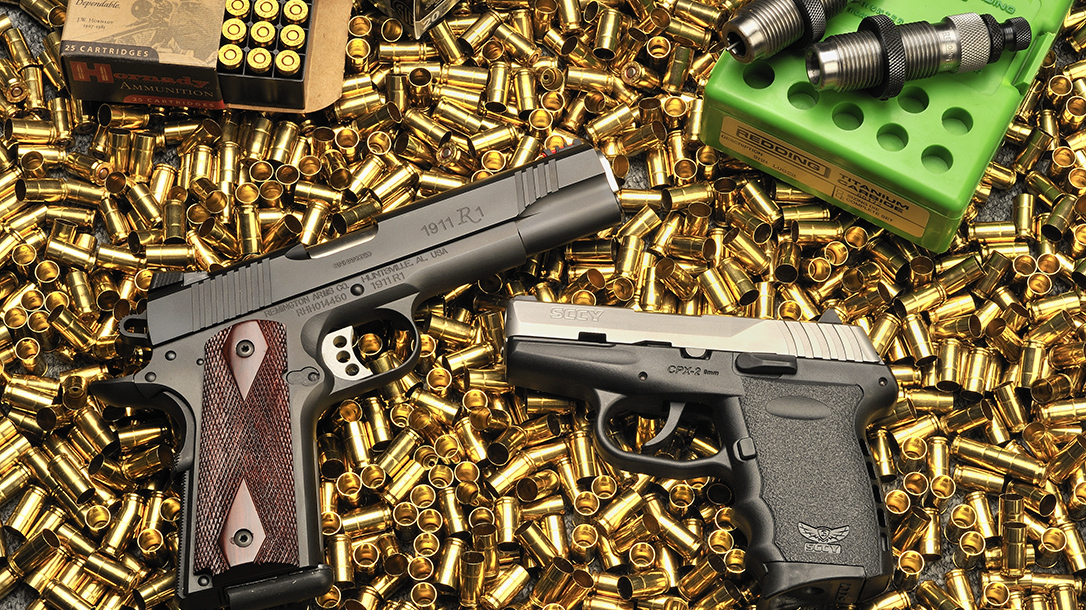
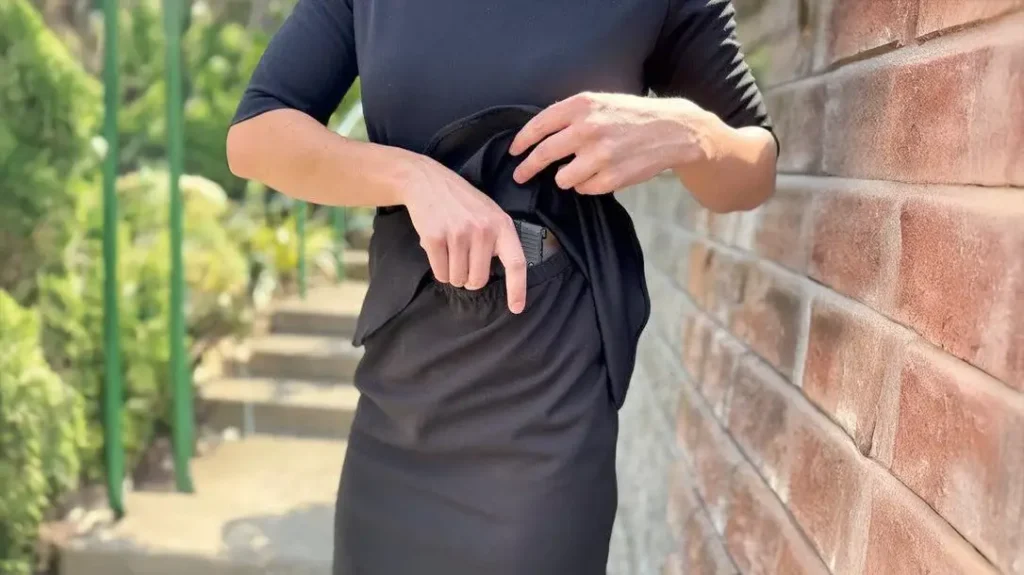
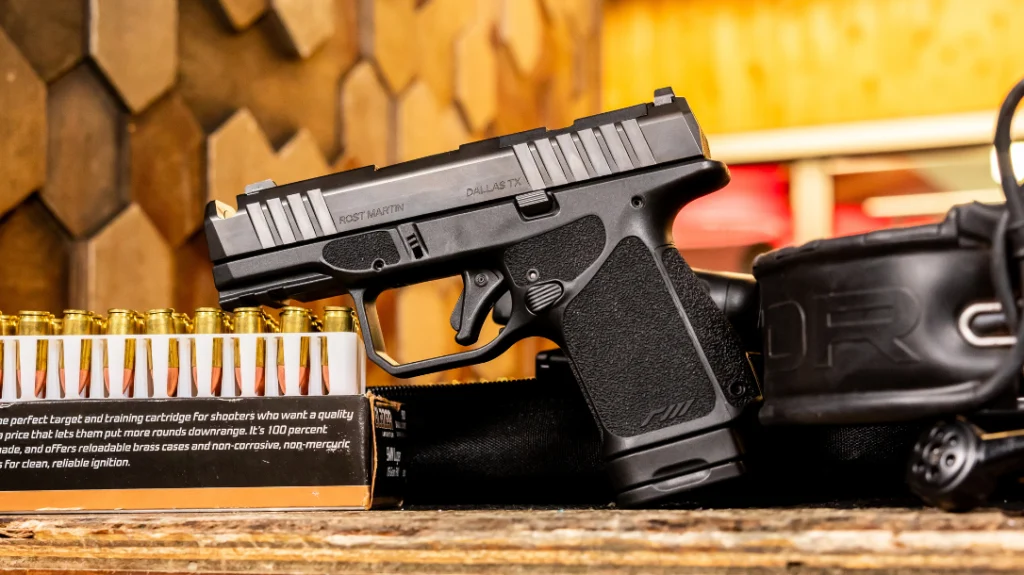
Today, the 9mm round is chambered in just about any type of firearm you might desire. That includes semi-auto pistols, revolvers with moon clips and even carbines. The majority of 9mms are semi-auto pistols ranging from pocked-sized carry pieces to full-sized duty pistols. For my needs, I found the Smith & Wesson M&P9 Shield much to my favor because of its compact size. Paired with a Galco IWB holster, it’s perfect for a night out in unfamiliar places. Also on my carry list is a 9mm SCCY CPX semi-auto that fits into the same holster.
Factory 9mm ammunition is offered by a wide range of companies. And while purchasing factory ammo is fast and convenient, it can get a little expensive. On the other hand, it is readily available at all sporting goods, gun shops and box stores nationwide. For those wishing to perhaps save a bit of money or tailor ammo for particular pistols, handloading is the natural progression.
Advertisement — Continue Reading Below
What You’ll Need for 9mm Handloads
When it comes to reloading, 9mm handloads are fairly simple to process. Cases are available at just about any gun shop, as are components like bullets, primers and powders. Though some dissenters claim the 9mm case is too small to work on a press, it’s actually one of the easiest to load. It’s also one of the most economical in the long run.
If this is your first time creating 9mm handloads, start with factory-fresh brass cases if possible. Working with old brass can be time consuming, especially if you’re picking it up wherever you can find it. In the past, I have come across once-fired cases with varying overall lengths, not to mention variations in wall thickness. The key here is to sort them all by headstamp to get the same types of cases in different piles. Like I said, this can take a lot of time, which is why I suggest starting with fresh brass.
If you can do it, get 300 to start, and make sure they all have the same lot number. Depending on where you shop, you can purchase new brass from $0.13 to $0.25 per round in 100-per-bag quantities. Since semi-auto pistols can use ammo at an alarming rate, you will be glad to have acquired a good quantity of brass up front.
Advertisement — Continue Reading Below
The next step is to pick up primers and powders. For the former, small pistol-type primers like CCI 500, Remington 1½ or Winchester WSP will check the box nicely. For as long as I have used and reloaded 9mm rounds, faster-burning powders like Bullseye, Unique and Winchester 231 are sure bets for consistent ignition and snappy ejection with proper and uniform loads.
As far as actual reloading equipment, you want a tungsten carbide die set with a taper crimper, then a press and any other equipment you might need. Unless you have all this now, shop around, but buy the best. Tungsten-carbide dies take the labor out of resizing cases.
Pressing Matters
Even though you are getting new 9mm brass, it is still a good idea to purchase full-length cases and then resize them before you start the loading process. The reason is to rid the case mouth of any factory defects, and if you think all new brass is perfect, take a tour of an ammunition factory once. The machines will certainly crank out some brass with case mouth or body defects on occasion. After that, check the overall length of each case, then set up your press to multi-task when it comes to priming and belling (or expanding) the case.
Advertisement — Continue Reading Below
For loading on a single-stage press, place a new case into the shell holder, running it up to the top limit of the ram. Install the expanding die and screw it down until it touches the mouth of the case. Now lower the ram, turning down the die one turn at a time. At a certain point, you should feel slight resistance as the expander enters the case. Be careful, as you don’t want to over-bell the case mouth.
Drop the ram down, take the case out of the shell holder and insert a bullet. If the bullet does not enter the case, the case mouth needs more flaring. This is accomplished by turning the expander die down more. With the right light, you can actually see the case mouth expand as you move along.
When the case mouth is ready to accept a bullet, you can insert the bullet in the mouth and it’ll “click” into the case. There’s no need to go further, as working the brass at this point weakens the case, thus shortening its lifespan. I do this to about 100 cases at a time. This gives me an assembly line process of sorts, and allows me to concentrate on one operation at a time.
Advertisement — Continue Reading Below
Now fill up your primer tube and set it up on the press. To prime and bell is a simple operation and reduces two steps into one. Place an empty case in the shell holder and raise the ram to expand the case mouth. Push the primer arm in under the shell holder, and on the way down, install the primer into the case.
While it sounds time consuming, once you get a rhythm going, the process is very fast and allows you to go through many cases in a minimal amount of time. My daughter is a shooter who reloads with me. With both of us working on two presses, we can load a couple hundred rounds in no time.
Before moving on, make sure all of the primers are seated flush with the base of the case. This prevents a possible slam fire with your pistol when the slide moves forward on a new round in the chamber.
Advertisement — Continue Reading Below
Powder For 9mm Handloads
Now you’re in the home stretch. Powder charging is next, so set up the powder measure. One of my favorite loads consists of a 115-grain Remington or Hornady bullet over 4.5 grains of Bullseye powder. Both provide a recorded velocity of 1,128 fps through my Model 39. While I have had some semi-auto pistols fail to function with some of the target loads that I’ve tried, this one cycles through every gun I have had over the years with no hang-ups or malfunctions. With the bullet seated to 1.080 inches and taper-crimped, all my guns just purr along without spoiling the fun of shooting for the day. My groups with this load are at least on part with any modern handgun loading.
Though you have plenty of handgun chamberings to choose from, like the .45 ACP, .40 S&W and 10mm Auto, the 9mm is the current king, and it’ll be around for a long time because of its light recoil, good accuracy and economy of loading.
Advertisement — Continue Reading Below
This article was originally published in Combat Handguns March/April 2019. To order a copy, please visit outdoorgroupstore.com.
