Installing a laser sighting system on your handgun can improve your shooting abilities and your overall shooting accuracy. But even though aftermarket lasers have been available for decades, significant improvements to those designs seem to have been slow in coming. That is until the new LaserMax GripSense technology made its debut at the 2017 SHOT Show.
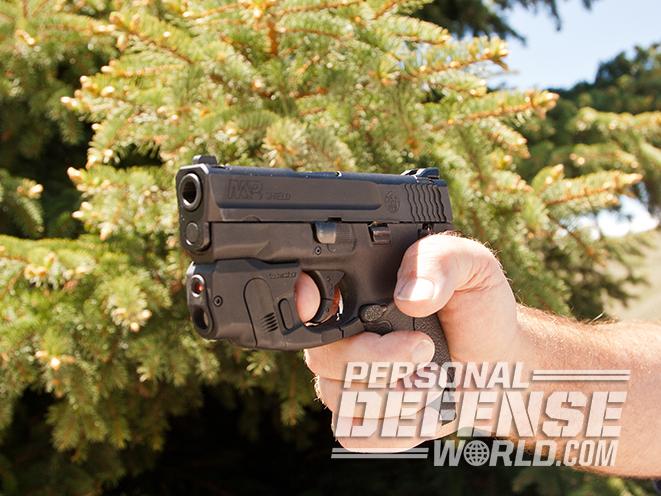
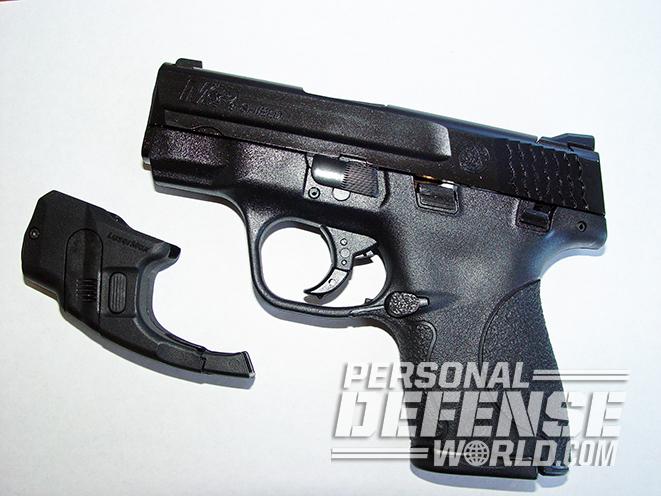
I will be the first to admit that my handgun shooting isn’t always as great as I would like it to be. Like many shooters, when it comes to handguns, I fall in a category of being essentially accuracy challenged. So, in an effort to correct that problem, I decided it was time to mount a laser on my usual concealed-carry weapon, a Smith & Wesson M&P Shield 9mm.
How It Works
Unlike most other lasers on the market today, which require the shooter to manually turn the laser on and off through some form of a switch, the LaserMax CenterFire GripSense is considerably more innovative and advanced in its design. As the shooter picks up the weapon to fire, the laser and/or built-in light instantly activates. There is no need to turn on a switch, and as the gun is returned to the holster or set back down, the system shuts down automatically.
Advertisement — Continue Reading Below
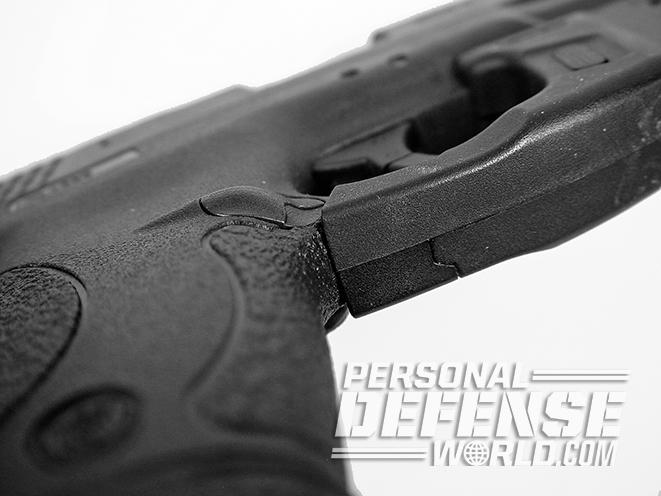
Naturally, you might think this design has its roots in some sort of motion-sensing device, but you would be wrong in that assumption. The system becomes activated when the shooter’s hand moves into a detection zone located on the underside of the triggerguard. Pick up the handgun in the typical manner to fire it and the middle finger on your shooting hand will come into contact with this area, activating the system. Release the grip and the laser and/or light will automatically turn off.
Watching this process, I initially began to wonder if the holster or even the person’s clothing coming into contact with that same detection zone would result in “waking the system up,” but amazingly, the GripSense design only becomes alerted when contact is made with the shooter’s own flesh and blood.
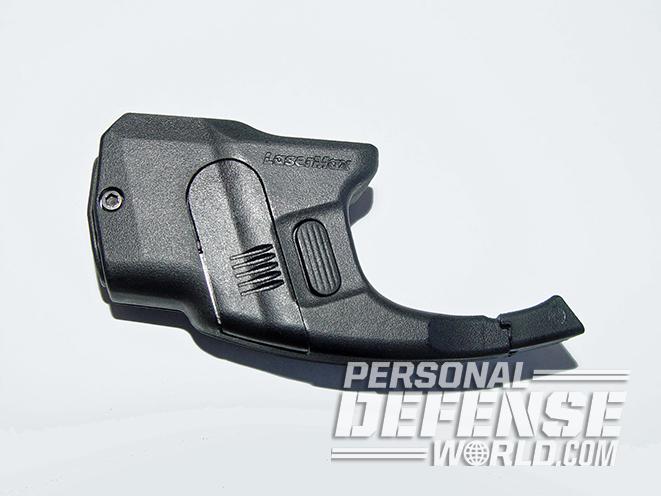
LaserMax GripSense Design
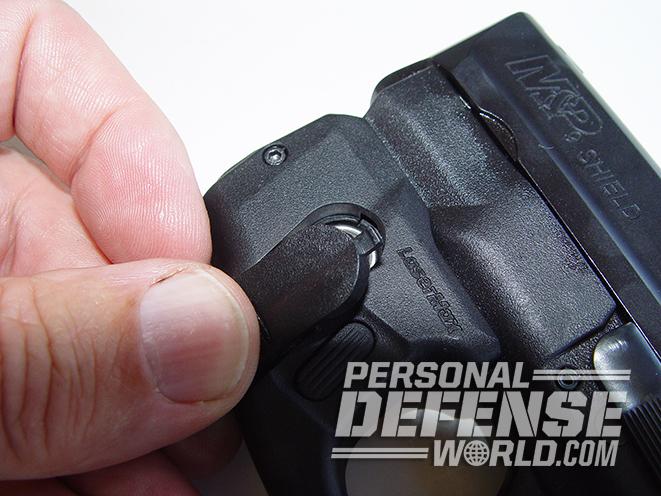
The LaserMax CenterFire GripSense comes with multiple operating modes to select from, including a solid red laser beam, a blinking red laser, a powerful mint green LED with an output of up to 100 lumens, or you can have a combination of laser and light together (either blinking laser or solid beam). The button that controls the system is positioned ambidextrously on both sides of the unit.
Advertisement — Continue Reading Below
Not having a great deal of personal experience with lasers, I asked the LaserMax factory rep why a shooter might prefer a blinking red laser dot as opposed to a steady solid beam. Likely having been asked that same question many times before, she quickly readied her response. Asking me to close my eyes she picked up two LaserMax GripSense-equipped handguns, one she set to display a pulsing laser beam and the other one she set to a steady beam. She then asked me to open my eyes and tell her which laser dot my eyes naturally honed in on. I promptly replied that it was the blinking or pulsating dot. It is natural that a person automatically looks to a moving object over a stationary one, or in this case a pulsating image over that of a solid and constant beam. For that reason, some shooters believe the pulse setting could be a better choice when facing a defensive situation.
Eventually, I received one of the first GripSense units available for testing and installed it on my 9mm Shield. Each CenterFire GripSense unit is built for a specific handgun model, and as such, there are currently a number of variants available. As of this writing, you can get a GripSense-equipped CenterFire unit for 9mm and .45 ACP Shields, the Glock 42 and 43, and the Ruger LC9s, LC9 and LC380. In all likelihood, more versions will be developed in the future.
Easy Installation
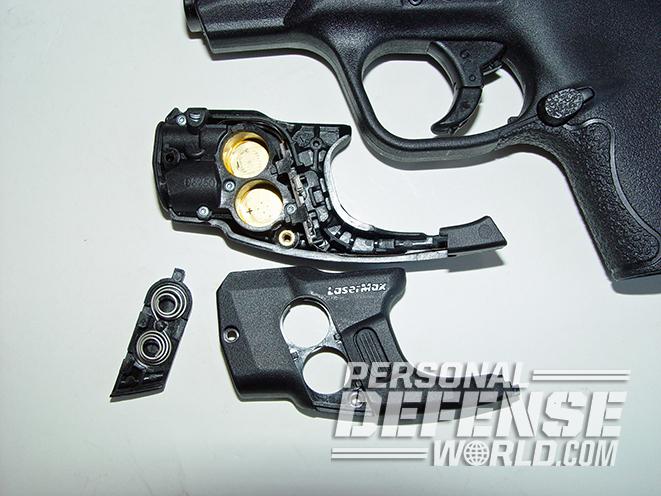
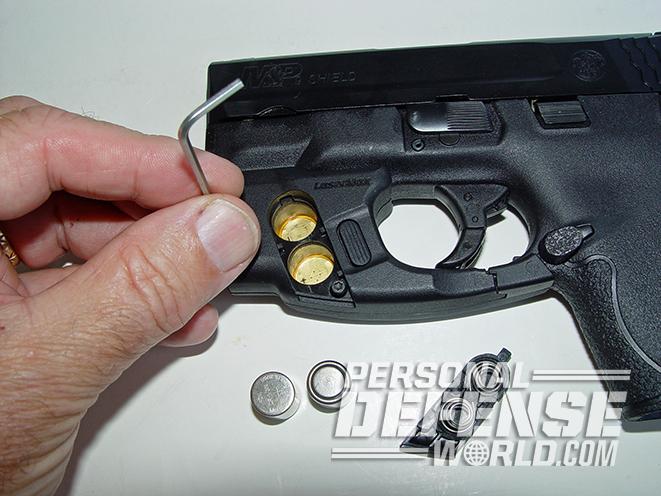
Installing one of these LaserMax GripSense light/laser systems is easy and straightforward. After making sure the handgun is completely unloaded, you must begin by first removing the two screws that hold the CenterFire housing together. Doing so allows you to separate the two halves of the unit. A 5/64-inch hex-head wrench is included for this purpose as well as a wrench for adjusting the laser beam.
Advertisement — Continue Reading Below
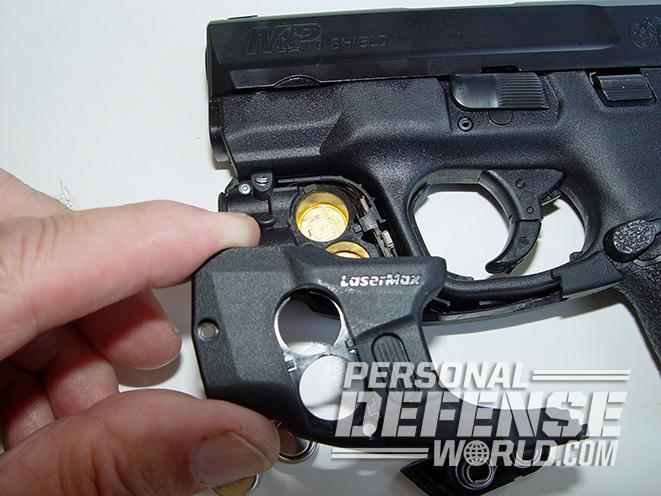
After separating the two halves, you snap the right side of the housing in place by applying a light but firm amount of upward pressure. It may be necessary to tip the laser slightly in order for it to snap into place. The left half of the housing can now be installed by first inserting the rear portion into the right half of the housing at a 45-degree angle.
Once properly aligned, the two halves can be snapped together and you can replace the two housing screwed. The screws should be tightened down, but not over-tightened.
Modes & Adjustments
If you want to temporarily turn the unit’s power off, you can do so by simply pressing and releasing the activation button that is located ahead of your firearm’s trigger on both sides of the light/laser unit. In order to change the laser/light operation modes, you should first turn the unit on, then press and release both sides of the switch at the same time in order to cycle through the available modes.
Advertisement — Continue Reading Below
After you have sighted-in your iron sights to properly impact the target, the laser should now be adjusted to match that same point of impact. To do that, there are two adjustment screws located along the right side of the light/laser unit near the muzzle. The top screw is used to adjust for windage or horizontal movement and the bottom one is for the elevation. To make those adjustments, you should insert the included hex-head tool in the appropriate alignment port and slowly rotate it while comparing the laser position on the target with that of the fixed sights. A quarter of a turn will result in a movement of about 3 inches at 10 yards. Make sure you do not turn either of the alignment screws more than one full turn from those settings made at the factory, or damage to the laser could occur. Turning the windage adjustment in a clockwise manner will shift the laser aiming point to the right, and turning the elevation adjustment in that same clockwise direction will result in lowering the laser beam.
If you should accidentally leave the unit on, the system will automatically power down after 10 minutes of inactivity in order to save on the life of the two 1/3N batteries powering the unit. The batteries are easily replaceable by sliding the battery hatch open, and under normal use, those batteries will supply power to the unit for about three hours.
On The Range
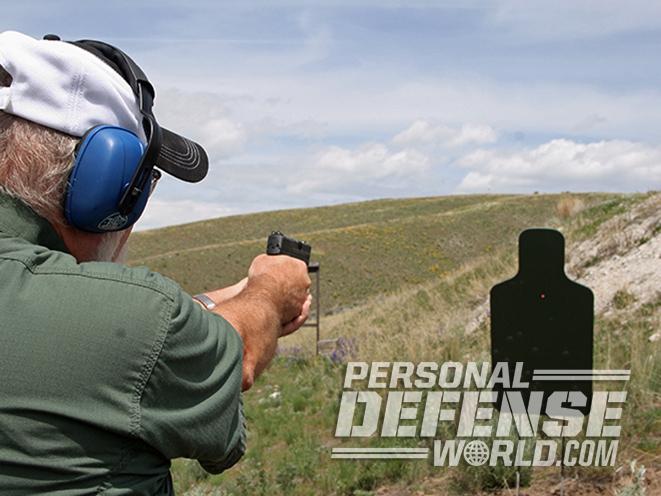
Any shooting system is only as good as its ability to perform under live fire, so I headed out back to my firing range to see how the LaserMax CenterFire GripSense would perform. I fired two types of ammunition from Federal: 150-grain Personal Defense HSTs and 115-grain American Eagle Syntech rounds. Both types of cartridges shot exceptionally well and grouped essentially to the same point on paper. But, possibly best of all, my shooting accuracy dramatically improved with the laser over relying solely on the Shield’s iron sights.
Advertisement — Continue Reading Below
If there is one drawback with lasers, it’s that the beam or dot simply vanishes from view under bright conditions, and the LaserMax unit was no exception in this regard. Under full sunlight, the laser dot simply became invisible, forcing me to fall back to using the weapon’s iron sights. Obviously, that is why it is so important that your iron sights are adjusted to match that of the laser.
Holster Needs
There frequently seems to be a gap between when new products like the LaserMax GripSense units are brought to market and when corresponding component manufacturers catch up. In this case, I’m mostly talking about holsters that match the revised handgun dimensions resulting from the addition of the laser. If you install an aftermarket laser on one of your existing handguns like I did in this case, assuredly you will find that your holsters will no longer fit.
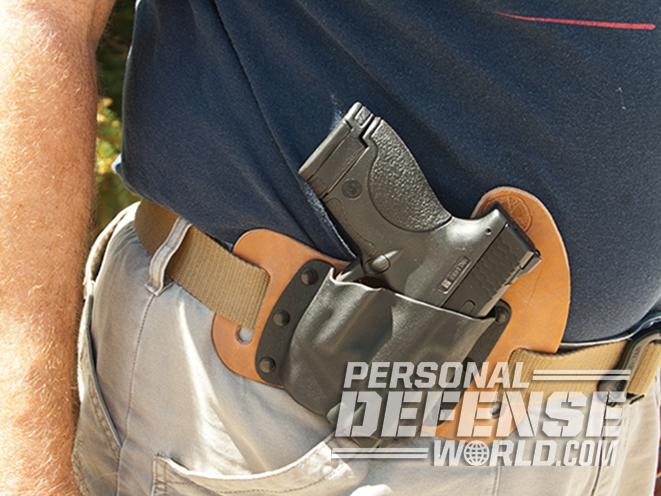
In this case, however, one manufacturer jumped out in the lead and is offering both IWB and OWB holsters to accommodate the GripSense unit. That maker is CrossBreed, and I was able to snag the very first OWB holster to come off the assembly line for my 9mm Shield. This holster was backed by a very fine piece of heavy leather that made it comfortable to carry the CenterFire-equipped Shield. While the holster for the Shield was the first of those units to be made, CrossBreed assured me that a variety of IWB and OWB models will follow to fit the other LaserMax GripSense variants in the very near future.
Advertisement — Continue Reading Below
This article was originally published in “Combat Handguns” November/December 2017. To order a copy and subscribe, visit outdoorgroupstore.com.
