I was never meant to play the piano. Nobody who was sober has ever described my hands as “elegant.” They are wide, “working-class” paws with short, stubby fingers. So when anybody asks, “Why would you change the trigger on a 1911?” I just raise my hand.
I have trouble reaching a standard trigger on my favorite handgun. I tend to push on the side of the trigger, and as a lefty that means my shots go low and to the right. So I have started working my way through my 1911 handguns, installing a shorter-reach trigger in them. It may be a while before I get them all finished; in fact, at the rate I acquire new guns, it may be like Sisyphus and his rock, a never-ending quest.
Advertisement — Continue Reading Below
You may have other reasons for wanting to change the trigger in your 1911. Or perhaps you like it just fine, but the trigger pull has you unhappy. Well, here is how you fix all that.
Disassembly
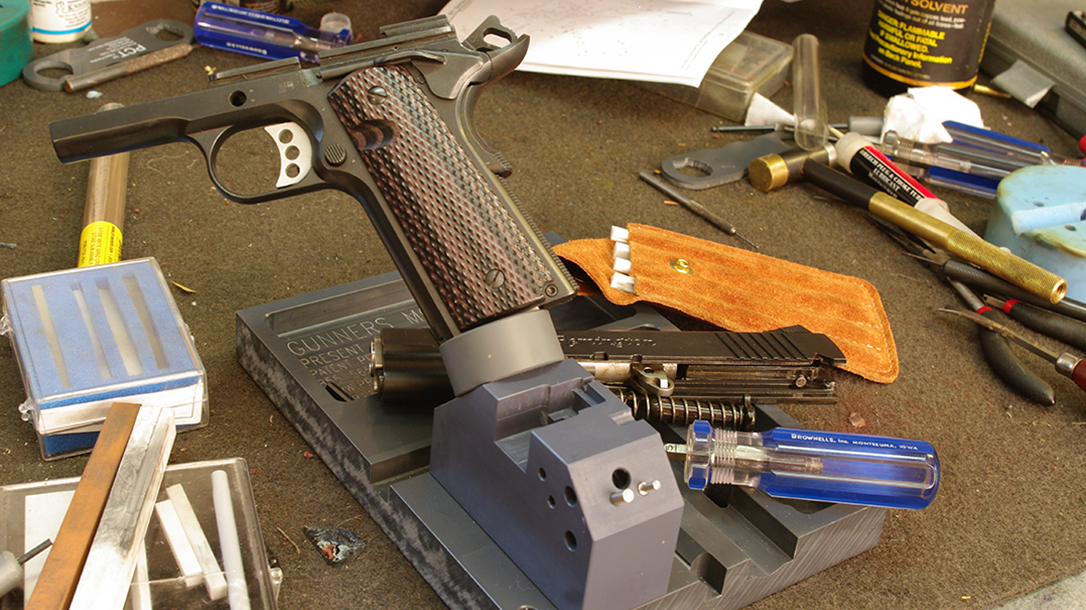
Start off by taking the gun apart. There are volumes written on how to do that and my space here is limited, so I won’t go into a lot of detail. Separate the upper and lower, and set the upper aside. Then remove the grips, pull out the safety (don’t let the safety lock plunger fly away under spring power), remove the grip safety, slide off the mainspring housing (after removing the pin at the bottom) and remove the sear spring.
Once you reach that point, I recommend that you have a schematic or “exploded view” of the gun so you can figure out how to put it back together later. If you don’t have one in the owner’s manual, there are many books containing them, or just Google it. Also, Brownells has a “Schematic” section on its website including most of the popular models. The reason you need it is that once you push out the sear and trigger pins, all kinds of parts fall out, and it can be confusing to get them back in if you are not familiar with the 1911.
Advertisement — Continue Reading Below
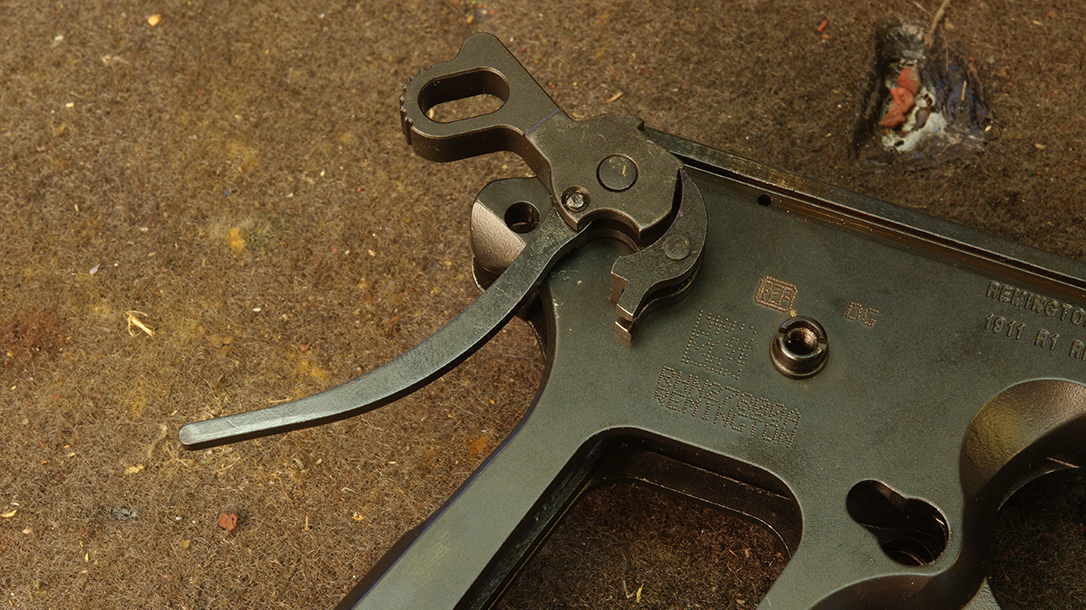
After you have the hammer and fire control parts out, remove the magazine catch by compressing the spring with a screwdriver, pushing it slowly back and forth while turning the screw. When everything lines up, you can turn the screw and remove the magazine catch. That frees the trigger to be removed.
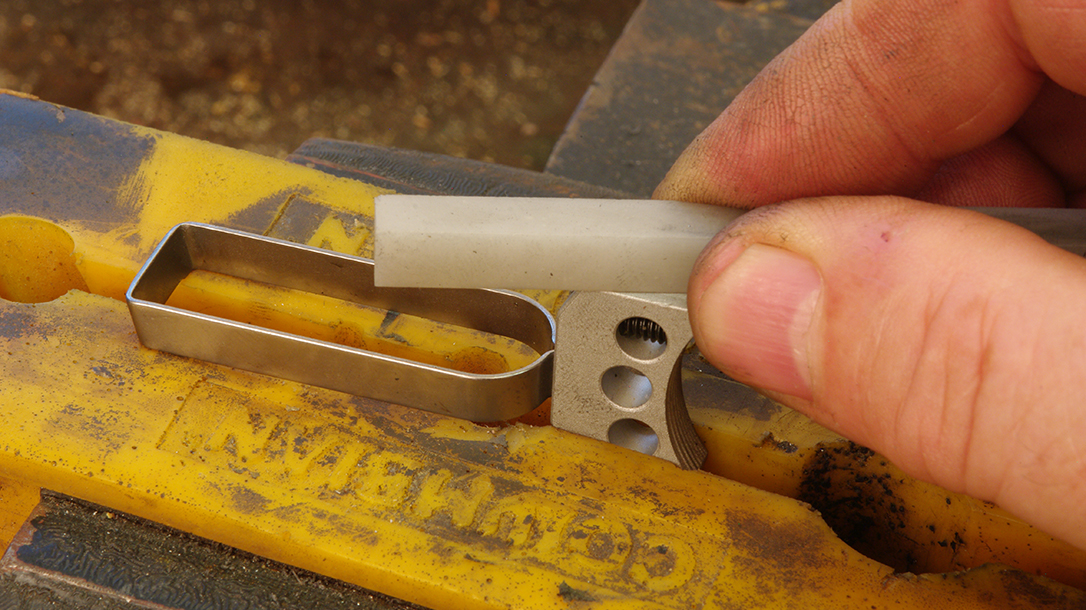
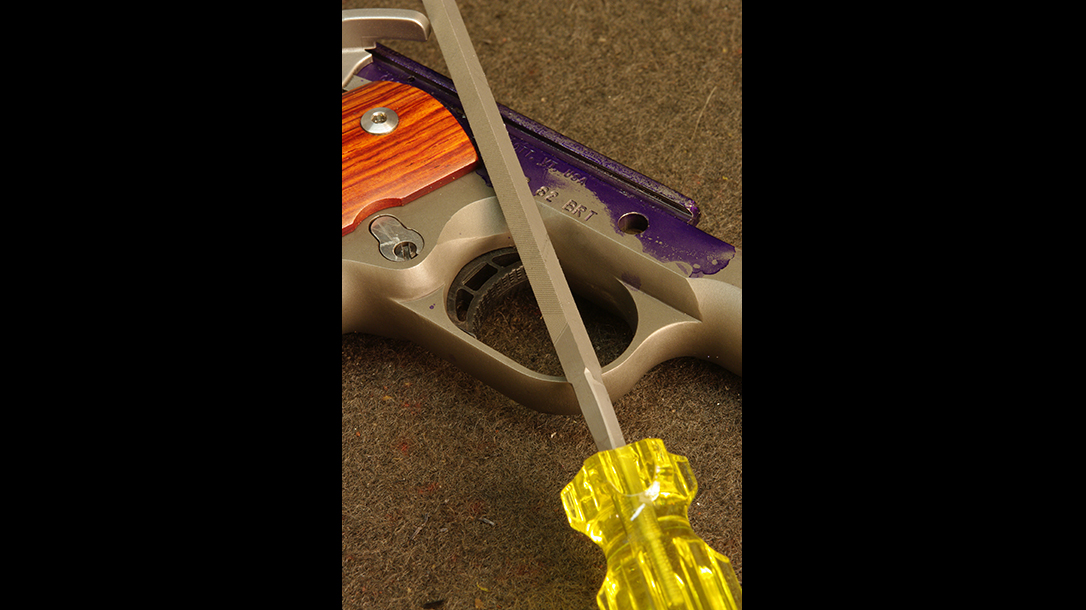
A new trigger must be fitted to the frame. It’s a good idea to smooth the frame slots for the trigger bow using a stone. Brownells makes a stone just for that job called the 1911 Auto Trigger Track Stone. But if you already have a good selection of stones, it’s likely you have one that will work. Now try the trigger bow in the track. It’s easy; just reverse the trigger, but keep it right side up. If it slides easily in and out, you are good. If not, more polishing is needed and perhaps the bow will need a little modification.
1911 Trigger Fitting Time
The trigger shoe—the part you put your finger on to pull the trigger—is usually a bit oversized and will need to be fitted. Use machinist layout blue or a felt-tipped marker to ink all sides of the trigger. Try the trigger in the frame, forcing it just a little bit. The ink will rub off the high spots, so that is where you carefully stone or file the metal away. Remove just a little at a time, then re-ink and try again. This is a slow, meticulous process, but it is critical that you do it right.
Advertisement — Continue Reading Below
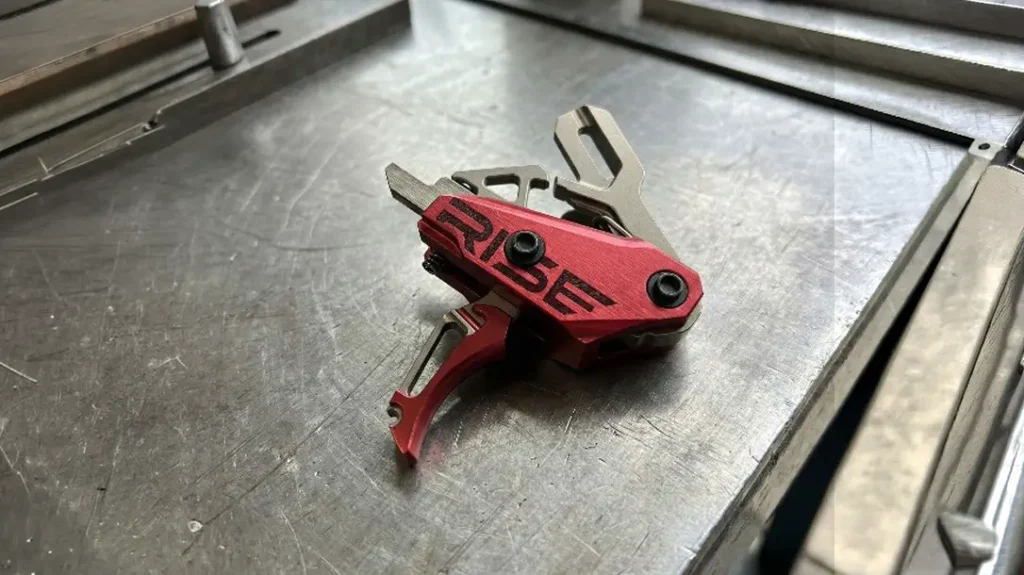
Ink, fit, stone the high spots and repeat until suddenly the trigger runs nice and smooth in the track. Then polish the parts you worked on and break the sharp edges with a stone. Install the trigger and replace the magazine release. Note that some triggers have one or two tabs that can be bent to adjust as a stop and remove some of the travel in the trigger.
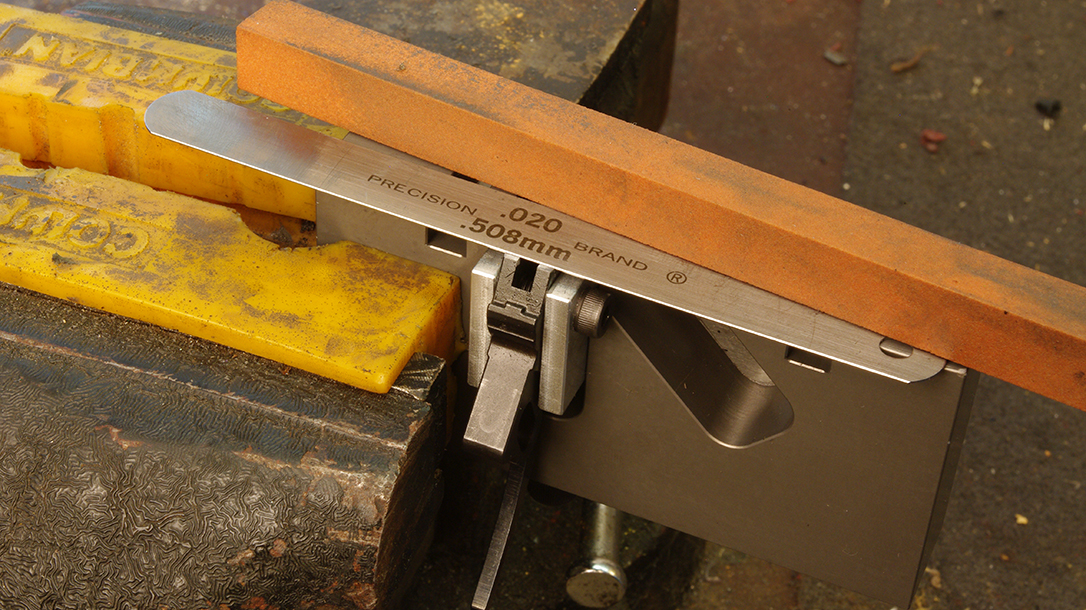
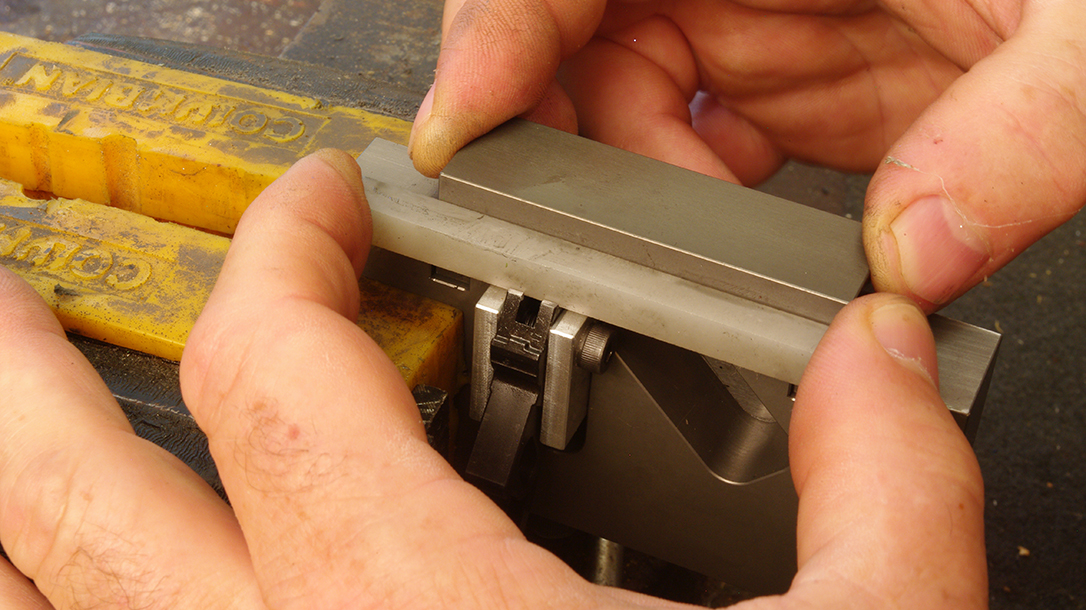
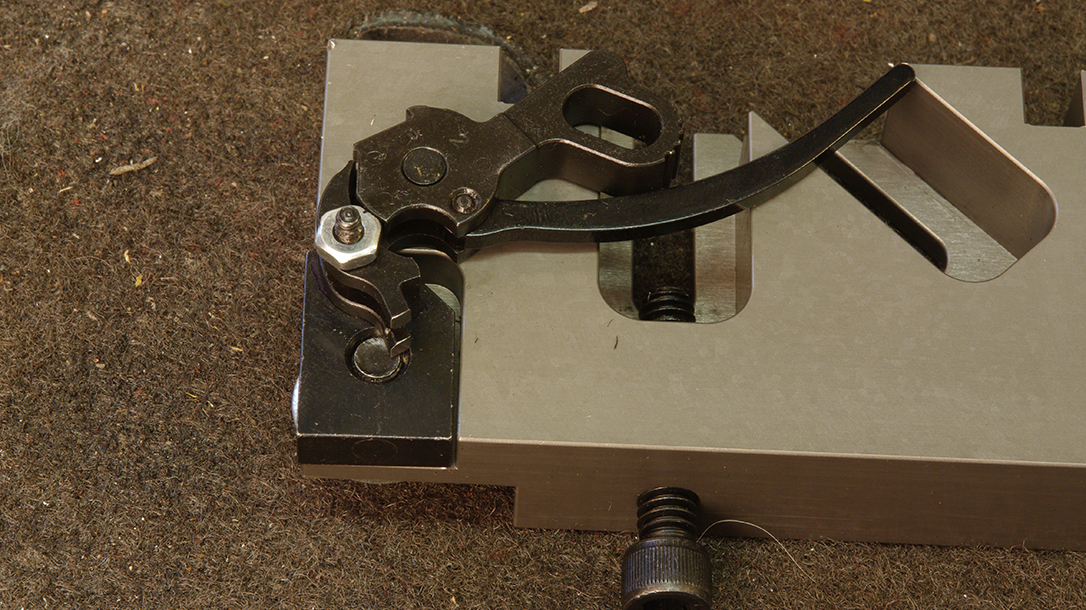
The hammer must have the right geometry, and the contact surface with the sear must be polished. Forget doing this freehand—you need a jig. I use the Bob Marvel 1911 Auto Sear & Hammer Jig from Brownells, but there are several others that work well, too. Install the hammer in the jig according to the instructions. The first step is to square the hammer hooks so they are at perfect 90 degrees. This can be done with a square stone if it’s new and not worn. Brownells also has a 1911 Auto Hammer Squaring File that is “safe” on two sides and will not wear like a stone. If you are planning to do multiple trigger jobs, this is a good investment. Remove only enough metal to square the hooks. If you cut too much, the hammer is ruined.
Once the hooks are square, their height must be adjusted to 0.018 to 0.020 inches high. Use a hardened shim or a feeler gauge set against the hooks to act as a spacer. Then stone to the height of the shim. Double-check that the hammer is still in the correct position in the jig and use the stoning guide and a fine stone, followed by a hard Arkansas stone, to polish the contact surfaces on the hammer hooks. Make sure you get all these steps correct on the hammer. If they are not done correctly, it will be impossible to get a good trigger pull.
Advertisement — Continue Reading Below
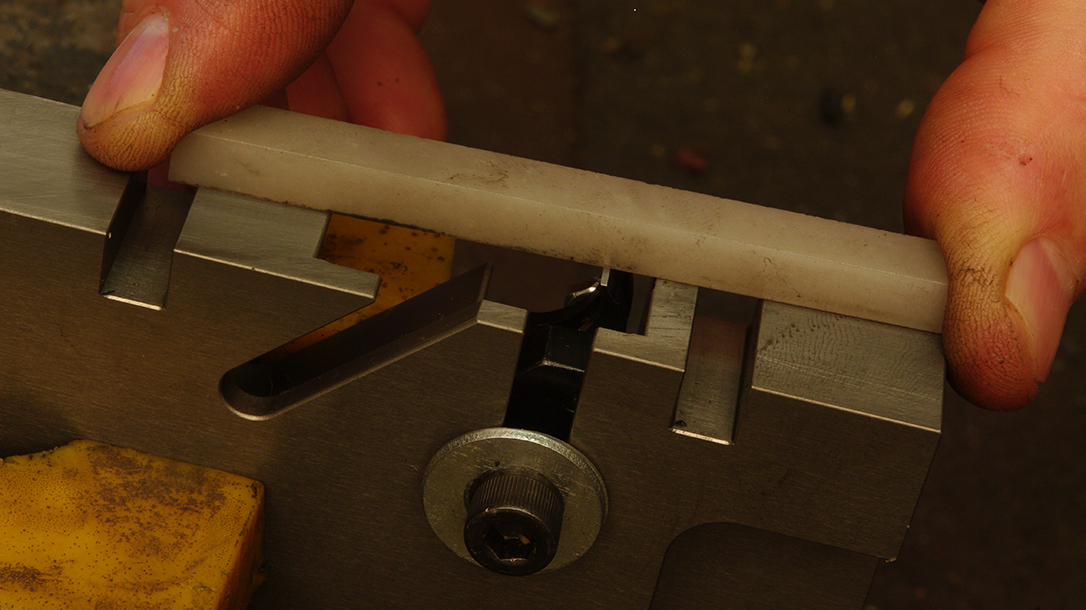
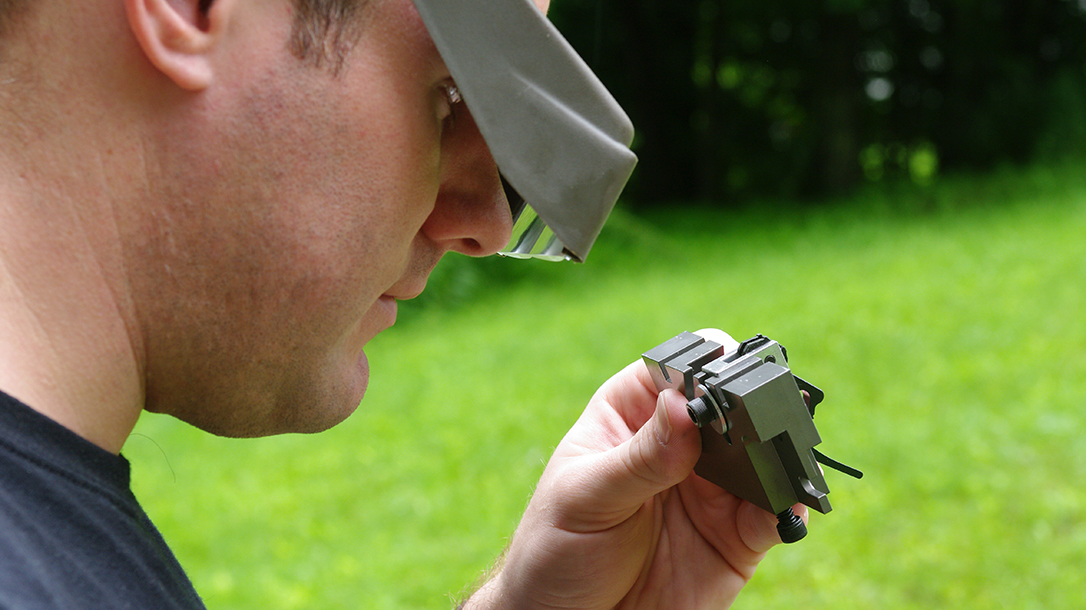
Following the instructions that came with the jig, install the hammer and sear in the jig to find the correct angle for the sear. Then move it to the stoning slot and carefully cut and polish the primary angle. Then move the sear holder to the angled slot and cut and polish the secondary angle.
Polish the contact surfaces on the disconnector. Do not remove metal; just polish the surface with a hard Arkansas stone or the equivalent ceramic stone.
While I generally leave the spring alone, the spring tension can be adjusted for the sear and disconnector springs. The “Learn” section at the Brownells website is a wealth of information for DIY gunsmiths, and there are very concise and detailed instructions on how to adjust the spring tension there.
Advertisement — Continue Reading Below
All Together
Once you have the spring tension adjusted, reassemble the pistol, putting a few drops of gun oil on the moving parts. Cycle and dry fire the gun several times to make sure everything is working correctly.
If your trigger has an overtravel screw, adjust that now. Or don’t. Some believe they cause more trouble than they are worth. The more I learn, the more I am inclined to agree that they are probably better unused. If you decide to adjust it, put a little Blue #242 Loctite on the screw. Cock the hammer and turn the screw until the gun will not dry fire. Back the screw off a quarter-turn at a time until the sear releases the hammer. (Don’t forget to compress the grip safety each time you pull the trigger.) Do not let the hammer fall; block it with something. Once the sear releases so the hammer will drop, back the screw off another quarter- to half-turn.
Advertisement — Continue Reading Below
To prevent damage to the sear, the trigger overtravel screw should be adjusted to ensure that the sear is not hitting the half-cock ledge as the hammer falls. Hold the trigger back while gently lowering the hammer to the full forward position. You should be able to feel if there is contact as the half-cock ledge passes the sear. If there is, turn the overtravel screw back another quarter- to half-turn. Repeat until the hammer travels without contacting the half-cock ledge, then another quarter- to half-turn for insurance. Once the hammer can fall without contacting the sear, it’s safe to dry fire.
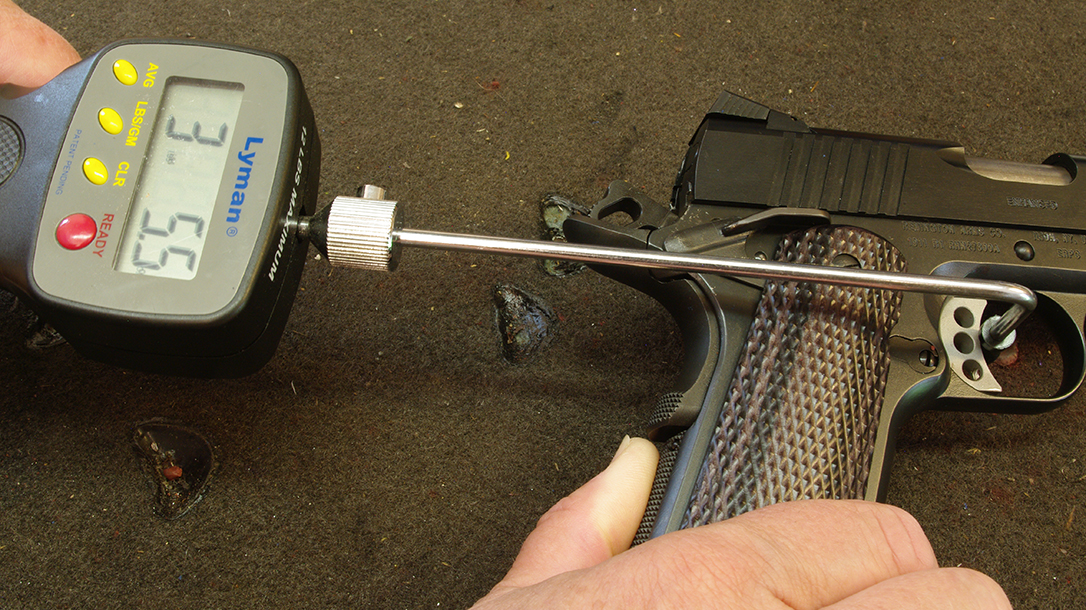
Now it’s time to check the trigger pull using a trigger pull scale. There are several on the market, but my favorite by far is the Electronic Digital Trigger Pull Gauge from Lyman. If you are going to do gun work, this will become of the most-used tools on your bench. The goal for most 1911s is 3 to 4 pounds. But the quality of the trigger is just as important as the pull weight. The trigger should break cleanly and crisply with no hitches or creep.
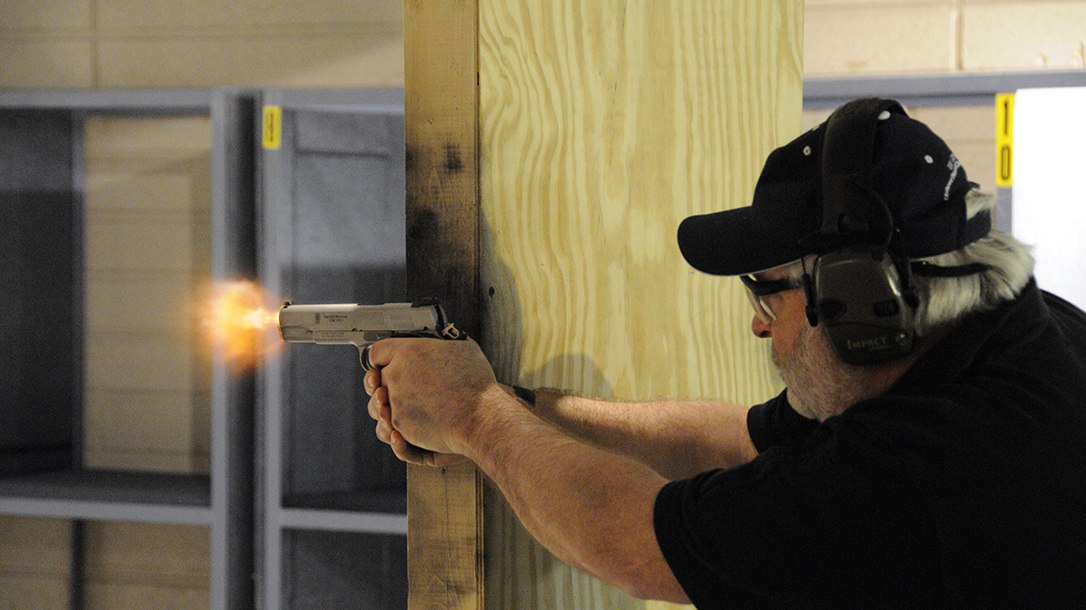
Finally, test your work at the range. The first couple of times, only load two cartridges in the gun. That way, if something is wrong and the gun “follows” or doubles, you are shooting just the two. Years ago I watched a buddy test his 1911 after an ill-advised kitchen table trigger job. He got something wrong because it went full-auto, dumping all eight rounds, with the last few going through the roof of the covered shooting range. So load two and test it. You should not have any trouble, but it’s better to be safe. Once you have a few magazines of ammo through the gun without any problems, you can call this project done.
Advertisement — Continue Reading Below
For more information, visit brownells.com.
Editor’s Note: The author’s latest book, Gunsmithing Modern Firearms, which includes a chapter on building your own 1911 from parts, is due out in the fall of 2018. For more information, check out brycetowsley.com.
This article was originally published in “Combat Handguns” July/August 2018. To order a copy and subscribe, visit outdoorgroupstore.com.
Advertisement — Continue Reading Below
