I got my first taste of training with a .22 when I was in the Boy Scouts. I must have been around 11 years old, and I remember shooting soda cans in a hay field. Over the years, I’ve obviously graduated to larger calibers for personal protection, but I’ve never stopped training and trying to improve my skills using a .22. After all, even with the skyrocketing prices of ammo, .22 is still the cheapest option for live-fire training.
But just because .22 is more affordable than other calibers doesn’t mean you should go to the range and aimlessly shoot hundreds of rounds. You should have an action plan when training with the .22. If you don’t already have one, don’t worry. That’s exactly what you’ll get right here.
Choose Your Gun
Advertisement — Continue Reading Below
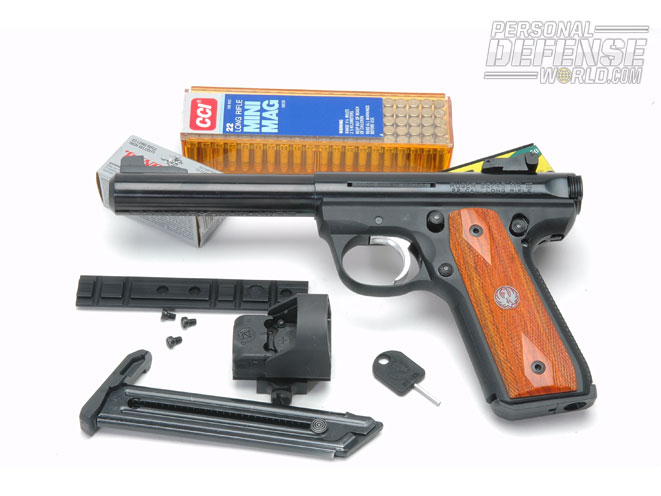
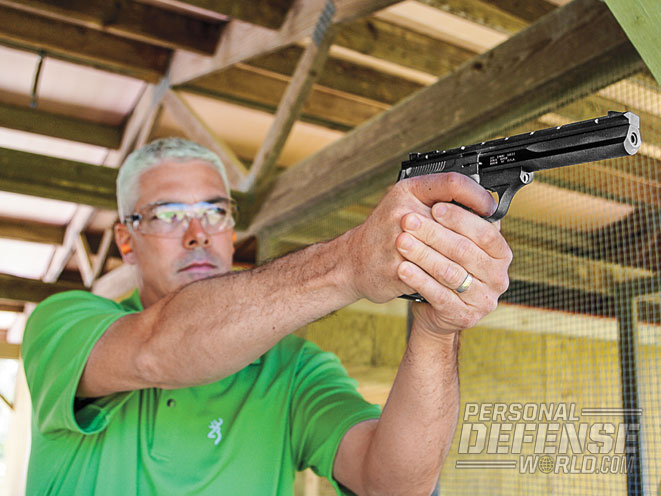
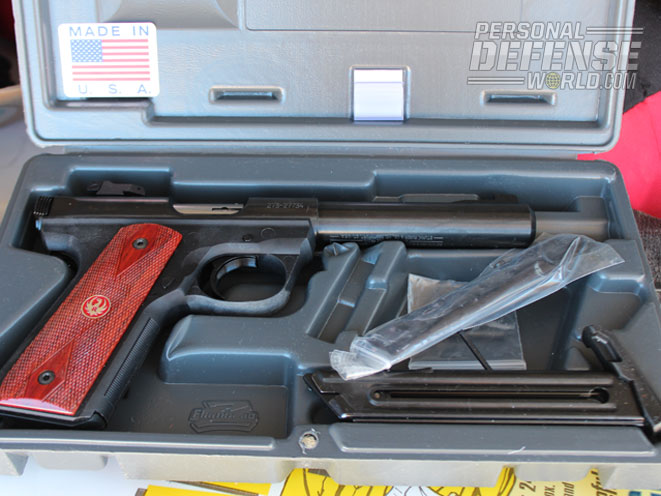
The first thing you need to do is to decide which .22 is right for you. Luckily, we live in a time when .22 handgun choices are plentiful. For instance, if you’re a 1911 fan, you may want to check out the Chiappa 1911-22. Or perhaps you like Walther and would want to go with the Walther P22. Of course, you can buy .22 conversion kits for a majority of guns on the market, including the gun I carry most often, the Glock 19. You can also go with the “tried and true” .22s, such as the Browning Buck Mark, or my personal favorite, the Ruger Mark III.
RELATED: Gun Review – Ruger 22/45 Threaded Barrel
Pick Your Targets
Advertisement — Continue Reading Below
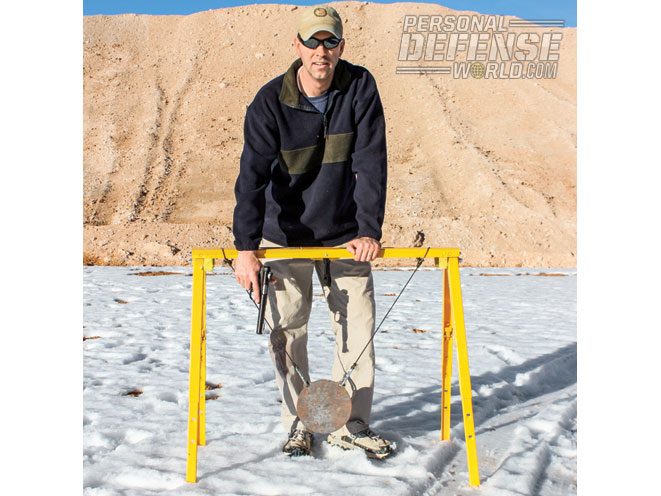
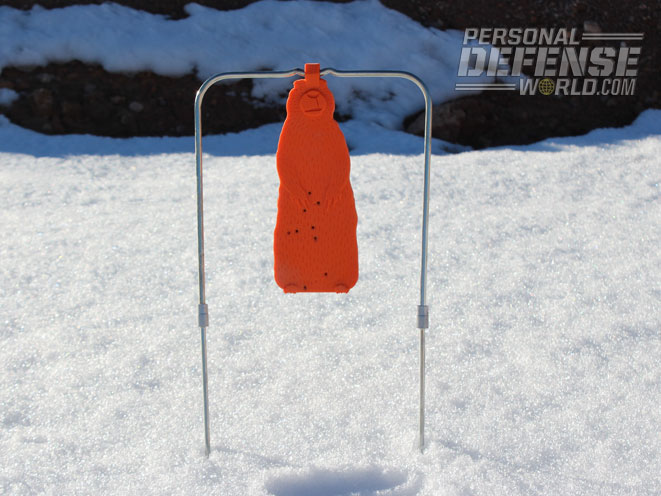
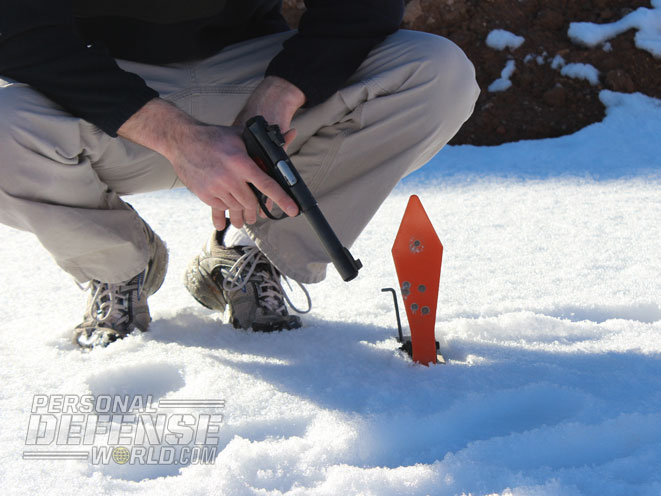
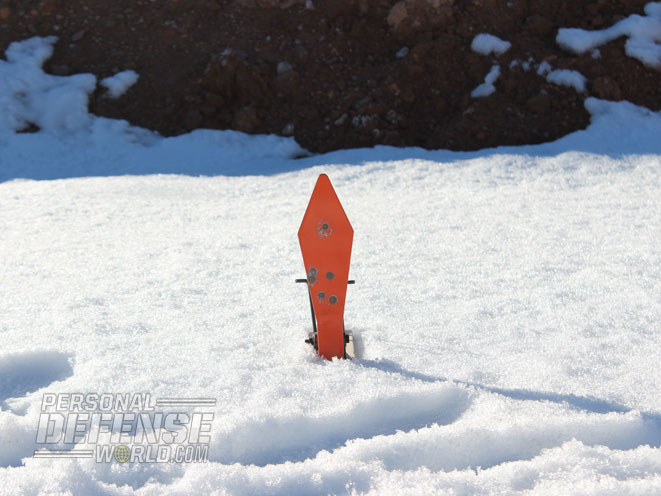
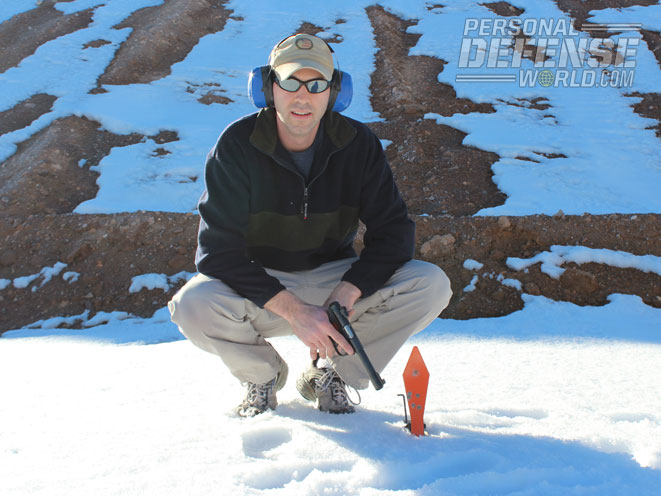
Once you’ve settled on your .22 of choice, then it’s time to pick out some training targets, and this is where the fun really begins. You can go to Wal-Mart or your local sporting goods store and you’ll find an array of .22 targets to choose from. For instance, in my .22 target arsenal, I have one of the orange self-healing spheres that can take thousands of rounds from a .22. I have a self-healing silhouette of a gopher that spins when you hit it to give you immediate feedback. One of my favorite .22 targets is a small pepper-popper target made exclusively for .22s. This pepper popper is spring-loaded and automatically resets when you hit it so you don’t have to walk downrange and set it up every time you knock it down. Even though each of these targets doesn’t cost much, if you really want to save money, you can use soup or soda cans, which I often throw into the mix of targets I’m training on. I also like to train on an 8-inch steel plate with my .22. This is the most expensive target of the bunch, but remember, you can use the steel plate for centerfire calibers, too, not just the .22.
RELATED: Massad Ayoob’s Speed and Accuracy Shooting Drills
Obviously, the types of targets you choose to train on is your choice, but I encourage you to practice with as many different targets as possible. First, it makes training more enjoyable, so you’re more likely to want to invest the time in training. Secondly, you’re forced to engage several different targets (and sizes of targets) and not just staring at a paper target the entire time. In other words, you’re challenging yourself by shooting tin cans, then transitioning to an 8-inch steel plate, then quickly shooting a small pepper-popper target.
Advertisement — Continue Reading Below
Drilling Skills Home
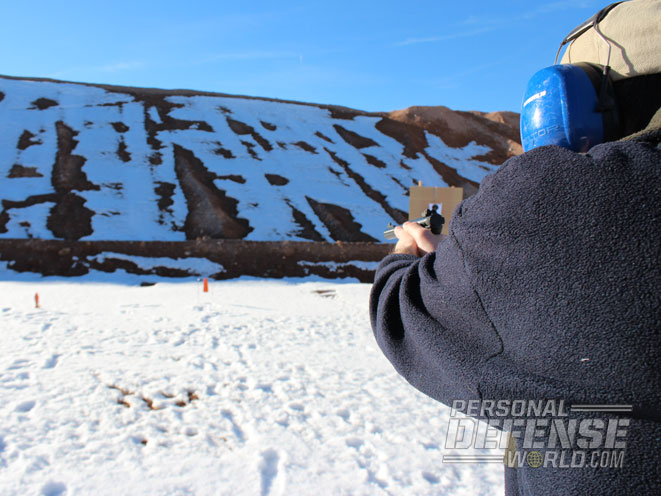
Once you’ve assembled your .22 targets, here are some of the drills I recommend:
Advertisement — Continue Reading Below
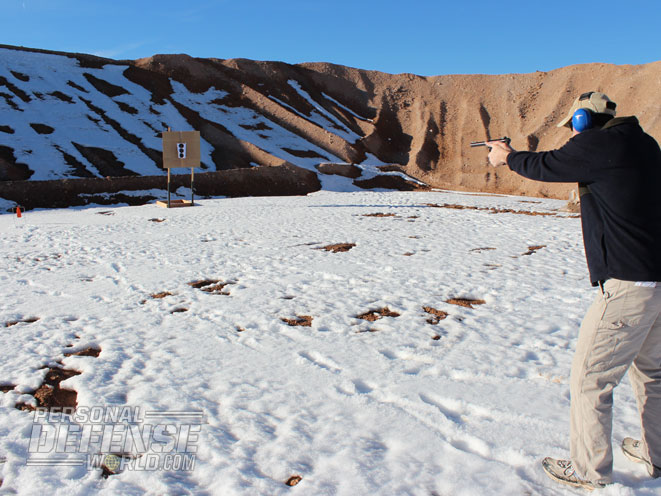
THE WARM-UP: When I first get to the range with my Ruger Mark III, I like to begin by working on the fundamentals. I start at the 10-yard line and the target I use is the 8-inch steel plate. I slowly take each shot, making sure that I’m in the proper shooting stance, that I drive the gun straight out, and that I press the trigger straight to the rear without disturbing the sights. After I’ve hit the 8-inch steel plate three times in a row (which is simple to do at 10 yards) I then move back to the 20-yard line. At 20 yards, I do the same slow-fire shooting until I’ve hit the target three times in a row. Then I move back to 30 yards and do the same thing, all the way until I get to the 50-yard line. The drill ends when I’ve successfully hit the target from 50 yards three times.
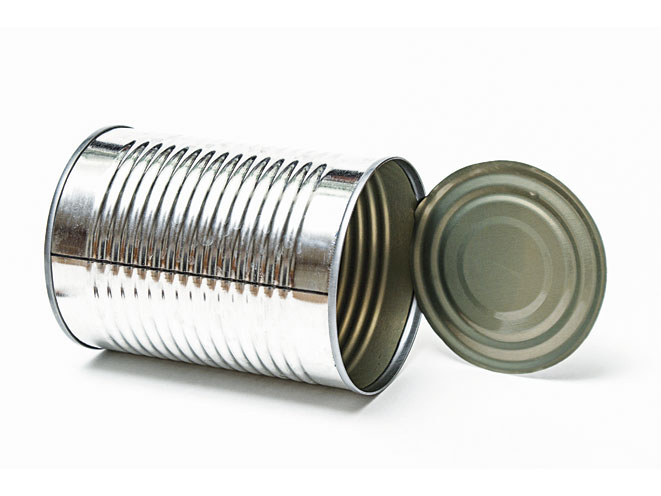
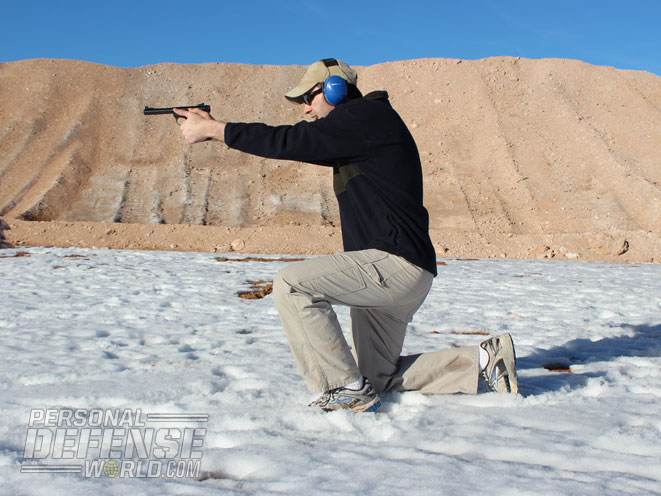
SOUP’S ON: After this warm-up, I like to set up some soup cans. I typically set up two soup cans on top of the steel sawhorse that I use for hanging my steel plate. From the 10-yard line, I drop to a knee and shoot one soup can and then quickly transition and shoot the other one. It’s a good idea to time yourself while shooting both cans (I use the Pocket Pro II timer) so you can work to gradually improve your time in future training sessions.
Advertisement — Continue Reading Below
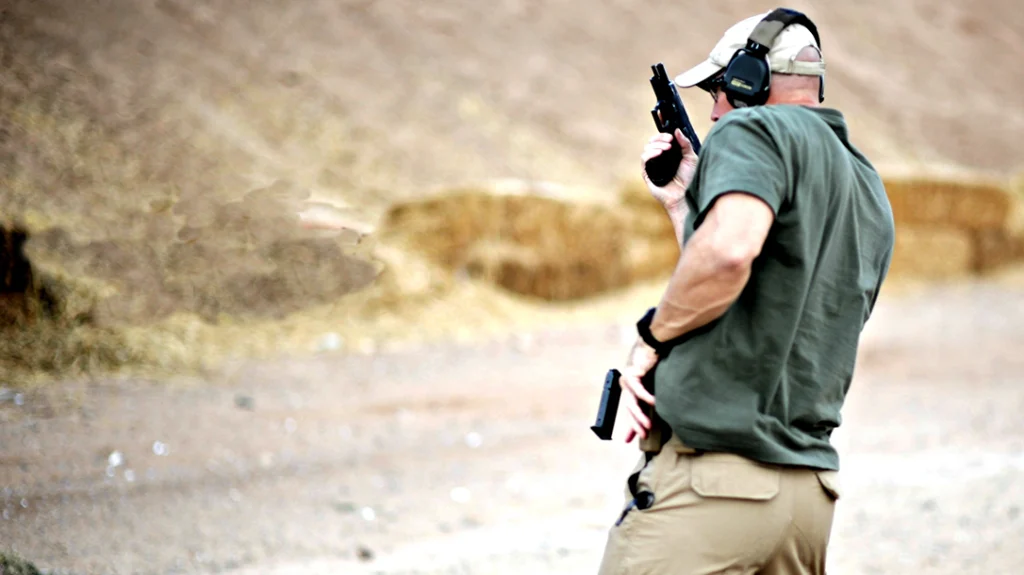
GET MOVING: The next drill you can do involves the self-healing gopher target that spins when you hit it. I like to use this target for shooting and moving drills. Remember, shooting and moving doesn’t mean sprinting toward or away from the target. It means moving as quickly as you can while still being able to hit the threat. Starting at the 10-yard line, I like to move forward as I fire three shots at the target. Then I take steps backwards while I fire another three shots at the gopher. Start out slowly and then push yourself to move faster while still being able to hit the target a total of six times, three moving forward and three moving backward. After you’ve moved forward and backward try some lateral movement. You can simply take a step to the left or the right and then shoot the target. Or you can walk quickly to the left or the right while shooting the target. When walking to the left or the right, try and hit the target three times in a row, and don’t forget to go only as fast as your accuracy allows.
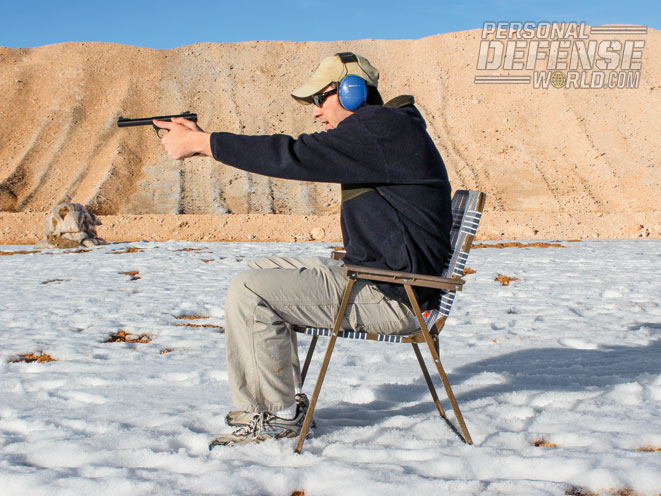
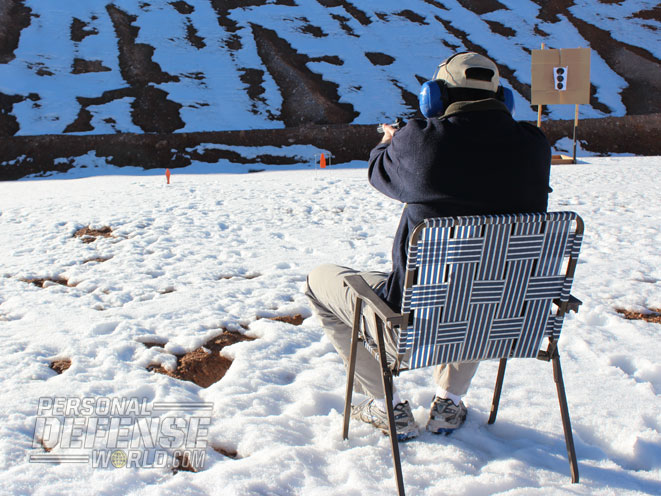
TAKE A SEAT: As I mentioned earlier, one of my favorite targets to train on is the pepper-popper target that automatically resets. One of the drills I do with this target is the “Lawn Chair” drill. In short, this requires sitting in a lawn chair, with the gun lying on top of a cooler or other box, to see how quickly I can grab the gun and knock down the target from the sitting position. Start this drill from the 10-yard line and move back 5 yards each time you’re able to hit the target several times in a row. Also, don’t always have the lawn chair facing the target. Set the chair facing different directions so that you’re forced to grab the gun and shoot at different angles to hit the target.
Parting Plink
Advertisement — Continue Reading Below
Your imagination is the limit when it comes to training with the .22. Don’t forget, the .22 is not only for introducing new shooters to the sport, but it should be used all throughout your life to improve your accuracy and defensive handgun skills.
