Teaching deadly force to police since 1972 and serving as an expert witness for the courts in weapons and shooting cases since 1979, I’ve been inside a lot more shooting cases than the average person. I cringe when I hear people advise others to say nothing to the police after a self-defense shooting incident, because the decades have taught me that “don’t talk to the cops” only seems to work well for guilty people. Using a guilty man’s legal defense strategy is a good way to end up with a guilty man’s verdict.
I began teaching armed citizens in 1981, through the Lethal Force Institute, and did so until 2009. I now teach in the private sector. Throughout those 33 years, and with great results, I’ve taught the following five-point checklist for the immediate aftermath of a self-defense shooting to my students. Now, all of you legally armed COMBAT HANDGUNS readers can tuck this one away, too.
Advertisement — Continue Reading Below
Step One: Establish The Active Dynamic
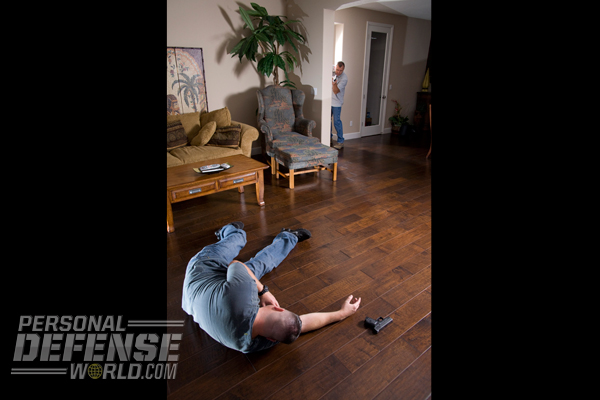
The justice system tends to see the man who got hurt or the one who made the initial complaint as the victim, and the person who inflicted that harm or the one complained about as the perpetrator. The man who tried to murder you is now lying in a puddle of blood looking very much like a victim. You, with your smoking gun, look a lot like a perpetrator. It is therefore imperative that you establish from the beginning that he is the one who tried to victimize you. It is vital that you call 911 immediately, give your location, and tell them that you’ve been attacked and that the perpetrator is down.
Step Two: Tell Officers You’ll Sign The Complaint
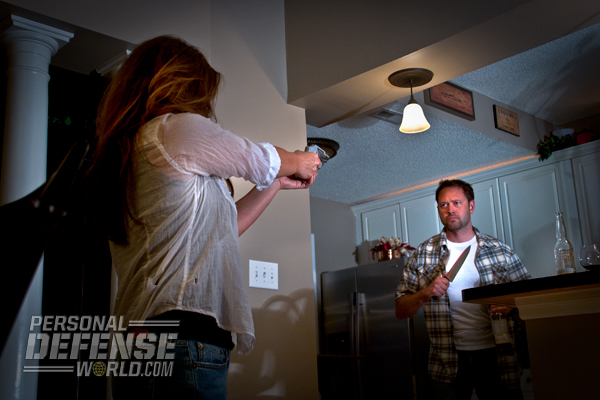
The simple statement “I will sign the complaint” reinforces to responding officers that you are the victim/complainant and that the man who forced you to resort to a self-defense shooting was the criminal perpetrator. In South Florida, a private investigator came to a local thug’s house to serve a subpoena. As the PI stepped out of his car, the recipient emerged from his house with a snarling Doberman Pinscher straining at a taut leash. Still at his vehicle, the investigator identified himself. The other man screamed at him to leave or he’d sic the dog on him. When the investigator explained that he was just doing his job, the man at the doorway unleashed the animal, which lunged toward him barking and growling.
Advertisement — Continue Reading Below
The investigator reached into his car and snatched up his Remington 870, and as the dog rounded the front of his car with fangs bared and coming at him, he shot it with a single round of 12-gauge 00 buckshot. Racking a fresh shell into the chamber just in case, but keeping the muzzle conspicuously upward so witnesses would see he didn’t point it at the dog’s owner, he remained by his car door with the Remington in his dominant hand, and with the other hand called the police to report that a man had set a vicious dog on him and that he’d had to shoot it.
When police got to the scene, he met them in a non-threatening fashion and repeated what had happened, and stated that he would sign the complaint. The dog’s owner was arrested then and there for “assault with a deadly weapon—an attack-trained animal.” All that was required from the shooter was a signed statement and subsequent testimony as the complainant.
Advertisement — Continue Reading Below
Step Three: Point Out The Evidence
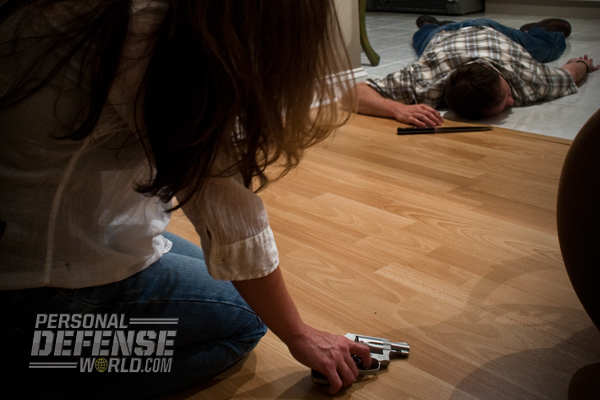
Evidence is perishable. It can be stolen or inadvertently moved. In Tennessee, a man protecting himself and his young daughter from a crazed knife-wielder was slashed on his arm and emptied his gun fatally into the attacker. He dropped the empty weapon to apply pressure to his wounded arm, but he did not realize that in the hectic aftermath of the incident that an ambulance attendant had kicked the empty gun up the driveway. This altered the evidence at the homicide scene, leading the investigator to incorrectly conclude that the shooter was lying about what happened. The result was an indictment, and we had to take him through a full murder trial to win his acquittal. Had he pointed out where he dropped the gun to the first responders, he probably would have been spared that ordeal.

Step Four: Point Out Witnesses
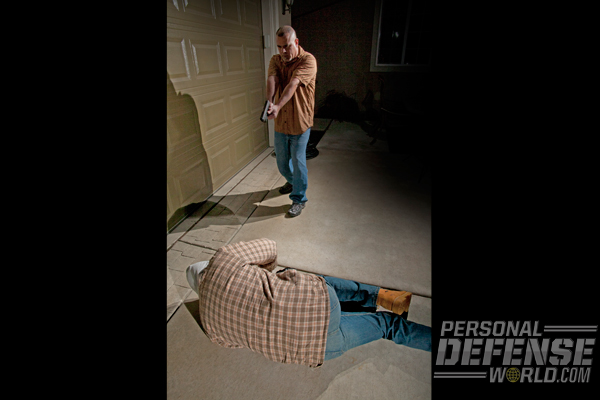
It’s no secret that ordinary people don’t want to get involved in acts of violence or in trials. They may drift from the scene before police can question them, and their testimony that you acted in legitimate self-defense will drift away with them. Take, for example, the studies of Harold Takooshian at Fordham University, who staged fake crimes on New York City streets to observe witnesses’ reactions. In the book Kitty Genovese: The Murder, the Bystanders, the Crime That Changed America, author Kevin Cook writes, “Three hundred fake thefts later only eighteen bystanders had taken action of any sort. (Takooshian’s) students also staged a kidnapping. ‘We actually abducted someone on the street. Most people did nothing. They didn’t want to get involved.’”
Advertisement — Continue Reading Below
Step Five: Offer Full Cooperation After Speaking With Counsel
There are many reasons experts recommend against participating in a detailed interrogation in the immediate aftermath of a self-defense shooting, when you are most likely shaken. For one thing, investigators will ask questions as they occur to them, and their notes later will create the false sense of you narrating events in that sequence, which is likely not the actual sequence. In “answer the question” mode, if the right questions aren’t asked, your failure to mention certain things can be seen later in court as “he must have made that up later.”
Police are advised by their unions not to go into great detail in the immediate wake of such crises. Get the important points across at the scene—“He attacked me. His accomplice got away, but here’s his description.” The rest can wait until later. Various experts recommend 24, 48, or even 72 hours to get your recollections in order. The authoritative Force Science Institute recommends at least one full sleep cycle before submitting to detailed interrogation.
Advertisement — Continue Reading Below
In Case You Missed It
5 Tips for Surviving a Knife Assault
7 Common Sense Concealed Carry Guidelines
Advertisement — Continue Reading Below
