I have been a firearms instructor for my department since 1998 and the department’s range master for the last three years.
I am regularly tasked with doing more training with less time, equipment and manpower. All those who shoot firearms for work, pleasure or competition know that ammunition is one of the biggest expenses. You may pay from a few hundred dollars up to a couple thousand for your gun up front, but you’ll pay $20 or more for every box of ammunition thereafter—shooting one box a week will cost over $900 per year. Now most of us don’t shoot that much, but if we did, would that maintain or enhance our skill level? Accurate shooting of a firearm is a perishable skill, so practice is required to maintain and improve it.
- RELATED STORY: 4 Dry-Fire Shooting Tuneup Tips From JJ Racaza
The question then becomes how can we develop our shooting without draining our wallets? I bet everyone said dry fire, and, yes, this is probably one of if not the best and most cost-effective methods of practice. But here’s the catch: If you don’t do it right, dry firing can have the opposite effect—you’ll damage your gun, and that will cost you. With any dry-fire practice, make sure you unload, verify the gun is unloaded and keep live ammunition away from the practice area.
Advertisement — Continue Reading Below
Last year, I had an officer who was unhappy with his qualification score. He decided that he was going to dry fire every week to improve his score at the next qualification. This probably sounds like a logical plan, but the problem was he took the recommendation of periodic dry firing to the extreme: His dry-fire routine was 100 dry fires each night, five nights each week—over five months he had pulled the trigger 8,000 times. An inspection of his firearm revealed damage to the firing pin.
Dry-Fire Basics
A more practical routine would be to do three to four dry fires in a minute, three to four minutes a day, three to four days each week. This equals just over 750 trigger pulls for an entire year. To further decrease the possibility of damage to the gun, use a snap cap.
Advertisement — Continue Reading Below
There is more to dry-fire practice than just snapping the trigger. The procedures will depend on the action of your pistol. For example, the procedure for striker-fired guns like Glocks is different than for double-action guns, such as those using Sig Sauer’s DAK (double-action Kellerman) trigger system. To practice dry firing with striker-fired single actions or with the single action of DA/SAs, you have to either cock the hammer or rack the slide to set or reset the trigger. For DAOs, the double action of DA/SAs or any other trigger system that cocks and releases the hammer, you only need to work the trigger to practice dry firing.
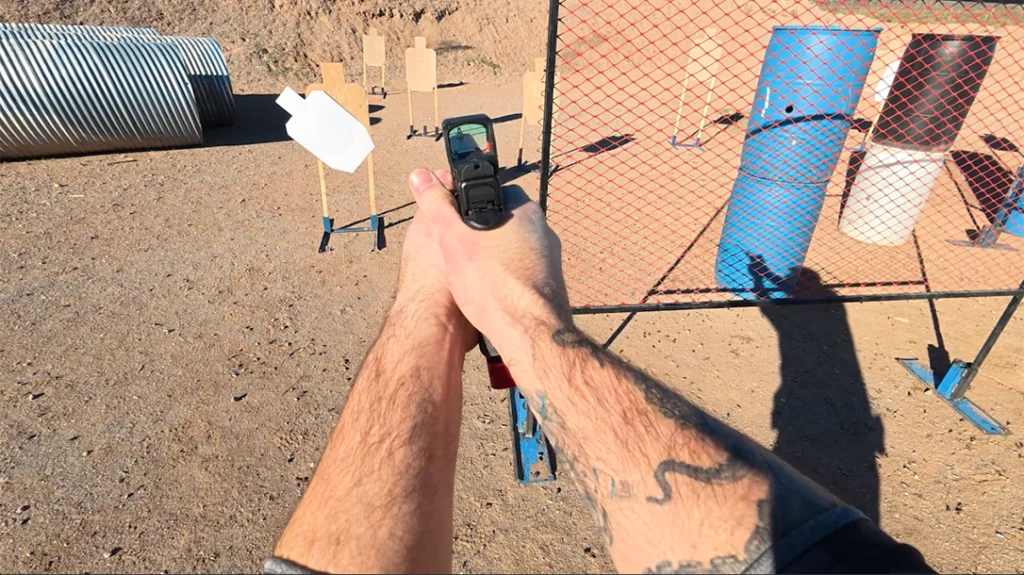
Now back to not snapping the trigger. There are elements to dry practice that you should have. You need something to aim at so you can practice good sight alignment and getting a sight picture. I recommend attaching your target to a ballistic barrier to ensure you are pointing in a safe direction. A cardboard file box filled with sand will work for standard personal-defense-caliber ammunition. Next, consider drawing from your holster during dry-fire practice. This will make your grip and drawstroke more consistent. Finally, apply a smooth press of the trigger, straight to the rear without disturbing the sights.
Another dry-fire option that has been used in many professional shooting courses is the “wall drill.” This drill focuses on perfecting sight alignment and trigger control without the distractions of the other fundamentals. You need a wall that is a solid (preferably light) color; ensure nothing around you will create a distraction. A sheet of copy paper or a solid-color target could be used in place of the wall. You will bring the gun up to eye level and hold it approximately 1 inch from the wall. You must have total concentration on the front sight, as if you are trying to burn the image into your mind. Press the trigger smoothly straight to the rear, maintaining focus on the front sight.
Advertisement — Continue Reading Below
Live Fire
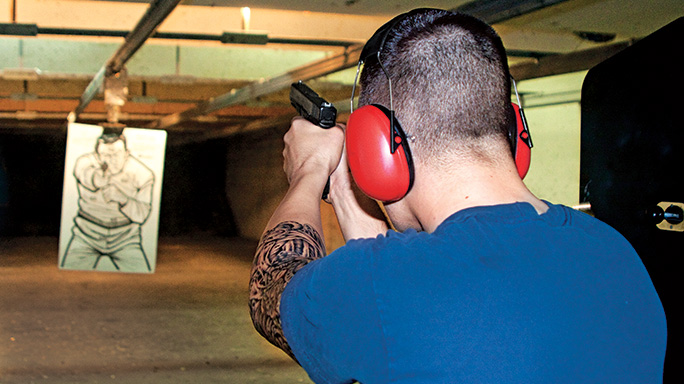
Because you have no recoil or sound with dry-fire practice, you will need to fire some live ammunition to ensure that you don’t flinch before firing and you recover from recoil. You don’t need to blast hundreds of rounds to work on this practice technique. The first live-fire practice I recommend is the bullet-hole drill. You only need to fire about 10 rounds. Start by firing one round into a blank target. That hole is now your aiming point for the next nine rounds. The objective is to fire those nine bullets through the first hole. A group that you can cover with your thumb is good. There is no time limit for this exercise, so use good breathing control and follow through for each shot. After each shot, relax and take a breath, then start the next shot.
The second live-fire practice I recommend works on tactical shooting techniques by building your speed while maintaining accuracy. It is sometimes called a “BSA,” or balance of speed and accuracy. Using a small target area at about 7 yards, fire a maximum amount of rounds in a minimal timeframe. You can increase the distance, shorten the time or add more rounds. I recommend using a 6-inch circle for the aiming area at a distance of 7 yards.
Advertisement — Continue Reading Below
- RELATED STORY: Dynamic Dry-Fire Training with Dave Harrington
On each fire command, draw and fire four rounds in four seconds. If all rounds are within the circle, either decrease the time or increase the rounds until you cannot keep all of them in the circle. The object is to find your limits and then practice within them until you are able to improve your skills. Like the bullet-hole drill, the BSA drill won’t require hundred of rounds—you won’t go broke. Performing four to five repetitions, firing four or five rounds in each two or three times a month, is enough to improve your shooting.
Parting Shots
It should be obvious that these practice recommendations are to maintain or gradually improve your shooting skills without draining your bank account. However, if your goal is to become a highly skilled competitive shooter, you will need to add more live-fire training to your practice. The level you train at and how much you invest in it is up to you. Think about this before you run out and spend several thousand dollars on a gun that can shoot beyond your ability and on equipment only an engineer could operate. At the end of the day, what will benefit you most is the quality of your training, not the quantity of money you spend.
Advertisement — Continue Reading Below
