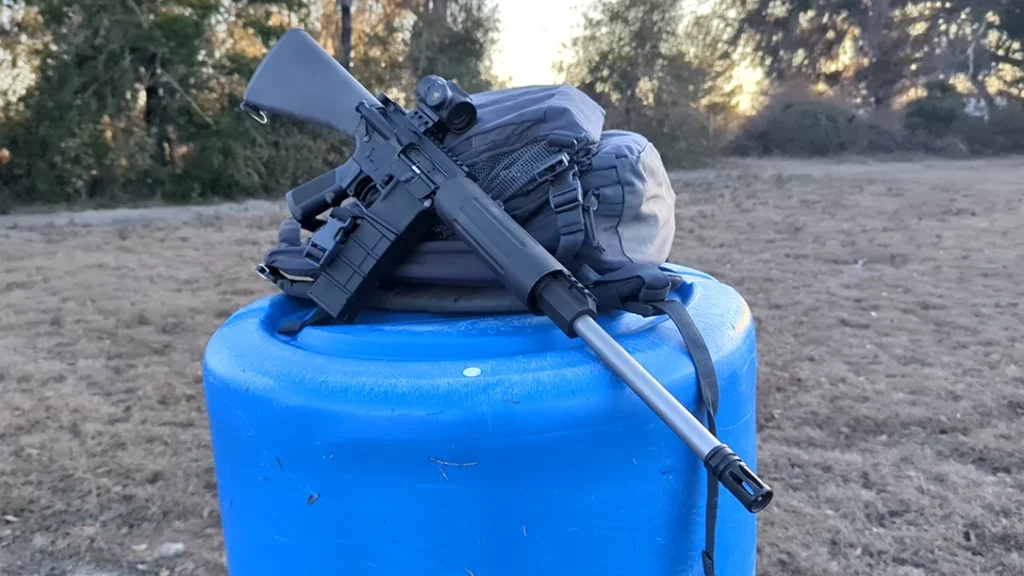
The Bureau of Alcohol, Tobacco, Firearms and Explosives (BATFE) defines a short-barreled rifle, or SBR, as a firearm that is “made when a handgun or other weapon with an overall length of less than 26 inches, or a barrel or barrels of less than 16 inches in length, is assembled or produced from a weapon originally assembled or produced only as a rifle.”
Building an SBR
What it takes to build an SBR is a fairly easy process. It’s all the red tape that can make it seem difficult. It commonly takes nine to 12 months from submitting the required forms to receive an approval/denial decision from BATFE. They will notify you either way. It may seem tedious or confusing, but it’s actually pretty straightforward. Bear with me, and I’ll try to help walk you through the process.
Forms To Fill
You file a Form 1 if you intend to build or manufacture your own SBR. This includes purchasing components to build an SBR or modifying an existing rifle to meet the SBR criteria. Upon approval, you’re going to also need to get your SBR engraved. Basically, you need to engrave your name, or that of the trust that you used (more on NFA Trusts ahead), along with the city and state that you reside in. I had a company engrave my SBR, as I didn’t trust myself to use a Dremel tool on my lower receiver.
Advertisement — Continue Reading Below
You need to file a Form 4 to purchase an existing SBR from a licensed manufacturer or gun store. They should have all of the necessary Form 4 paperwork and provide guidance on filling it out. You won’t need to engrave the receiver if you are purchasing a built SBR, the manufacturer will have it done.
Call your local BATFE office or the National Firearms Act (NFA) branch at 304-616-4500 for more guidance, when in doubt. The special agent that I spoke with was more than willing to help guide me through the process.
You will need to closely follow the directions and include the required $200 for your tax stamp, during submission. You will need to keep your tax stamp with your SBR, if approved, as proof of approval from the BATFE. I print out a couple copies—one for my safe and one for my rifle bag for range trips.
Advertisement — Continue Reading Below
Forming An NFA Trust
You also have the option of forming an NFA Trust, which is commonly referred to as a “gun trust.” An NFA Trust is a special type of trust that deals with legal transfers. You will legally be able to pass certain NFA items (SBRs, suppressors, etc.) down to the next generation of the family when you write the NFA Trust properly. Properly writing your NFA Trust will also make it easier to pass said NFA items between trusted family members—or whoever is listed on your trust—for range use.
Beware, though: Not all trusts are accepted by the BATFE. Do your research on this, and it’s advisable to consult with an attorney first. There are many attorneys out there who specialize in creating NFA Trusts. I went with the Northwest Gun Law Group for mine and received approval.
Advertisement — Continue Reading Below
If you want to use a trust, all trustees need to fill out the BATFE’s E-Form 5320.23 “Responsible Person Questionnaire.” All of your fingerprints on Form FD-258 and passport-type photographs must also be submitted. The bonus to using a trust is that you don’t have to deal with transfers between trustees.
Thankfully, the chief law enforcement officer’s (CLEO) signature is no longer needed. Now there is simply a section you fill out on both Form 1 and Form 4 that notifies or informs the CLEO. This is good news for those of us who live in areas where the CLEO doesn’t believe in the Second Amendment rights of the people living in their jurisdictions.
Hurry Up & Wait
With so many rules and regulations, it can be easy for some, or a nightmare for others if you miss checking a box and have your forms returned to you for clarification or fixing. If you move within your home state, you should be fine. If you move out of state or even want to take your SBR across state lines, then you’re going to need to notify the BATFE and fill out a Form 5320.20.
Advertisement — Continue Reading Below
Bottom line: Make sure you check the BATFE website (atf.gov) for precise guidance, or your local gun shop who has the necessary licensures to deal with SBRs. It should go without saying, but for clarification, make sure that SBRs are legal in the state in which you reside. Cross your t’s and dot your i’s and read everything thoroughly. This should help ensure a smooth approval. Being intimately familiar with the rules will also help keep you out of prison over something ever so slightly stupid.
I submitted my Form 1 with my trust and waited approximately 10.5 months for my approval stamp. I went the cautious route and didn’t even have the upper in my possession until my stamp was approved. If you don’t own an AR pistol while waiting for your chosen form to be approved, I would highly suggest waiting to get that upper. The BATFE is very specific in that regard. No need to poke the bear and risk an infraction, prison time, your rights, your house, your dog, etc.
My Own DIY SBR Build
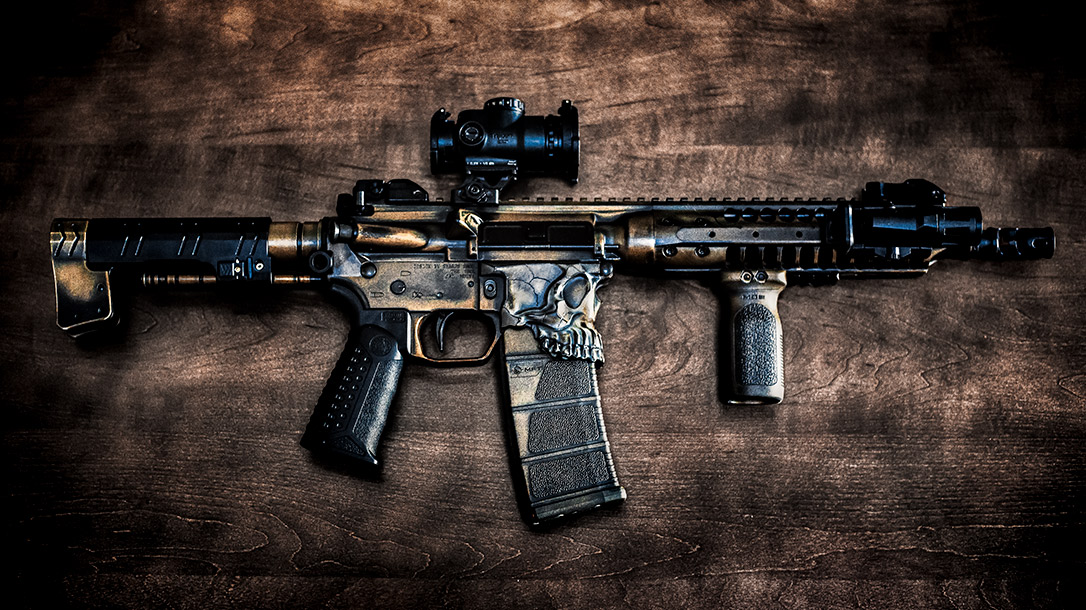
So, enough with the rules, regulations, and usurping of our rights as law-abiding Americans. Let’s talk about what it takes to build an SBR, shall we? I must give credit to All American Armory in Bow, Washington, for this amazing build. The company did the majority of the work; I simply pushed in a few pins to seal the deal and be all legal-like. Justin (the owner), James (the head gunsmith), and I started putting our heads together to build an SBR that was both fun and practical. You can’t go wrong with All American Armory—the company does an amazing job on anything that it customizes.
Advertisement — Continue Reading Below
Upper & Lower Receiver
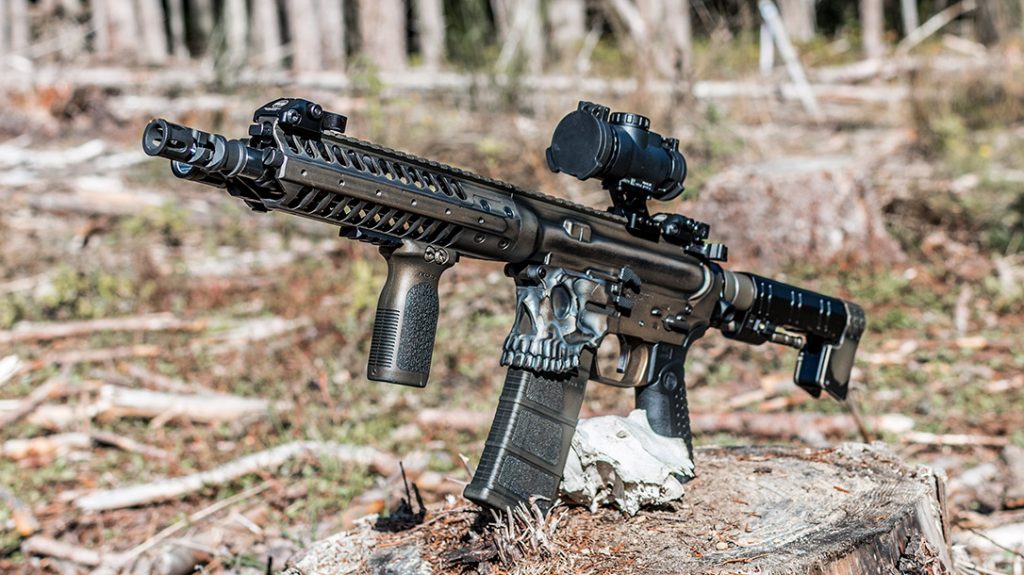
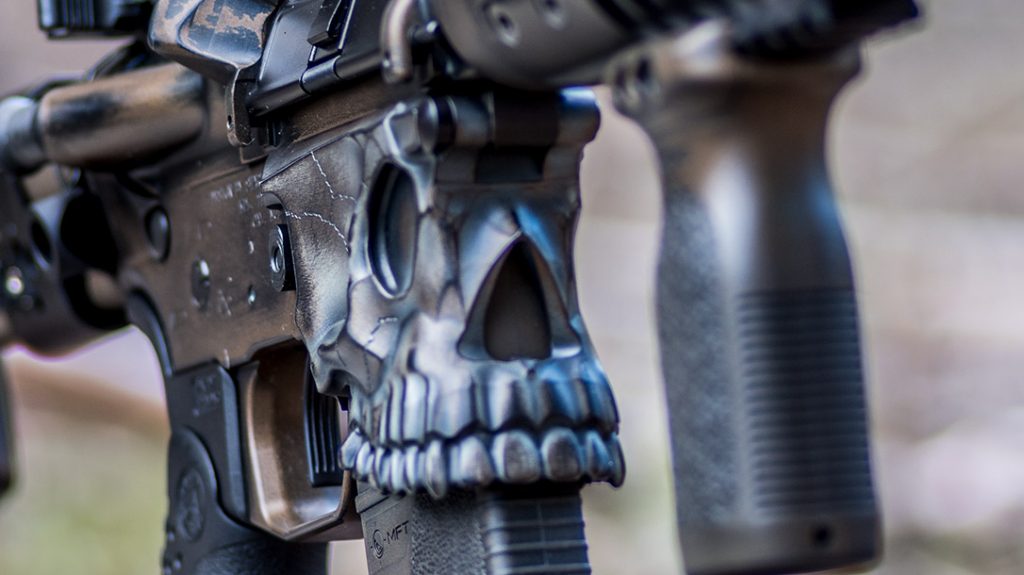
When it came time to pick the right lower receiver, I instantly gravitated toward the Jack from Sharps Bros., as it’s just uniquely cool. It pretty much jumped out of the display case and into my hands. We milled this design from a solid block of 7075-T6 aluminum and included a flared magazine well, an oversized triggerguard, and a hardcoat-anodized finish while maintaining full compatibility with mil-spec and aftermarket parts.
After selecting a lower, it was time to start thinking about the rest of this DIY SBR. I’ve had excellent results in the past with LWRCI, so naturally, I gave the company a call. I decided the 10.5-inch-barreled IC-A5 upper would be perfect for this build. The scalloped SPR handguard on this model is amazing; it is cut back so you can easily adjust the gas block or remove the top half completely to access the piston system for cleaning.
Advertisement — Continue Reading Below
The IC-A5 also came with an ambidextrous charging handle and LWRCI’s Skirmish backup sights. To top off this amazing upper receiver, I used a Primary Weapons Systems (PWS) FSC MOD 2 compensator. Yes, it’s loud, but it helps tame the recoil a bit.
Stock
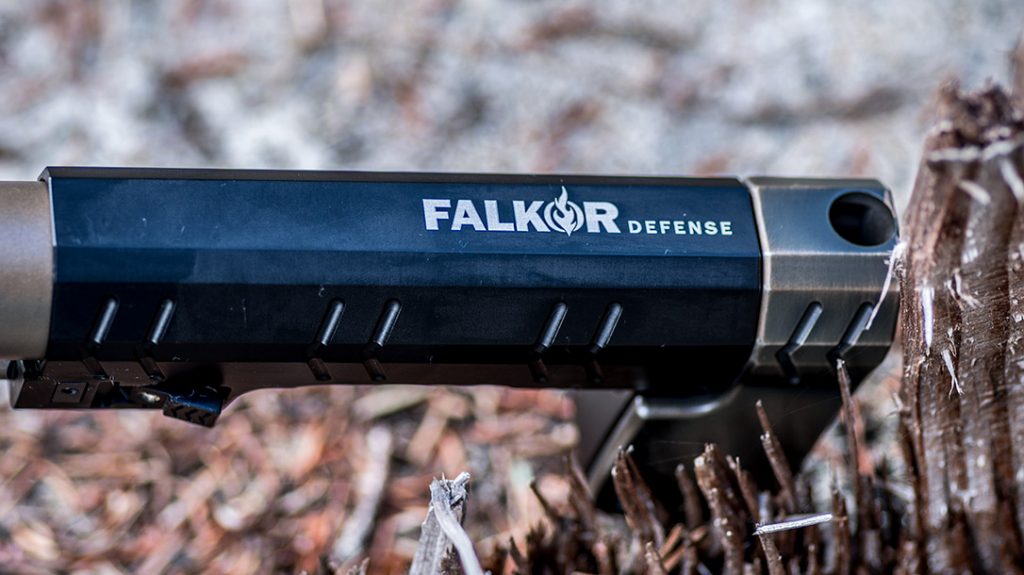
Right off the bat, I knew I wanted to install one of Falkor Defense’s Optimus PDW stocks on the lower receiver. Unlike many other PDW stocks, the Optimus utilizes a single guide rod rather than two guide rails that hug the sides of your lower receiver. It’s an eight-position-collapsible stock that allows for a proper cheekweld. At full extension, it measures 10.25 inches long, but fully collapsed, it measures a mere 5.25 inches. I also used a Falkor end plate with two QD sling sockets on each side.
Advertisement — Continue Reading Below
Trigger
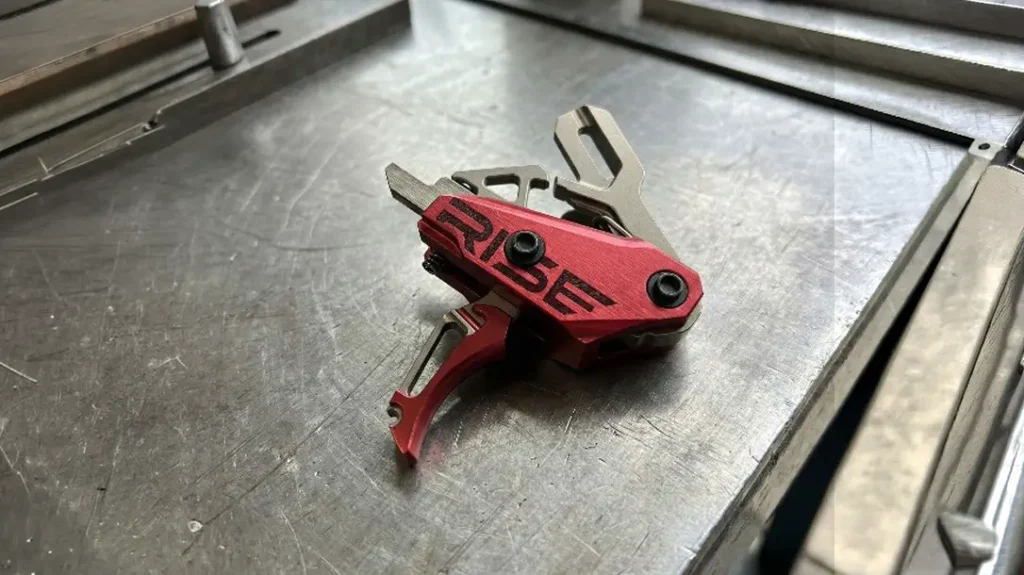
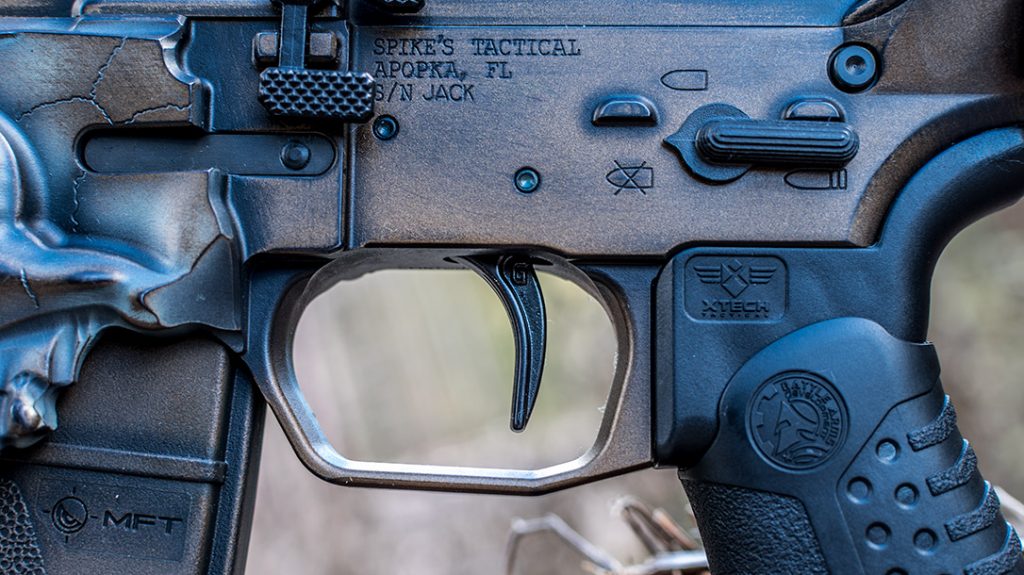
Geissele is one of the best trigger manufacturers out there. For this build, I chose the Super Tricon Trigger. The trigger itself was designed in part with the help of former Navy SEAL and past president of Trident Concepts, Jeff Gonzales. This is a two-stage trigger with a total pull weight of 4.5 pounds, with a carrot-like second-stage break. The trigger also has a unique bow design with a ribbed surface.
We included a Geissele lower parts kit, in addition to the Super Tricon Trigger, to round things out. The icing on the cake was Geissele’s Maritime Bolt Catch. Its increased surface area promotes ease of use when locking the bolt to the rear or when sending the bolt home. It’s also very convenient for us lefties out there in the firearms community.
Advertisement — Continue Reading Below
Grip
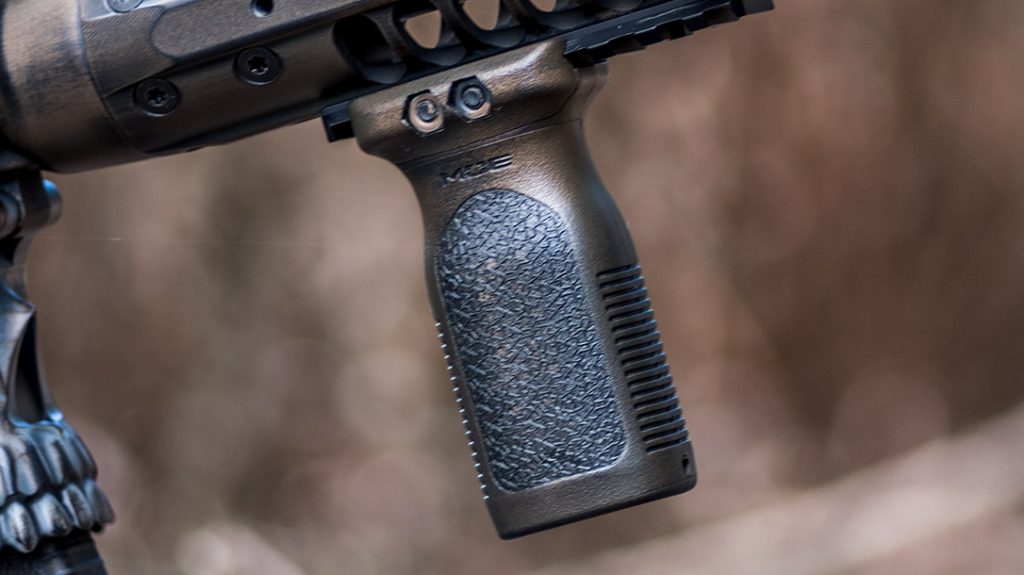
To finish up this build, I utilized the Battle Arms Development ATG (Adjustable Tactical Grip). It allows for a 17-, 25-, or 33-degree grip angle. It’s comfortable and works well. I also attached a Magpul RVG (Rail Vertical Grip). In the course of my duties, I’ve found that a stubby forward grip helps tremendously in controlling the rifle.
Optics
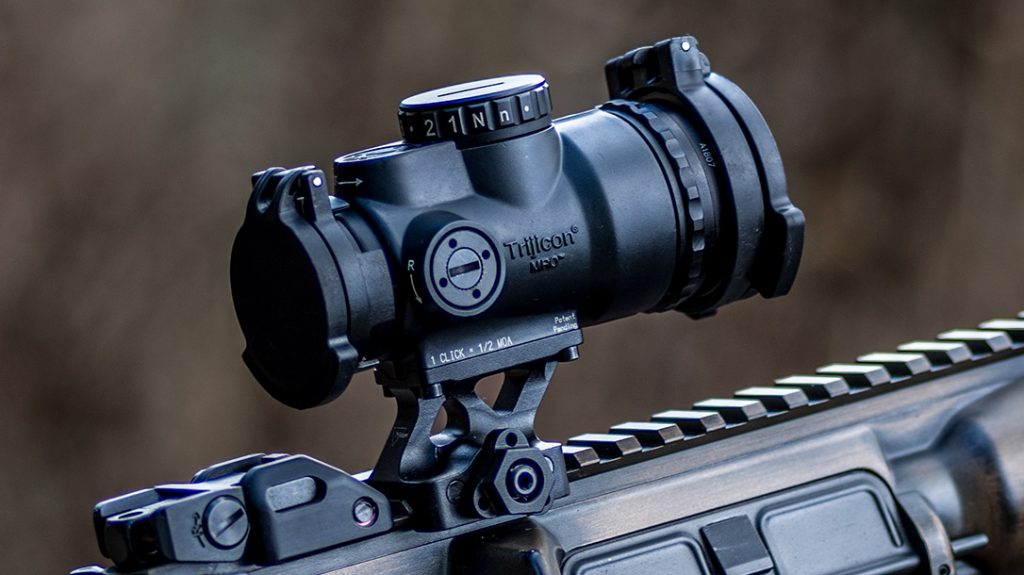
As far as optics are concerned, I was able to secure a Trijicon MRO Patrol for this build. It’s a happy medium between a full-sized red dot and a microdot. It adds lens covers at both ends and includes an ARD Kill Flash. It has eight brightness settings, two of which are night-vision compatible. The MRO is parallax-free with infinite eye relief for rapid engagements. With a five-year run time using a CR2032 battery, what’s not to love?
First Impressions
As far as range impressions go, this SBR is absolutely amazing. It is SBR dialed in perfectly from the upper and lower to the stock and trigger. But I should mention that there were some issues when utilizing the provided buffer spring with the Optimus stock. After trying some other springs to get this SBR in perfect running order, I found that the LWRCI UCIW Flat Wire buffer spring was the sweet spot. It fired six different 5.56mm and .223 Remington loads. It’s a $16 modification to the Optimus stock that was well worth the added expense, and Falkor Defense has informed me that it would be looking into the spring issue to rectify it. That’s quality service.
When dialed in just right, my best grouping at 100 yards was 0.72 inches. Coming out of a 10.5-inch-barreled upper, that’s an amazing cluster. In the interest of full disclosure, I was using a Vortex 1-6x24mm Razor HD II scope on 6X to squeeze as much accuracy out of the SBR as I possibly could.
If you’re looking to build an SBR, check the rules and regulations so you don’t end up in a pickle. If done right, you will have an amazing SBR. I don’t even want to add up the complete and total cost of this SBR project out of fear that my wife might actually find out. Better to ask for forgiveness than for permission, right? Think of it as an adventure. You will have a fun tool to play with at the range and to utilize for home defense if you so desire.
