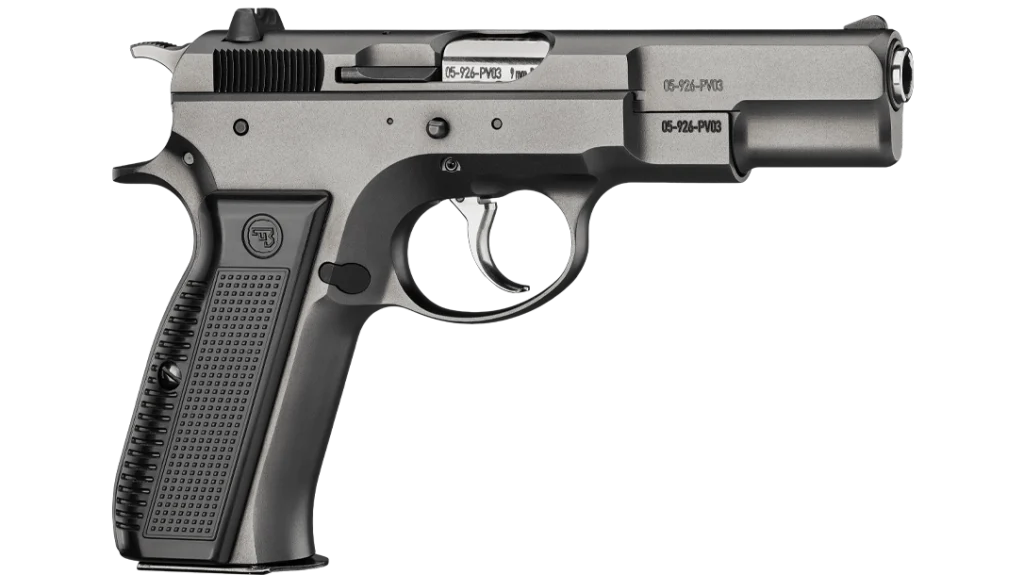
To clean or not to clean? That is the question. Well, when it comes to our guns, we definitely need to clean. Now, I will be quick to say that they do not need detailed deep cleaning every day. However, if you are going to trust your life to them, you might want to make sure that they are more likely to run well. This breakdown of proper cleaning procedures will help you ensure that your pistol remains operational for a very long time.
Cleaning a Pistol: Step by Step
This has become an especially interesting topic when the Glock culture gets involved. There are some in that clan who profess you never need to clean them or even oil them. All I can say to that is make sure you have your personal affairs in order and sufficient life insurance.
Like any mechanical device, your pistol requires regular maintenance and cleaning. The amount of cleaning is determined by how much you shoot and the conditions in which you do the shooting.
Advertisement — Continue Reading Below
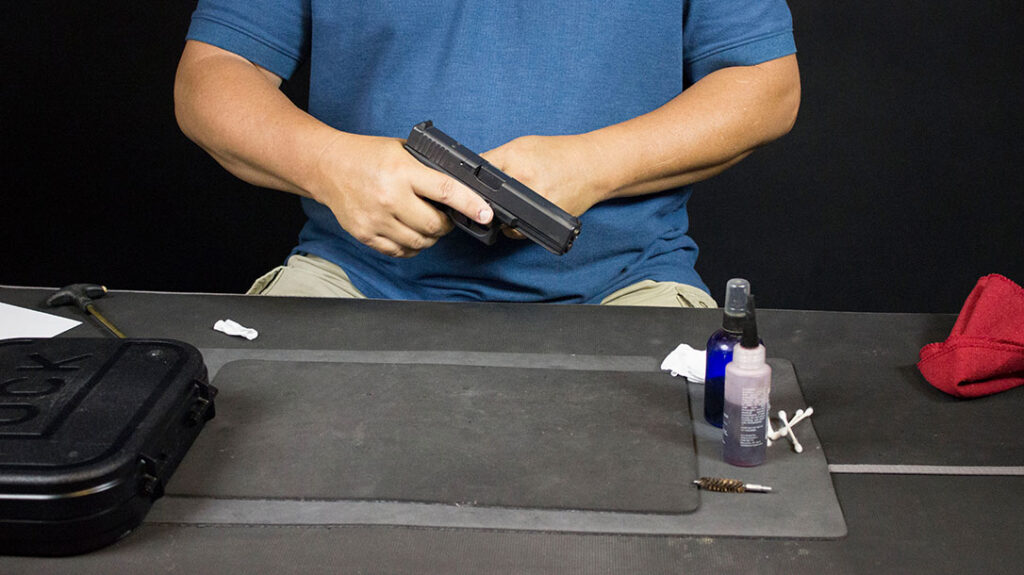
Cleaning your gun is not complicated and can be accomplished by following these easy steps. Gather your cleaning supplies in a well-ventilated area, and make sure you have a mat or protective cloth for your table or counter.
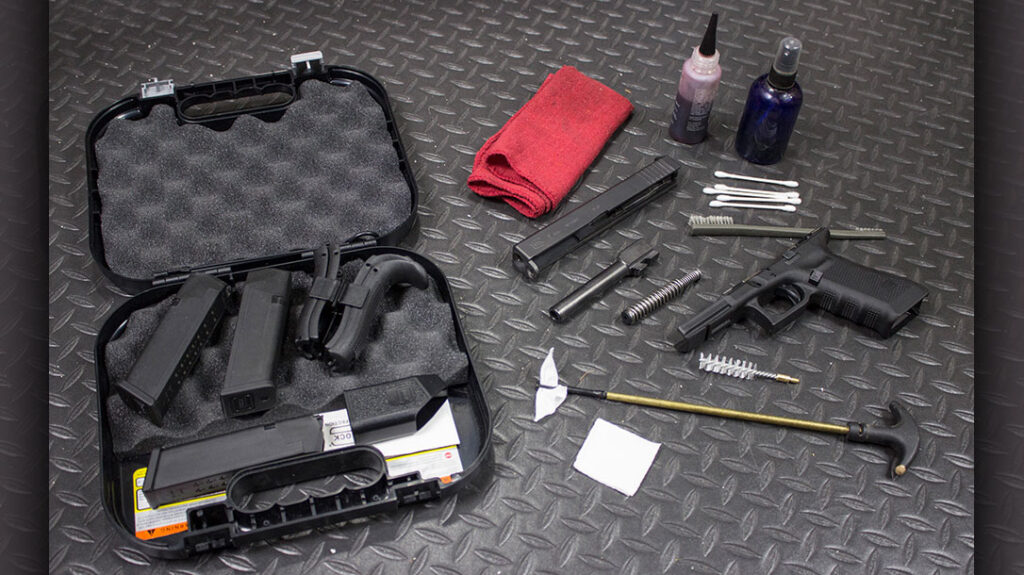
You will need:
Advertisement — Continue Reading Below
- A cleaning rag
- Cleaning patches
- A cleaning rod or cable
- A toothbrush or gun-cleaning brush
- Cleaner and or lubricant—many are combined into one formula now.
Safety First
There are countless stories of people cleaning their guns who end up firing a round-off. This is not an accident. It is negligence. Be smart, and don’t let a mistake be your claim to fame.
To be sure we are clear, first remove the magazine and empty it. Place the loose ammo out of your work area. Clear the chamber and check it multiple times. Finally, verify that the mag well and chamber are empty and free of ammunition.
Break it down
Advertisement — Continue Reading Below
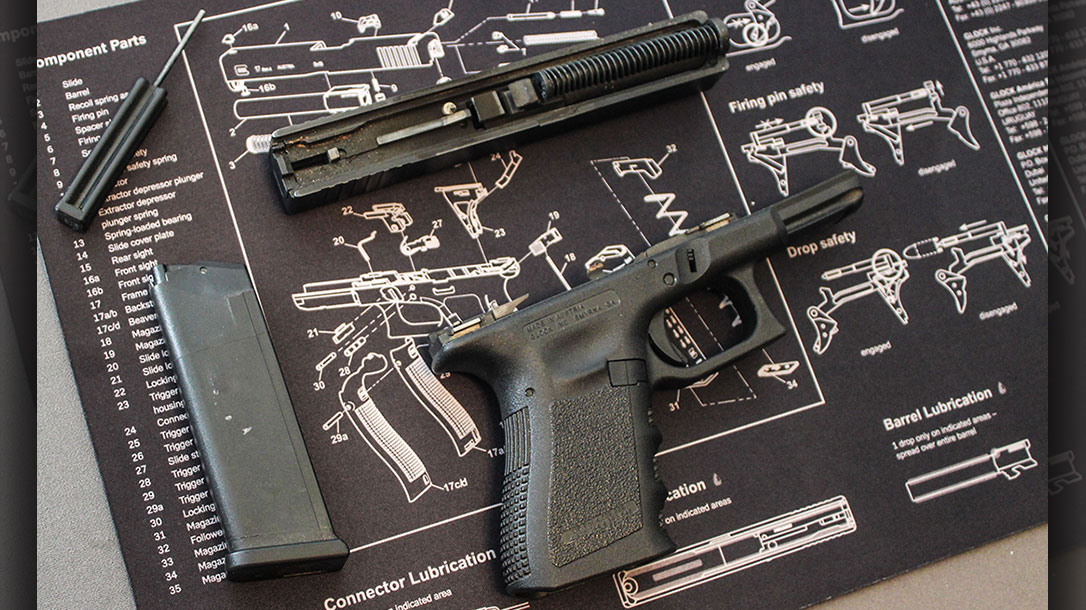
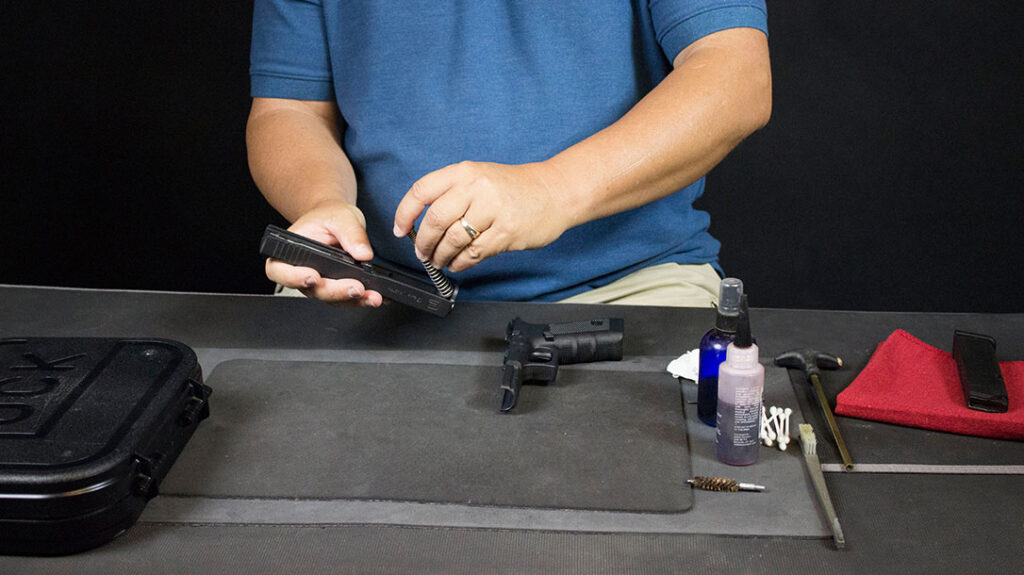
Now, we need to get the gun apart. In most cases, a simple field stripping is sufficient for our needs. Your owner’s manual will have detailed instructions on this process.
Most modern firearms are easy to break down. However, there are a few older pistols that may require some gun yoga to disassemble. My suggestion here is to utilize YouTube and have a magnetic tray to keep all the loose parts together.
Clean the slide
Advertisement — Continue Reading Below
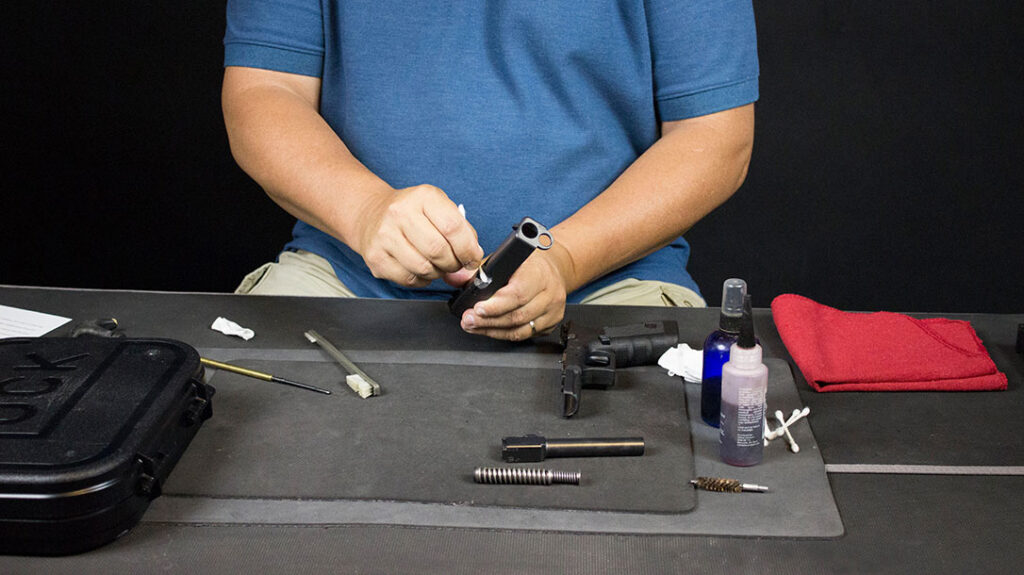
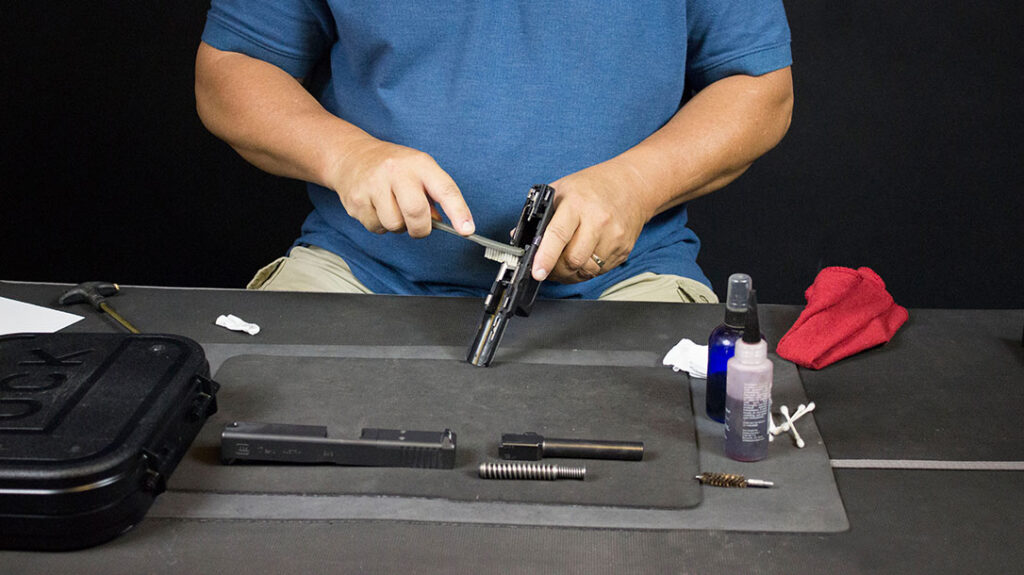
First up, we will clean the slide. The slide and barrel are where a majority of the carbon will be. Apply a few drops of solvent and use your brush to scrub debris loose. Be careful not to let oil or cleaner get into the firing pin channel.
Once the scrubbing is done, wipe the slide down to remove all the loose debris. If you are curious if you got everything, you could run a Q-Tip along the slide channel and nooks. Be warned that you may go through a case of Q-tips because gun grime is relentless.
Clean the Frame
Advertisement — Continue Reading Below
Now, we will clean the frame. Repeat what we did with the slide. Look for carbon deposits around the trigger well, especially.
Once it is all scrubbed, wipe it clean. I highly encourage you to use only cleaners that are recommended by the manufacturer. While popular on other guns, some solvents can leave a white, chalky residue on polymer grips.
Clean the Barrel
Advertisement — Continue Reading Below
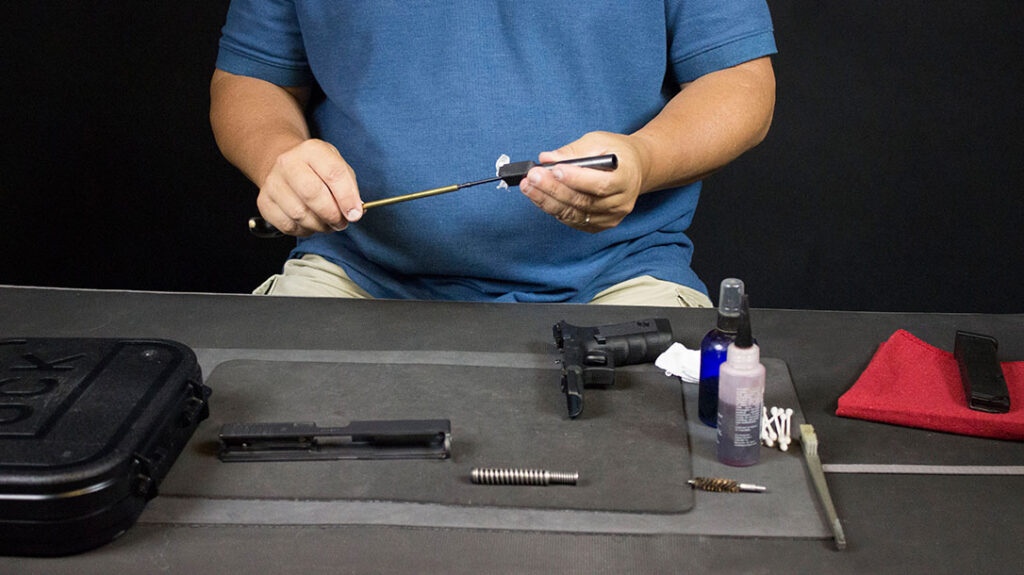
One of the dirtiest parts of the gun will be the barrel. Insert a cleaning patch with solvent from the breach and push outward. Continue this until the barrel is soaked.
Remove the patch holder, attach a bronze or nylon bore brush, and push it through from back to front. Now unscrew the brush, remove it, and pull the cleaning rod back through. Reattach the brush and push it through again, repeating the process as necessary until you loosen the carbon inside.
Now, reattach the patch holder and push the patches through until they come out clean. Like our Q-tip adventure, this can take a while, but stick with it, and it will soon be clean.
Advertisement — Continue Reading Below
Lubricate
While the gun is apart is a perfect opportunity to lubricate it. Follow the manufacturer’s guidelines for the application of lubricant. Contrary to a current myth, ALL pistols need lubrication.
The question I am often asked is, “Which oil is best?” OK, come here. Closer…I will whisper this in your ear. It doesn’t matter. As long as it isn’t made from unicorn horns or crocodile blood. Truthfully, most modern lubricants are made by the same automotive oil company and rebranded.
Lube your gun.
Advertisement — Continue Reading Below
Reassemble
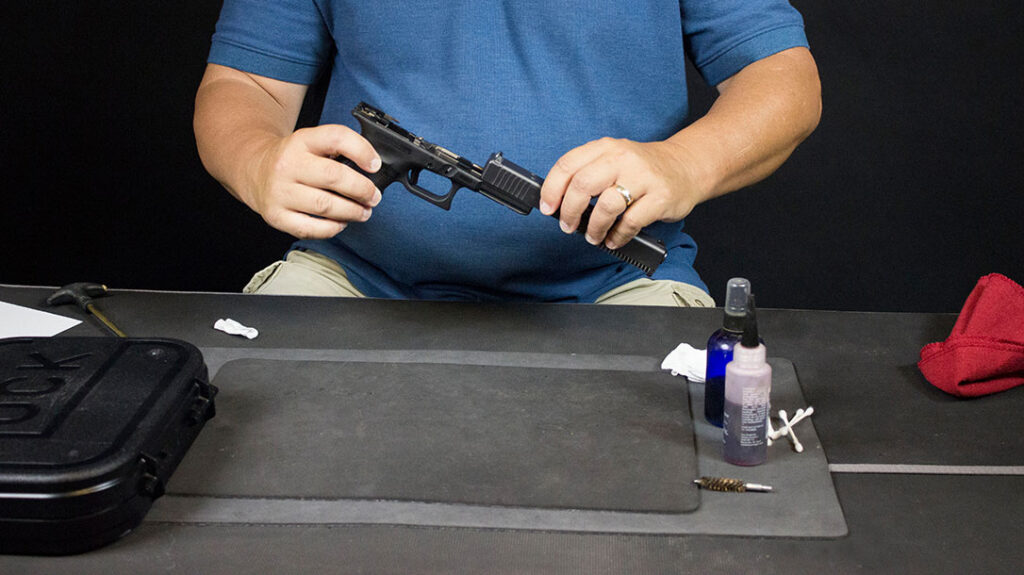
The gun is now clean and sufficiently lubricated, so it’s time to get it back together. Following the manufacturer’s guidelines, reassemble your pistol and perform function checks to ensure everything is in working order.
As I mentioned above, this is usually a straightforward process. If you get it all together and look down to see an “extra” part, check YouTube or your owner’s manual for proper assembly instructions.
I have found gun cleaning to be a relaxing and enjoyable process. The one takeaway I hope you get from this is simple. Take care of your guns, and they will take care of you.
