I am a believer that cleaning is essential to a happy life. It keeps germs at bay and keeps you healthy. Although not everyone finds the task enjoyable, I am more motivated when I have a clean, organized environment around me. But what about cleaning my handguns?
Cleaning Handguns for Beginners
Houses, cars, and yard work are not the only things that need to be maintained. Firearms also fall into that list. I thought cleaning a pistol would be chaotic, in your face and getting down and dirty where you would have to fight with it. I quickly learned my assumption was false, and it was an enjoyable process that calmed and relaxed me.
Cleanliness is Next to…
It is important to know why we clean firearms. Buildup inside the barrel occurs from the explosion of the cartridge. If this buildup is not properly taken care of, it can cause your firearm to jam.
Advertisement — Continue Reading Below
Cleaning maximizes the lifespan of your firearm. Lack of proper maintenance can lead to rusting, failure-to-feed issues, or even failure to eject a spent casing. You always want your firearm to operate at its top performance, and regular cleaning ensures your gun stays looking and shooting its best.
Plus, it is nice to get things back to their clean, sparkly new appearance. The satisfaction can be enough motivation to prompt you to maintain a clean firearm. In my personal opinion, cleanliness means well-taken care of. It shows respect and pride for the firearm, and I want that to translate into how a firearm looks.
Advertisement — Continue Reading Below
Each person is different in how often they clean their firearms. A good rule of thumb is to clean your gun after every trip to the shooting range. Sometimes in life, you just get the cake and but don’t get to eat it. So, if you don’t like cleaning, you just have to suck it up and do the job.
Cleaning a firearm is not as difficult as it looks, time-consuming yes, but worth it in the long run.
Preparing the Pistol for Cleaning
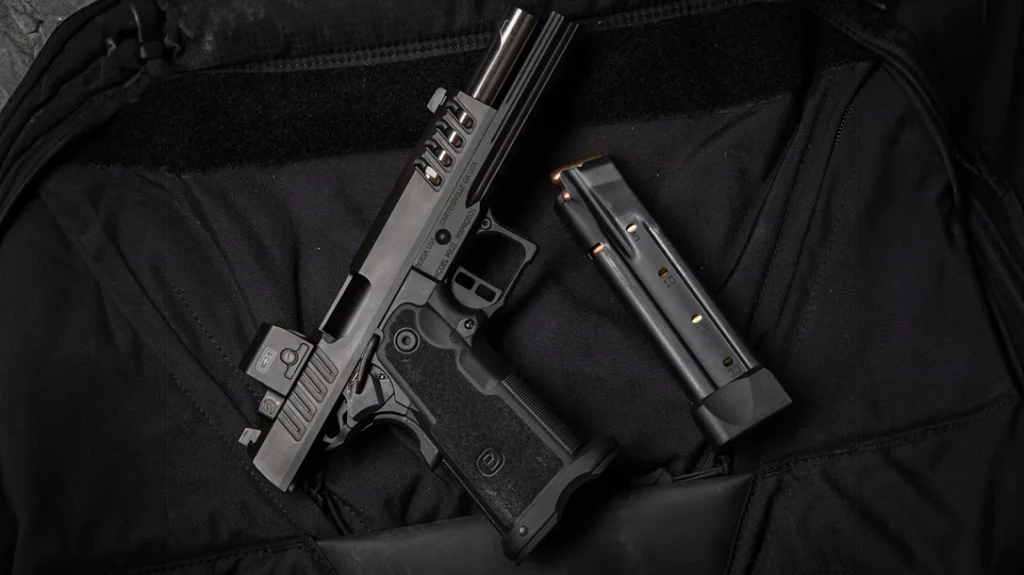
The first order of business is ensuring that the gun is unloaded and all ammunition is removed from the area. Then, recheck it to ensure that it is unloaded. You cannot be too safe when cleaning your handgun.
Advertisement — Continue Reading Below
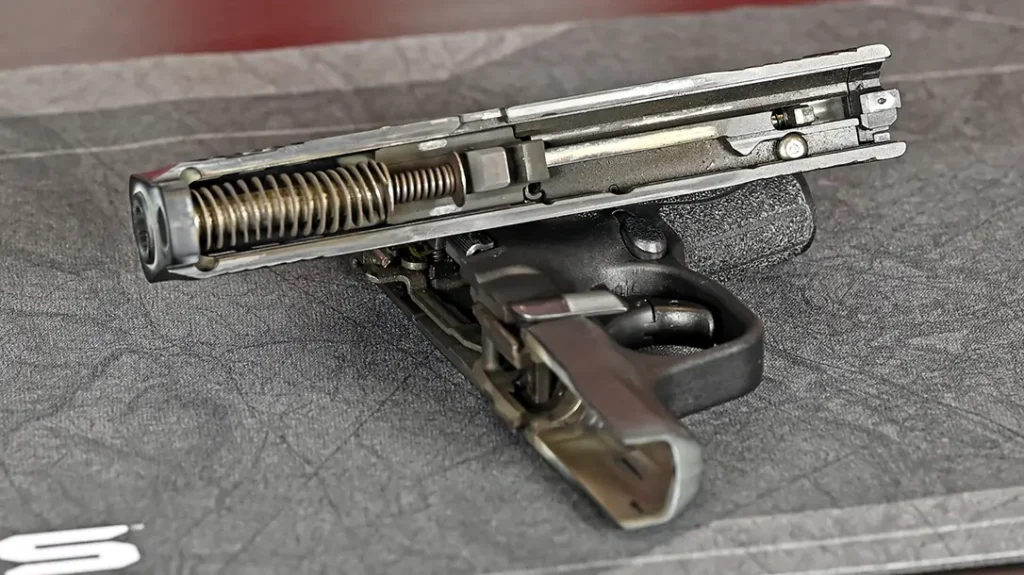
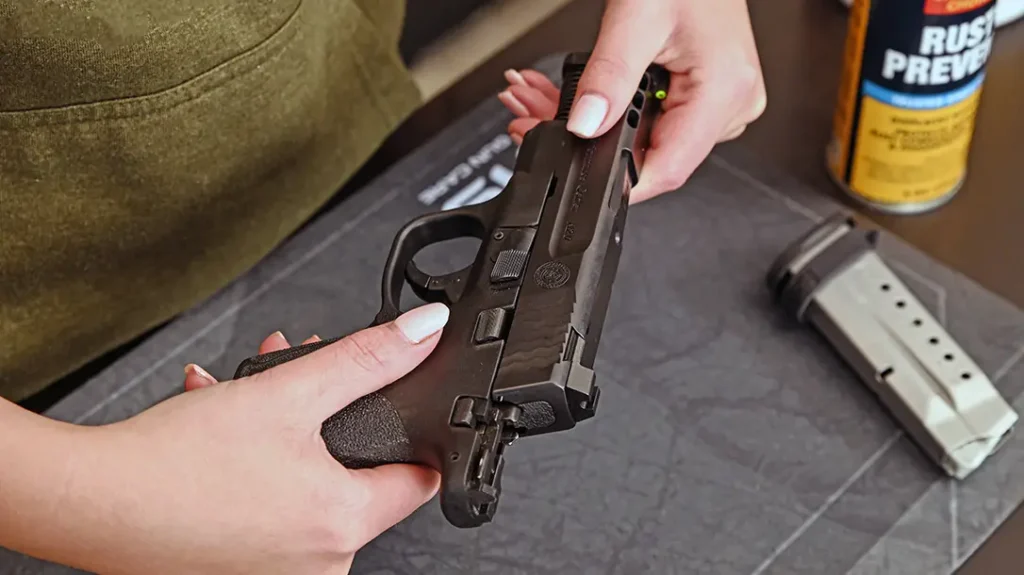
Next, follow the disassembly instructions in the user’s manual and take the gun apart. The firearm should be broken down into four main components for cleaning: barrel, recoil spring, slide, and frame. Each of these items would be cleaned and polished to the high heavens.
Then, place the disassembled firearm on a gun cleaning mat to ensure the gun doesn’t slide around. It is important to note that you do not want the magazine inserted. Again, the gun should be empty and cleared while you are cleaning.
Advertisement — Continue Reading Below
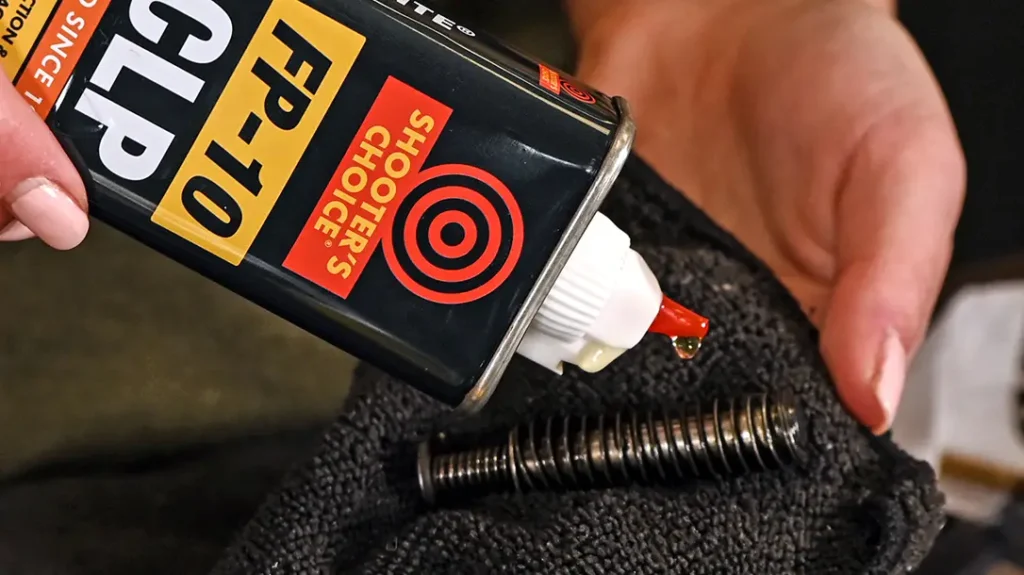
I began with the recoil spring by dabbing some Otis FP-10 CLP all around the inner workings of the spring. A microfiber towel helped me apply additional oil to the spring and wipe discarded lubricant away. The FP-10 CLP’s job is to clean, lubricate, and protect (hence the name CLP). I found less is more when using this product.
One of the most useful tools that came with the Sectional Rod Gun Cleaning Kit was a toothbrush. I took my time getting into the small areas my fingers could not reach.
Advertisement — Continue Reading Below
After I was satisfied with my work, I sprayed the Otis Rust Prevent Corrosion Inhibitor. Once sprayed, I wiped it clean with a microfiber towel. Rust Prevent preserves all gun metals, displaces moisture, and reduces friction and wear against a firearm.
Cleaning the Barrel
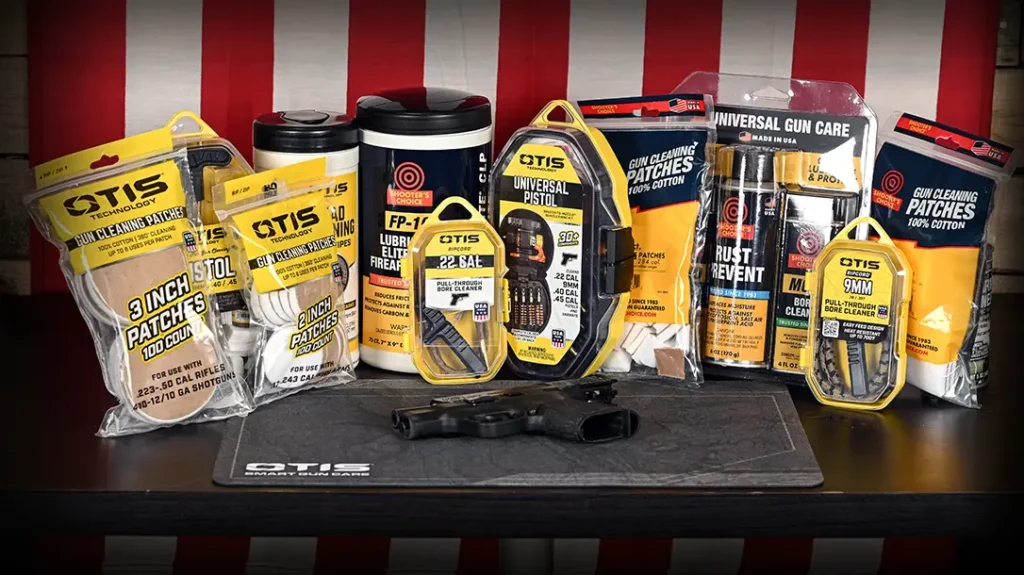
Moving onto the barrel, I was able to use the Sectional Rod Gun Cleaning Kit. This kit is a multi-caliber pistol cleaning kit that caters to .22, 9mm, .40 and .45 calibers. I was cleaning a 9mm pistol.
Otis Technology also offers a Universal Pistol Cleaning Kit that I did not use. However, I plan to keep it in my range bag to use on the go since it comes in a travel case.
Advertisement — Continue Reading Below
Rather than use the CLP oil, I used the MC-7 Bore Cleaner. This bore cleaner removes powder, black power, lead, carbon, copper, and much more. It is designed to be non-abrasive, keeping your bore safe and protected.
It worked the same way as the CLP oil, and I lathered the barrel with the Bore Cleaner. Then, I took the toothbrush and scrubbed away to get an initial cleaning done. I repeated this process a couple of times, wiping away with a microfiber cloth as I did when cleaning the recoil spring. Then, I went in with a more intense cleaning method to get all the harder-to-reach spots.
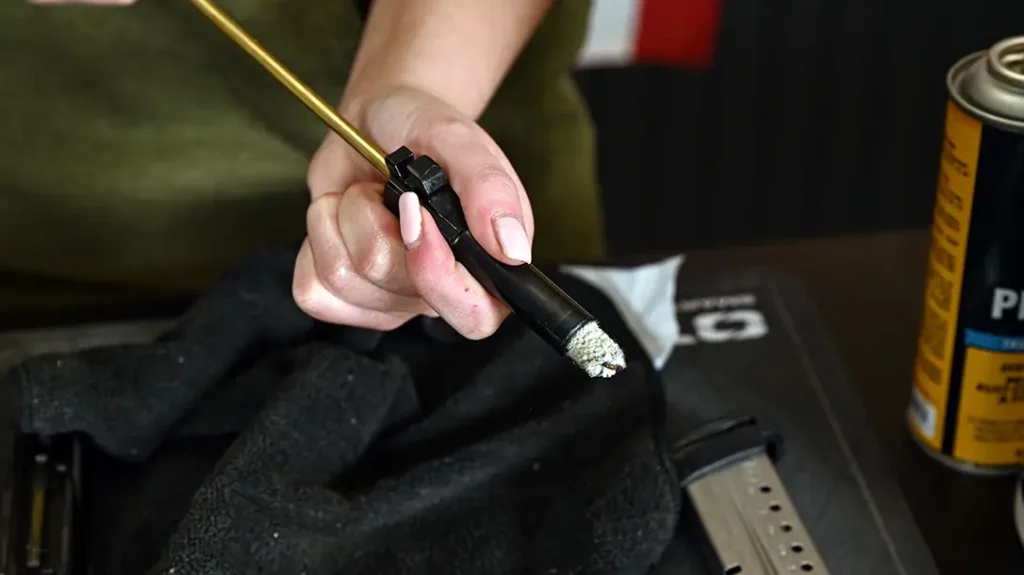
In the Sectional Rod Gun Cleaning Kit, I used both bronze brushes and cotton mops to make sure the barrel was re-lubricated. Using one at a time, I attached each of these to the brass rod that came with a swivel handle for easier cleaning.
After this quick clean, I attached cotton patches onto the pierce-point jags and pushed these through the barrel. All the steps could seem mundane and pointless to some, but I thoroughly enjoyed it. I knew what my end goal was—to make this firearm look brand new.
Using a Pull Through Bore Cleaner
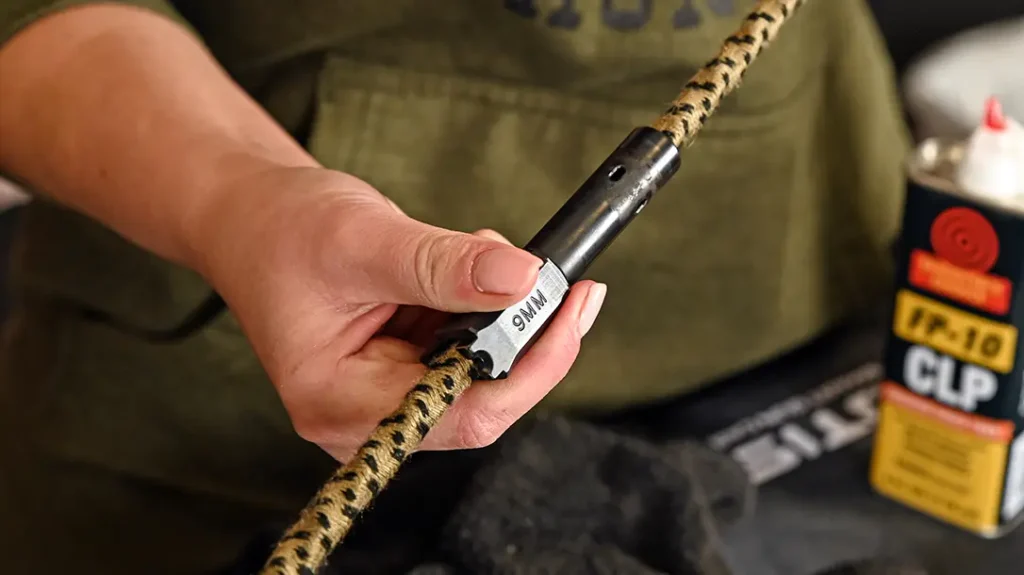
Next, I went in with the 9mm Ripcord Pull Through Bore Cleaner. The 38-inch ripcord was easy to glide through the barrel and had a T-handle for easy gripping. The longer, narrower end was inserted in the chamber and pulled through and out the muzzle.
I made sure to re-lubricate the barrel, opting out of applying it directly onto the ripcord. After a final wipe down with the microfiber cloth, I was satisfied and placed it next to the other clean firearm parts.
Cleaning the Slide
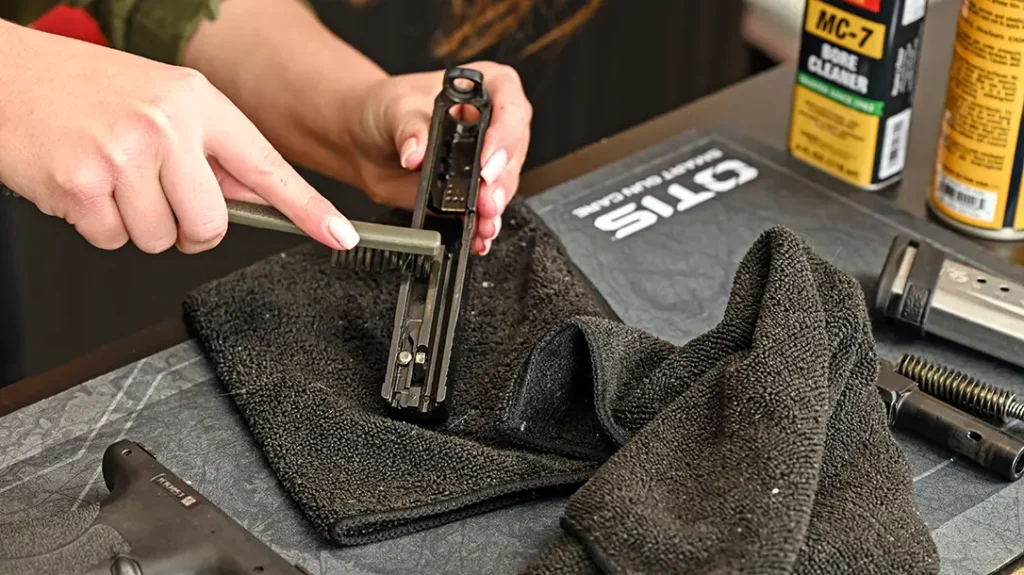
The slide was simple to clean. I used the CLP oil and the toothbrush to get my cleaning started. I even used FP-10 Lubricant Elite CLP Firearm Wipes, which worked wonderfully for quick touch-ups. This would be a great option after a range day if I do not have time to clean my gun.
Using the brass rod with a cotton patch attached, I lathered the CLP oil all around the slide. Eventually, I decided to keep using the toothbrush and worked with an eagerness to get the job done.
Cleaning the Frame
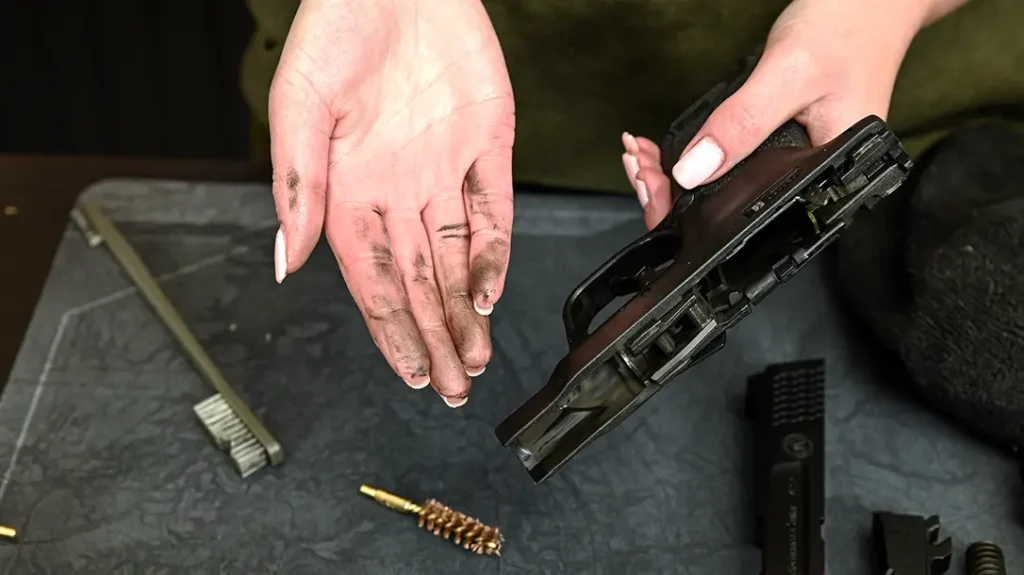
The frame was the most intimidating. Seeing all the internals made me afraid to get oil on parts that should not be touched. Yet, I was informed that nothing could hurt the firearm and quickly got to work.
I did not want to get too greedy with my application of lubricant. Apply a little here, scrub with the toothbrush there, and make sure you wipe away. I used the brass rod again, alternating between the cotton mops and the bronze brushes.
Once done, I went in again with the wipes and re-wiped all the parts down because I am a perfectionist.
Lubricating the Pistol
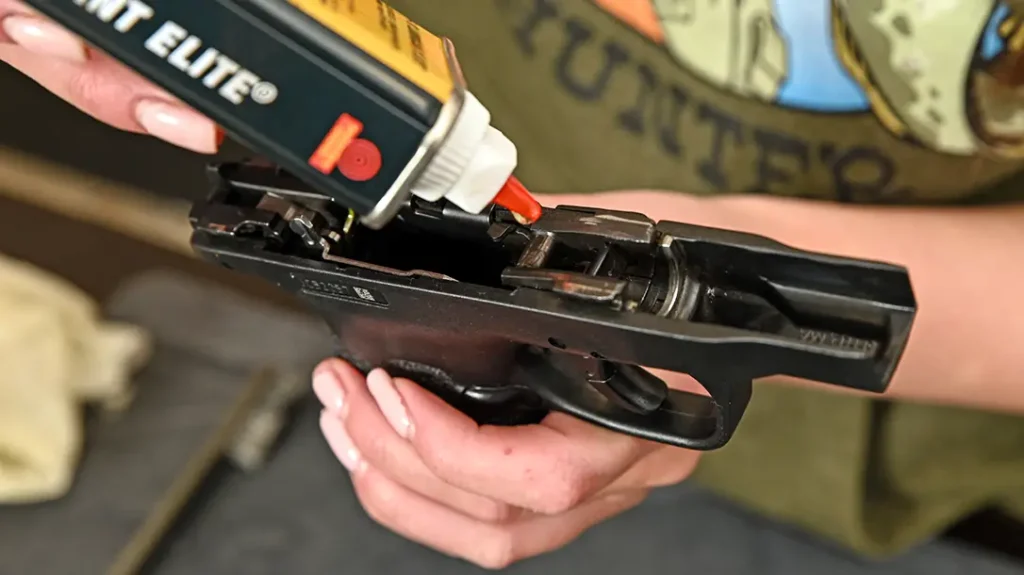
The second to last step was applying lubricant to all the springs. The tiniest drop possible did the trick. If you do not properly lubricate your firearm, your gun can have a harder time operating. Not to mention, moisture from sweat and the environment can cause a firearm to corrode and form rust.
Like a puzzle, all the parts fit back together. Once together, I had a quick inspection of the firearm. I learned that too much oil is not a good thing and that afterward, you should pull the trigger multiple times to see if any oil leaks out.
It is not the end of the world if it does. You just want to ensure that you wipe it clean and remember that less oil is needed next time.
With a stack of wipes and dirty cotton patches around the table, I was satisfied and could admire my work. Afterward, I used the Lead Cleaning Hand Wipes that Otis offers. Please remember that these wipes are not for use on firearms. They are made to quickly clean up lead and metals on your skin.
Even with the wipes, I still washed my hands with soap and water.
A Clean Handgun is a Happy Handgun
The act of cleaning was a great way to get out of my head and focus on the task at hand. I was having my own meditation session cleaning the handgun. All the problems of the outside world did not matter as I focused on making this pistol sparkle.
I would not have gotten the job done without all the supplies I used from Otis Technology. I admired each step along the way. The kits were easy to use, and the formula of the oils was a breeze to work with as a first-time gun cleaner.
With a little time, patience, elbow grease, and the right tools, cleaning a firearm is an easy way to ensure high performance and a happy gun owner.
For more information, please visit OtisTec.com.