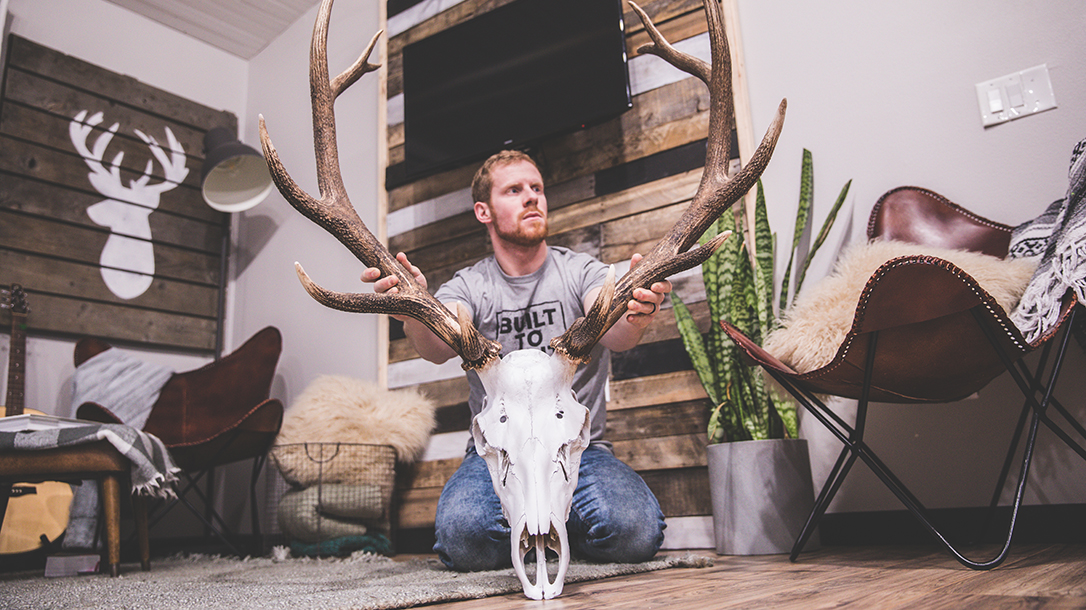
All of the big-game mounts in my home trigger fond memories of successful past hunts, and I admire them often. Among them are many European mounts, which are game skulls I’ve cleaned and whitened myself to avoid the $500 taxidermy bills for shoulder mounts. Here’s how I completed a European mount of a large bull elk I arrowed on public land.
Making Your Own European Mount
Step 1. Remove the Cape
Firstly, using a scalpel, I cut and peeled the hide from the skull. If you intend to sell the cape (where legal), employ the Y-cut (Google this for a diagram), but take care not to cut holes in the cape.
Step 2. Clean Off Muscle & Tissue
Then, I cut as much muscle and tissue off of the skull as possible, even removing the elk’s tongue, eyeballs, and lower jawbone. It’s wise to wear latex gloves during this step.
Advertisement — Continue Reading Below
Step 3. Antler Preparation
Wrap the antler bases in foil. I did this to prevent discoloration and the formation of fat and soap scum on the antler bases.
Step 4. Simmer The Skull
I submerged the skull in a pot full of water, then dribbled in some dish soap. The cooking time also varies depending on the stove and the size of the skull. The elk skull that I mounted for this article required approximately six hours of cooking to loosen all of the tissue.
Step 5. Power Washing

Advertisement — Continue Reading Below
Power washing is the easiest method I’ve found to blow the tissue and brain matter from the skull. Outside, I secured the antlers so the power washer didn’t blast the skull away, which could cause irreparable cracks or breakage. Also, be sure to avoid getting the power washer’s tip too close to the nose bones, as they could break from the pressure. Continue power washing until the skull is clean.
Step 6. Whitening The Skull
Cheap hair-bleaching kits or industrial-strength hydrogen peroxide work well for whitening the skull. Also, make sure you wear gloves to avoid painful burns. Then, wash the solution away and let the skull dry before displaying.
Lastly, with my elk skull, I simply spray-painted it with a white primer/paint combo. It’s important to cover the antlers and spray carefully to avoid getting white paint onto them. Now I have a trophy that will trigger fond memories for the rest of my life, and I paid virtually nothing to create it.
Advertisement — Continue Reading Below
4 Reasons Why You Should Consider a European Mount vs. a Shoulder Mount
There are several reasons why a European mount is worth the effort.
- European Mounts Save Time and Money. As demonstrated above, all you need are a few affordable items to get an animal ready for the wall and there’s no waiting on a taxidermist in order to get your mount back.
- Consider This a Weekend Craft Project. Surely you’re riding high off of a successful hunt, now you get an excuse to spend more time attending to your hard-earned harvest. Beats having to clean the garage, am I right?
- European Mounts Always Look Great. With just the skull and the antlers on display, you don’t have to worry about dusting off fur, UV damage, or the hide breaking down over time.
- You Can Get Creative. You don’t have to stop after whitening the skull. There are European mounts out there that hunters have painted, carved, or added beadwork to give the skull a more unique look that will quickly become a conversation piece.
