One of the challenges we face in the shooting world is transitioning from the square range to everyday Life. Nowhere is that more evident than in accessing our guns. Most people train in an open carry setup when on the range. While that allows us to get good trigger time to work on fundamentals, it doesn’t help with our draw from concealed. Let’s take a few minutes today to refresh our memories on what a good draw from concealment should look like.
You Will Only Have a Spilt Second to Get Your Gun Into the Fight.
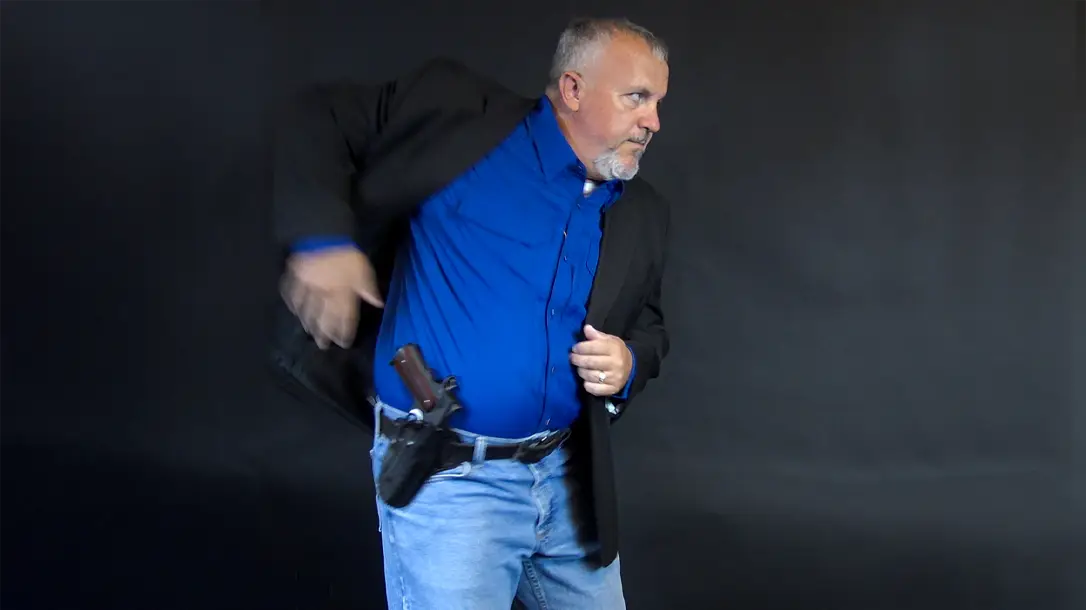
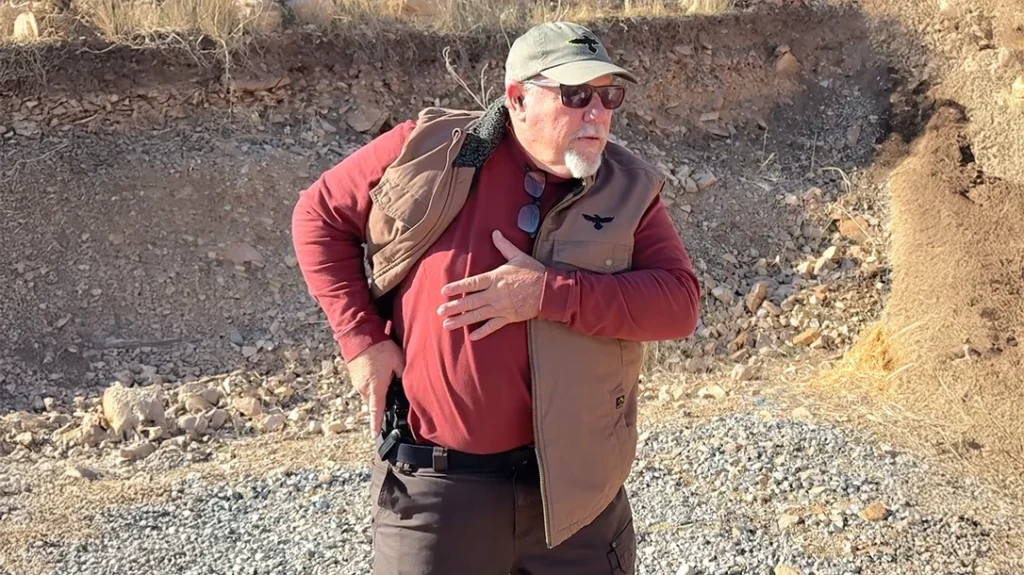
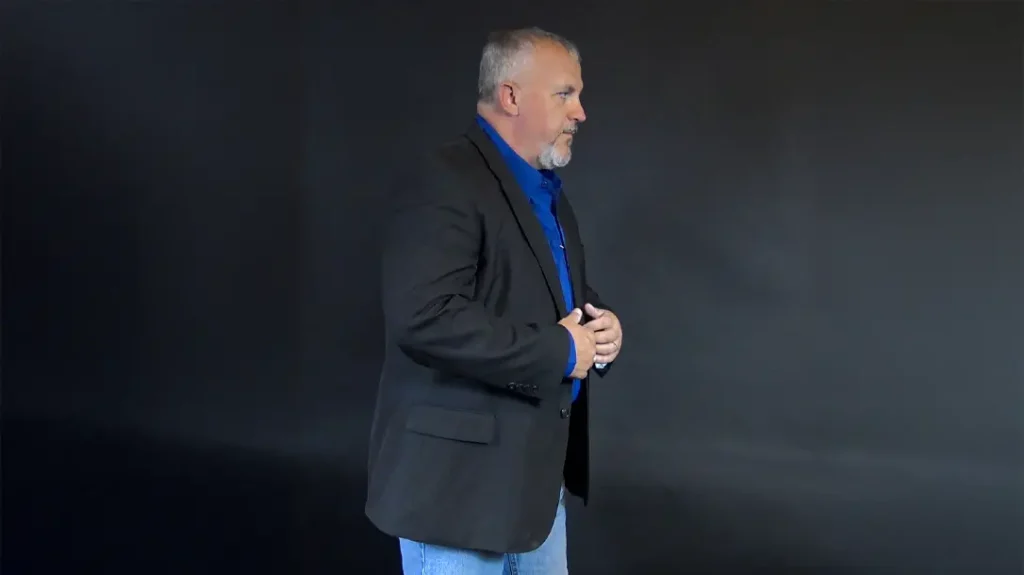
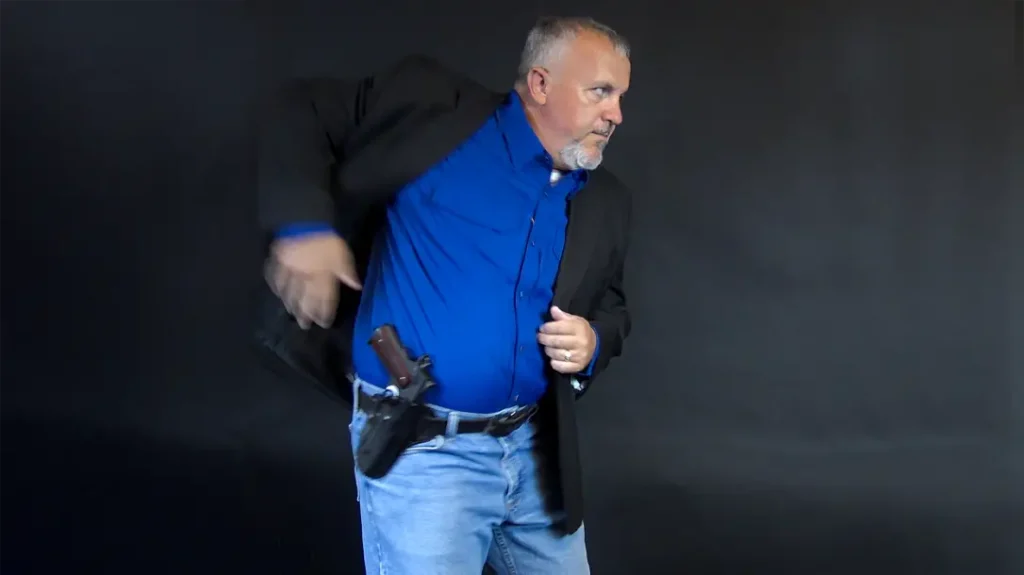
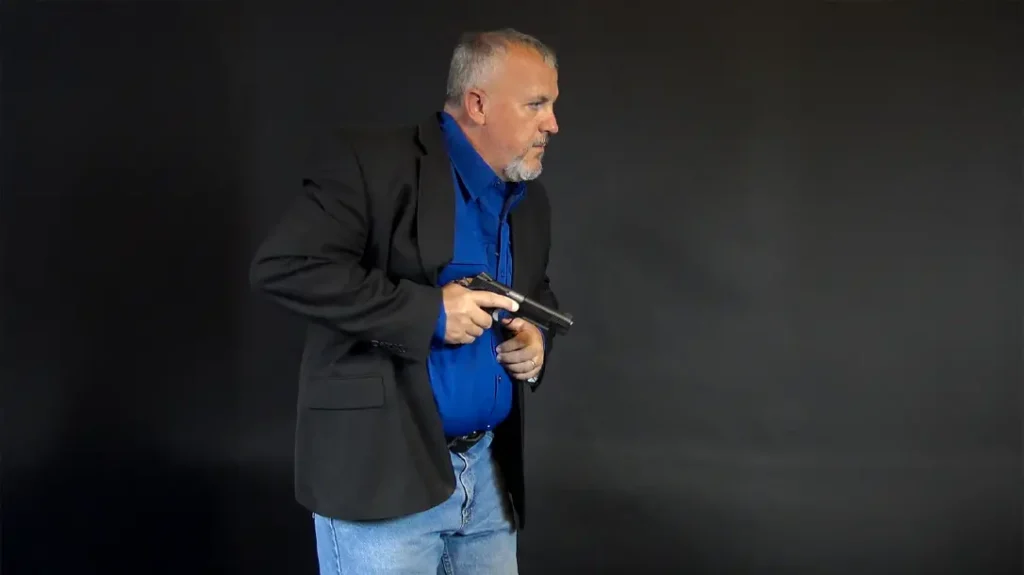
There are a variety of ways that people can carry their weapons concealed. One of the most common is simply under a jacket. This is very prevalent, especially during cold weather. That said, our first goal is to clear our outer garments. I use my strong side hand with a jacket and create a hook with it. Now, I draw my arm to the rear, hook my jacket with my hand, and sweep it back behind me as far as possible. The reason for this is I don’t want it to interfere with my concealed draw. At the same time, I am putting my support hand on my chest at the sternum level. This is to help position the hand for coming steps and to protect it from being shot.
Advertisement — Continue Reading Below
Get Your Firing Grip
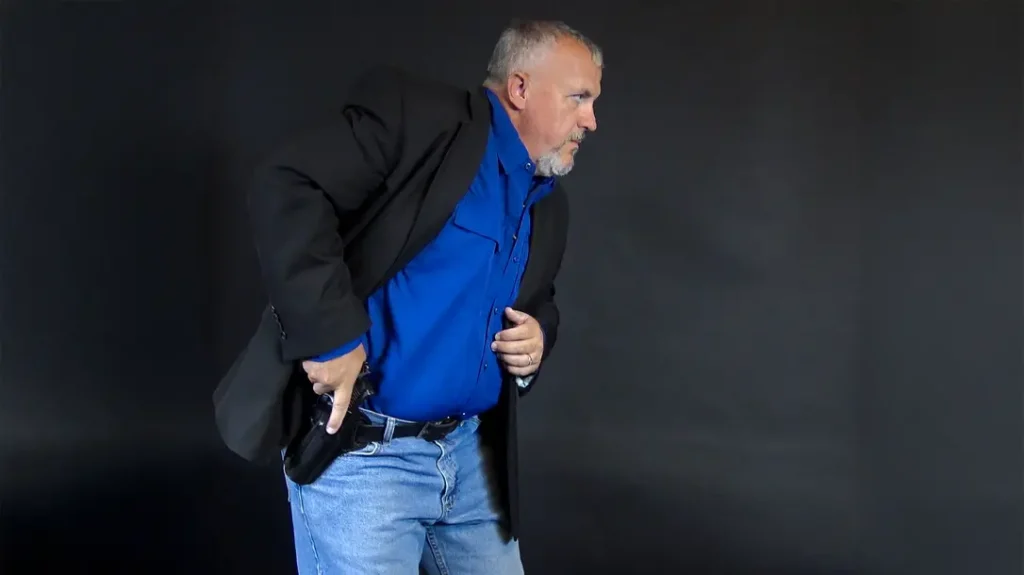
Now that the garment is cleared, we need to index our handgun. With your strong side hand, come down onto the back of your pistol and establish your grip. This grip should be identical to your actual shooting grip. This saves us time and hopefully makes us more effective. The web of your strong side hand should sit high on the grip with your elbow still close to the side of your body when drawing from concealed.
Advertisement — Continue Reading Below
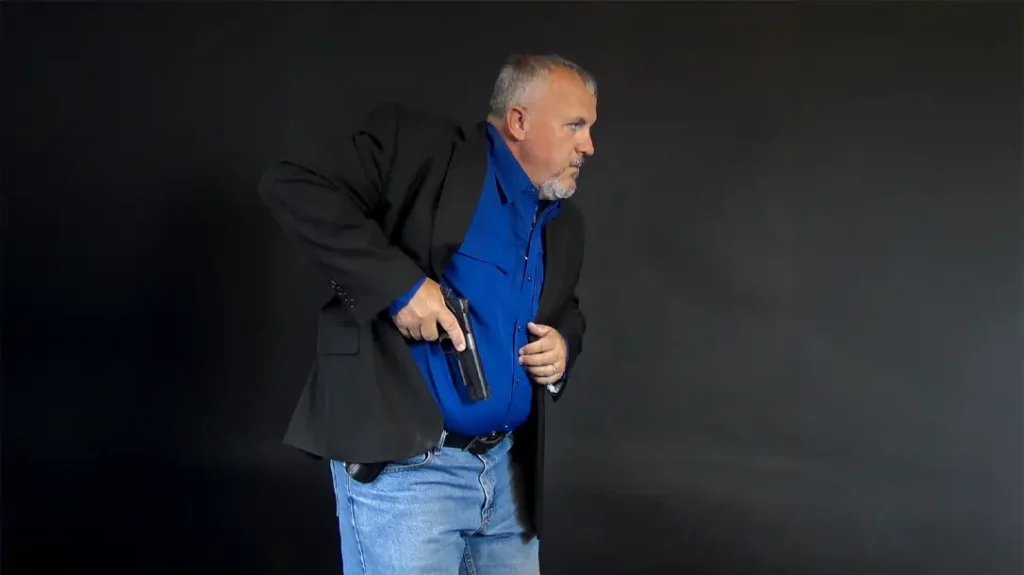
Step three on our draw is to clear the firearm out of the holster. With one smooth, quick motion, draw your pistol straight up and out of the holster. The smoother you can draw the gun out of the holster, the less resistance you will encounter. The drawstroke should bring the pistol up to your mid-rib area.
Step four is to bring the gun’s muzzle onto the target. This is accomplished by simply dropping the elbow and allowing the pistol to pivot up, with the muzzle ending up on target. It is important to eliminate any unnecessary emotion.
Advertisement — Continue Reading Below
Hand Come Together
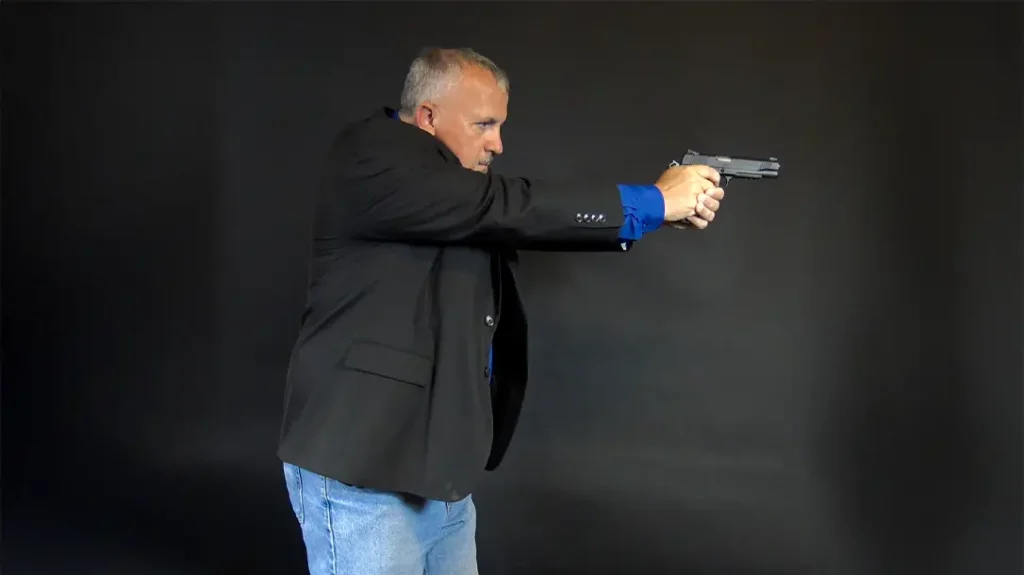
Step five incorporates our support side hand with the shooting hand as we push the pistol forward. To accomplish this, the support side hand slides across the chest and meets up with your strong side hand and pistol as it pushes out. Once again, we want a very smooth motion. It is also at this point where the finger goes on the trigger.
The final step is extending our arms and pistols to the optimal shooting position. The finger is on the trigger, the slack is removed, and the gun is 100% on target. We now decide whether to shoot.
Advertisement — Continue Reading Below
Drawing from Concealed – Reholster
To reholster from this position, we simply rewind. First, the finger comes off the trigger. My support-side hand now goes back and pushes my jacket out of the way. As this happens, I press my strong-side elbow against my body as I draw it rearward. This allows that arm to actually assist in keeping the jacket out of the way. Now, we tilt the barrel down towards the holster and slowly and reluctantly reholster the handgun after drawing from concealment.
While I have laid this out as six steps, other instructors may lay it out in more or even fewer steps. Regardless of the number of steps, the motion remains the same. This is a complete draw stroke from concealed. You should practice this with the same regularity as any other part of your shooting. Without a clean and fast draw, drawing from concealed will be more difficult if you are ever presented with a life-or-death scenario.
Advertisement — Continue Reading Below
For more information, visit: http://www.gunsite.com
