Law enforcement officers, rookie and veteran alike, are usually pretty opinionated. Discussing anything from politics to sports can and probably will bring about a lively discussion between people who are in our chosen profession. However, I have found during my career that some of us do not exhibit that same kind of assertiveness and proactivity when it comes to setting up the gear worn every day of our lives while out protecting both our fellow citizens and each other. This article is designed to discuss my thoughts and advice on some correct ways to set up patrol gear and possibly give you some new ideas to take back with you into the field.
Pistol Placement
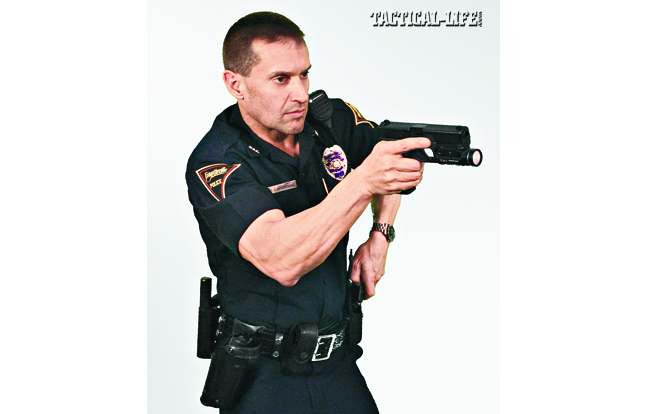
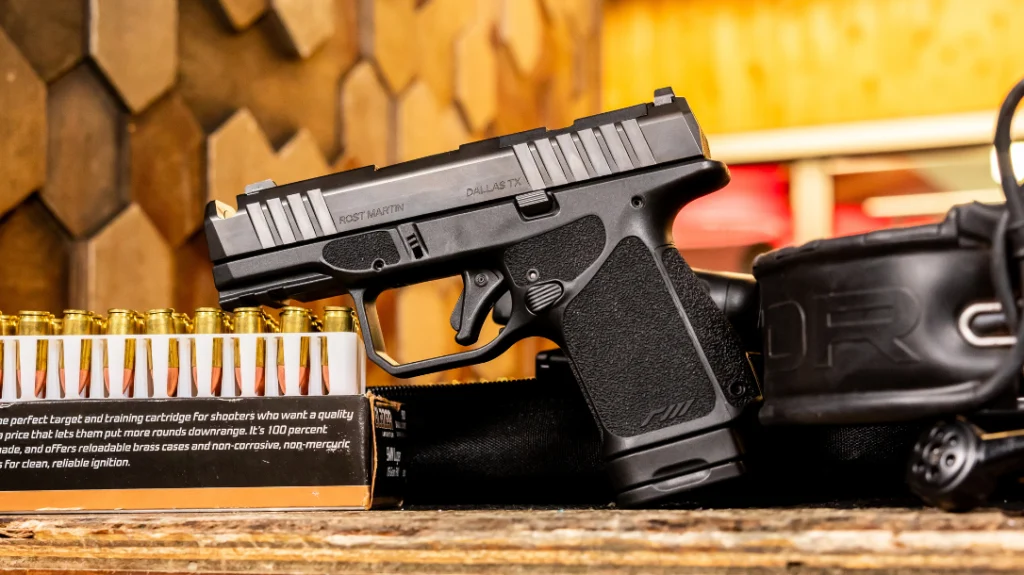
I want to start with placement of the duty handgun on the belt because, in my opinion, the gun is the most serious implement on the belt and, if needed, the one item that simply has to be available in a nanosecond. For almost every application in law enforcement, the service handgun should be located on the shooting-side hip at the normal belt line of the officer. The draw must be unimpeded and needs to be a hand and arm motion only—not something involving the shoulders or the entire upper part of the body. Simply put, the officer needs to be able to complete the draw without moving anything except the hands and arms. There are too many varieties of holsters and holster accessories to get into which one does what better, but suffice it to say that, with so many variations available, there is no excuse for contorting the body during a drawstroke. Almost every manufacturer of law enforcement gear makes extensions and various adjustable additions.
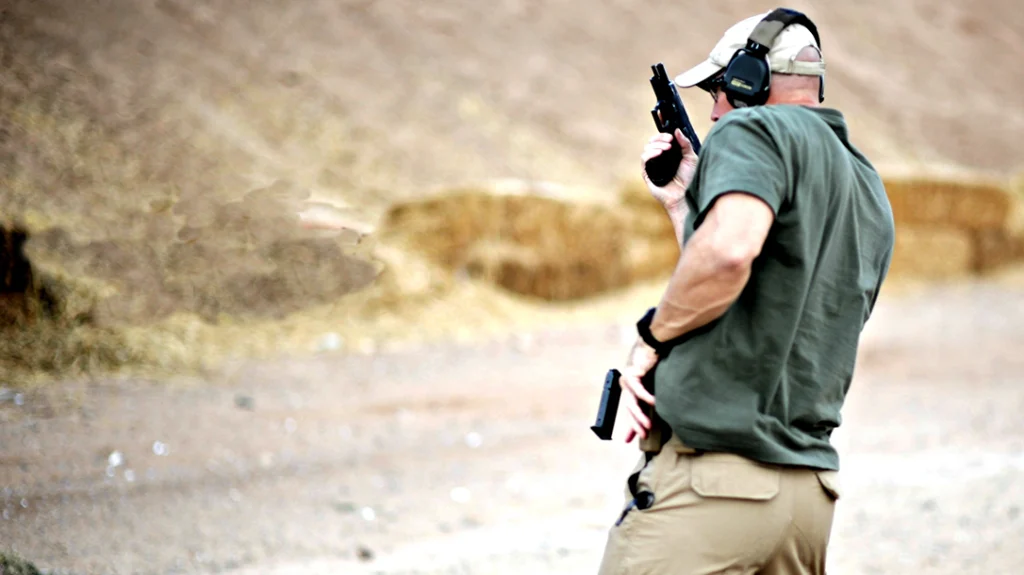
One of my biggest pet peeves when conducting law enforcement training is when officers look at their holster while performing the draw or while reholstering. Not only do we need to be able to conduct our drawstrokes without looking at our holsters, but we should also be able to recover back to the holster without having to look at it. This is important because of the habits we will unconsciously begin to build if we perform this step incorrectly, thereby committing the mistake to memory and starting to place that into our subconscious. The reason for this is easy to understand but needs to be repeated: If we have drawn our handgun on a suspect, it stands to reason that we need to keep our attention on this suspect—even if we are in the act of going hands-on or changing force options. If we teach ourselves to look at the holster when returning the handgun to it, we are teaching ourselves to take our eyes off of the suspect, placing us and our fellow officers in grave danger at that point.
Advertisement — Continue Reading Below
After getting the handgun placed properly onto the belt, we move to the ancillary equipment in front of and behind the handgun. First of all, nothing should be placed behind the grip of your pistol—and I do mean nothing! When Murphy rears his ugly head, anything you have placed behind your pistol is going to block your access to the handgun and impede the drawstroke. I recommend placing one of your belt keepers (if you use them) at a respectable distance behind the pistol to keep any gear from sliding over to the gun area unnoticed. Note that these recommendations are just that—recommendations. This is one way to set up your gear, not the way.
Ammo, Batons & More
As to the area in front of the duty handgun, a few things need to be considered, including agency policy and the officer’s needs and likes. I have always been a fan of keeping my force options separate on my belt, meaning my less-lethal options are on the support side only or I’ll put them in front of my handgun so that I can access them with either hand. If your agency has a policy requiring you to wear your magazine pouches on the shooting side of the body, wear them horizontally in front of the pistol to enable smooth magazine changes, undertaken with the tip of your index finger placed on the top round in the magazine. If you have the liberty of placing your pouches on either side of your body, wear them on the support side, in the appendix area of the belt, with the rounds facing forward, enabling, like horizontal carry, smooth mag changes with your index finger touching the top round in the magazine.
Officers will now have, on one side or the other, an open area on the appendix section of the belt. It’s a space well suited to placing a collapsible baton or an electronic impulse device. Again, these should ideally be accessible with either hand. I recommend that officers take the time to try out which way works the best for them in a sterile environment before hitting the street with any new setup. The area directly opposite the duty handgun on the support-side hip is available for mounting a patrol/safety knife. I know this may sound elementary to some of you, but believe it or not, some officers still don’t understand that the knife worn in this manner is ideal if is to be used in a self-defense kind of incident. If an officer is involved in a struggle for his or her duty handgun, the shooting hand will most likely be tied up attempting to maintain control of the handgun. Worn on the support side, the knife is now available as a lethal-force option, and if needed for rescue purposes, it can be easily accessed with the support hand and then transferred to the dominant hand.
Advertisement — Continue Reading Below
Moving around to the rear portion of the belt now, officers can decide which side is best for them, but should certainly keep in mind that they want to be able to withdraw any of their gear—including handcuffs, flashlights, full-sized batons and any other equipment—without the need for looking around on the belt. The absolute most important thing to remember about the rear portion of the belt: Do not place anything directly on the base of the spine, right in the middle of the belt. Reserve that area for keepers and keep that area clear of obstructions in case you are knocked down or fall so as not to injure the spinal cord or base of the spine.
These are some things to keep in mind well before ever needing any of these items during a critical incident. All officers have personal preferences when it comes to arranging their duty belts. The key is discovering, through forethought and a little trial and error, what works best for you. The exact location of a given item may seem small in the grand scheme of things. But in critical situations, the small things get magnified—sometimes to life and death proportions. In a job that places lives on the line daily, it pays to be thoroughly prepared. Remember, failing to plan is simply planning to fail.
