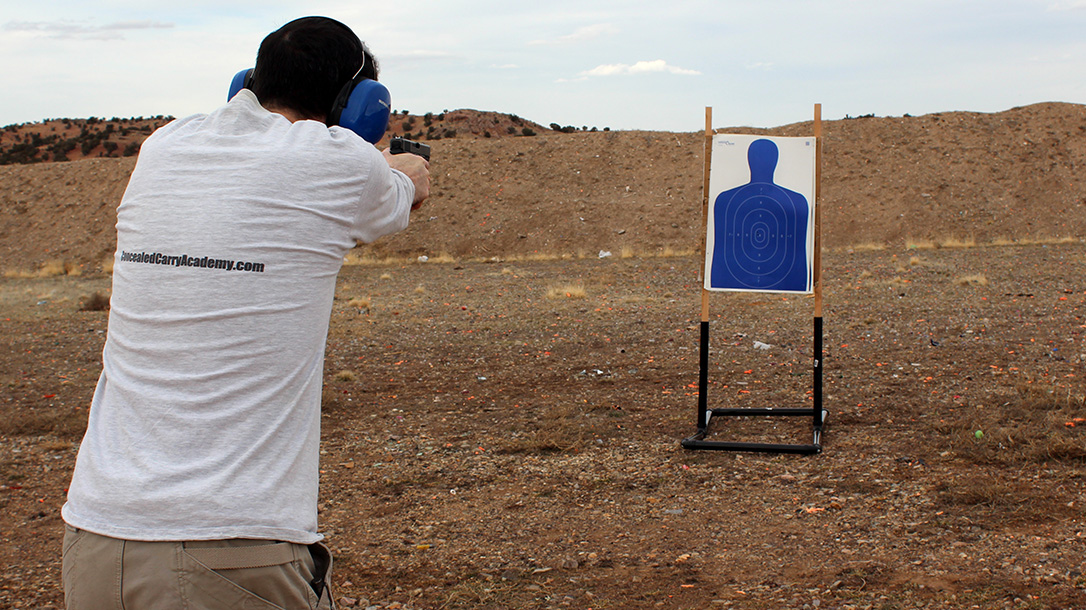
Unless it’s the middle of winter and -12 degrees Fahrenheit outside, I’d much rather be shooting and training outdoors than at an indoor range. There’s just something special about shooting in the fresh air out in the open. Plus, depending on where you shoot outdoors, you don’t have to worry about paying range fees, standing in long lines or being right next to the guy shooting a cannon as you’re trying to teach a new shooter.
The thing is, when you go shooting outdoors, you often have to provide your own targets and target stands. For a lot of folks, this simply means bringing bottles, cans, old TVs or anything else shootable that’s lying around the house. There’s certainly nothing wrong with this, as long as you clean up the mess when you’re done. However, when I’m shooting in the mountains of southern Utah, instead of using bottles or cans, I typically bring along one of three target systems to help improve my skills. Each target system is easy to build and only takes a few minutes to assemble. Believe me, if I can put them together, you can too — I’m not exactly known around my house as the next Bob Vila. Plus, almost all of the supplies can be purchased from Home Depot or Lowes for just a couple of bucks.
Advertisement — Continue Reading Below
DIY Targets — The PVC Stand
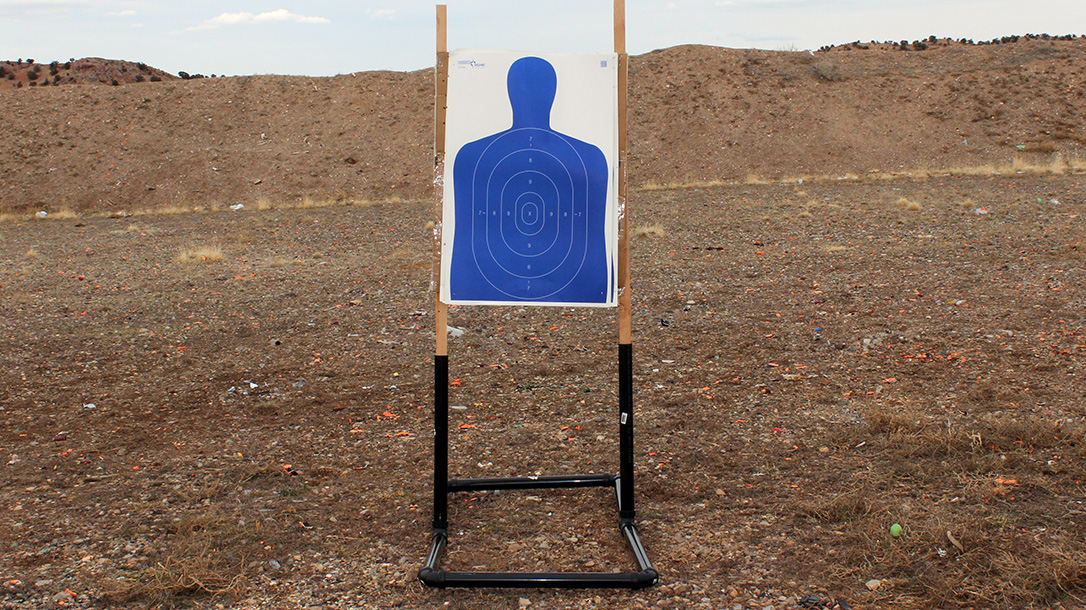
The first target system is a very simple PVC stand. If you were to look into the back of my Toyota 4Runner right now, you’d see this stand, which breaks down into several pieces for easy transportation. To build it, you need eight pieces of black ABS pipe that measure 1.5 by 24 inches. This size is easy to find pre-cut if you want to keep your workload to a minimum, or you can buy a long piece of pipe and cut it yourself. Next, you need two black ABS connector “tees.” These hold the pieces of pipe that go vertical, which in turn hold up the target. You also need four black ABS “elbows,” which connect the corners of the base to form the square. Lastly, you will need two wooden furring strips cut to 58 inches in length.
With these materials ready, it will literally take you about 15 seconds to assemble the target stand. Once it’s assembled, staple a piece of cardboard (approximately 23 by 35 inches) to the furring strips and then put up the target of your choice. One of the many good things about this stand is that, thanks to its wide base, it doesn’t tip over easily, even in the windy conditions that I often find myself shooting in.
DIY Targets — Ringing Steel
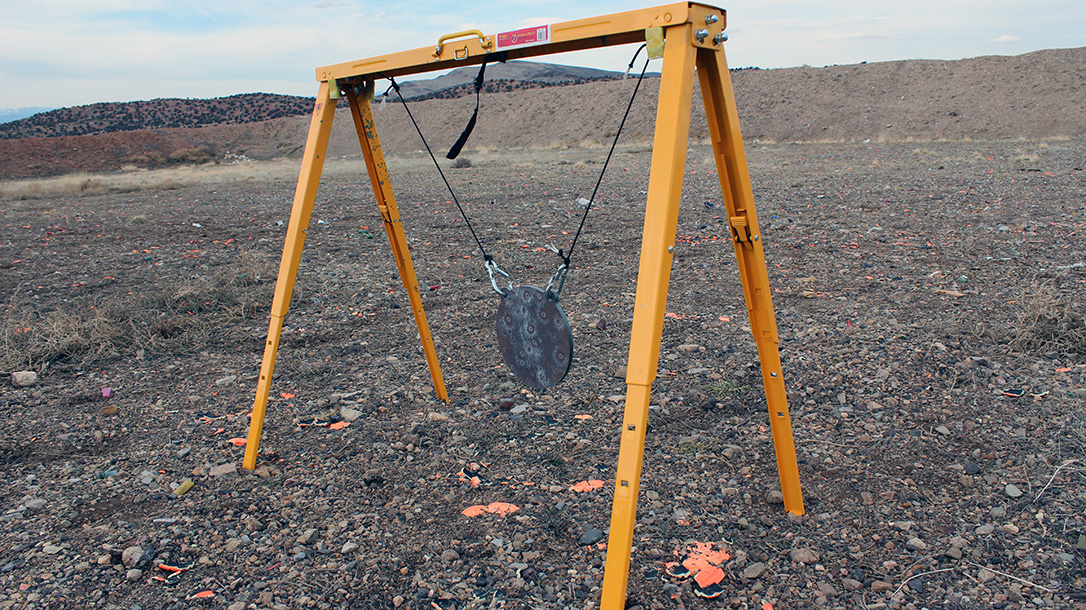
If you thought the PVC target stand was easy to make, this next one is even simpler, and it’s what I use when I want to shoot steel. First, buy a steel plate (or, if you’d like, make your own). I’m not handy or patient, so I purchased a 0.5-inch-thick AR500 steel plate that’s 8 inches in diameter. Once you’ve got your plate, you need a way to hang it. I use a folding sawhorse that collapses to fit in my vehicle. I paid $30 for a metal sawhorse, but you could obviously build your own if you wish.
Advertisement — Continue Reading Below
To hang the steel plate, I use two carabiners and rope. You can’t tie the rope directly to the steel plate, because the sharp edges eat right through the rope. Instead, take the carabiners and clip them to each hole in the plate and then tie the rope around each carabiner. Once you’ve done that, you’re all set to shoot steel. Just remember to put the target at least 10 yards away for safety purposes.
DIY Targets — The Mover
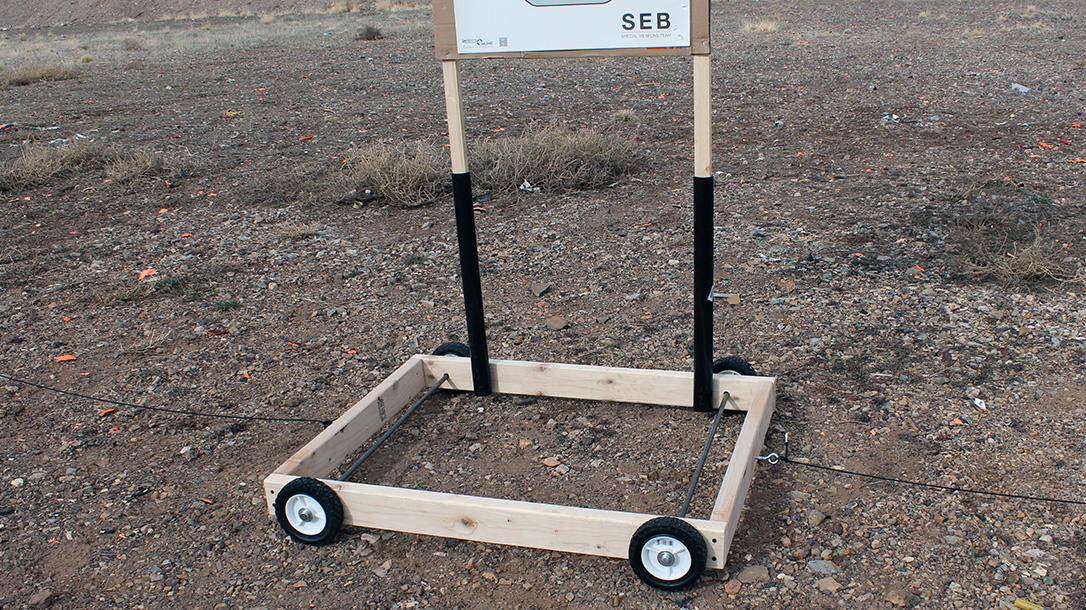
The final target system takes the longest to build, but it’s also the most fun because it’s a moving target. Building it doesn’t require complex engineering skills because the target is completely hand operated, but you will need a shooting partner for this one to work. The simplest way to describe this target is that it’s almost like a skateboard with a target on top.
First, you need to buy four lawnmower tires, which come in various sizes — I purchased the 6-inch variety. Next, you need two steel rods that are 0.5 inches thick. These rods are the axles of the moving target. Then you need four 2x4s to form the base of the target. My base happens to be 40 inches long and 30 inches wide. You’ll also need two 1.5-by-24-inch pieces of ABS pipe, screws, four washers, push caps to hold the tires on, two furring strips that are 58 inches long and two eyebolts. The last items you need are two 16-inch-by-8-millimeter dog stakes and 50 feet of rope. You can find these at the pet store.
Advertisement — Continue Reading Below
Once you have all of your supplies, assembly should take less than 30 minutes. Drill holes in the 2x4s and run the axles through them. Screw together all of the 2x4s to form the base. Put washers on the axles. Pop on all of the tires and push caps. Screw the black ABS pipe into the base, screw the eyebolts to each end of the base and you’re finished. The furring strips are used to hold the target.
Range Time
Now it’s time to put the moving target into action. Take the target outdoors and decide how far you’d like it to move from left to right. For instance, walk five paces to the left of the target and screw the first dog stake into the ground. Then walk five paces to the right of the target and screw in the other dog stake. Take your rope and run it through each eyebolt on the target and then out to the dog stakes. If you’ve done everything correctly, you should be about 7 yards away from the target with a piece of rope in each hand. This allows you to quickly pull the target from left to right.
Advertisement — Continue Reading Below
Have your partner stand in front of you and shoot while you pull the target from side to side. If you’ve never practiced with a moving target before, know that it’s a humbling experience and a good reminder that you’re not as good of a shot as you think and that you can always use more practice!
Whether you build all three targets or just this last one, I hope these plans make your next outdoor adventure a little more enjoyable. They could also help improve your shooting skills. Because, once again, you can never train enough.
Advertisement — Continue Reading Below
