Regardless of where you decide to store your firearm for safe keeping, every smart and responsible gun owner should acknowledge that the theft of your beloved tools can occur at any time or place. In fact, thieves snatch one firearm every 90 seconds, amounting to more than 380,000 firearms stolen per year in the United States. Additionally, stolen firearms are often incredibly difficult and at times impossible to recover, but thanks to genius ideas and modern-day technology, it does not always have to be this way. Let us take a look at GunTag, a company that found a simple solution to not only prevent gun theft but also help locate your stolen tools.
GunTag: It All Started With a Bike
Founded by Troy Deus, GunTag’s origin story starts one day with Deus enjoying his morning coffee and receiving a crime notification that a criminal had been going around the neighborhood and had broken into multiple vehicles, stealing various items including firearms. Unfortunately, a sad truth about gun theft is this crime often leads to more dangerous and violent crimes such as robbery, assault and even homicide. It was not until later in the day when Deus received a pack of Apple AirTags that he planned to use on his bike when he found himself struck with a life changing thought. ‘‘If I can use a tracking device like an AirTag or Tile Sticker for lost/anti-theft purposes on a bike, why not a firearm?’ This very question set everything into motion and led to the creation of a GPS tracking case made specifically for firearms.
How Does GunTag Work?
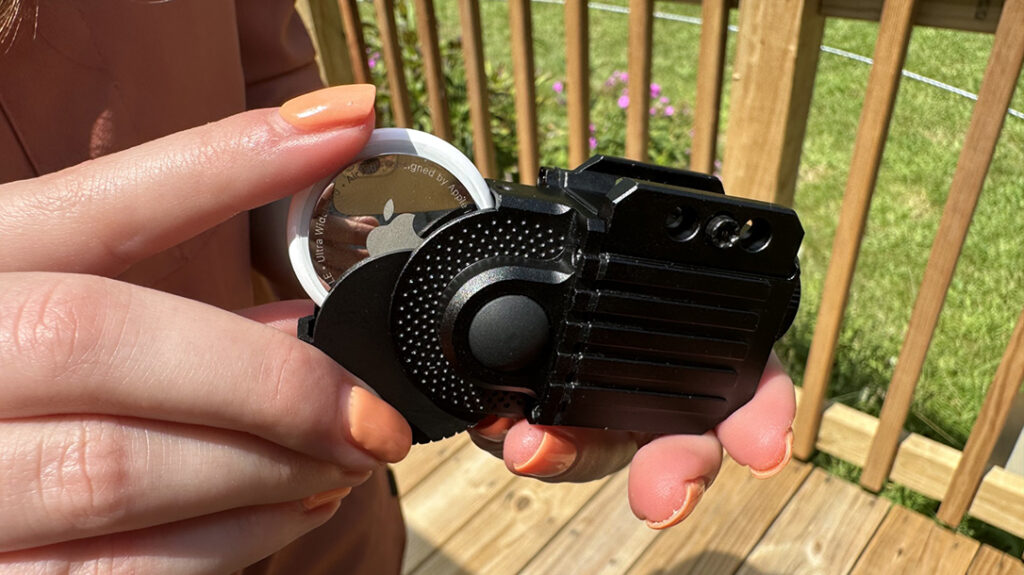
Many firearms come equipped with a universal accessary rail. Turn out, this location delivers the best area to attach a Bluetooth tracking case. By inserting either an Apple Airtag or Tile Sticker into the designated spot of your GunTag case, you are free to know where your firearm is located at all times. On top of this, each device features a custom tamper-proof security screw to avoid easy removal, providing extra security. Further, if a firearm ends up stolen, never attempt to retrieve it yourself. Instead, contact your local law enforcement immediately and let them handle it.
Advertisement — Continue Reading Below
GT-4
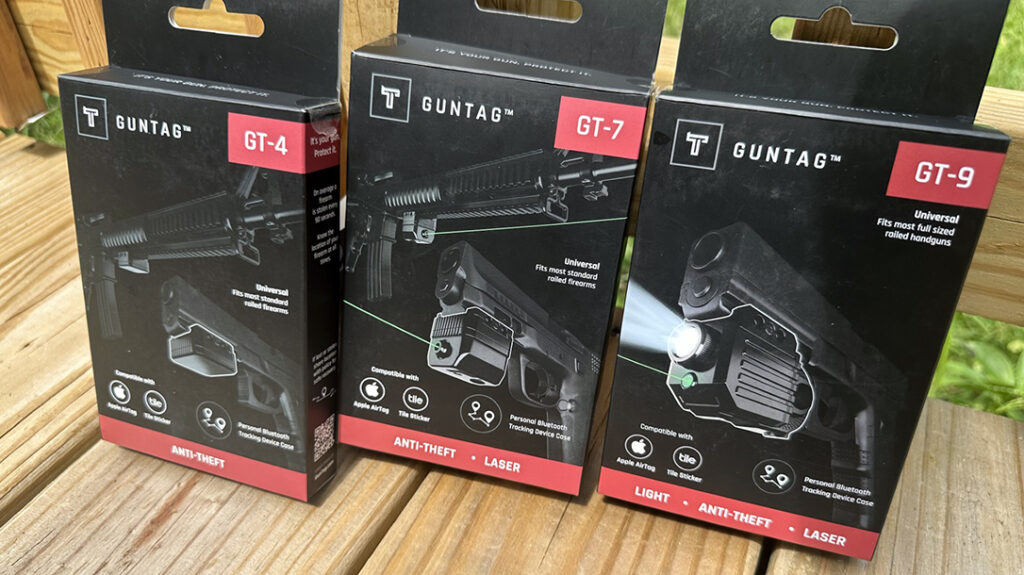
GunTag has three available models to purchase, and the first one I will be discussing is the GT-4 accessory. This black device is on the smaller side with its length and width measuring at 35mm and its height at 19mm. Alongside this, the GT-4 weighs 27 grams, built from reinforced polymer and aluminum. The device works on pistols or rifles with a universal rail.
However, I strongly recommend checking the measurements of your firearm’s barrel beforehand to guarantee a proper fit. One disadvantage I found concerning all three models came when they did not fit all sized pistols, proving better suited for standard handguns compared to compact and subcompact firearms. Overall, this accessory was easy to attach, sleek looking and more importantly gave me peace of mind that my firearm is safe and sound.
Advertisement — Continue Reading Below
GT-7
The GT-7 also accommodates both pistols and rifles. This black device utilizes anti-theft technology, but also comes equipped with an all-conditions green laser. It proved self-explanatory to use, adding a nice touch to enhance the usefulness of this accessory. Additionally, this laser has a beam distance up to 500 meters and has a 45-minute run time. Plus, it comes with a USB-C cable to charge the beam when necessary. To turn this feature on and off, simply click the power button on the bottom of this case.
GT-9
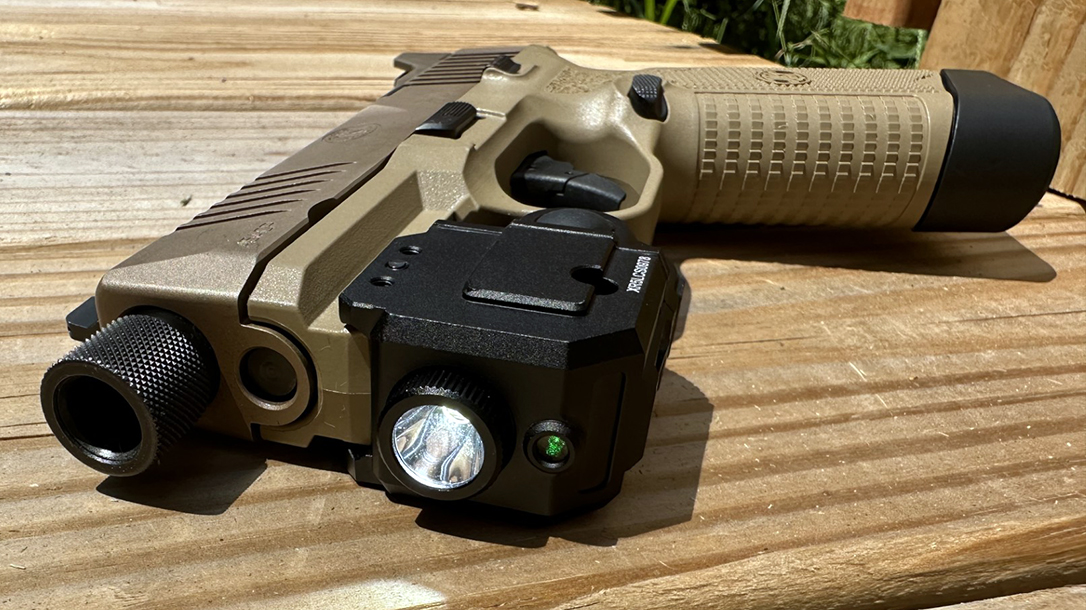
Finally, the last model GunTag has available is the GT-9. Out of the three products, this case is the largest one and is designed to fit standard handguns only. On top of theft prevention, the GT-9 is also constructed with a 350-lumens light that has three modes you can choose from: High, Low or Burst Flash. Depending on the mode you choose, the running time of the light can last up to 25 to 90 minutes. To turn the light on and change the modes, press the power button on the right-hand side. Similar to the GT-7, another attribute this device has is an all-conditions green laser. To operate, press the power button that is located on the left-hand side of the accessory.
Advertisement — Continue Reading Below
Additionally, an interesting feature that I enjoyed about the GT-9 is that it has six programmable modes you can set. For reference, a few modes include high light with laser, strobe light only or low light only. This can be achieved by simply pressing both power buttons for 5 seconds, and then once you have chosen your desired mode, press both buttons once more for another 5 seconds to set it. The GT-9 also includes a USB-C charging cable. To signal your accessory needs charging, the device will flash red. When charging, your accessory will light up red and will turn fully green when completely charged.
Overall, I loved both features of this accessory but found that out of the three models this one was incredibly bulky. Based on its bulkiness, this model would be not be an accessory that I would want to conceal carry with.
Advertisement — Continue Reading Below
The Application Process
It is important to note that both the GT-4 and GT-7 have a similar application process on how to insert a tracking device into each accessory. To insert a tracking device, simply remove the two rail mounting brackets by unscrewing the two small screws and sliding the brackets left and right. Next, using the L-shaped key that is provided, unscrew the four screws located on each corner of the base. Once this is removed, insert either a Tile Sticker or Apple Airtag into the case and return the screws to their original positioning. If you are using an AirTag, place the device facing down, and if you are using a Tile Sticker, place it facing up.
As for the GT-9, this model has a small variation in how you insert a tracking device. To accomplish this, simply remove the small set screw using the L-shaped key and pull the cassette down and away from the top. Once out, place either an AirTag or Tile Sticker into this area and return back to the case.
Similar Attachment Methods
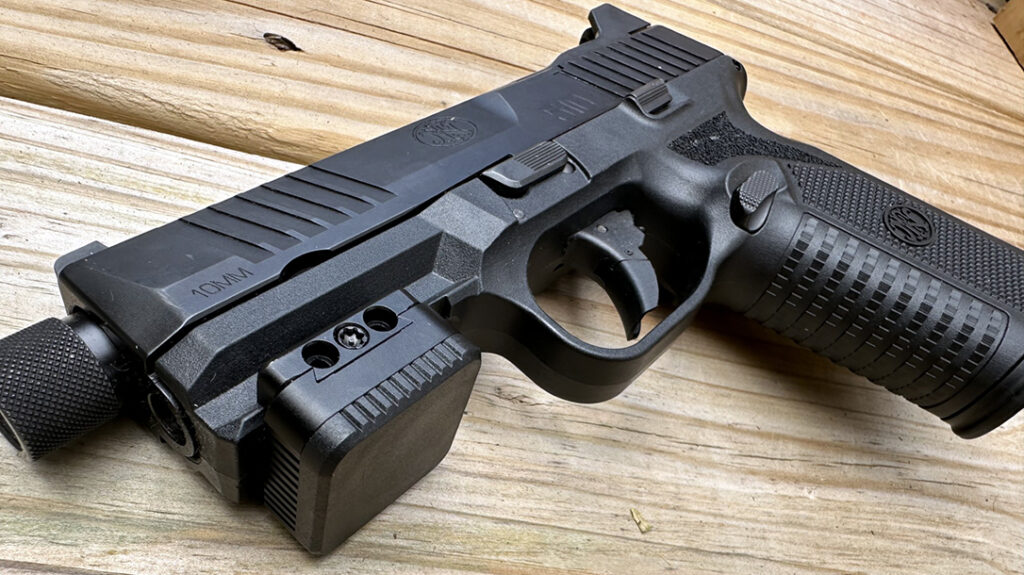
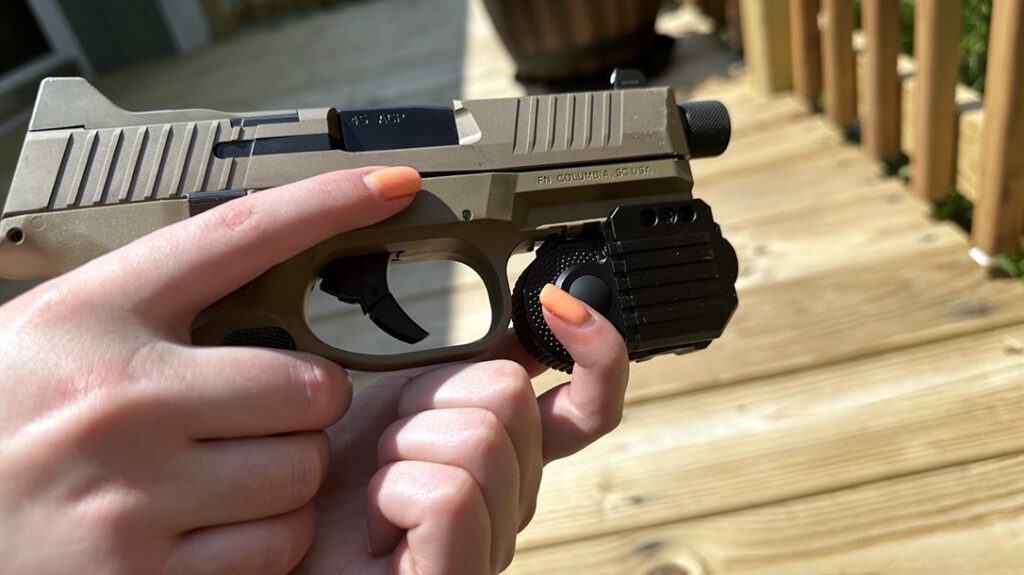
Additionally, all three models attach to your firearm the same way. First, place the two brackets onto the left and right side of the grooves on your accessory and slide into place. Once the case is attached onto the accessory rail, align one of the three screw holes with a rail notch. Next, place the security screw through the device and the notch of your firearm. Using the security key, you will then want to tighten the screw. Make sure you do not overly tighten.
Advertisement — Continue Reading Below
Ultimately, I found that inserting the Bluetooth tracking device into the GT-4 and GT-7 was a bit time consuming based on the seven tiny screws you had to remove and re-screw onto the base compared to the GT-9 which required just one single screw. However, all three models were extremely easy to attach onto a firearm and more importantly, unable to be removed unless you use the designated L-shaped security ring.
Final Thoughts
There are many people out there that will automatically assume that these products are gimmicky and not worth the time of day, but I am here to say that this assumption could not be further from the truth. Each model of the GunTag accessories were discreet, functional, and ready to protect my firearm from a crime that many individuals in this community know all too well. If you are someone that strives to be a responsible firearm owner, cares about protecting your personal belongings and wants to make your community a safer place, GunTag is a company that can help get the job done with zero issues.
Advertisement — Continue Reading Below
For more information, please visit guntag.com.
