With the surge in optic-ready pistols, the discussion of iron sights vs red dot optics becomes more prevalent. However, equally as important—even more so—is understanding your handgun’s zero. So, we take an in-depth look at these two important factors in pistol shooting.
Iron Sights vs Red Dot Optics
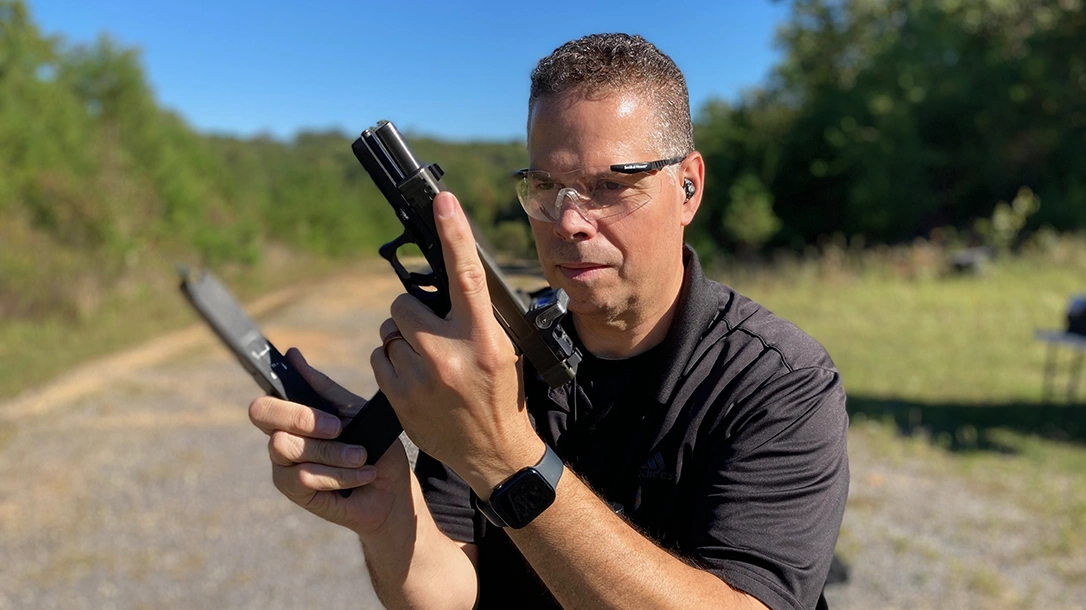
The first time I ever shot an optic-equipped handgun was at Tactical Defense Institute, during Handgun IV & V. It was a 9mm M&P belonging to another student. We were doing a drill known as “battlefield pick up.”
The drill goes like this: everyone draws their loaded handgun and a spare mag and places them on the ground. Everyone shifts one step left, and picks up the handgun and mag at their feet, stuffs it into their holster—as best they can—then runs the assigned drill.
Advertisement — Continue Reading Below
This is where you find out if you’re squared away or if you suck! There’s no other way to put it.
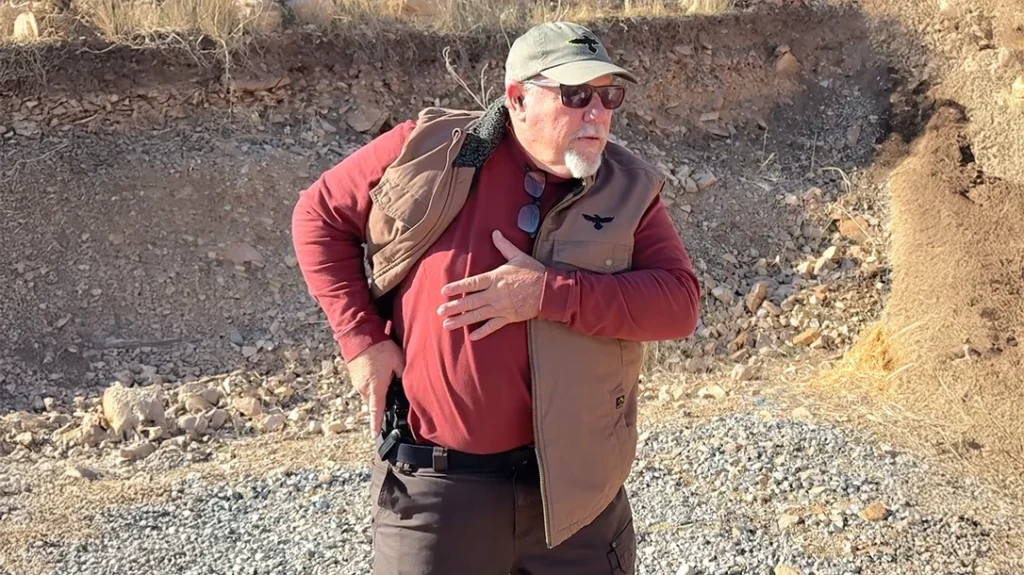
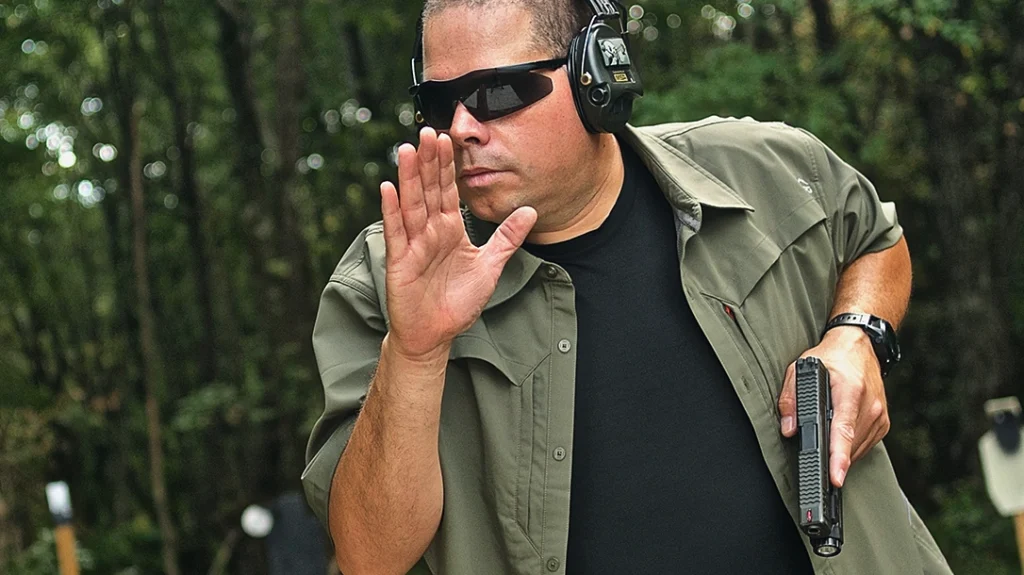
Here I am, running the drill:
Advertisement — Continue Reading Below
It was an eye-opener because not only was it my first time shooting an M&P, it was also my first time shooting a handgun equipped with an optic. It bears noting that I already had an optic on a handgun but had only ever used it as a PDW. YouTube video Title: Tier 1 Citizen GS17: The Low Round Count PDW Drill.
Focusing on the Basics
As I picked up the M&P and began to shoot, I noticed that at distance, I kept missing the first shot. What I didn’t fully comprehend—yet—was that 9mm, at distance, requires you to aim just a touch low.
Most especially if you’re outside the zero distance on the weapon or the zero itself is a little bit loose. This is why putting in the work when you zero truly matters, and that is the focus of this article.
Advertisement — Continue Reading Below
When you’re talking about equipping a handgun with sights, you must consider what the handgun is meant for. If you’re talking about an EDC weapon, I’d highly suggest you get sights that are low profile and bright.
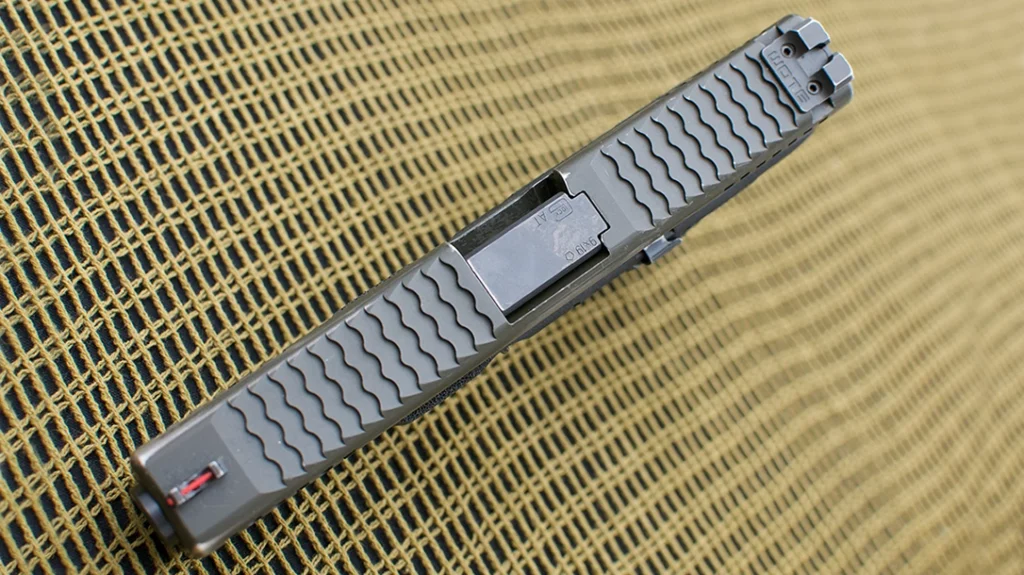
The best sights I’ve ever used for handguns are the Proctor Y Notch sights. They are red dot fast. Had I not had LASIK surgery a few years ago and totally lost my close-up vision, I would still be using these sights. Yes, they’re that good.
Advertisement — Continue Reading Below
The fiber optic insert on the front post is extremely tough. In a video called Fiber Optic Sights: How Tough Are They? you will see me cutting the insert apart with my knife. It still holds in place. These sights are tough and hold their position extremely well because they are precisely machined.
Zeroing Iron Sights
Recently, a viewer contacted me on my YouTube channel and emailed me a photograph of his rear sight cranked over to the right. He mentioned that he was finally able to get his pistol zeroed, but it took him a lot of ammo to do it. I wouldn’t call it moved “all the way over,” but it was visibly off-center.
I sent him back an email telling him that he really needed to consider re-centering the rear sight post. Likewise, he needed to be absolutely sure that the front sight blade was perfectly centered in the slide.
Advertisement — Continue Reading Below
This is something that people need to understand. All sights, including those that are OEM, never, ever sit dead-center in the front sight post hole. In all my years of working with sights, I have never once seen a sight drop in and have zero wiggle room. By design, it has to have a bit of slop in it.
Frankly, I would rather have a front-sight post that requires me to lay it on an ice cube for 20 minutes before installing it so that it shrinks down. As it warms back up, it “cold welds” itself into the front sight post slot. But that is in a perfect world, and we do not live there.
Advertisement — Continue Reading Below
Focus on Your Shooting Technique
Moving sights around, instead of working on pulling the trigger cleanly to the rear, is a waste of ammunition. It also allows for poor shooting technique. I know that target pistols have adjustable sights, which is not what we are discussing here. We are talking about combat handguns that give you acceptable accuracy at 10 or 25 yards.
Please learn from my experience because I’ve been doing this for 30 years with Glocks. Your sights must be set dead-center and be appropriate in design for the model you’re using. The rest depends on you. Learning how to isolate your index finger from your thumb requires a bit of concerted practice, but you will get it.
Advertisement — Continue Reading Below
However, moving your sights over to compensate for sloppy technique ensures you will hit the wrong person while under stress.
I can say this with certainty because Glocks are designed with tight enough tolerances that if the sights are dead center, that weapon will consistently hit at 25 yards. Depending on the ammo weight, it might be a touch low or high, but you will make contact.
What Is Your Zero?
My zero is a 10-yard zero. Why? Because it puts me right in the middle of fighting at “bad breath” range and “good Lord, I need to hit this guy before he hurts someone else” range.
Advertisement — Continue Reading Below
Ok, now let’s jump to red dot sights. As I mentioned earlier, when I install hard sights on a handgun, I ensure they are dead-center and locked down. Then I move on.
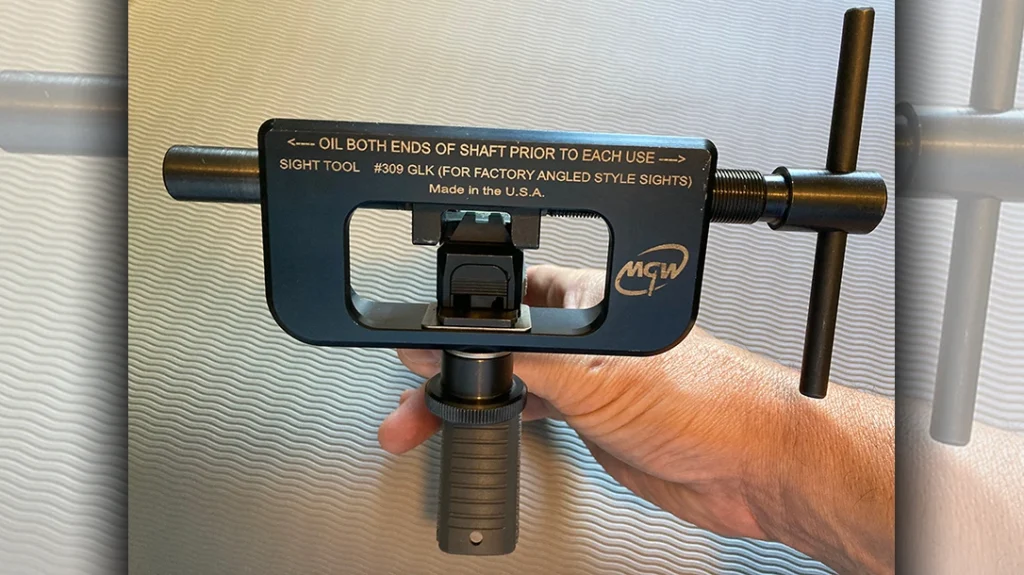
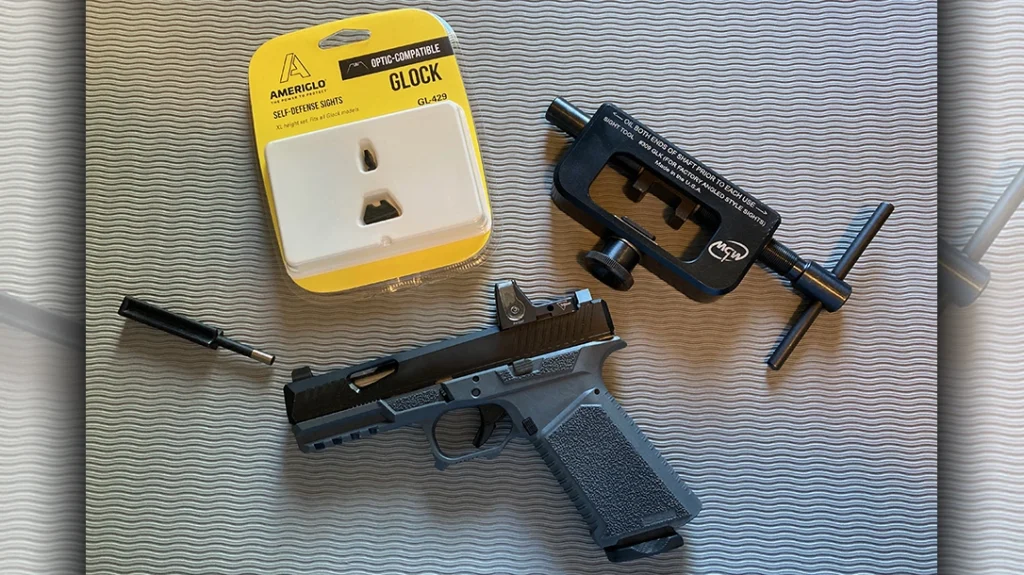
I have professional sight installation tools, and yes, you should, too. My rear sight tool is an MGW Glock Sight Tool. My front sight tool is the Glock OEM sight tool. However, most manufacturers will provide you with a tool to install their front sight blade.
Please don’t be the guy who bangs his rear sight in, using a jeweler’s mallet. You’re going to potentially knock that sight out of specifications and make it more prone to drifting over time.
Once the sights are on, I center them visually by playing light across the slide and adjusting the rear sight with small turns of the adjustment screw. I do the same thing to the front sight post and make sure that the last crank on that screw is done with the sight just off of center. This way, when it comes tight, the site is sitting dead center between 12 o’clock and 6 o’clock.
In other words, “Righty Tighty, Lefty Loosey.” Think about it.
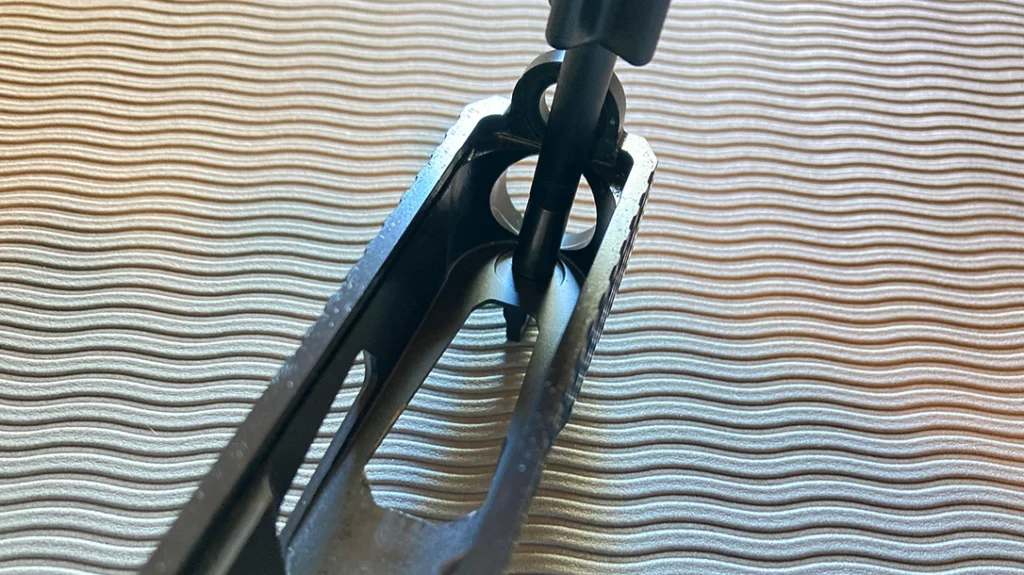
Ameriglo Suppressor Height Sights
Now that my handguns are equipped with Trijicon RMRs, I use Ameriglo Suppressor Height Sights, Model GL-429. These sights are a little bit lower than your standard suppressor sights. However, they are high enough to co-witness right through the optic.
Additionally, they are completely blacked out so that there is nothing to draw your eyes away from the dot. This is a problem during stress firing in daylight and is dramatically compounded at night. I’ve seen this and experienced it in low-light and no-light classes, so I speak from experience. Simplify your fight!
Bore Sighting
Once the iron sights are on, I correctly mount and torque the RMR and then grab my 9mm bore laser. How I do this is a little ghetto, but, oh man, does it work.
I have 10 yards measured off on the upstairs hallway of our home. From the wall at the end of the hall, that 10 yards leads right into the master bedroom and terminates dead center at my wife’s tallboy dresser.
I lay the Glock’s trigger guard across a small glass candle with a metal lid and stand it on its empty magwell. That gives me a clean sight picture straight down the hallway to the far wall.
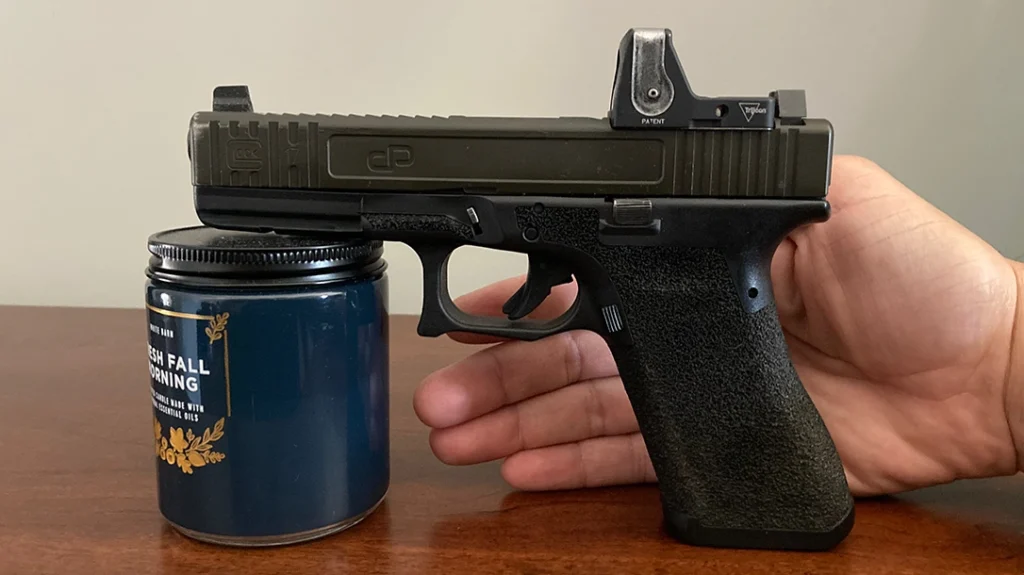
This next part is crucial. Place your hand at extension, right next to the Glock. What you’re simulating is the distance that the optic will be from your eye when the weapon is at full extension for shooting. This truly matters!
As a demonstration, leave the Glock stationary but move closer and further away. You will notice that the variance between the dot in the optic and the laser on the far wall widens and narrows in elevation based on where your face is.
You may not think this matters. But if you’re talking about having to hit somebody at 80 yards, it is really going to matter. And yes, 80- and 100-yard shots are things I practice with my handgun. You never know when you’ll be called upon to deliver that shot.
Testing Your Iron and Red Dot Sights
Take your time with the laser in the comfort of your home. I can guarantee you that when you get to the range, you will have to make minimal corrections to get those shots to stack onto a nickel.
This final part is crucial! Do not short yourself by trying to zero your weapon with training ammo alone. Get it tightened down with plinking ammo as much as possible, then let it cool down. Then, get out you’re fighting ammo and invest however much you need to ensure you are dead-center accurate. My carry ammo is PPU: 9mm 115GR JHP.
Take the time now, and your weapon will be there for you when you need to take that life-saving shot.
Lastly, don’t forget to confirm your zero every six months. You’ll be surprised how things can shift a bit over time for myriad reasons.
Zeroing In
People will tell you to be aware of your zero’s mechanical offset at various distances. With all honesty that is not something you really have to worry that much about. That’s right up there with “squeeze the trigger” as opposed to “pull the trigger.”
Anyone who’s ever been in a gunfight will tell you that there is no squeezing anything. It is: pull it back all the way, let it go forward all the way, then pull it back all the way again. We’re not talking about target shooting. We’re talking about a human being trying to kill you while you try and stop them first. There is nothing subtle about this action.
Put in the effort on the front end, and I promise you that you will have accuracy to spare when circumstances demand it of you.
As always, God bless you all. Get those guns out and practice.
For more information, please visit TDIOhio.com, US.Glock.com, Ameriglo.com, MGWArmory.com, and Trijicon.com.
