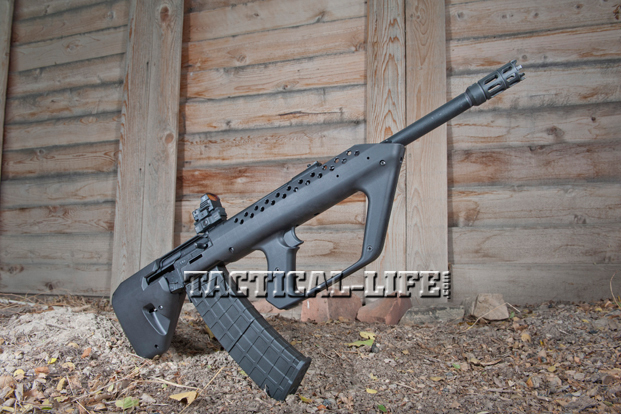
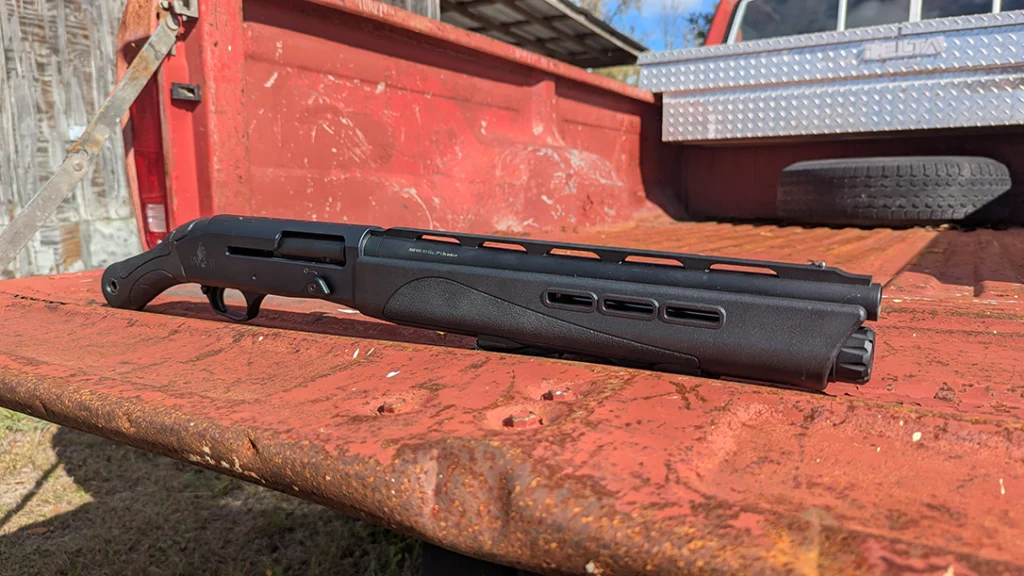
The Kushnapup bullpup stock offers a simple, reliable conversion minus the cost of a custom build, turning your Saiga-12 into an entry machine – Kushnapup 12 Gauge!
Mostly due to its popularity in the 3-gun world, the Saiga-12 has taken on numerous personas and shooters. From simple bolt-on parts to fully customized guns costing up to $3,000, the Saiga-12 runs the gamut. Shorter barrel lengths are prevalent, even as short as 6 inches in some cases, with folding stocks, magazine systems, forends and just about anything else you can think of available. Most shooters replace the standard stock with a tactical stock and pistol grip, with rails for sighting systems likely coming next, taking a relatively obscure import and turning it into a tactical machine. All this is fantastic, but it comes at a cost.
My first custom Saiga-12 cost me close to $2,000. Built several years ago, it would be considered a pretty modest build these days. Shortening the Saiga’s barrel is very popular—no other semi-auto shotgun accepts this alteration as well. My 11-inch custom gun ran like a house of fire, even on low-recoil buckshot, something few standard semi-auto shotguns can do. While great, altering barrel lengths can be costly and, if done improperly, will affect reliability and restrict your ammunition choices. How about an affordable shortening modification for the Saiga shotgun that is easy to use and greatly enhances the weapon’s handling characteristics?
Advertisement — Continue Reading Below
Bullpup Design
The bullpup design has some significant advantages, the most obvious being the ability to field a standard-length barrel while significantly shortening the overall length. Moving the grip forward of the magazine and the buttstock just behind the receiver provides for a very compact package. Having used this in a precision rifle, as well as a conversion for a shotgun, it is very handy. It also moves the bulk of the weight to the rear, placing weight far less forward on the gun. While it takes some getting used to, the bullpup design can also facilitate magazine changes, keeping everything close and making manipulation easier— especially for those of us with short arms. Add a vest and rifle plates and it is even better. The shift in balance can also make one-handed strong-hand operation easier, and with less weight over the barrel the weapon is much easier to hold in the pocket. Great stuff, but there are some issues.
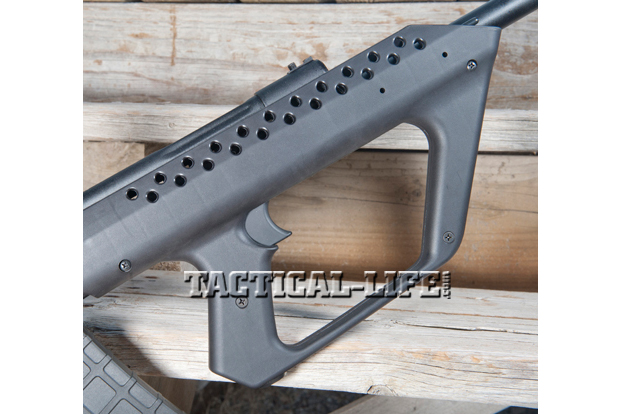
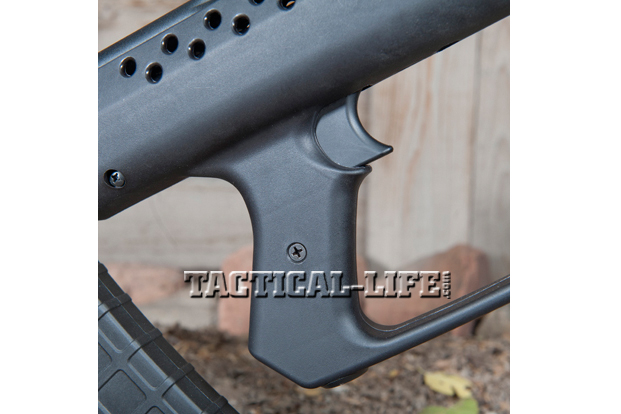
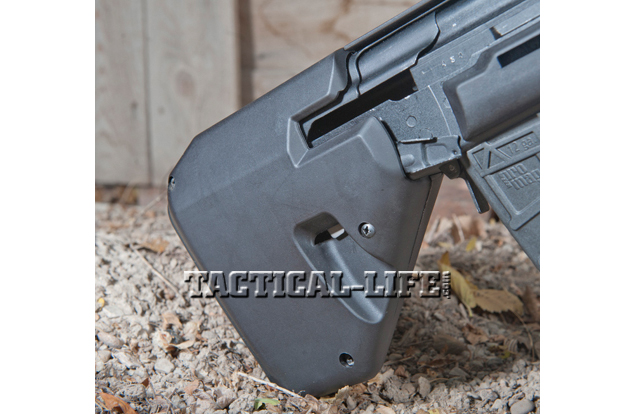
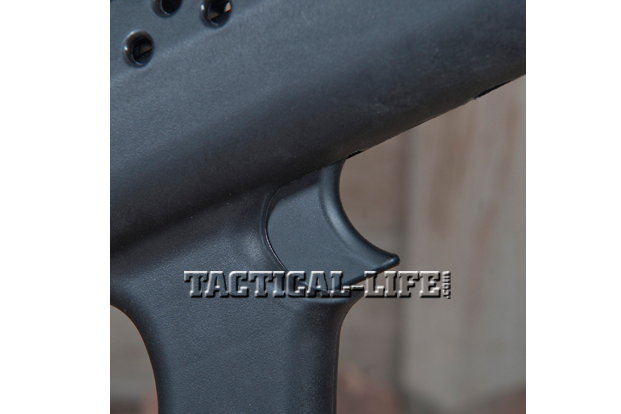
The biggest is the trigger bar. Moving the trigger forward means you need a connector bar to operate the trigger. Early attempts at conversion meant the triggers were mushy, unreliable and downright dangerous. For those who want left-side charging it can be problematic at best. It makes life for left-handers a bit scary as well: Safeties, bolt hold-open devices and releases can be awkward depending on the system. Kushnapup LLC recently introduced a drop-in conversion for all Saiga receivers with an eye toward the Saiga-12. Designed specifically for unmodified imports, the Kushnapup stock is perfect for the typical do-it-yourself gunsmith. Although not a true drop-in, it comes pretty close, all for $275. Constructed of high-impact polymer, the Kushnapup is strong, light and impervious to most chemicals. Made in the U.S. and completely 922(r) compliant, the Kushnapup can be installed on unmodified shotguns, right out of the box. (It fits rifles as well, but be certain you do not get too short.) Once installed, the Kushnapup shortens the overall length of your rifle or shotgun while maintaining the reliability of the longer barrel. Kushnapup sent me one of their kits, and I borrowed a friend’s 922(r) compliant Saiga-12.
Installing this kit is pretty straightforward, but it does require altering your factory shotgun. You will have to remove the rear tangs used for attaching the standard stock, which does not affect the weapon’s operation but does require a new rear trunnion if you want to return the tangs to the stock. In most instances installing a folder or other conversion would require the same operation.
Advertisement — Continue Reading Below
Conversion
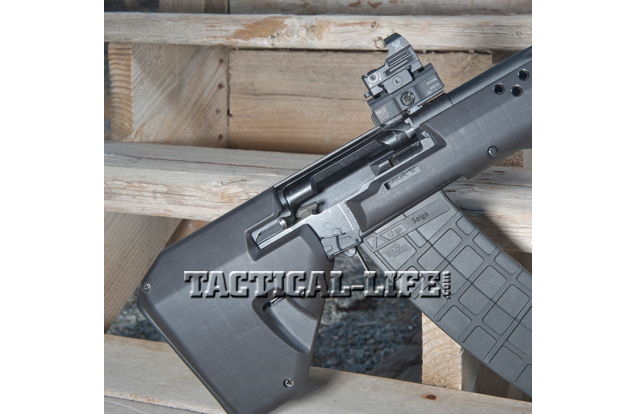
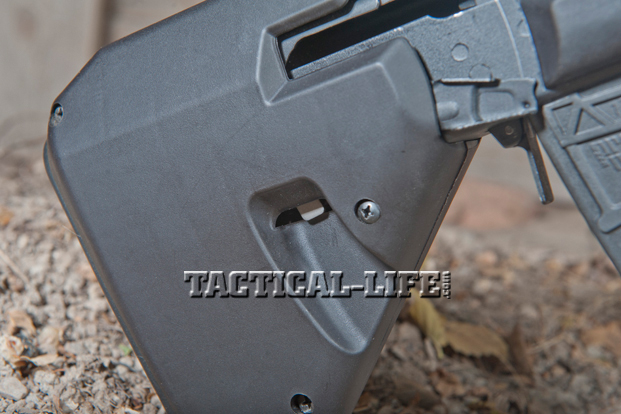
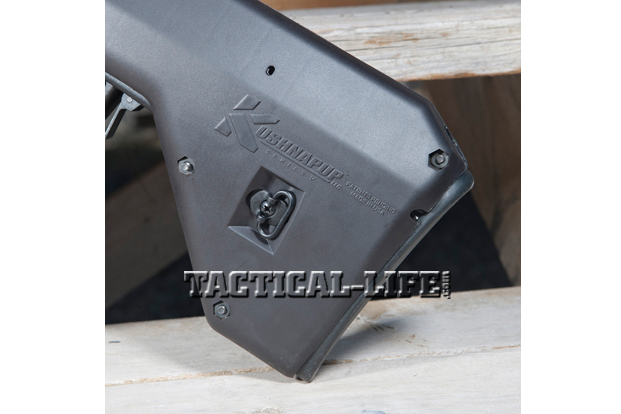
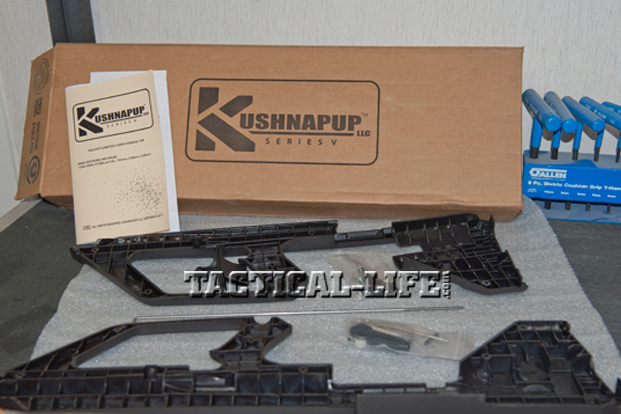
The kit comes with everything you need to make a complete conversion. A screwdriver and a means to alter the rear trunnion is all that is required. The stock is comprised of three sections. The left side is one piece and houses the trigger and action; the right side consists of a front and rear section; and the trigger mechanism consists of a bar, a lever, a trigger and small parts to make the trigger work. There are also small parts to accommodate mounting of the standard sling swivels. Installation begins with the left side of the stock. Like any mass-produced weapon, there can be differences. Depending on your barrel, there may be a need to trim some stock. With my friend’s Saiga-12, I simply dropped the action into place. It was time to take the plunge and start cutting. The rear tang for the stock needs to be removed as well as the small one that is part of the triggerguard. A hacksaw will work but the cutting wheel was easier. Once the tangs were cut, some filing and grinding flattens it all out for installation. Prior to dropping the action in the stock, the sling swivel and trigger bar are installed. The kit comes with a nut and washer to accommodate the installation of the stock’s front swivels at its rear. However, it would also accept a simple screw-in, quick-connect cup or sling stud. Installing the trigger bar is pretty straightforward. It provides for enough adjustment to account for different triggers and fits in place easily. The instructions indicate that using Loctite Threadlocker Blue on the retaining nuts for the trigger arm is optional, but my suggestion would be to use it. (I didn’t which made the linkage come loose by the end of the day, though it was still secure and functioning in place, it did become less crisp without the Loctite to securely fasten it.) The rear simply snaps in place and is tightened with three supplied screws. The buttpad from the original stock is used and installed with the factory screws.
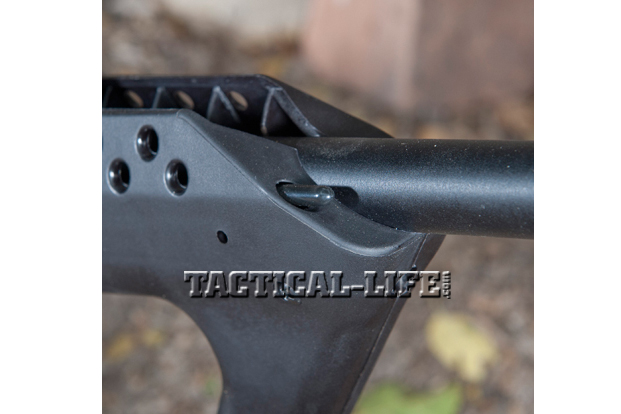
Before installing the front stock, the gas adjustment bar is installed. It slides into the stock and sits in front of the pin on the gas tube. A rubber cover is provided for the tip and it snaps in place. The factory rear swivel can be installed on the front of the stock at this point, but it would also accommodate a flush cup. In this case, I left the swivel off. In my experience this design runs better with a single point, so I didn’t use the swivel on the front. (A sling stud to accommodate larger sling swivels could be installed as well.) The front portion of the stock snaps into place and you are done, it is that simple. Start to finish going slowly it took me about an hour. A Kings Gun Works standoff muzzle device was added mostly for looks, but it will still safely function as a true standoff and provides for flash suppression and recoil reduction.
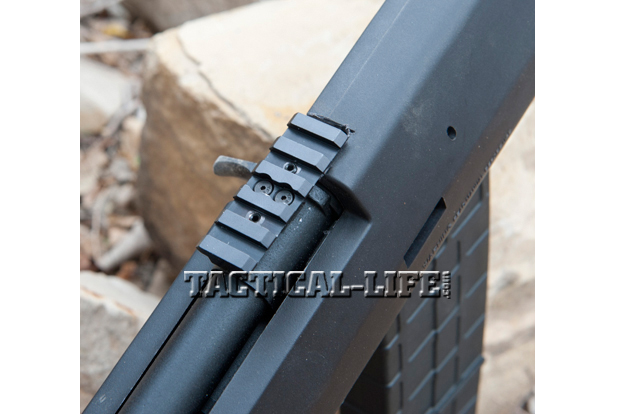
Using the Saiga’s stock sights are problematic at best. You really need a way to attach a red-dot or rail for some higher sights. Keeping it simple, I installed a Carolina Shooters Supply sight rail mount. With the rear dovetail, it provides just enough rail space for a red-dot at a mere $50. You can certainly go with other systems—those that mount forward of the action will be the best bet. (Although the Kushnapup version was sent, it still required a slight alteration of the stock to facilitate the rail.) Once the Carolina sight rail mount was on, Vortex’s Razor Red Dot was added by using a riser rail to line it up perfectly.
Advertisement — Continue Reading Below
Range Time
Whenever you first shoulder a bullpup there is a bit of trepidation. The natural tendency is to think recoil will be harsh, and it can be disconcerting to have the action right at your ear. Even with my experience, first runs at a bullpup are always an adventure. However, after the first few shots I knew any concern was unwarranted. Using Winchester Super Target with 1.12-ounce #8 shot, it functioned flawlessly. Recoil was minimal, if not soft, even with the shot having a velocity of 1,200 feet per second (fps). Most stock Saiga-12’s will run this load, and with some professional custom work on the action you can smooth things up and run different ammunition. You can also change gas pistons, but considering how soft this gun shoots with the Super Target any similar load should yield solid reliability on a stock gun. The bullpup design made this weapon really easy to run. It took some getting used to, but even magazine changes were pretty quick. Moving the weight to the rear keeps your working space close and the weight against your shoulder instead of out over the barrel. It was much easier to keep the gun up for tactical magazine changes. Holding the bolt open also took some thought, but in the long run was as easy as doing so with an unmodified Saiga-12. With some practice, the bolt could be held open with the fingers of the strong hand while activating the hold open with the thumb, keeping the gun up, in the fight and pretty fast. You could also lower the weapon and manipulate with the off-hand. The trigger was great and felt like a standard trigger. Moving through the house the Kushnapup Saiga-12 was very handy. It really turns your full-length gun into an entry machine. Rapid-fire was very controllable, even with one hand. A single point was much easier, in this case just attached to the rear swivel. The Vortex Razor, positioned perfectly just in front of the action, made for very fast target acquisition on the move. Having used this red-dot on several guns now, I find it to be an excellent sight. When it comes to patterning, the Saiga-12 is no different than any shotgun these days, and with tactical buckshot it is excellent. With the Hornady TAP Light Magnum (1,600 fps) groups stayed inside 5 inches at 15 yards. This gun ran the Federal Tactical Slugs with no issue. Fist-sized groups at 40 yards were pretty easy, especially with the Vortex Red Dot.
Final Thoughts
Installation was simple, requiring few tools and no gunsmith so long as you are willing to take a saw or cutting tool to your rear trunnion. Once that is done, fitting is completed with a screwdriver. In the future, I would like to see either some simple studs or quick-connect cups provided as an alternative for sling attachment. The Kushnapup Saiga-12 worked with three different magazines and even my drum. All in all the Kushnapup stock was an improvement, providing an excellent option for those unwilling to pay the cost for a custom build. ★
Advertisement — Continue Reading Below
