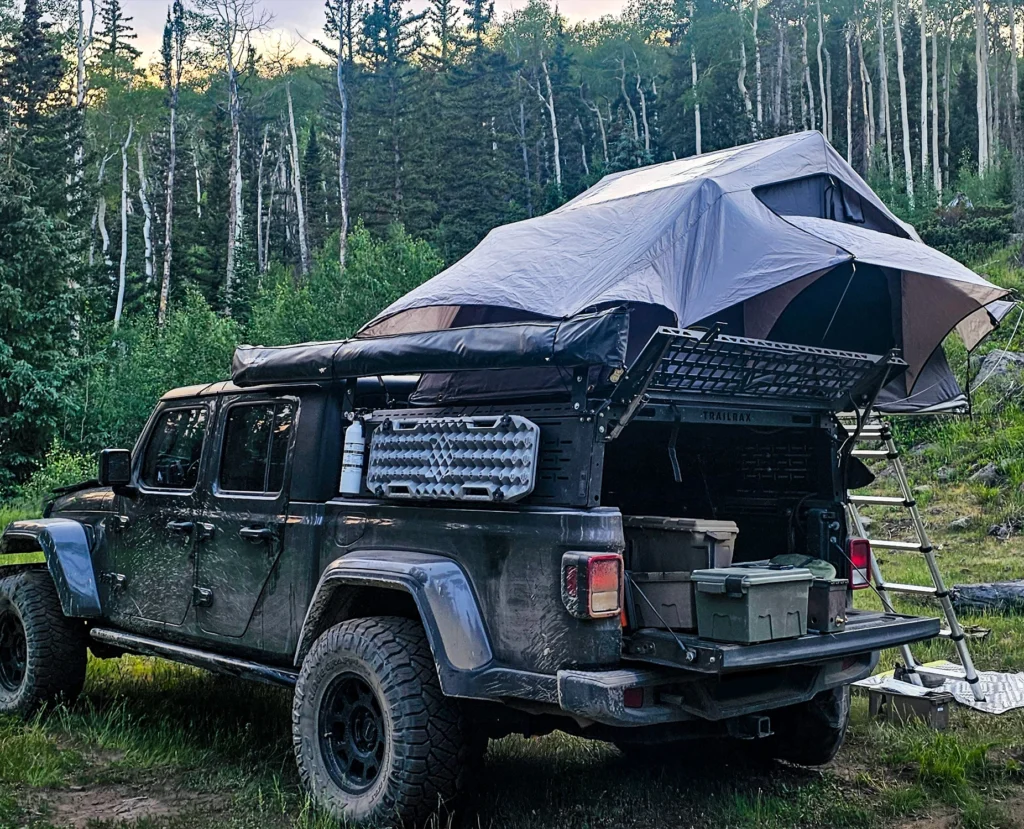
It’s that time of year again when people come out of their man-made caves and hit the trails with pursuits in hiking, backpacking, camping, fishing, and other outdoor adventures. Sure, hunters and die-hard adventurers are out during all times of the year. But this is when you’ll find the average person enjoying Mother Nature. With that in mind, it’s worth remembering that accidents happen. People can get lost, and Mother Nature can sometimes be a bitch. It is in these times that a mini survival kit comes in handy.
Staying Prepared with a Mini Survival Kit
Being prepared for your adventure is a smart step to ensure your safe return home. A day hike can turn into an unintended overnight, and a leisurely walk on the trail can result in an unforeseen injury.
However, proper preparation and the right gear require a little forethought and planning. This goes beyond throwing a water bottle and a couple of protein bars into your pack.
Advertisement — Continue Reading Below
Just like dressing for winter weather, a complete level of preparedness is done in layers, at least in my opinion. Just about everyone knows, or at least I hope they do, to have a good assortment of survival gear on hand when they are out in the wild. More importantly, they should be practiced and proficient in the use of that gear.
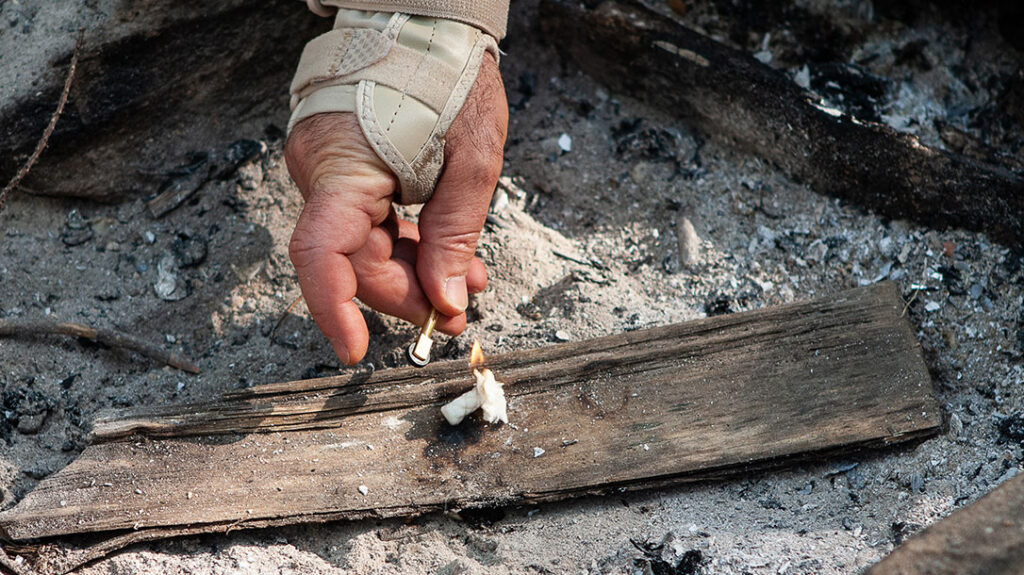
The primary and easiest-to-access receptacle for that gear is usually the pack or possibles bag. That’s where we’ll keep items like water, a tarp, food, signaling and fire-making gear, a first-aid kit, and more.
Advertisement — Continue Reading Below
However, there’s always the possibility of being separated from the pack or bag. Maybe you fall into a river or lake and need to ditch it to stay afloat. There have also been times when someone has wandered from camp to gather firewood or forage for food and realized they couldn’t find their way back.
That’s when the second layer of preparedness kicks in, and it can be a lifesaver. I’m talking about a mini survival kit that you always have on your person. Whether you have your pack with you or not.
What to Expect from Your Kit
The mini survival kit is not something that’s going to provide you with all the creature comforts of home. For that matter, it will probably not even provide you with basic outdoor gear.
Advertisement — Continue Reading Below
The mini survival kit has to be small enough that you will keep it with you at all times—in a pocket or maybe in a belt pouch—and not be tempted to leave it behind because of its weight or size. That means it will only have a few bare-bones, last-ditch items that can help you stay alive and either get found or make your way back to civilization.
I’ve got a good amount of experience in this area. So, I like to select my own gear for each type of kit I build. This is whether it’s a main survival kit for the pack or a mini survival kit that I keep in a pocket or wear on a belt.
That said, not everyone has that experience. Even if they do, they just don’t want to mess around with building their own and will just buy one. The trick to this approach is to make sure that the kits contain quality gear that does the job while still giving you good value for the money.
Advertisement — Continue Reading Below
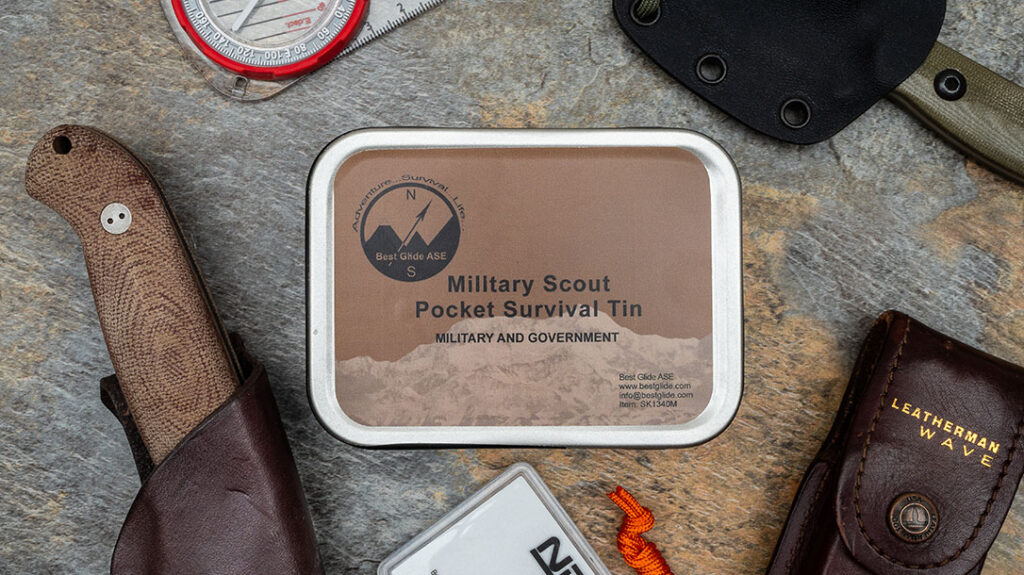
For those folks, a few companies make mini survival kits of good quality and strong value for the money.
Some examples are:
Advertisement — Continue Reading Below
ESEE Knives Pocket Survival Kit and Mini Survival Kit are available at ESEEKnives.com, and Bestglide Military Scout Pocket Survival Tin is available at Bestglide.com.
Considerations When Building a Mini Survival Kit
When building a mini survival kit for myself, there are a few must-have items. Then, depending on the size of the kit, I’ll throw in a few extra things. For example, some of the commercially available mini kits will have things like a sewing needle or kit, pencil, note paper, snare wire, and even a fishing kit.
To be sure, those things could definitely come in handy if and when things go sideways. I have such items in my larger mini kits on my belt or in a cargo pocket.
Advertisement — Continue Reading Below
However, those aren’t the most critical tools when space is very limited. The larger the kit, the more likely it’ll be left at home or in the car before hitting the trail. So, you want to be fairly ruthless with the choices you make to ensure you’ll always have it with you.
Also, knowledge and practice in specific skills means the less gear you’ll need in the field.
Picking the Right Tin
A popular way to build and carry mini survival kits is in tins, and a few sizes are available. For example, I work with two sizes to keep the kits small enough to carry in a pocket. This depends on the pocket size, of course. Those sizes are 3.7 x 2.3 x .8 inches and 4.5 x 3.3 x .9 inches.
Advertisement — Continue Reading Below
The bigger tin can easily be carried in a cargo pocket on a pant leg. It allows for more gear, slightly bigger/more robust items, and a backup item or two. However, the smaller kit is definitely more pocketable. So, you pick your poison.
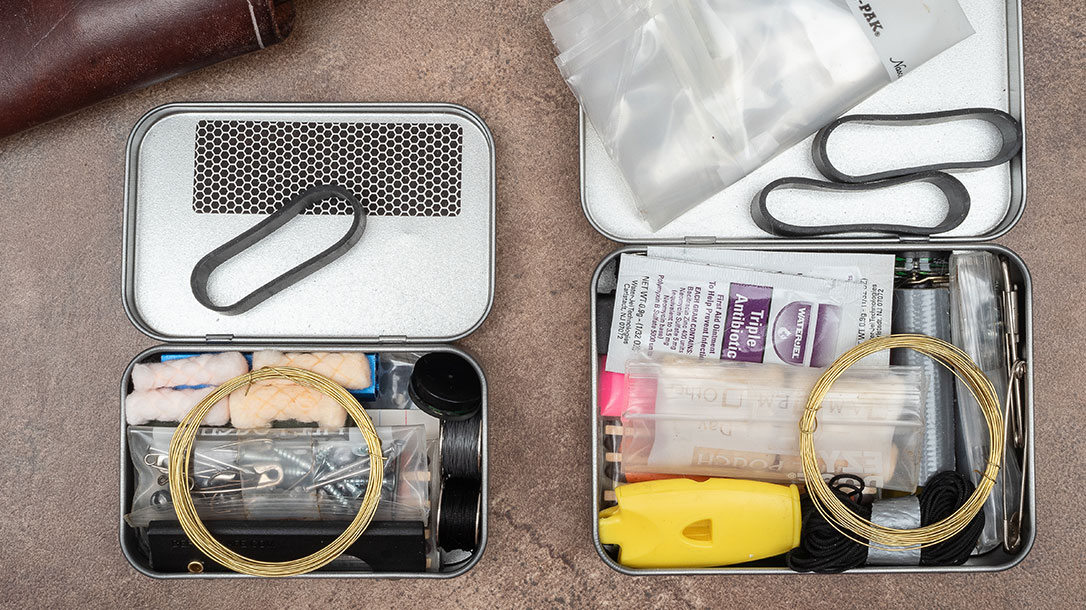
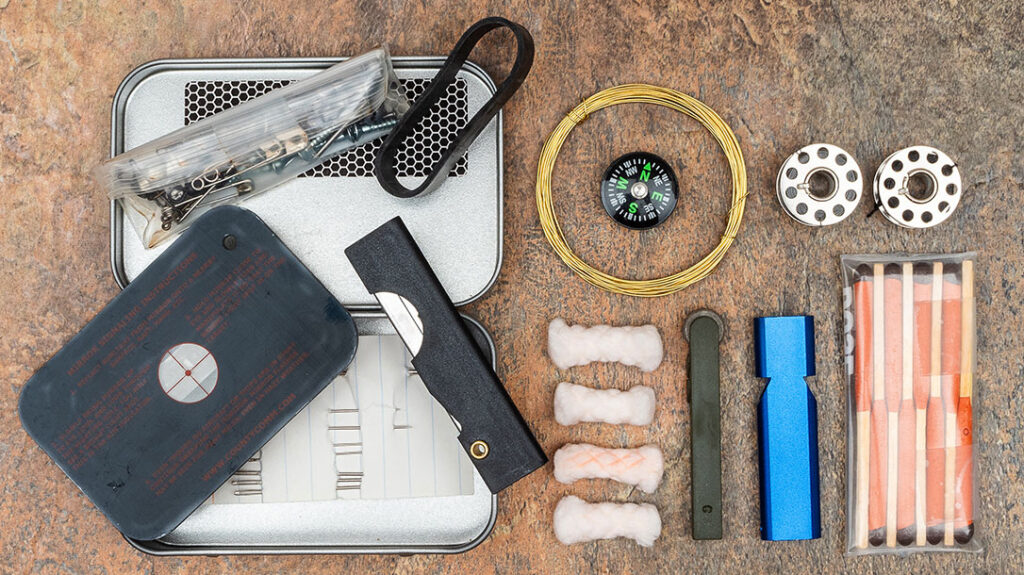
The following are the contents of the survival tins that I put together from scratch. Each includes a Ranger band or two to prevent them from popping open and spilling everything on the trail.
Small Tin
Advertisement — Continue Reading Below
- Pack of 8 UCO Stormproof or “Lifeboat” Matches
- Spark-Lite flint wheel fire starter
- Tinder-Quik fire tabs
- Survival/signal whistle
- Compact 2”x3” Rev 3 Maratac signal mirror
- Roll of brass wire for snaring game and repairing gear
- Button compass
- Derma-Safe folding utility razor
- Packet of assorted fishing hooks, split-shot sinkers, small safety pins, screws and nails
- Small card with assorted-size needles
- Bobbin/spool of heavy-duty nylon thread
- Bobbin/spool of fishing line
Large Tin
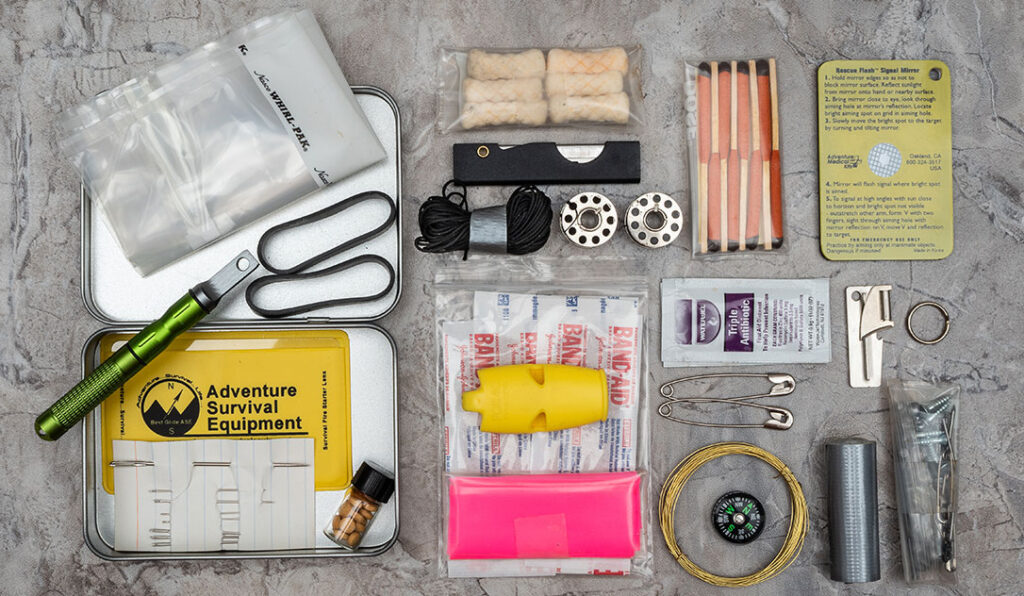
- Pack of 8 UCO Stormproof or “Lifeboat” Matches
- Compact ferro rod/striker combo
- Six-pack of Tinder-Quik fire tabs
- 1-liter, foldable survival water bag
- Micro vial of water purification tablets
- Survival/signal whistle
- Compact Rev 3 Maratac signal mirror
- Fresnel lens
- Roll of brass wire for snaring and repairing gear
- Button compass
- Derma-Safe folding utility razor
- Mini roll of duct tape
- Small pack of pre-cut pieces of high-visibility flagger’s tape
- 30 feet of thin utility cord/line
- 3 Tough Strip Band-Aids
- Two mini packs of triple antibiotic
- Packet of assorted fishing hooks, split-shot sinkers, small safety pins, screws and nails
- Small card with assorted-size needles
- Bobbin/spool of heavy-duty nylon thread
- Bobbin/spool of fishing line
Carrying Your Survival Tin
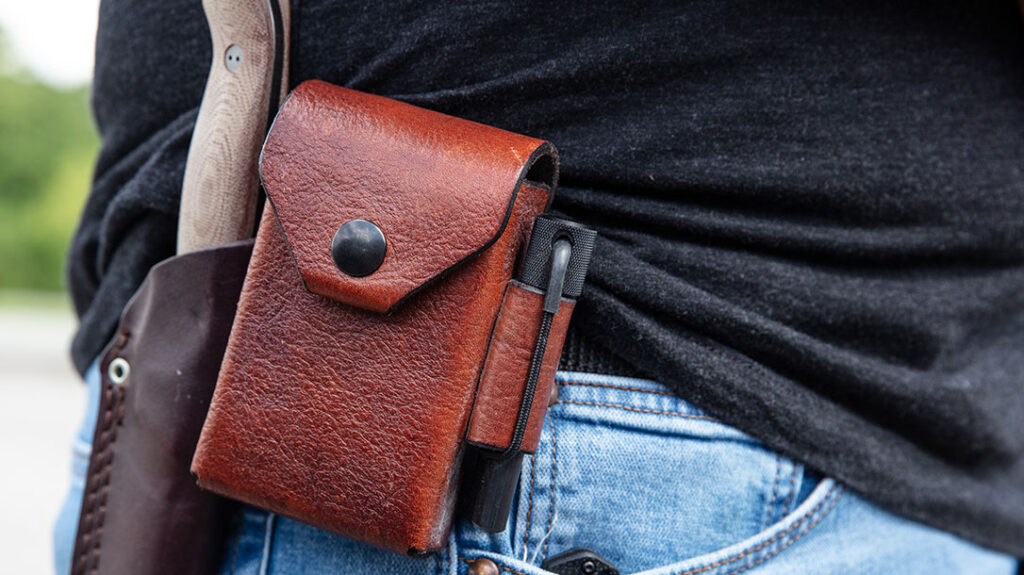
While both tins above can be carried in the correct size pocket, you can get creative to increase comfort, especially when sitting. Many nylon pouches are available for compact point-and-shoot cameras that could be used to carry these tins on a belt. I even had a handsome leather pouch made with a belt clip by Hedgehog Leatherworks that holds the smaller tin.
The upside of the Hedgehog pouch is the integral leather loop that carries a good-sized ferro rod. Thus making it easier to make plenty of fires. Correspondingly, a fixed-blade knife with 90-degree edges on the spine will work very well as a striker.
Another company doing great work with leather survival-tin pouches is Exodos Copenhagen. The company has some really attractive and rustic-looking pouches on its website, ExodosCopenhagen.com.
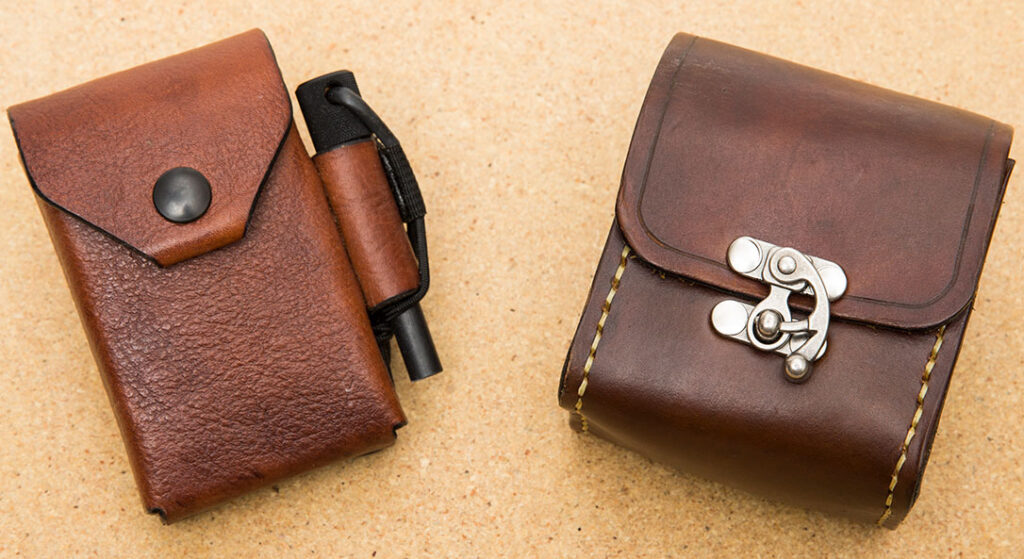
Taking the belt approach a step further, I also put together a larger kit to be worn on the belt. It is contained in a Maxpedition pouch. With this kit, I can not only carry more, but my tools can also be larger, thus easier to use.
For example, I have included a more complete fishing kit, Swiss Army Knife, medium-sized compass, Leatherman S3 LED flashlight, and even a Leatherman Juice multi-tool.
Even though it’s somewhat larger than the pocket tins, it’s still not so large that I would take it off in the field. The packing in the pouch is a little snug but once it’s on my belt, I forget it’s even there.
***For the Maxpedition belt-pouch kit, the large tin mentioned earlier was used to pack the smaller items for organization and additional protection against the elements.
Contents of the Maxpedition Belt-Pouch Kit
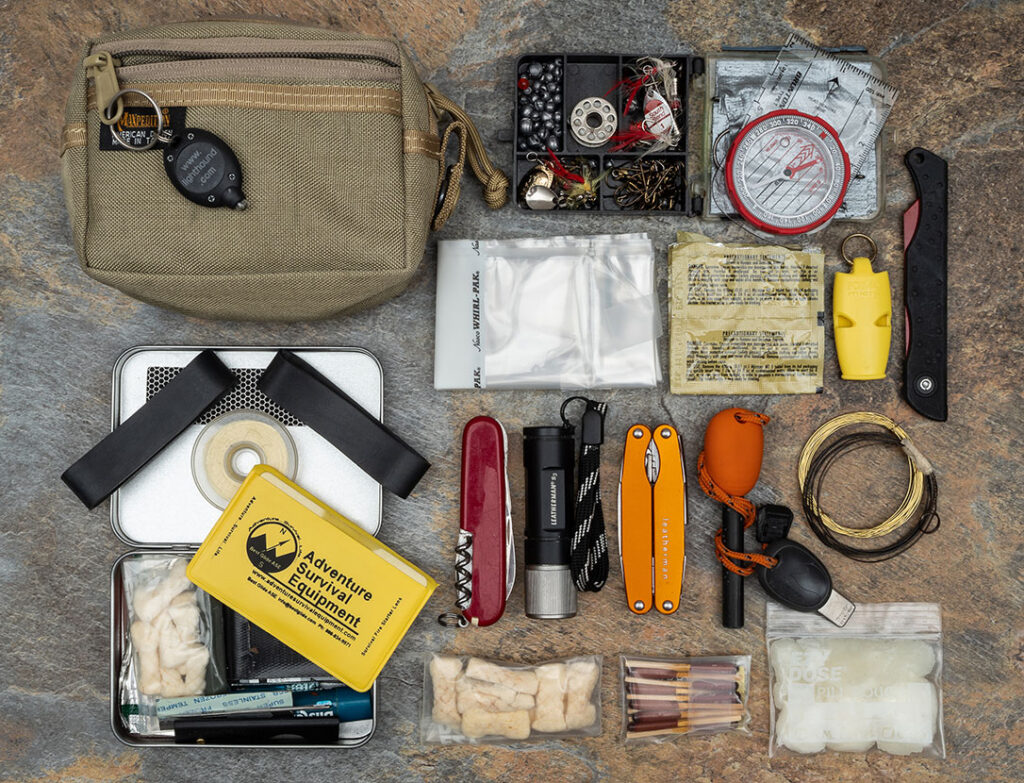
- Swedish Firesteel Army and striker
- Spark-Lite flint/wheel fire starter
- 10 waterproof/windproof “Lifeboat” matches
- Approx. 20 Tinder-Quik fire tabs
- Pill pouch of Vaseline-impregnated cotton balls
- Two 1-liter foldable survival water bags
- 20 Katadyn Micropur MP1 purification tablets
- Silva compass
- Fishing kit with assorted size hooks and sinkers and lure types
- Tube of Chapstick
- Leatherman Juice S2 multi-tool
- Leatherman S3 LED light, small
- 1 Photon/Micro keychain light on zipper tab
- Victorinox Farmer SAK
- Small pack of pre-cut strips of flagger’s tape
- Fox 40 Micro survival whistle
- Starflash signal mirror
- Derma-Safe folding utility razor
- 60’ spool of 200# test Kevlar cord
- Flat roll of duct tape
- 2 mini packs of triple antibiotic
- 2 X-tra large Tough Strip Band-Aids
- 2 medium Tough Strip Band-Aids
- Fresnel lens
- 30’ of nylon cord
- Razor blade
- Two large safety pins
- Large sail needle
- Two #12 scalpel blades
- Mini folding saw
Other Considerations
Bear in mind that always having a quality fixed blade in a sheath on your person is pretty much required. It will go a long way in augmenting your mini survival kit and helping you through an emergency situation. You can use it for tasks like processing firewood, cleaning game, building a shelter, and several other jobs.
The sheath knife is also a way that I and several friends carry a mini survival kit instead of in a pocket or in a belt pouch. By affixing a pouch directly to the sheath, survival gear or other items like a multi-tool can be carried along with a fixed blade. Even then, I’ll still carry a backup kit in my pocket.
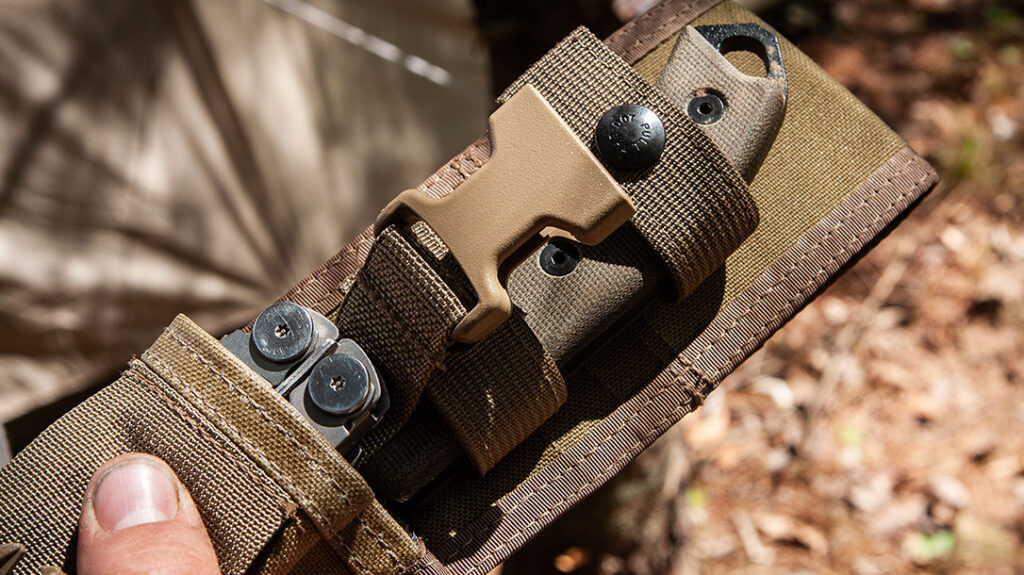
One example of a sheath pouch is from ESEE Knives. It can be mounted directly to either its ESEE 5 or ESEE 6 knife sheaths. The pouch can be found on the company’s website, ESEEKnives.com.
For that matter, another possible way to carry extra survival gear is around the neck. Naturally, you’re not going to want a lot of weight around the neck, but it’s still easy enough to carry critical items.
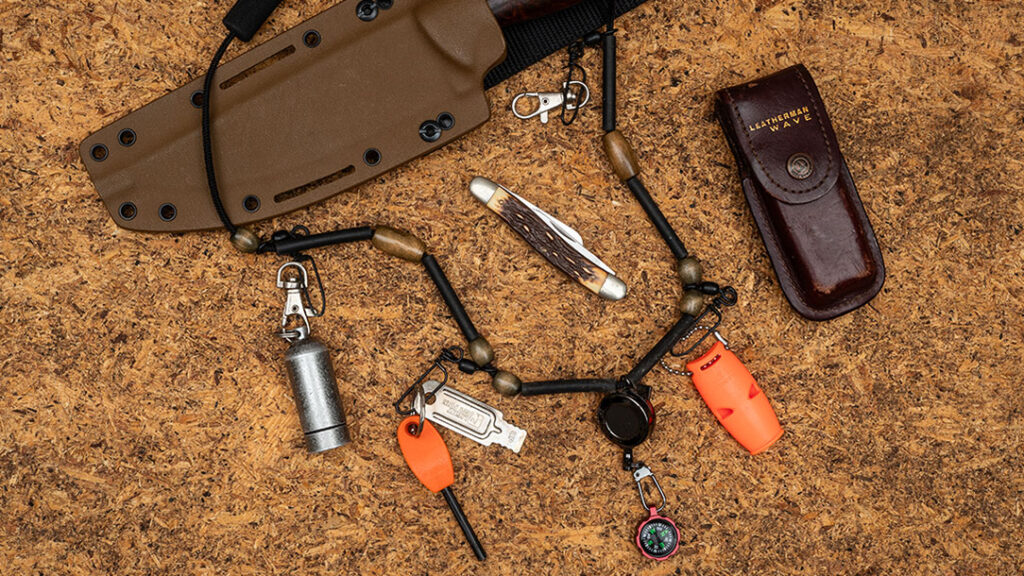
I’ve got several friends who carry items this way, and I often wear a fishing neck lanyard with quick-release clips. It can hold items like a mini ferro rod and striker, whistle, compass, and even an aluminum waterproof pill capsule for tinder.
Additional Items to Accompany Your Mini Survival Kit
While it may seem obvious, another item that would be fantastic always to have is a water bottle. Specifically, an aluminum or stainless-steel bottle would be great. This will give the user another purification method, as you can boil water in the bottle.
Though, it requires a little extra thought as to how to carry it all of the time. A belt pouch works, as does a shoulder strap. Maxpedition makes outstanding pouches for cylindrical bottles such as Nalgene-style bottles. But even a surplus Army canteen and pouch will work.
Once you’ve collected the items you want to assemble into your kit, a little practice is in order. It is important that you are familiar with the gear and can competently use it during an emergency.
This is especially true for the kids in your group. This also allows you to test the gear to ensure it works as advertised and is built well enough to hold up under adverse conditions. When buying a commercial kit, maybe consider buying a spare kit to play around with for the same reasons.
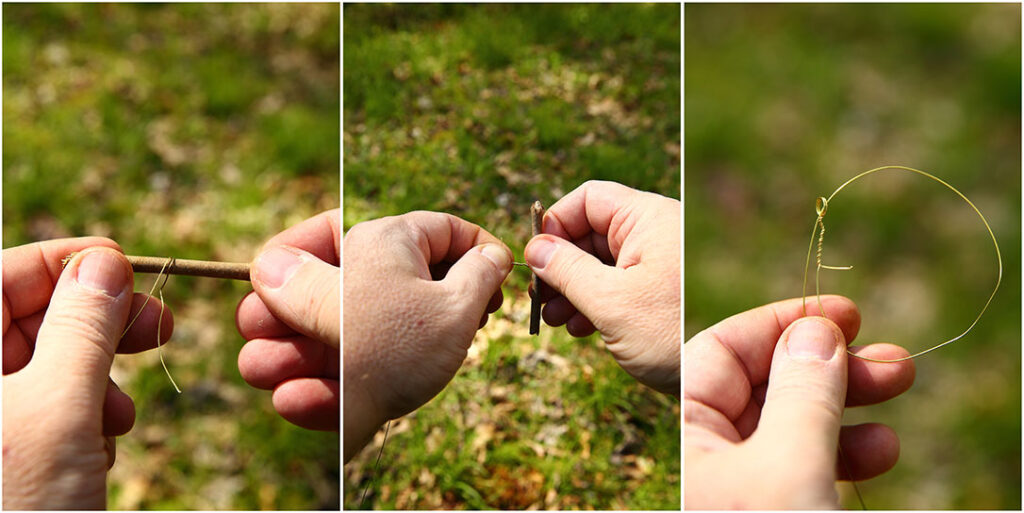
However, building your own kit lets you tailor it to your own strengths. For example, if you’re skilled at snaring game, maybe you’ll want to pack more brass wire. If fishing is more your speed, flesh out the fishing components a bit more.
Final Thoughts
Finally, whether you are buying a kit or building your own, make sure to do your research. Make sure to research both the gear and the area/environment you’re likely to be in if you do get lost or stranded in the wild.
The items I have listed above in the different kits are ones that work for me. For the purposes of this article, they are only suggestions and thought starters.
Understanding the terrain, likely weather conditions, potential plant and animal life, and other potential challenges will help you put together a more effective kit that meets your particular needs.
