There are two ways to learn things in life—by example or by mistake. Most people fall into the former, seeking out professional training and help before attempting something complicated. Not I. Nope, I like to break things in an attempt to make them “better.” Thankfully, there are companies like Nighthawk Custom and its Custom Shop to fix my “improvements.”
Nighthawk Custom Shop to the Rescue
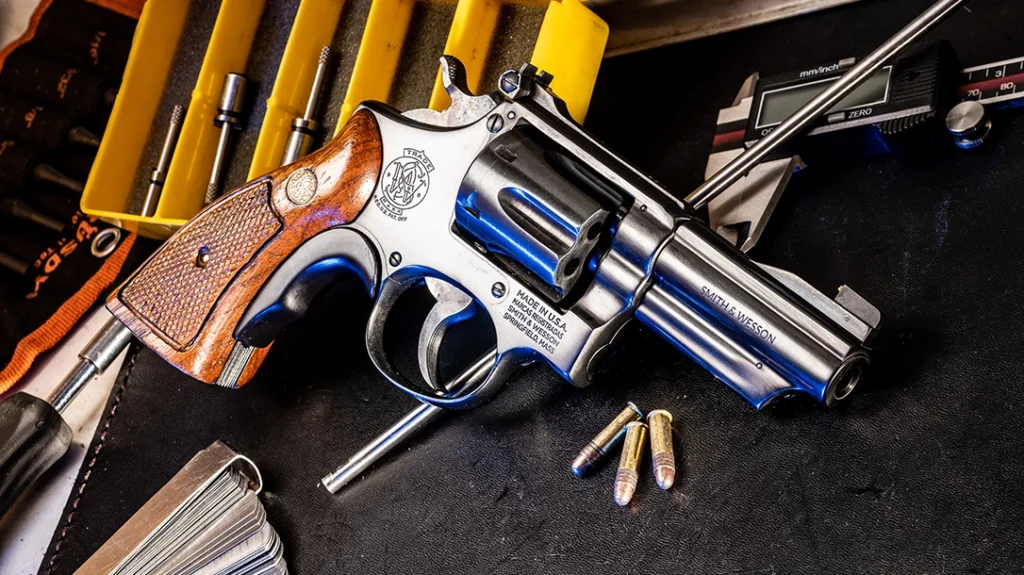
My inquisitive nature leads me to disassemble things that I don’t quite understand. I do it in an effort to gain knowledge, improve their performance, or just plain entertain myself. Such was the case with my first handgun, a Springfield M1911 A1.
In an attempt to “do my own trigger job,” I destroyed some of the most important systems. This left me with a piece that had to be limited to casual target work, as this was the only arena I could trust it in.
Advertisement — Continue Reading Below
Nighthawk Custom is a staple at the Athlon Outdoors Rendezvous. At our recent Rendezvous, I got to sit down with the owners, Mark and Landon Stone. We spoke more about what they do at their shop out in Arkansas.
The company is best known for its hand-built products that span from 1911s to revolvers. However, most forget that the company is also deeply embedded in the business of enhancing customer-supplied guns at its custom shop.
Advertisement — Continue Reading Below
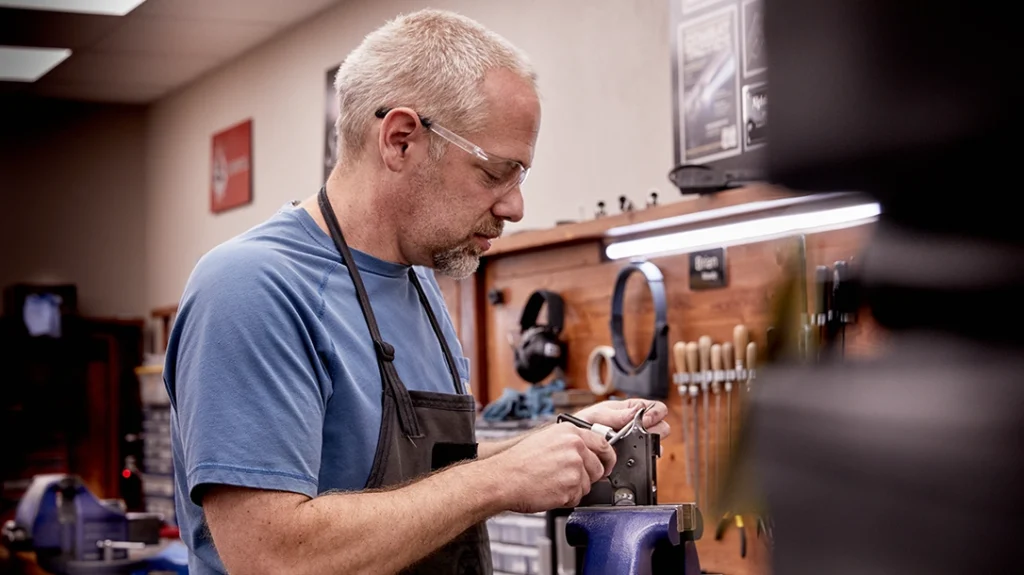
After a little more conversation, I told them about my disaster sitting at home. They were interested in seeing it and finding out what one of their master gunsmiths could do to restore it to glory.
The Patient
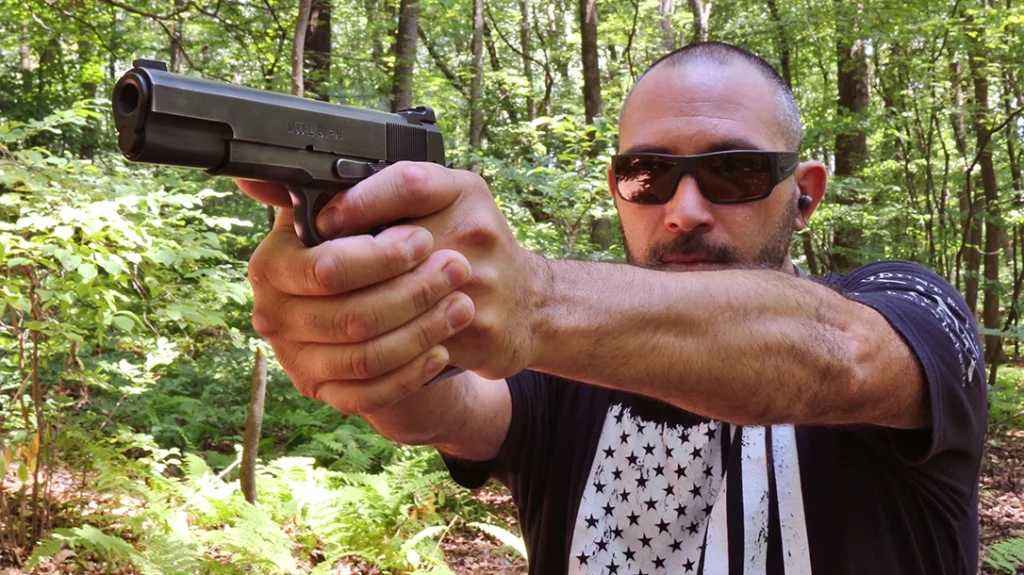
The gun I was sending them was a pure mess. Aside from playing gunsmith, this was also the pistol that I learned how to shoot handguns with. Something else that wasn’t pretty. For some reason, this lefty couldn’t figure out why his gun was shooting low and right and insisted that it could only be the sights.
Today, I know that is a product of flinching. This knowledge would have stopped me from wearing out the dovetail that holds my rear sight in place as I was constantly drifting it to “dial it in.”
Advertisement — Continue Reading Below
I’d like to tell you that I didn’t use a screwdriver and the back end of my stapler each time to do this, but I’ll leave the spreading of fake news to those with more experience on the subject. The front sight got spared a little, though; it was only subjected to a dozen different coats of nail polish.
Lastly, as I sent thousands of rounds down the pipe in the process of learning, the fit between the slide, barrel, and barrel bushing just wasn’t as tight as it used to be. And it was starting to show up on target.
Advertisement — Continue Reading Below
A Mess of a 1911
Although my tinkering on the range left a few scars on my 1911’s outsides, this pales in comparison to the damage I caused trying to DIY a trigger job. The process involves a complete disassembly of the firearm, then a near complete reassembly to test it. So, nearly every part bore evidence that I had my hands on it.
Starting with the frame, there was that tell-tale scratch (more like a groove at this point) from where I had drug the slide stop against the area behind the trigger guard before realizing that wasn’t the way it was done.
Working back, I had stripped nearly every screw that held the grip panels on. They were now held in place by nothing more than the tension from the bushings that they slid over.
Advertisement — Continue Reading Below
Just above them came the worst issue: the safety plunger tube. From the constant removal of the safety, I had loosened the staking, and it was now separating from the frame. This caused the plunger to ride over the control instead of pushing against it, locking it in the “safe” position.
That was an instant disqualifier for any self-defense roles for it, as was its newfound inability to feed hollow-point ammo. Mind you, everything I messed up to this point is only the damage caused by going in.
Advertisement — Continue Reading Below
Once inside, I wrecked the trigger by trying to stone the engagement surfaces myself. Likewise, I snapped off sections of the sear spring in an effort to “adjust” them. I even somehow loosened the magazine lock-up, creating a deeper reliability issue.
The Nighthawk Custom Shop Process
Before sending your firearm to Nighthawk, you must fill out a brief questionnaire on the website. It asks for a description of your gun and what type of work you would like done. Here, customers can get a quote based on the services they desire and open a channel of communication for specialty projects.
I took a different route, as the project was initiated over lunch with the owners. During that conversation, I told them that they could do whatever they think needs to be done. Just please let it vaguely resemble itself when you are finished. Not for nothing, it still possessed tremendous sentimental value; all I wanted to erase were my sins.
The process took just shy of eight months from start to finish. During that time, Nighthawk not only repaired the damage but also added a few enhancements that I hadn’t even considered.
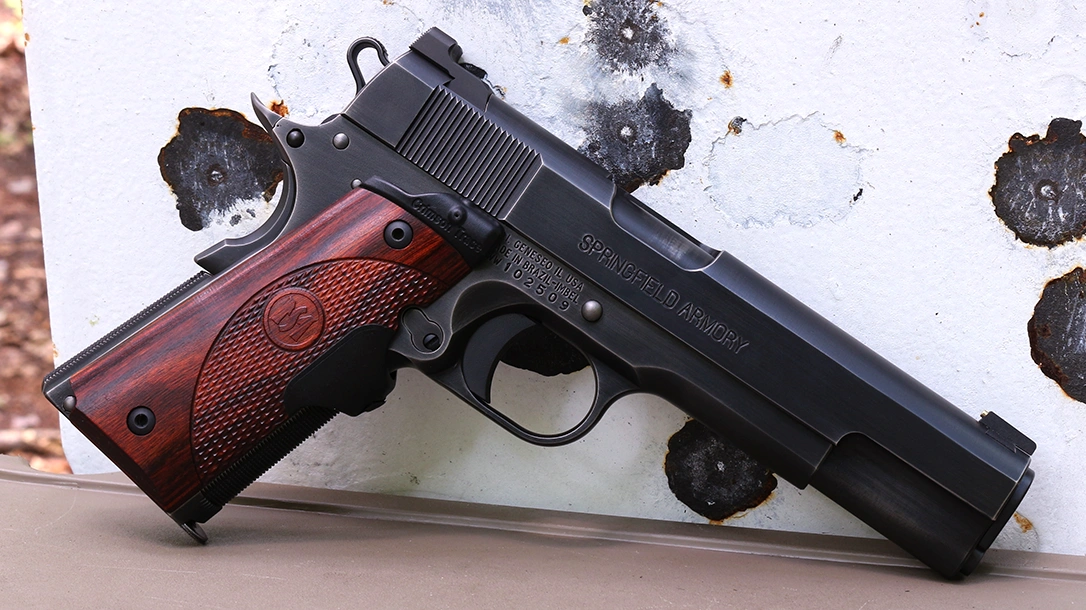
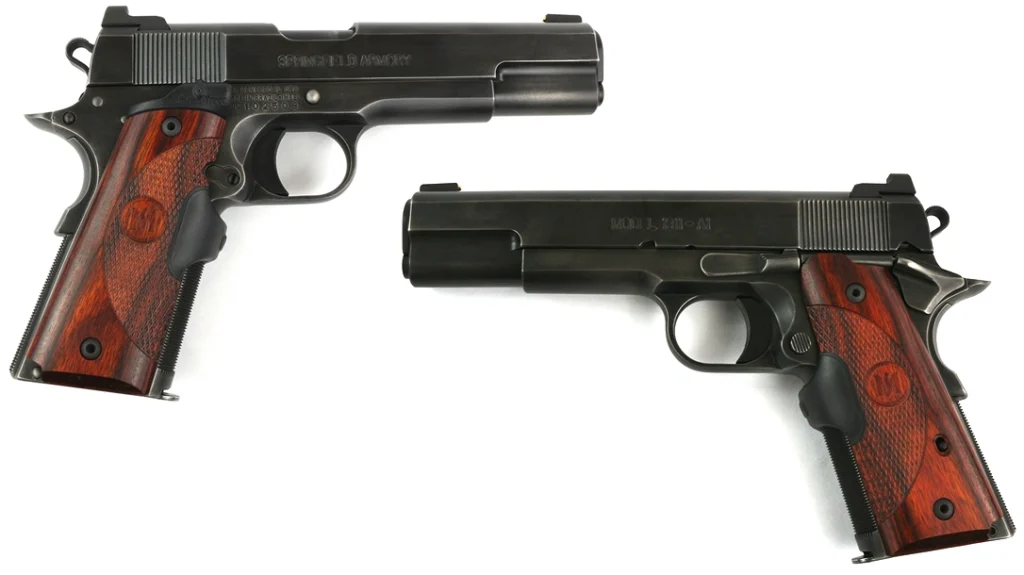
I gave them a blank check, and they didn’t disappoint! In short, looking at the returned product was like catching up with an old friend who is in better shape than when you last met. Between improving the overall quality of the gun and retaining its general appearance, they nailed it.
Correcting Mechanical Issues
The best place to start is to describe what was done to correct the mechanical issues. In addition, there were upgrades to the GI-grade features this pistol left the factory with.
Naturally, the plunger tube was replaced and staked in the frame using a proprietary process. It involves relieving the frame on the opposite side for a more positive connection. This ensures that the safety will be disengaged any time it is pressed.
With out-of-the-holster function restored, the next area their gunsmith addressed was shot-to-shot reliability. Nighthawk has a standard “reliability package” that the customer can select. It features feed ramp geometry correction that aids in feeding difficult ammunition.
A throat adjustment is also carried out to allow the gun to chamber cartridges with a longer-than-usual overall length. This ensures that the gun returns to battery each and every time, even if a non-standard round slips into your ammo box.
Finally, new grip bushings and hardware were installed to keep my stocks from slipping when the gun was fired. This might sound trivial, but there is a degree of shame associated with ignoring a repair that must be made. So, not only did this make the gun look and work better, it made me feel better, too.
Improving Accuracy and Shootability
With the stoppages mitigated, the next areas that needed to be addressed were mechanical accuracy and shootability. I use this term to describe how easy it is to keep sights on target while pressing the trigger.
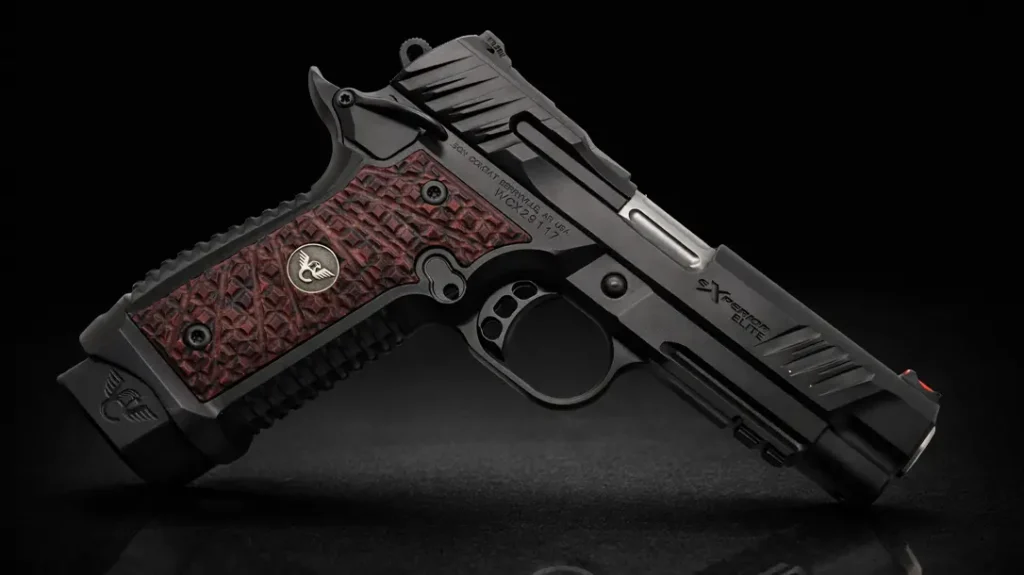
As expected, a recessed target crown was cut into the barrel, protecting the rifling and imparting the optimal angle for match-grade accuracy. However, an accurate barrel is worthless if it is allowed to wobble inside of a slide. Nighthawk went the extra mile to hand-fit its beveled tactical bushing and plug to my slide to eliminate this play.
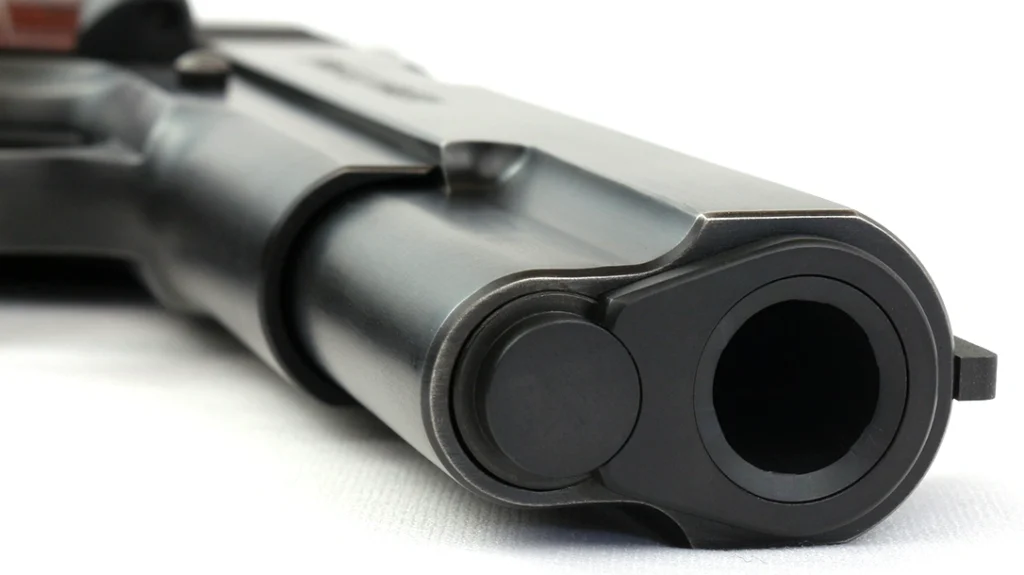
Just as these parts are made 100% in-house, so are the parts that were used in the match-grade trigger job. Again, completely by hand, the ignition components were adjusted, stoned, and polished to create a crisp, measured 3.7-pound pull.
This included installing Nighthawk’s own sear spring and mainspring housing, as well as an oversized beavertail grip safety to prevent hammer bite. Over and pre-travel were both eliminated, and my trigger finger was treated to an oversized shoe to promote a press without any angular motion.
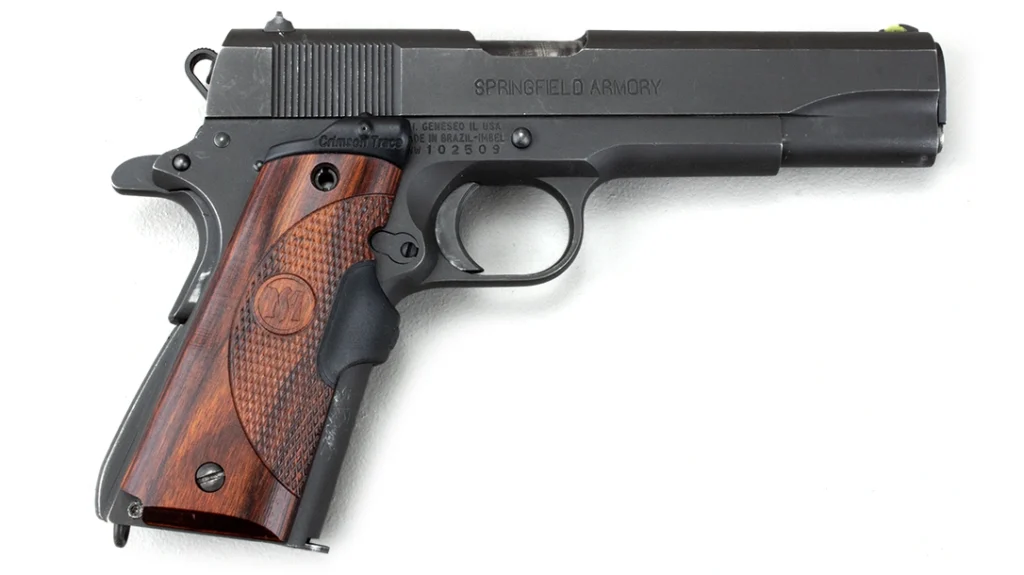
The Nighthawk Custom Look
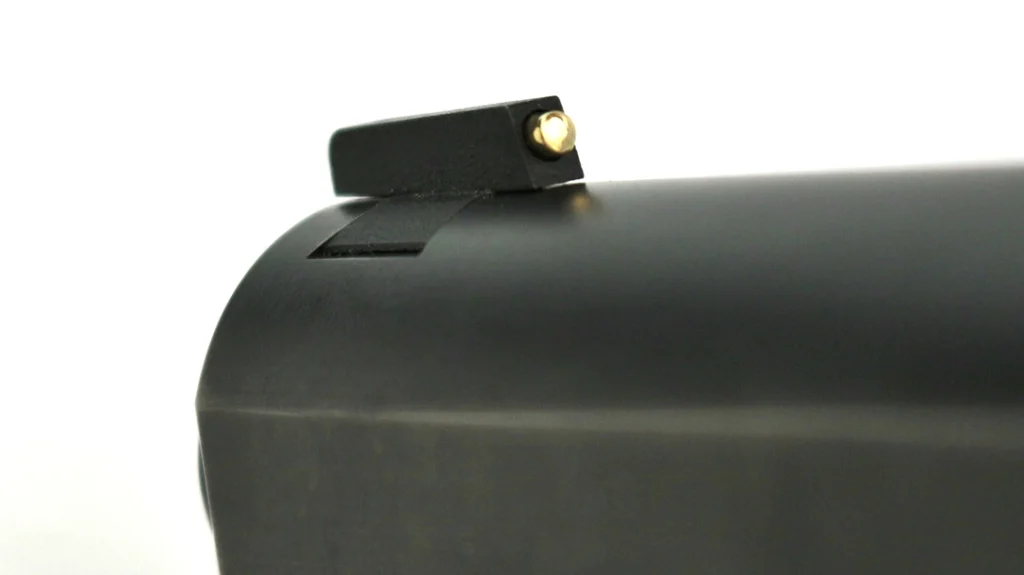
The work performed to the sights begins our transcendence from functional improvement to aesthetic enhancements, as it sits directly on the line. Standard GI sights aren’t much to look at, particularly when surrounded with marred steel or coated in acrylic paint.
In one move, our gunsmith corrected both issues by milling away the damaged material and creating wider Novak dovetails. These enlarged grooves host more prominent sights and, therefore, were filled with a Heinie Rear and a gorgeous 14-karat gold front bead.
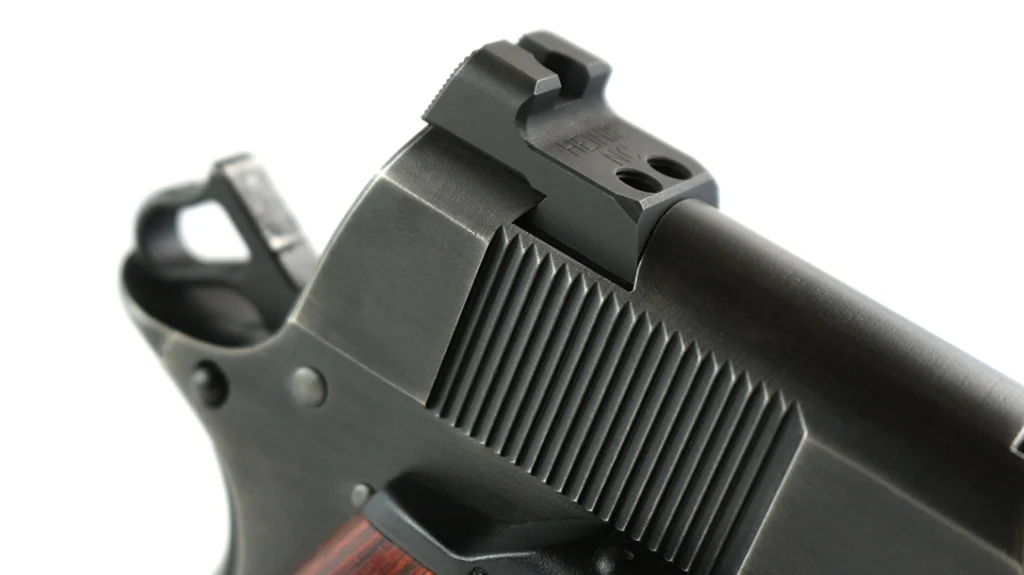
Besides being cool to say, “I have a golden front sight,” this metal resists tarnish and corrosion like no other. Likewise, it brilliantly gathers light, making it extraordinarily easy to pick up.
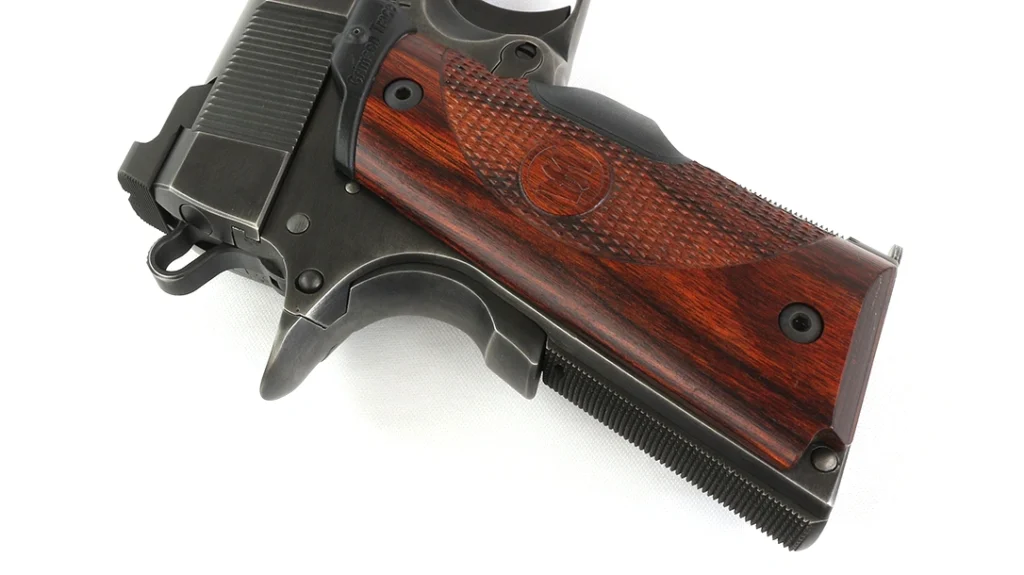
Also blurring the line between beauty and function was the 25 lines-per-inch machine-cut checkering they did on both the front and back straps. This looks slick while providing the necessary grit needed to tame .45 ACP recoil.
The 25 LPI pattern is the mathematical middle ground between 20 and 30 LPI. Both are available if you prefer something more or less aggressive.
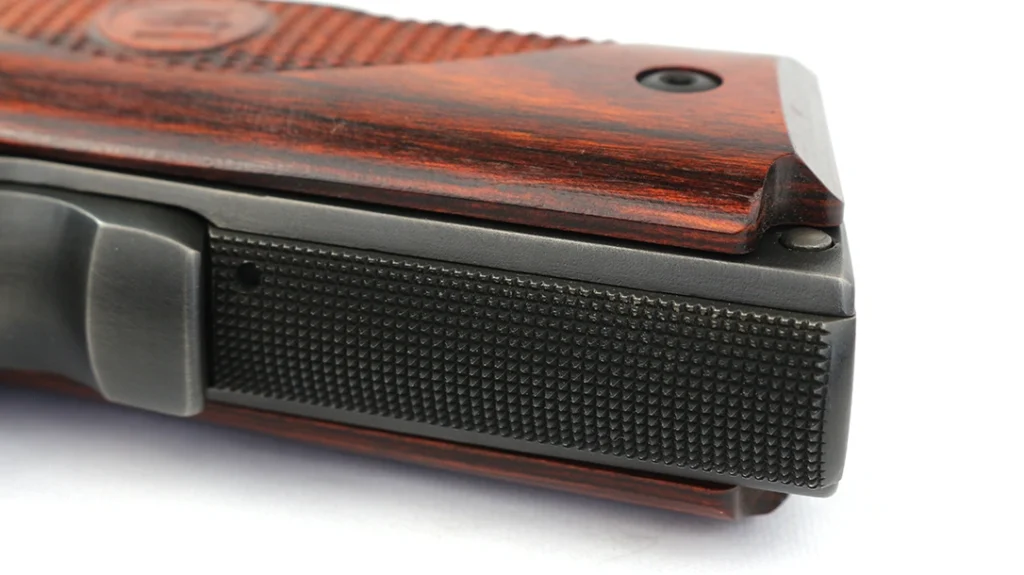
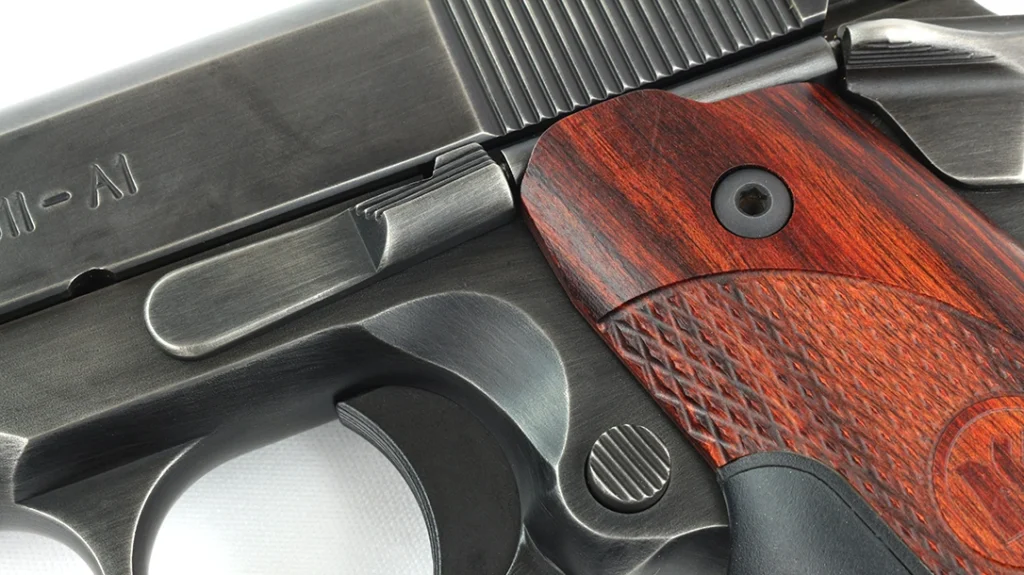
The dehorning treatment also fits into the pretty with a purpose category. This involves hand-beveling snag points and sharp corners of the gun, as well as blending every surface that meets another. This is where a gunsmith really earns their salt, as it takes not only exceptional machining ability but artistic prowess as well.
Fit and Finish
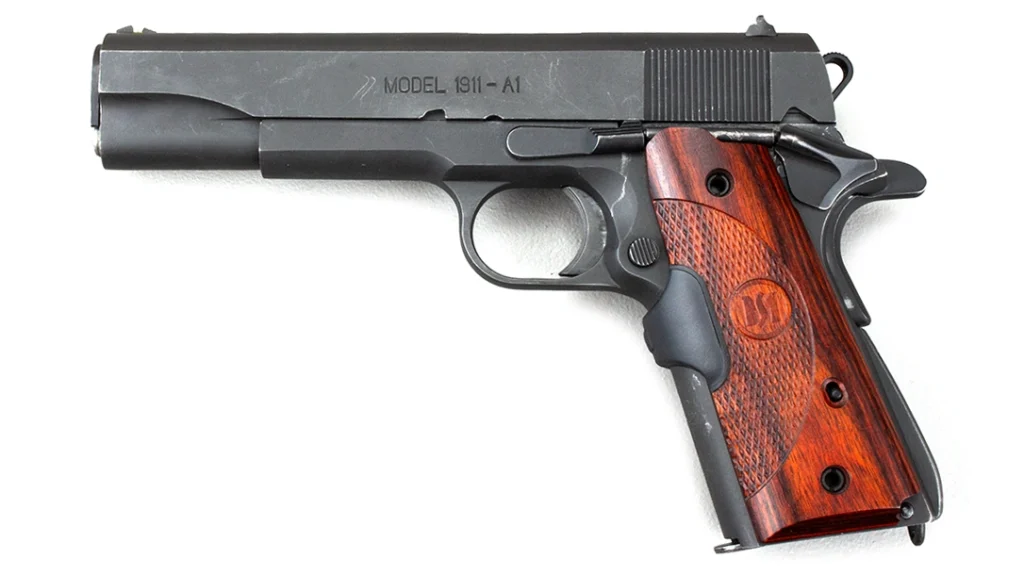
This brings us to the processes that don’t add as much to function as they do to finish. Being that I sent them a well-used pistol, the Parkerization was uneven at best. Therefore, they opted to remove it all and replace it with a smoke nitride finish. The finish was then hand-distressed to remind me how long I’d had the gun.
However, before finishing, the slide was reconfigured with a ball-cut radius, giving it a classy, Hi-Power-esc look. Lastly, a gun that receives this amount of work garners Nighthawk’s signature gunsmith stamp under the left stock. This is a move that displays the pride each puts into his creation. Mine now bears “WW,” indicating that William “Brian” Woody is responsible for this incredible transformation.

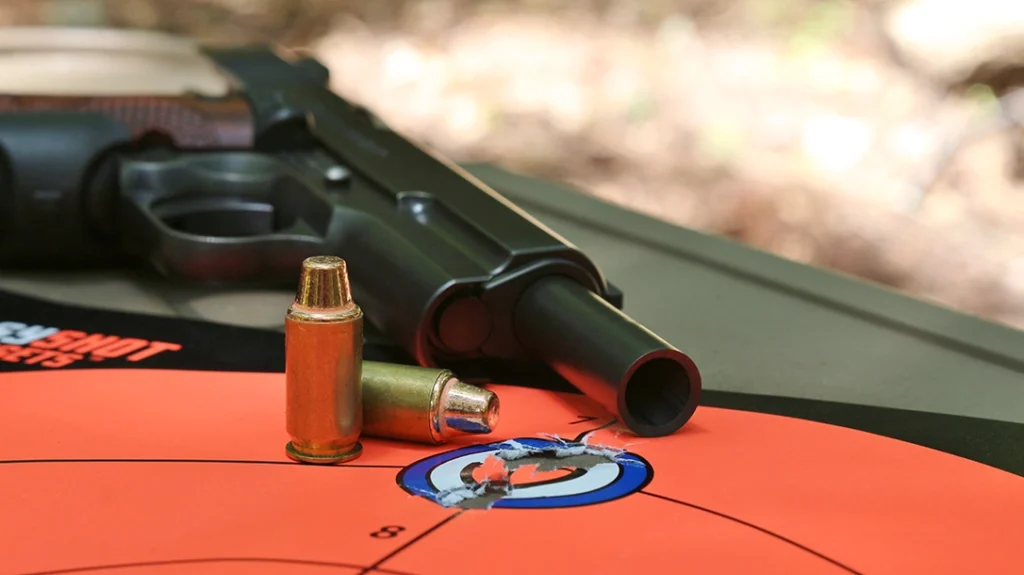
Nighthawk tests each gun with 90 rounds of round nose, hollow-point, and semi-wadcutter ammo before sending it back to the customer. This is in addition to at least another 100 dry fires to ensure everything is functioning properly.
Back on my range, I was able to double this test with 100% reliability and print some outstanding 15-yard groups. My accuracy recipe consisted of a 200-grain X-Treme plated semi-wadcutter over Winchester 231. I ripped these ragged holes while enjoying a level of control that I had never experienced with this gun.
Professionalism Through and Through
Aside from fixing all of my woes, I think it’s important to mention that not once through the process did I feel judged for the things that I tried to do myself or for my (then) lack of knowledge of the inner workings of a platform that many have deemed sacred.
Workmanship alone doesn’t decide my involvement with a company. If they act like they don’t want or need my business, I’m more than happy to oblige them. The entire project was professionalism at its best, and the final product exudes this brilliantly.
Nighthawk wowed me every step of the way and left me wondering just one thing. Imagine what they could do with a gun that wasn’t this messed up, to begin with.
For more information, please visit NighthawkCustom.com.