While seemingly straightforward, rifle slings can be challenging if you’re unfamiliar with how to use one tactically. Many people use rifle slings in a variety of settings, from home defense rifle setups to AR Pistol truck guns and hunting rifles. Too often, people use different slings on each rifle rather than mastering one sling platform. They must remember which sling they mounted and how to correctly unsling or re-sling their rifle. If you have multiple rifles built for self-defense, I recommend getting good at using one type of sling, or you better practice with all of them. Just like drawing a gun from concealment, unslinging your rifle should be an auto-response to a stressor and not something you have to think about. For this reason, I use the same sling on my PRS rifle, 3-Gun Rifle, competition AK and hunting rifles.
Rifle Sling Load Drill
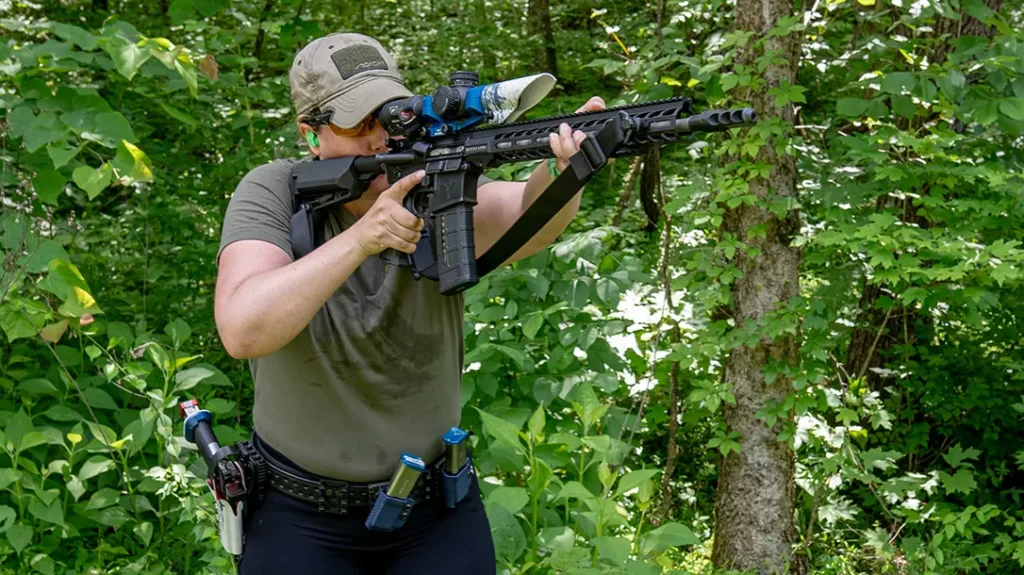
Matches require competitive shooters to use a sling at some point in their shooting careers, specifically multi-gun events featuring carbines. I remember the first match I shot with the start position “loaded pistol unholstered, unloaded rifle slung, and loaded shotgun pointed at orange start mark.” I realized I had practiced loosening the sling and getting the rifle up on my shoulder, but I didn’t account for my belt set up or practice this drill under any duress. It was a wake-up call that I needed to practice this maneuver at more local matches and with my full 3-Gun gear on rather than try to learn the technique on the fly.
Advertisement — Continue Reading Below
Slings & Stocks
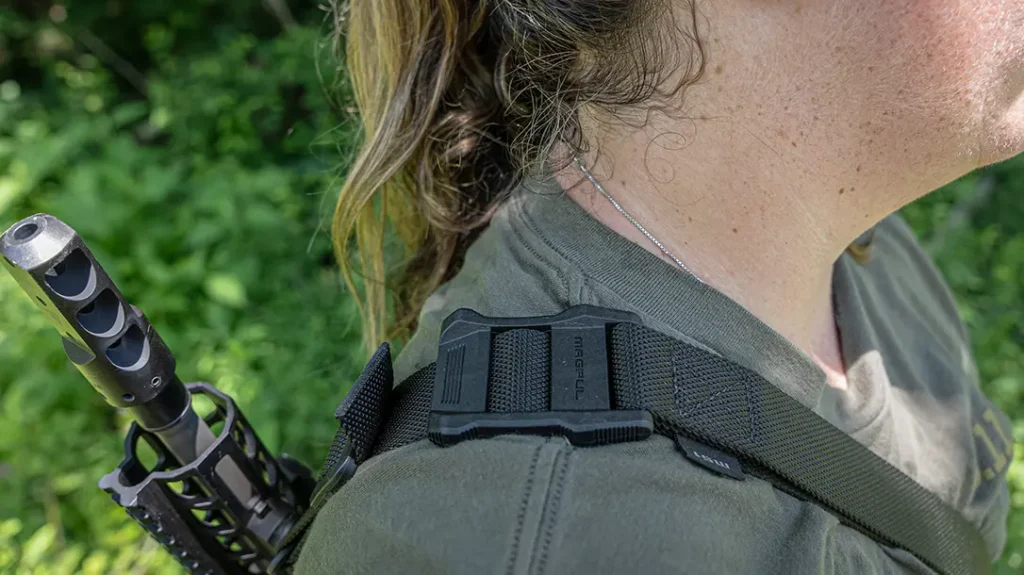
I use the MS1 Sling by Magpul, set up in a two-point configuration using the Quick Disconnect Sling Mount (QDM) on both sling ends. I also use the MOE SL-S Rifle Stock from Magpul on most of my rifles, as it has ambidextrous built-in QD push-button mounts. If you prefer a more permanent sling mount, this stock also features rear and bottom sling loops. If you use an M-LOK compatible handguard, I recommend using aluminum Picatinny rails from Magpul to set up your rifle with the desired accessories.
In 3-Gun, I shoot the Stag 3-Gun model AR-15, and for AK Matches, I shoot an IWI Galil. I installed permanent Magpul Picatinny rails underneath the handguard on both guns to attach my Warne Scope Mounts bipod. My Galil comes outfitted with the Dissident Arms Adaptive Stock, which, like the MOE rifle stock, has built-in QD attachments on both sides.
More Attachments
Since I rarely need a sling,I prefer to use the QD Sling Attachment from Sylvan Arms on the side of my handguard rather than mount a permanent Picatinny rail onto these rifles. I can mount this in any M-LOK slot, attach a sling via the QD sling attachment point, or use a standard clip sling attachment. This design makes it easy to change which side of the handguard the mount is on and the specific M-LOK slot I want to use. I can swap the sling from my AR-15 to my Galil in seconds.
Advertisement — Continue Reading Below
Pro Tip: Make sure you invest in the right handguard and stock to mount a sling to your rifle in whatever configuration you desire. Determine if you want permanent rails installed on your handguard for mounting accessories or QD-style attachments. This setup process will take the most time, but you and only you can decide how you want to set your sling up to you.
Equipment Needed
- Rifle
- Belt (KORE Essentials)
- Magazine Pouch (two recommended)
- Magazine (two recommended)
- Sling (Magpul MS1)
- Caldwell Steel Target
- Timer (optional)
The Drill
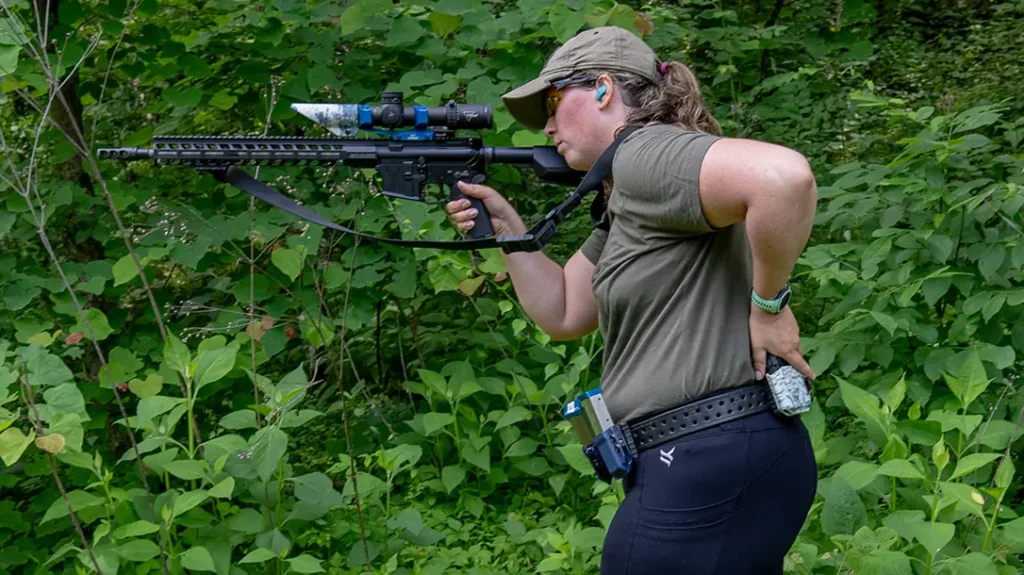
The drill involves unslinging an unloaded rifle, loading a magazine, chambering a round, and firing a shot. You’ll need a sturdy belt with at least one magazine pouch holding a loaded magazine to perform this drill. If you’re new to this, it’s best not to use a timer when learning how to unsling a rifle. Adding a timer can introduce stress and lead to rushing the drill, which can result in bad habits. As with every drill, it’s still essential to have a target to aim at to ensure you’re always working on accuracy with every shot fired.
Advertisement — Continue Reading Below
Unslinging and Loading the Rifle
At the start of the drill, your right and left hands move simultaneously. Your right hand (swap instructions for lefties) should find the slider on your shoulder and begin to lengthen the sling. Your left hand reaches behind you and grabs hold of the buttstock or buffer tube, bringing the rifle around your body and into your shoulder. At this point, your right hand should move to the rifle grip as you’d typically shoot while your left hand reaches for the loaded magazine on your belt.
The sling should be lengthened enough that it’s still around your neck but not trapping your left arm from performing this movement to grab a new magazine. Insert the fresh magazine, ensuring it’s properly seated, charge the charging handle to load a round, aim, and fire at your Caldwell steel target. Make sure to make that shot count after all your work to get your gun loaded! Once you’ve mastered the fundamentals of this drill, track your progress with a timer.
Advertisement — Continue Reading Below
