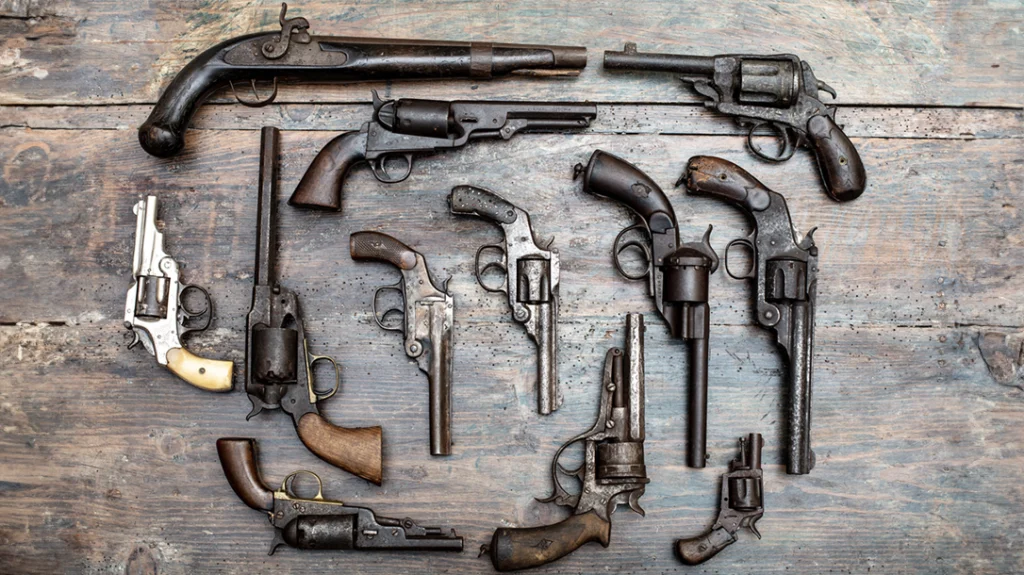
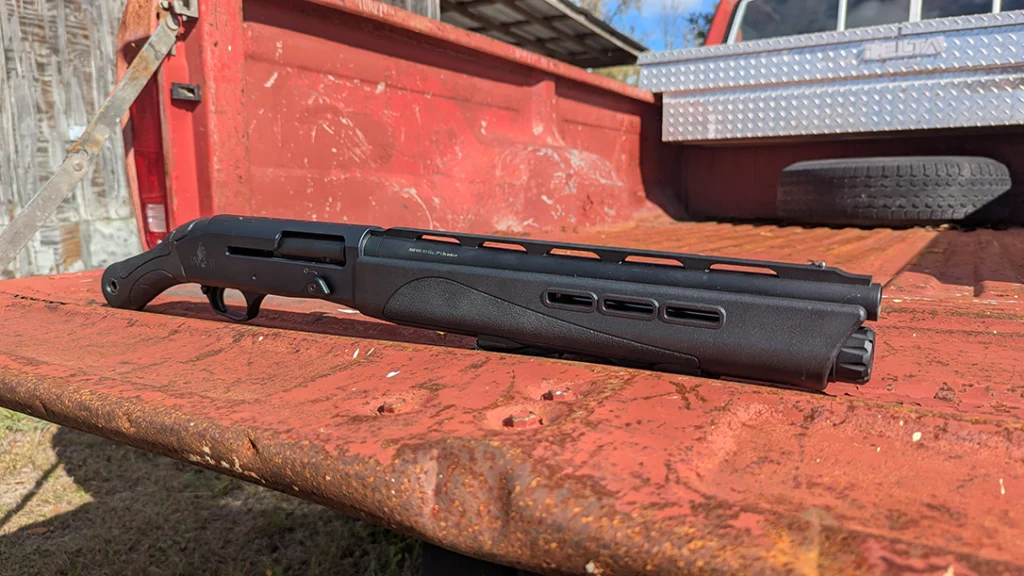
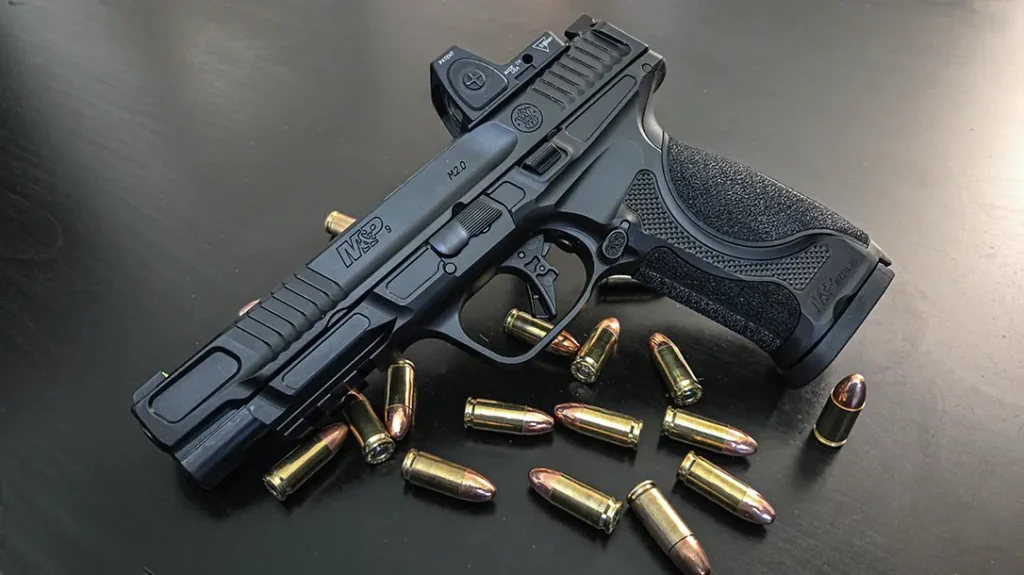
Like many of you, my gun collection consists of more than one gun. In fact, it is significantly more than just one gun. Again, like you, I keep those guns locked securely in a safe. The challenge however is what must take place when I need to get a gun out. Unless it is one of the guns close to the door, I usually have to unpack a majority of my safe to get the gun in the back. On top of that, the organizer bar is set at a height that only accommodates a small number of my guns.
Getting Organized With the SecureIt Gun Storage Steel 6 Gun Safe Retrofit Kit
Apparently, when most of these safes were designed in the late 1700s, they never made plans for SBRs or AR pistols. My last unsolicited complaint is the fact that there is not much room. While a safe may be called a “20 gun” model, the only way you will get that many in is by stacking them against each other. As a gun writer, it is important for the guns I get in to be taken good care of. Putting them in a safe right against other guns just simply isn’t an option. With that, my quest has been to find an organizational solution to my existing safe. My quest was fulfilled recently when a friend shared information on the SecureIt Gun Storage Steel 6 Gun Safe Retrofit Kit.

Advertisement — Continue Reading Below
The SecureIt retrofit kit is designed to take the organizational mess of your existing safe and add metal panels for modular fixtures. This design allows you a great deal of flexibility regarding supporting rifles of various lengths as well as other items like handguns. The primary kit that SecureIt sent me consisted of two small louvered panels, six cradles with bungees, three stock bases, and the necessary screws and drywall anchors. I say primary kit, because the team was also kind enough to send a few extra items, including an extra panel, an extra base, an extra cradle, and handgun mounts.
Installation of the kit is straightforward and simple. The first order of business is to empty out your safe and store your guns somewhere safe. Once the safe is empty, it is time to remove any shelves and dividers that may be inside. If you are looking to only modify a portion of your safe, some of these shelves can be left in place.

Advertisement — Continue Reading Below
Installing the Panels
Now it’s time to install the panels. Place the panel at the ideal height between your longest and shortest firearm. I chose to put the bottom panel 10 inches from the bottom of the safe. This allows me to give support to any SBRs I have with the second panel set to support longer rifles. To mark the drill holes, simply use a black sharpie and mark the four corners of each panel. Once we know where our holes should be, it’s time to penetrate the safe wall. Most gun safes are lined with drywall or similar material. It is then covered with a carpet.
In the instructions, SecureIt suggests the use of a 3/16” masonry bit to get the job done. I became a rebel at this point and simply used a screwdriver to punch my holes. My concern was that the drill bit may catch the carpet and wind up on the bit. In that our sub-material is drywall or similar material, we will be using the provided drywall anchors. The only thing we need to do is to cut them down in size a bit.
With a pair of snips, I cut the front portion of the anchor off, leaving about ¾ of an inch. Set the anchors into your fresh holes and we are ready to attach the panels. Align the panels with the pre-made holes and use the 1-inch drywall screws provided in the kit. You are welcome to use a drill to screw them in, but I used an old-school screwdriver. I wanted to make sure I did not accidentally over torque the drywall anchors.
Advertisement — Continue Reading Below

Putting the ‘I’ in DIY
It is at this point that I did a little freestyling. The team at SecureIt was kind enough to send me an extra panel knowing I wanted to fill the entire back wall of my safe. Now, this is where a disclaimer must be added. I spoke to members of the SecureIt team and explained what I wanted to do. They agreed as we discussed the need to cut the final panel into two equal pieces.
I am a very handy person and am very comfortable doing cuts like this. I have the proper tools and experience. In short, I would say that if you have these skills and tools, you too can create a custom grid for your safe. My safe was perfect for this customization because cutting the extra panel in half fit the remaining open space perfectly. If all you have is a hacksaw and hope, this level of customization is not for you.
Advertisement — Continue Reading Below
With all the panels in place, I moved to install the stock bases. Each Stock base supports the buttstock of any two long guns within two individually tiered channels. The angled tiers provide adjustability in the angle of the gun ensuring the security of the gun. The stock base rests at the bottom of the system, interlocking to prevent moving or shifting.

Modularity and Fit
For this installation, I had four bases that would support eight guns. Now I needed to install the cradles. These cradles properly support any gun at the barrel, rail, or magwell. It is key to the standoff that allows the system to store the gun with optics intact. The standoff also allows the storage of additional gear behind the gun. Once in position, the cradle can be locked into place with one screw or left loose for quick readjustment. Bungee cleats positioned at the top of the cradle, where the bungee is secured, provide added security. The cradles can be set at various heights to support whatever gun you have.
Advertisement — Continue Reading Below
Once again, the great folks at SecureIt went above and beyond. They included two versions of their pistol mounts. A single pistol peg and a display pistol peg. The single pistol peg stores a 9mm or larger handgun and attaches to one louver on the wall panel. The pistol peg adjusts on the fly for fast access to a single handgun. The display mount has the peg facing to the side which allows for a more polished display of your favorite handgun. They allowed me to safely store my handguns while simultaneously looking cool.
One very nice thing about this kit is that all the attachments are interchangeable with their other panel systems. I have a gun wall from SecureIt and can easily take pieces off that and put them into my safe and vice versa. They also have an extensive line of other accessories ranging from mag holders and shelves to lights and bins.

Advertisement — Continue Reading Below
Endles Possibilities
Once the guns were back in the safe, I began to appreciate the design even more. The guns were very easy to access, and they were safely separated. This makes my life significantly easier. In total, the installation took me less than an hour and was easy to do. My personal choice was to retrofit one of my safes, but this would work well in something like a cabinet as well. My mind is now racing as I lay out new designs in my head and add to not only my improved safe but to other areas in my office.
SecureIt has been quietly outfitting the U.S. Military, law enforcement, and federal agencies for over two decades. Their products are real solutions to our storage challenges. They bring a level of ingenuity and vision to the field that few can come close to. If you are looking for retrofit solutions or something from scratch, SecureIt needs to be your first stop. For more information on the SecureIt retrofit kit and other solutions, visit secreitgunstorage.com.
