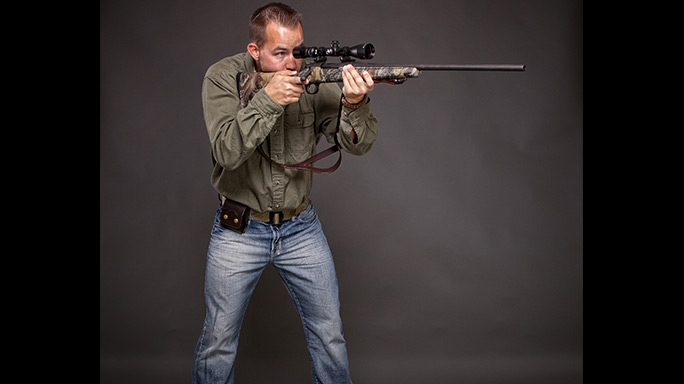
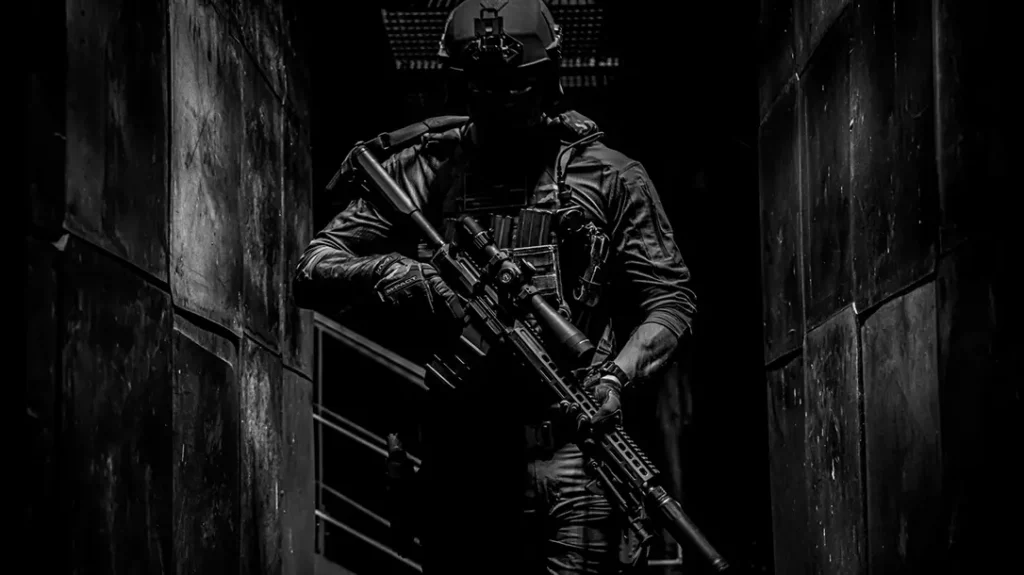
What is a rifleman? Merriam Webster defines a rifleman as a soldier who carries a rifle or as someone who is skilled at shooting a rifle. Both definitions are exceedingly vague and are like saying, “If you carry a wrench, you’re a mechanic.”
To me, a rifleman is someone who does not just carry a rifle but someone who has demonstrated a certain level of skill with a rifle. Police departments and military organizations have qualification standards that, for the most part, are representative of the work a cop or soldier might be expected to do with a rifle. For the common gun owner and from a practical standpoint, police and military standards may not apply.
Advertisement — Continue Reading Below
While working as a soldier and later as a cop, part of my duties was firearms training and administering qualification courses. That experience, in conjunction with my own time in the field, and the knowledge I’ve gained from the excellent instructional programs offered by the Gunsite Academy, has allowed me to put together what I would call a generalized test for riflemen.
Making The Grade
A test allows you to establish competency, but the best tests should also serve as a training drill to help build competency. At the same time, if you’re going to establish a performance standard, which rates a title such as rifleman, then that title needs to be defined. If you tell someone you’re a rifleman, they need to understand what that means. My definition of a rifleman, while it may not be agreeable with others, sets forth a skill set that can be demonstrated on demand. This skill set includes three simple tasks, two of which are straightforward and one that deserves a bit more explanation.
Advertisement — Continue Reading Below
- Safely and correctly load the rifle.
- Safely and correctly unload the rifle.
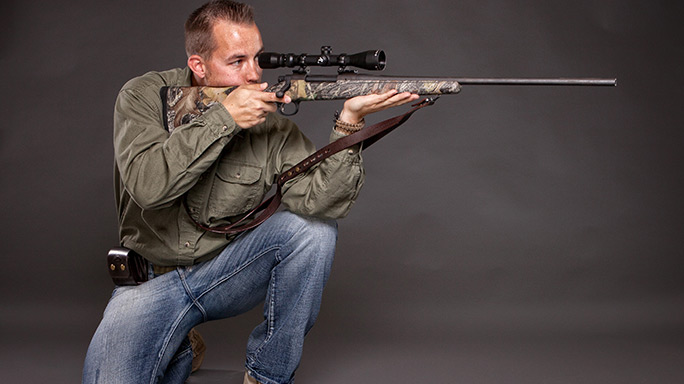
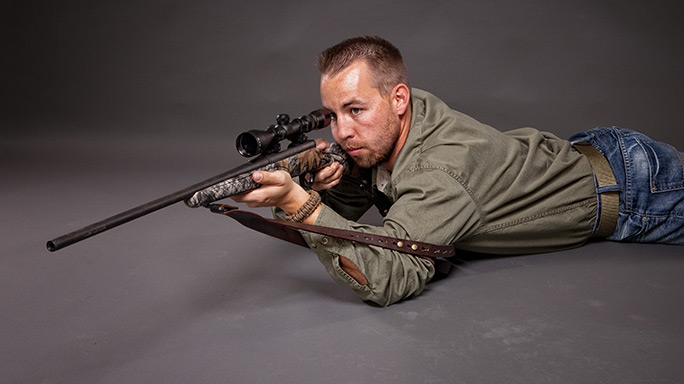
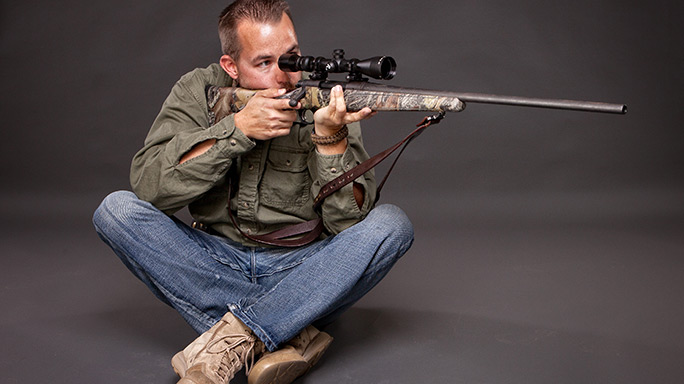
- Shoot with efficiency from the four basic unsupported positions.
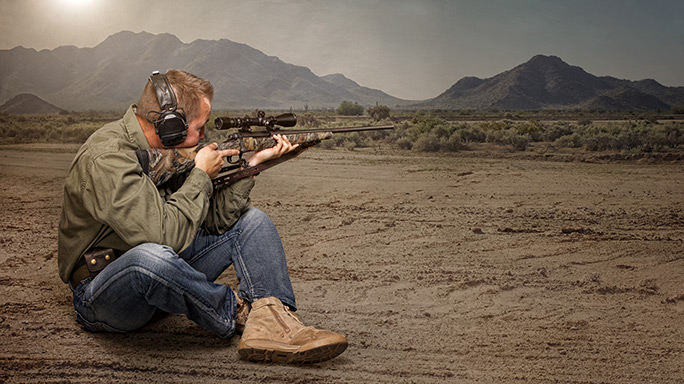
The positions are prone (where your stomach is on the ground), sitting (where your butt is on the ground), kneeling (at least one knee is on the ground) and standing (both feet are all that’s touching the ground). Additionally, regardless of the position, the rifle may not be touching anything but your body parts, and your body parts my not be touching anything but the ground. In other words, no support other than a shooting sling.
Defining “efficiency” will vary depending on who’s answering the question. My definition is based on my field experiences and is tempered by three factors: distance, target size and time. It’s also prescribed under the premise that a rifleman’s job is to put his sights on the target, pull the trigger and get a hit. It should not be a measure of the shooter’s ability to estimate range and apply ballistic solutions. These are elements of long-range or target shooting.
If a rifle-shooter can always, on demand, hit a 5- or 6-inch target set between 50 and 100 yards from the four basic positions, within a restrictive time limit, then they can be considered a rifleman. You may or may not agree, arguing that this is too simple of a requisite. Before passing judgment, I urge you to attempt the following drill.
Advertisement — Continue Reading Below
Pass Or Fail
You’ll need a 100-yard rifle range, 10 rounds of ammunition, 4-, 5- or 6-inch targets, a shot timer and a buddy to help with administering the exercise. Place one target at 40 yards, one at 60 yards, one at 80 yards and one at 100 yards. You’ll have one minute to fire 10 shots, but each shot is timed separately. Four shots must be fired from standing, three from kneeling, two from sitting and one from prone. You can shoot at any target you choose, from any position, as long as at the end of the exercise there are four hits on the 40-yard target, three on the 60-yard target, two on the 80-yard target and one on the 100-yard target.
Advertisement — Continue Reading Below
The start position for every shot is standing at port arms with the muzzle pointing skyward. When the timer sounds, assume your position of choice and engage a target. The timer stops at the shot, and records the time. After firing all 10 shots, total the times; they should be less than 60 seconds. This is a “go/no go” exercise. To pass, you must fire all 10 shots within the specified time period, and there can be no misses. Since the range to the targets is not excessive and the targets are not terribly small, this drill can be performed with any rifle in any chambering—a .22 will work the same as a .30-06.
There are a few other disqualifying actions beyond missing and exceeding the time limit. If your rifle becomes empty at any time between shot one and 10, you fail. You must keep your rifle loaded throughout the exercise. An accidental discharge, a failure to engage the safety between stages, having your finger on the trigger while moving, or any other safety violation should also result in a “no go” score.
Not only is assuming each position correctly critical to making the hit within the time limit, but the smart rifleman will choose the best position for each shot depending on the degree of difficulty, distance, time and terrain. In most cases, the four shots at the 40-yard target would be fired from the standing position, the three shots at the 60 yard target from kneeling, the two shots at 80 yards from sitting and the single shot at 100 yards from prone. However, a shooter’s ability to assume these positions correctly, along with the time it takes to get into each position should also have a bearing on the position to be chosen.
Advertisement — Continue Reading Below
I routinely use this evaluation drill year round on my personal shooting range here in West Virginia that we call Shadowland. I call it the “Shadowland Rifleman’s Test,” or SRT. In fact, it is permanently set up in the woods, with steel targets positioned at the required distances. It’s a great exercise to work through when preparing for a hunt or just to keep skills sharp. But it’s not just a test.
You can work through the exercise untimed or with more generous time limits and use the drill as a way to improve your skills. It’s okay to use targets with scoring rings, but it’s not necessary—steel targets work perfectly, and with them you’ll never have to walk downrange. This increases your time behind the rifle and allows you to learn more and walk less.
Earning The Title
Advertisement — Continue Reading Below
There are a number of things to work on when using this drill for training or practice. You can develop your ability to swiftly assume each shooting position. You can perfect mounting the rifle so it naturally comes up to your eye and on target. Also, you can do some calisthenics before each shot to increase your heart rate as this will stimulate the stress of the clock and adrenaline. If you get to the point where the drill is no longer a challenge, you can even reduce the size of the targets and make the shooting more difficult. You can also restrict the total time available to get your 10 hits.
When using a shot timer to help you train, first conduct the drill as precisely as possible with an emphasis on using the correct position and getting the hit. Time this run, and consider the results your base time. Now, using the shot timer, work to increase your speed. Take small steps. Don’t try to go from 10 seconds to five. At first, strive for a nine-second run, then an eight and so on. The notion is that the faster you can complete the drill, the more efficient you are at shooting your rifle.
When you can run through the SRT drill, mistake-free, in less than 60 seconds, any time and every time, you’re a rifleman in my book. The great thing about this exercise is that it does not require a 300-yard range or some super-flat-shooting rifle. It’s a test that should be able to be performed at most any shooting range, with most any rifle.
Advertisement — Continue Reading Below
This article is from the 2016 Gun Buyer’s Guide. Grab your copy at OutdoorGroupStore.com.
