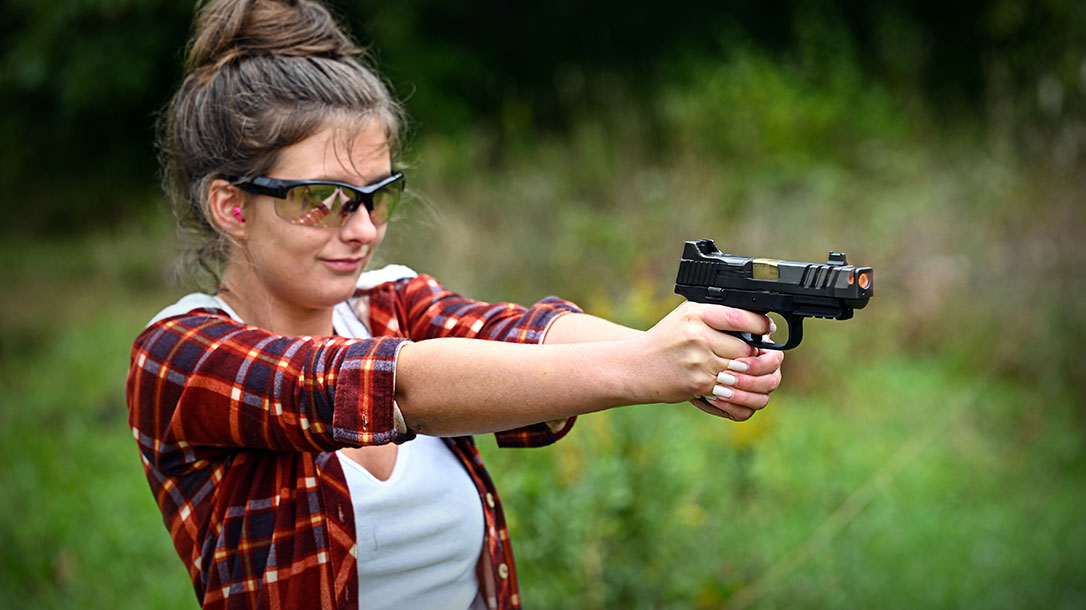
Going to the shooting range can be an exciting experience for new gun owners. After all, what’s not to love about it? Shooting is fun and rewarding, and the range is the best place to improve your gun handling and accuracy.
However, many new pistol shooters soon realize that simply setting up a bullseye target and blasting holes in it until their box of ammunition is gone doesn’t lead to much improvement. Sure, they might get a little better just from the sheer volume of bullets sent downrange, but such progress typically comes slowly.
Dialing Up Shooting Drills for Quality Range Time
Shooters who want to get the most out of their range time are more successful when they have a purpose for their practice. Whether they want to be more accurate, shoot faster, do double-taps or improve in other ways, having a plan in advance almost always leads to a more productive range session.
Advertisement — Continue Reading Below
Drills, Drills and More Shooting Drills
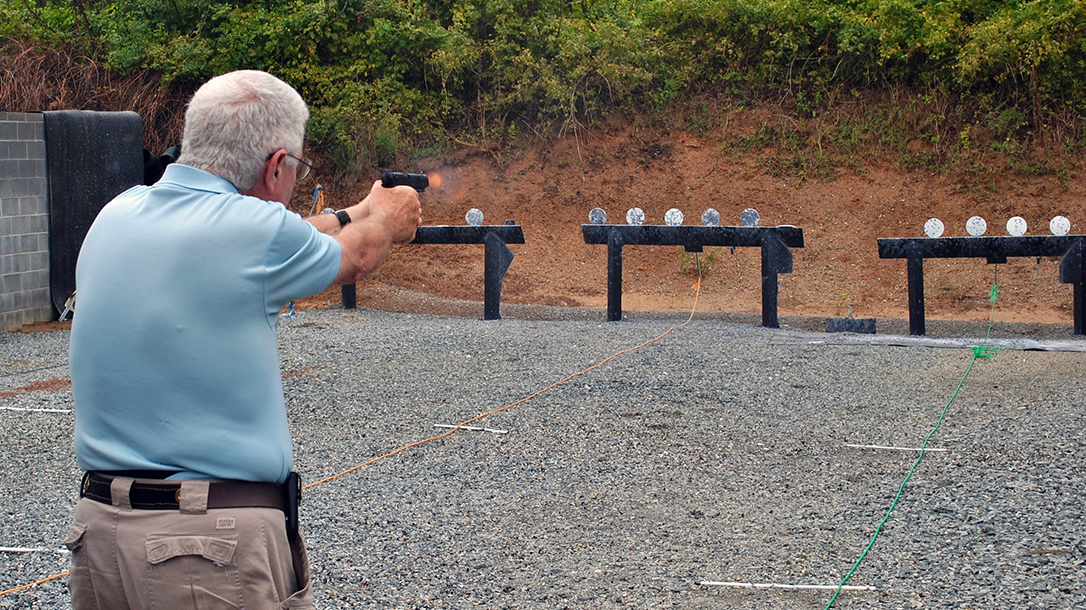
Shooting drills are the building blocks of a productive range session, as well as accuracy and speed. Rather than just standing around and sending some rounds downrange with little purpose, drills have you concentrate on a specific goal when shooting, and they also give you a way to measure improvement as you use them during subsequent sessions.
A drill can be as simple as placing two targets side by side and shooting first one, then the other. But you don’t have to design your own drills because experienced shooters of the past have already found out what works. Let’s look at a few of the drills that I believe are most valuable to beginning shooters.
Advertisement — Continue Reading Below
Dot Torture
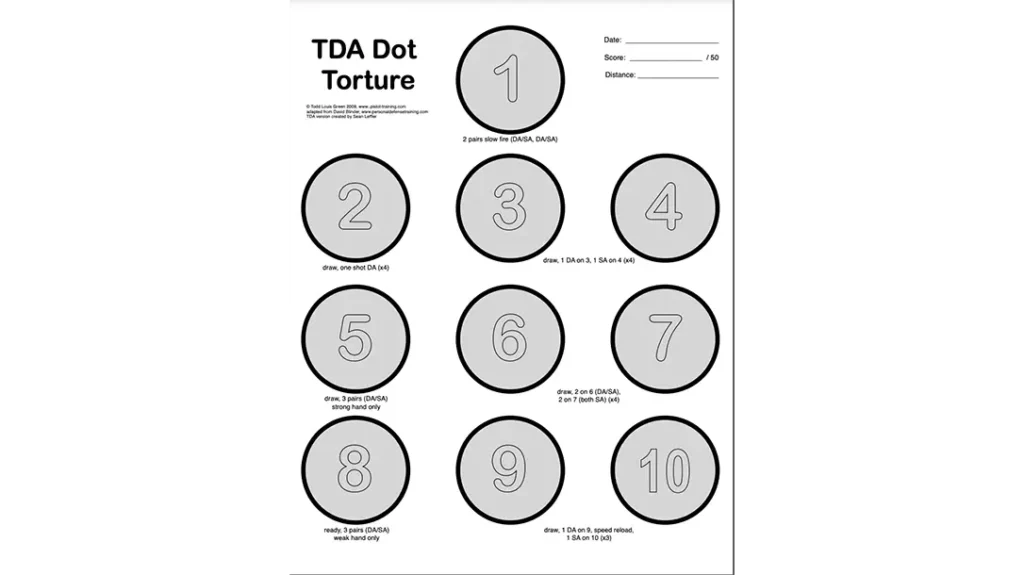
This drill’s name makes it sound much more daunting than it actually is. The Dot Torture drill is a favorite of many instructors and shooters. One reason it is a favorite is that it requires shooters to run through several rounds of ammo with whatever gun they are training with at the time. It also requires gun manipulation and precision with each firearm.
The drill might seem mundane, but it can really help beginners become familiar with their firearms. There are plenty of explanations of the drill found on the internet, but in a nutshell, it is shot at 3 yards and requires a combination of drawing, firing, addressing different targets and firing with both strong and weak hands. By the end of the drill, you’ll have gone through a 50-round box of ammunition.
Advertisement — Continue Reading Below
Printable targets are available online and state the requirement for each “dot.” For new shooters, simply ignore the specific instructions and put the right number of rounds into each target from your typical shooting stance with your normal grip. Those doing the drill should hit the dot with each of the 50 shots, shooting at a pace that ensures they put each shot exactly where they want it. If you miss, it’s time to start over.
Keep The Change
Also called the Dime Dryfire, this drill doesn’t require ammunition. To do it, check—and then double-check—that your handgun is unloaded. Point it in a safe direction, balance a dime (or penny or other coin) on the top of the slide, aim at something and press the trigger as quickly as you can without the dime falling off.
Most shooters will find that they must do this extremely slowly at first to keep the dime from toppling to the ground. But with a little practice, speed will come while concentrating on that oh-so-important trigger squeeze we discussed in a recent Shooting 101 article.
Advertisement — Continue Reading Below
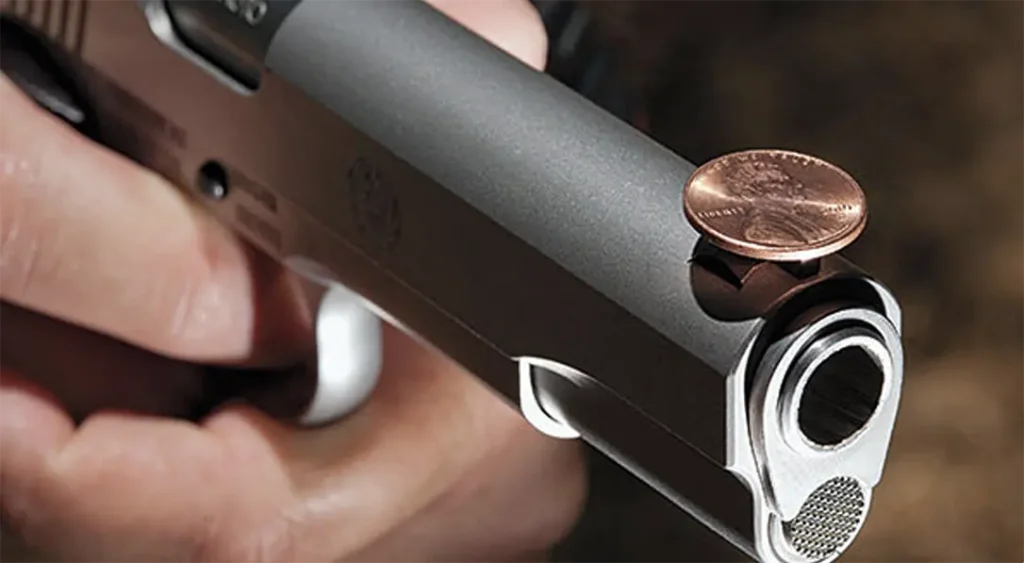
Note that this drill can be pretty frustrating for newbies. But when you can keep the dime balanced on top of your slide, you can keep your sights on target while squeezing your trigger.
10-10-10
While a little more advanced than the previous drills, the 10-10-10 drill adds speed to the accuracy equation. The drill requires 10 rounds of ammo per run, a single target of your choice and your handgun. Standing 10 yards from the target with the gun in a low-ready position (gripped but aiming toward the ground), the shooter must shoot 10 rounds—all into the bullseye—in 10 seconds to succeed. Any misses or taking over 10 seconds to complete the drill results in failure.
Advertisement — Continue Reading Below
It’s not shameful for beginners to move a little closer to the target when starting this drill and gradually work back to 10 yards as they improve. Once you can do it every time, either shorten your “par” time or back up another yard or two to keep the drill challenging. You can also make it more challenging by decreasing the size of the bullseye.
Find a place to shoot at NSSF.org.
Advertisement — Continue Reading Below
