Defensive shooting is very different from shooting on a range. In addition to the nearly debilitating physiological effects that you experience only in response to life-threatening stress, the conditions in which you will be attacked—typically in low light and at close range—often make traditional marksmanship-style shooting impractical, if not impossible. The extreme challenges of a true life-or-death situation force us to revert to our primal survival instincts. And in those circumstances, students of classic combative systems and force-on-force training advocates argue that point shooting is invariably the norm.
Target Acquisition
According to “Weapon Use and Violent Crime,” a U.S. Department of Justice Bureau of Justice Statistics special report, “Violent crimes at night were more likely than crimes occurring during the day to involve a weapon (30 percent versus 21 percent, respectively) or a firearm (12 percent versus 6 percent, respectively). Three of every five crimes committed by an offender with a firearm occurred at night.” Based on these statistics, if you are attacked by an armed assailant—an event that would justify defending yourself with a firearm—the odds are good that it will happen in diminished light. Since night means darkness, it also means that you’ll have limited ambient light with which to see the sights on your pocket pistol.
Just for a moment, let’s assume that your pistol does have highly visible sights and that the environment, or the self-luminous nature of your sights, provides enough light for visibility. One critical question remains: Can you actually see them well enough to use them?
Advertisement — Continue Reading Below
No matter what shooting method you use, the first thing you do is “point” the gun at the target using your body structure. By developing a thorough understanding of this process and applying it within practical limits, it’s all you need to get combat-accurate hits on target at close range.
The Traditional Method
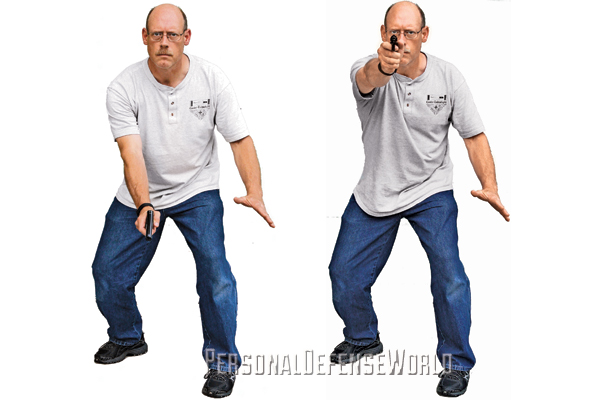
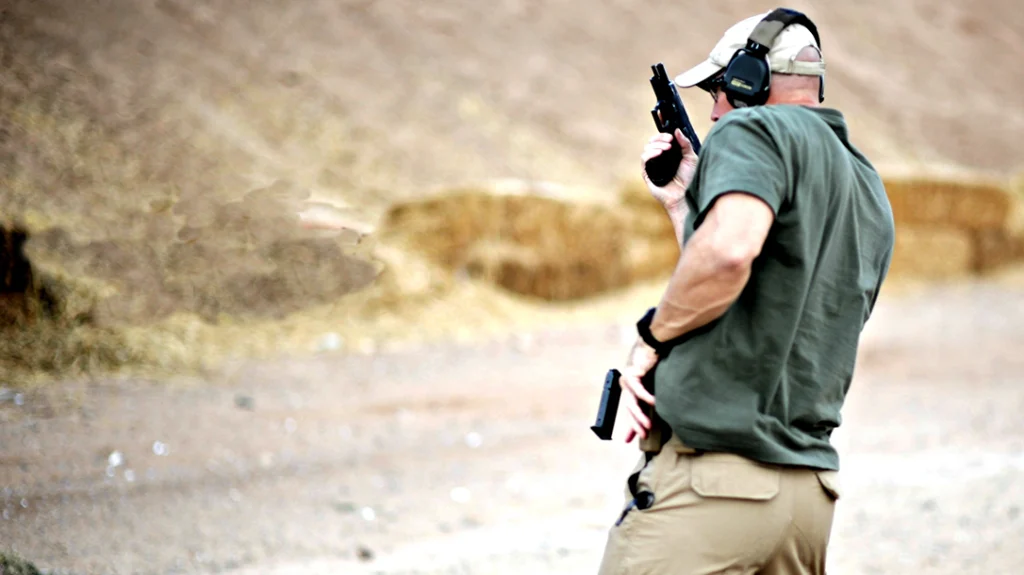
The most classic method of point shooting is that described in Shooting for Keeps by close-combat legends W.E. Fairbairn and E.A. Sykes. In this method, you face toward the target in a natural crouch, with your feet spread about two shoulder-widths apart and slightly offset for balance. The gun is gripped in your dominant hand and held in front of your body. Your arm is fully extended and angled downward at about 45 degrees, while your wrist is slightly bent to align the bore of the gun with your body’s centerline. This and the instinctive squaring of your shoulders with the threat control your windage. Maintaining your natural focus on the threat, you raise your arm, pivoting at the shoulder, until the gun breaks your line of sight to the target. As soon as it does, you squeeze the trigger.
The Modern Method
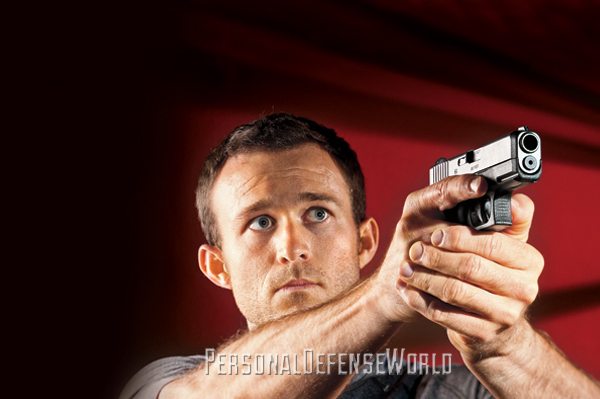
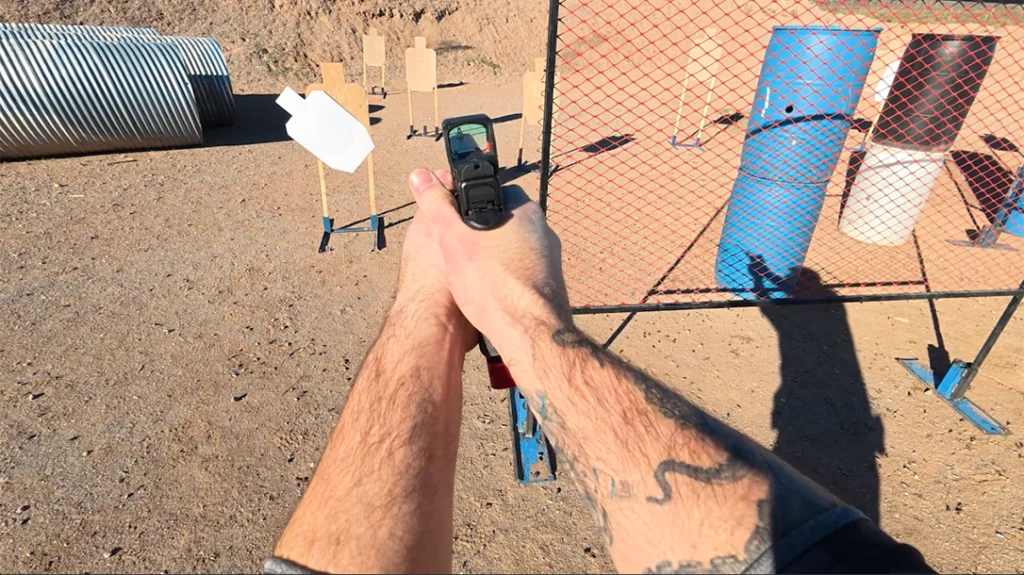
My preferred method of point shooting starts with what the late Jim Cirillo called his “geometric point.” The foot position for this technique is exactly the same as the method advocated by Fairborn and Sykes, a natural crouch with the shoulders square to the target. Your grip on the pistol should be a solid two-handed grip, if possible, with the thumb of your support hand extended along the frame of the gun so it points straight at the target. Anchor both of your elbows tightly to your ribs, and keep your forearms parallel to the ground. In this position, the gun is held in front of your centerline and your center of mass. By facing the target squarely, you control windage. By keeping your forearms parallel to the ground, you control elevation, and your shots will travel horizontally—into the target’s center mass. This is ideal for close range when it’s unwise to extend the gun toward the threat.
Advertisement — Continue Reading Below
If the threat is far enough away for you to safely extend your arms, drive them both forward, keeping the gun on your body’s centerline. As you do, consciously point at the target with the thumb of your support hand. This will instinctively guide the gun and keep it from wavering from side to side as you extend your arms. At full extension, your hands will naturally raise the gun into your line of sight, allowing you even better control of elevation.
When practicing these methods at the range, start at close range—maybe 3 yards—and keep your focus squarely on the target. If necessary, tape over your sights so you’re not tempted to use them. As you progress, extend your range until you determine the practical limits of the technique. Above all, keep an open mind, and give it an honest try. I’m sure you’ll find the results highly encouraging.
Check out this article: Level-Up Your Defensive Game, No Matter Your Age!
Advertisement — Continue Reading Below
