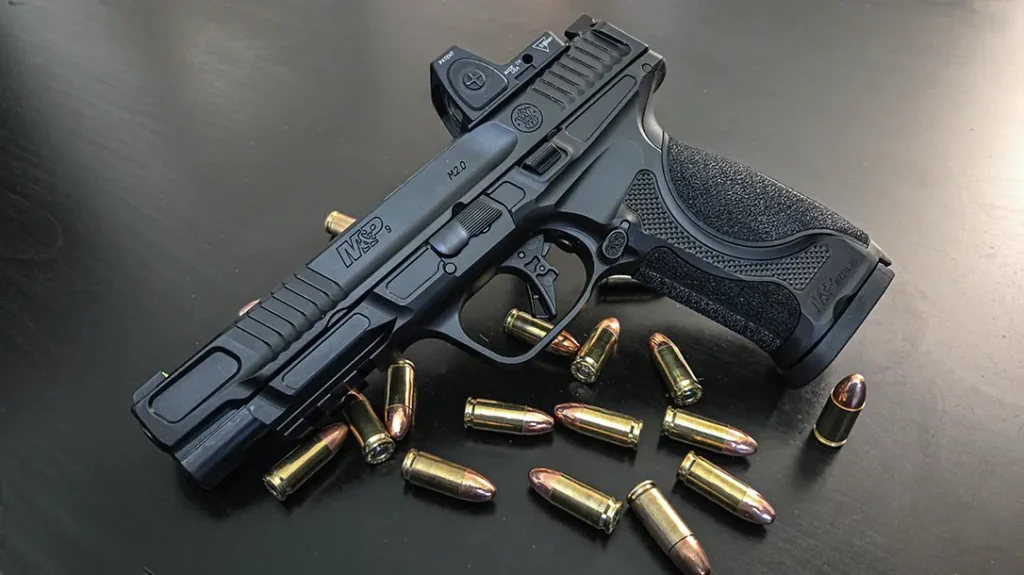
There are still shooters who don’t believe the words “speed” and “accuracy” belong in the same sentence unless you’re saying, “If you go for speed, your accuracy will go down the toilet.” There are also some of us in the shooting trade who will respectfully disagree with that.
To avoid getting into a semantic argument, we have to quantify our terms. How fast is fast, and how accurate is accurate? Let’s assume, for purposes of this discussion, that “accurate” means “able to hit what you need to hit, at the distance at which you have to hit it right now.” Let’s define “fast” as “the greatest speed at which you can make that hit.” And, finally, let’s all agree to take the “luck factor” off the table and hold the discussion to the development of skills that can be demonstrated on demand.
We’ve all probably lost count of how many times we’ve heard, “You have to crawl before you walk, and walk before you run.”
Advertisement — Continue Reading Below
Why is that saying so often repeated? Well, probably because it’s true.
Accuracy First

Do we start with speed or accuracy? If you polled a hundred experienced firearms instructors, the great majority would tell you that starting with speed and then trying to tighten up the hits will be like pushing a rope. History shows that the person who starts with accuracy and then accelerates the pace will reach the grail of fast accuracy the soonest. Accuracy is the foundation, and speed is easier to build on top of accuracy. Once the fundamentals necessary for accuracy are established, all that remains is to gradually accelerate until those accurate hits are coming sooner and, consecutively, faster.
Advertisement — Continue Reading Below
The late, great Ray Chapman was the first world champion of the combat pistol, and a lot of what I teach, I learned from him. He said of accurate shooting, “It’s simple, it’s just not easy.” Truer words were never spoken.
Five-Point Checklist
Advertisement — Continue Reading Below
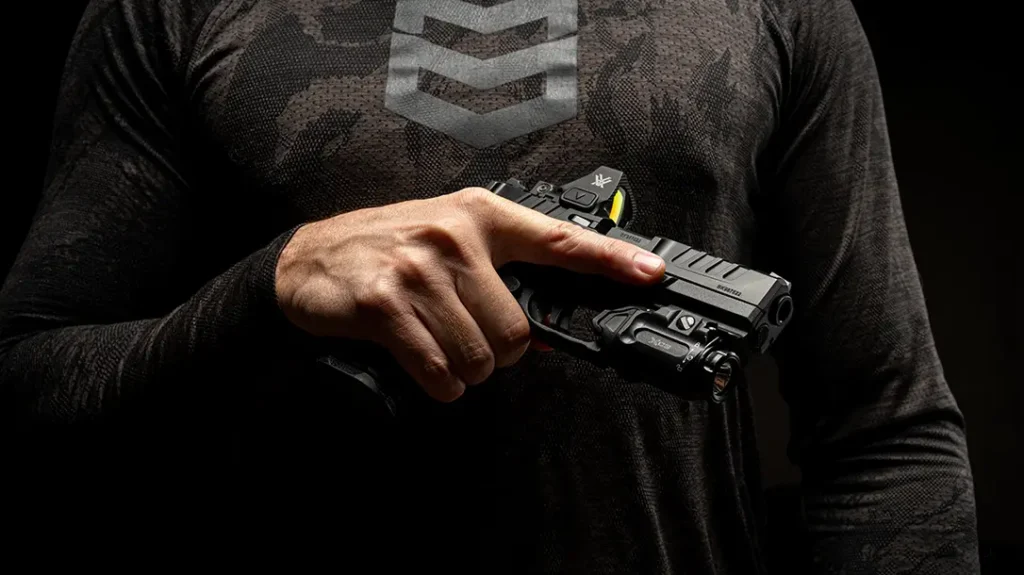
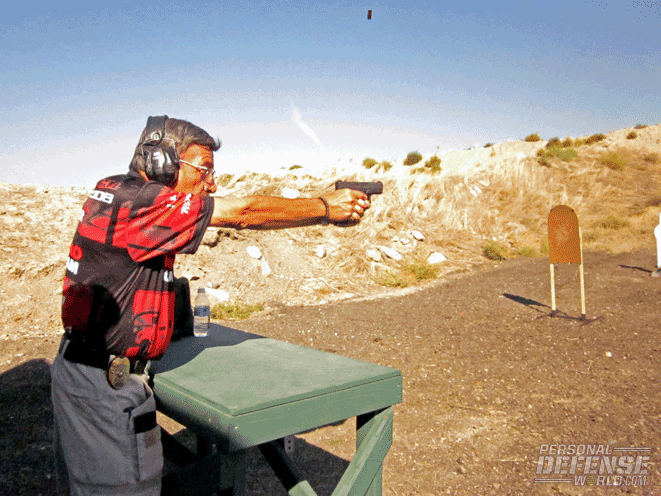
For many, many years I’ve taught my students a five-point checklist for achieving these goals. It goes “power stance, high hand, crush grip, front sight and smooth (trigger) roll.” Let’s examine those building blocks one by one.
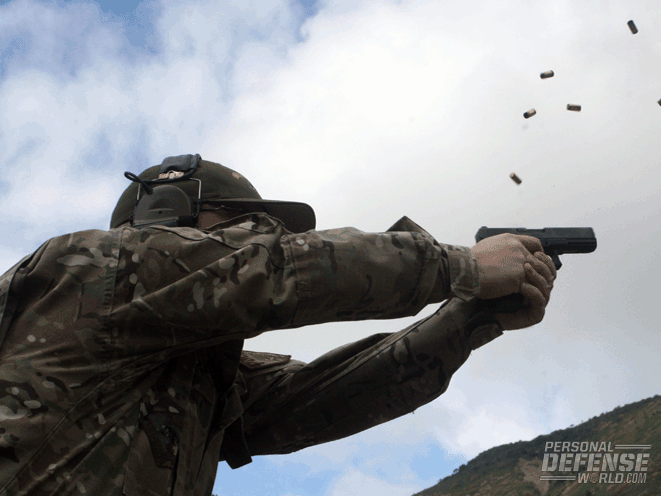
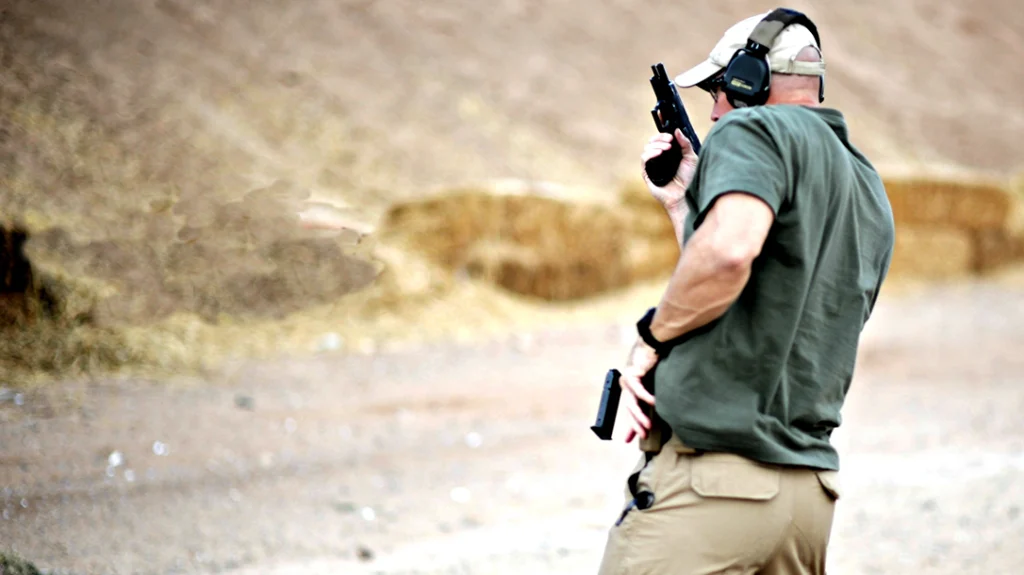
1. Power Stance: You want to be in a good, solid stance. That gives you a repeatable firing platform. It’s important for accuracy, and it will be all the more important when you need to achieve that accuracy at speed. If you’re doing it right, your body mechanics will be snapping the gun back on target, without you having to think about it, in the time it takes you to reset the trigger and reconfirm the sight picture.
RELATED: Practice Shooting at a Moving Target with the Pistolero Training Kit
Advertisement — Continue Reading Below
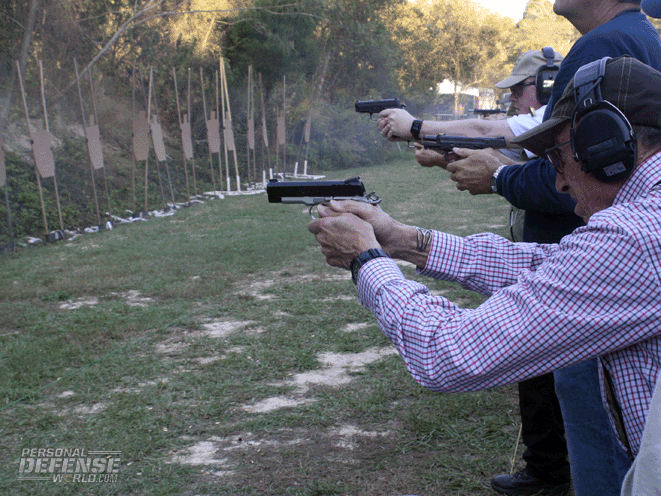
You want your feet at least shoulder-width apart, wider if you have very long arms or a muscular build, which means you’ll be extending more body weight forward “into the gun.” I like a pyramidal base, meaning that not only are the feet well apart laterally but one is forward, its knee slightly flexed to take about 60 percent of your body weight going forward. The other leg will be more efficient if it’s not parallel to the forward one, but well behind it. That knee is slightly flexed, and the rear foot is digging dynamically into the ground as you shoot, like a boxer’s “drive leg.” Now you’re balanced forward and back, balanced left and right.
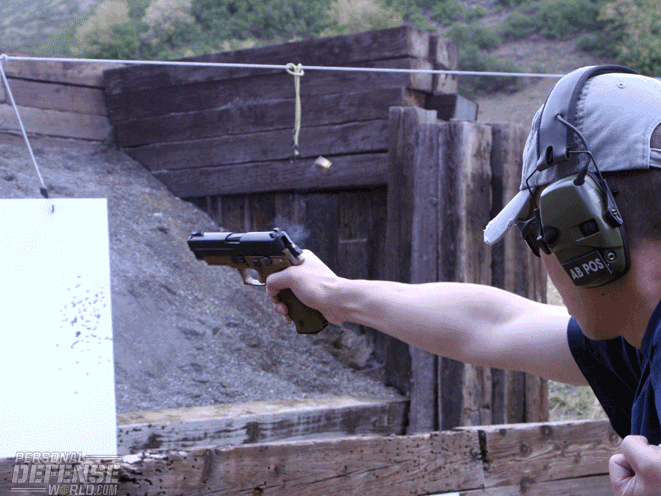
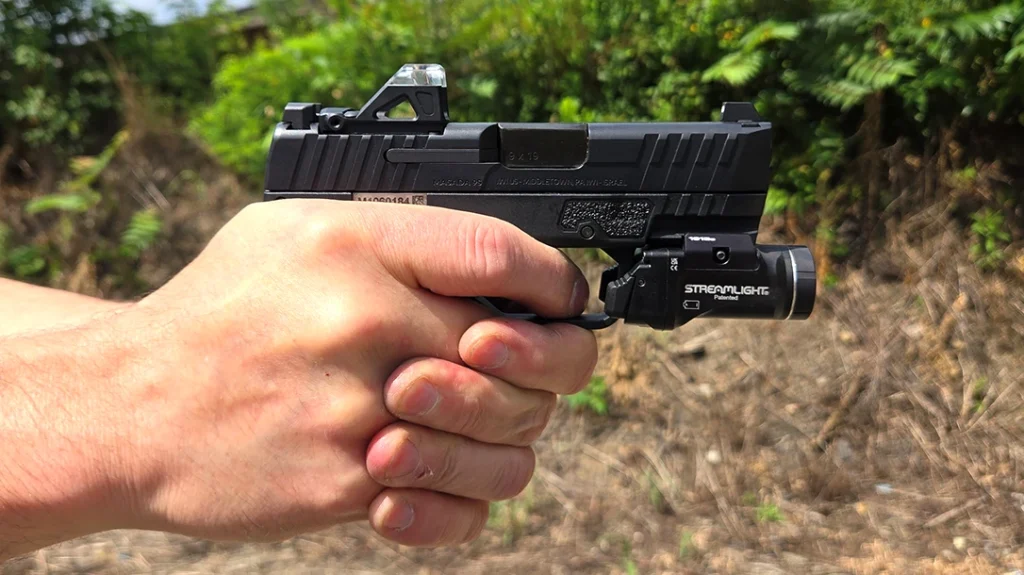
2. High Hand: Grasp is the interface between shooter and machine. A weak grasp will allow the pistol to shift in the hand, ruining any hope of fast and accurate continuity of fire. A key element of grasp is a high handhold. A semi-automatic pistol needs that for reliability; the slide was designed to run against the abutment of a firmly held frame. The higher the hand, the lower the bore axis and the less the muzzle can jump. Modern pistols were designed for a high handhold. Pulling the trigger straight back with the hand too low will pull the muzzle, and the resultant shots will be low. A too-low firing hand will not only slow the gun’s return to target but may cause it to malfunction, since some of the recoil force that should be running the slide now dissipates through frame, hand and wrist. The result can be stove-piped casings, or live rounds failing to go fully into the chamber for subsequent shots.
3. Crush Grip: A very firm grasp does a lot of good things. Ben Stoeger rose swiftly to the top of the U.S. Practical Shooting Association (USPSA) shooting ranks. On his no-holds-barred online forum, one member asked how hard he held his trademark Beretta pistol. Stoeger answered that he held it “hard as (expletive deleted).” The great Rob Leatham has won more world and national speed shooting championships than anyone else. When I asked him how hard he holds the Springfield Armory pistols he wins with, he answered, “As hard as I can.” Bob Vogel, the man who totally dominates International Practical Shooting Confederation (IPSC) matches today, is famous for the crushingly powerful grasp in which he holds his Glocks.
Advertisement — Continue Reading Below
The hard grasp not only stabilizes the gun against the rapid pull of the trigger, but it also seems to reduce muzzle rise. It also reduces the degree to which the pistol can shift in the hand upon recoil.
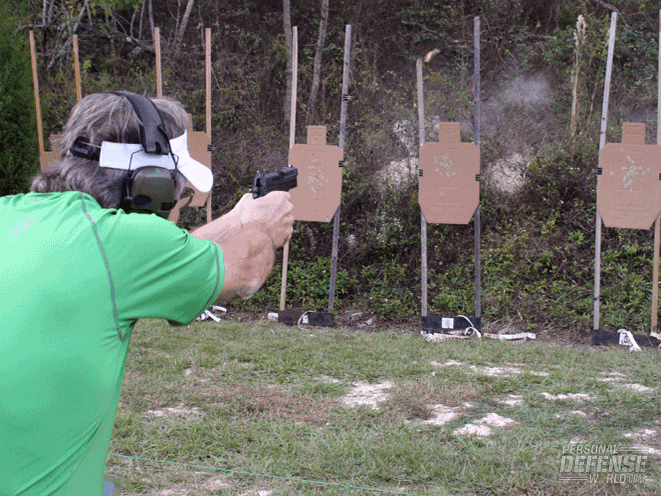
4. Front Sight: While some very fast shooting can certainly be done at very close ranges with “point-shooting” techniques, distances are unpredictable, and for fast accuracy at longer ranges, a visual index of some sort becomes necessary. The longer the range, the more precisely the sights need to be aligned and the harder the focus has to be on the front sight. In my several decades in this business, I got to know Bill Jordan, who may have been the fastest and most accurate point-shooter of all time. Bill popularized a saying from one of his predecessors, Texas Ranger John Hughes: “Speed’s fine, but accuracy’s final.”
RELATED: 5 Gunfighting Myths Debunked by Massad Ayoob
Advertisement — Continue Reading Below
One of the all-time great modern practical shooting champions, Brian Enos, is famous for saying, “See what you need to see.” If the target is very close and generously large, it suffices to see that your handgun is crudely superimposed over your target. Some modern instructors call this sight picture “metal on meat,” and handgun champion and veteran gunfighter Jim Cirillo called it the “gun silhouette” alternative sight picture. If you need to hit the head or center chest at less than 7 yards, seeing the front sight sitting atop the rear sight and centered on your target will do in a fast pinch. I called it “StressPoint Index” in my book StressFire 30 years ago, and more recently, the great shooting champion Todd Jarrett rediscovered it on his own and called it “shooting out of the notch,” which is probably a more descriptive term than mine. If you need a hit in deep brain, though, or a heart shot at considerable distance, you probably want the conventional post-in-notch sight picture and a hard primary visual focus on the front sight.
5. Smooth Roll: For accurate shoot-ing, trigger control is the heart of the beast. The weight of the pull has to be distributed, or it can jerk the muzzle off target. Older concepts of a two-stage pull do not seem to translate well to high-speed shooting; distribute that pressure in a single, even stroke.
A critical lesson for rapid fire comes from the great revolver and 3-Gun champion Jerry Miculek: “Keep the trigger alive!” In other words, during every instant of a fast string of fire, your trigger finger should be either rolling the trigger straight to the rear or allowing it to come forward to reset.
Advertisement — Continue Reading Below
Speaking of the reset: Some shooters advocate “riding the link” or “riding the sear,” which means letting the auto-loader’s trigger come forward just until they can feel the tick of it resetting. This is fine for slow fire and can work at intermediate speeds, but in a true flat-out delivery of speed, it’s going to be awfully easy for the finger to “miss the link.” Now, the rear-ward pressure on the trigger that should have fired the gun will instead avail nothing, and the shooter is going to have to take time to realize that, let the trigger come forward again and only then be able to resume fire. Obviously, that’s not fast in the long run. For pure speed shooting, many find it better to let the trigger come all the way forward until it stops, as if shooting a revolver in double action. This guarantees a resetting of the sear, which in turn guarantees that the next shot is going to actually be fired. Some champions go so far as to employ at close range a “controlled trigger slap”—the aforementioned Rob Leatham comes to mind.
Rapid-Fire Drills
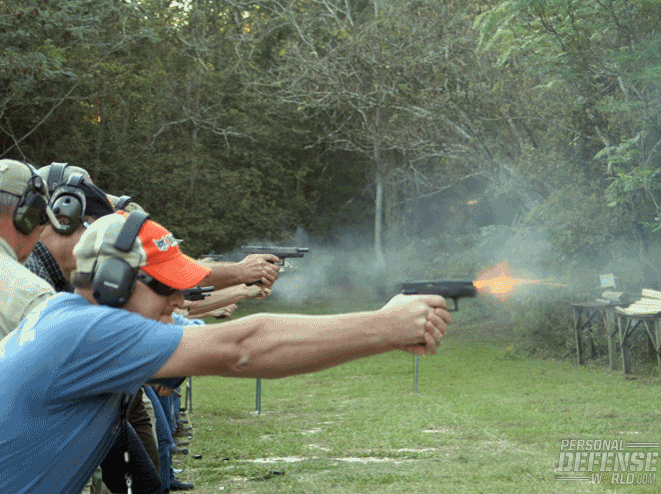
First, if you haven’t done so already, invest in a basic electronic gunshot timer. It’s a tremendously valuable tool for analysis of shooter progress. A key thing to look for is your “split time,” the elapsed time between shots. Of course, this only counts for shots that hit where you want them to. That is going to vary with how far away the targets are and how small they are.
Advertisement — Continue Reading Below
RELATED: 10 Tips to Improve Your Shooting at the Range
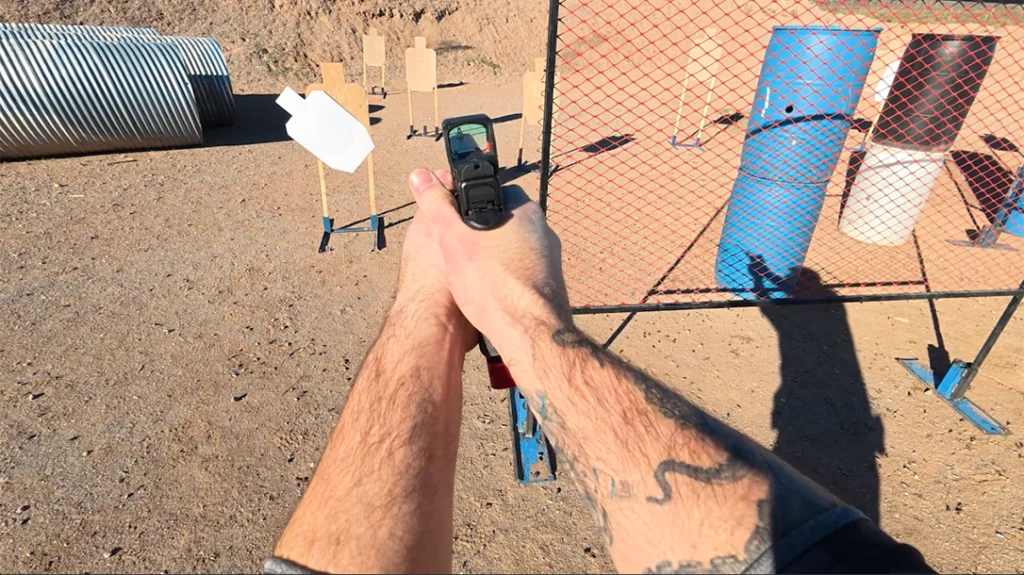
Since in the real world you may have to shoot close and distant targets in the same event, you’ll be well served to practice on a target array that has the targets at varying distances. In Glock Sport Shooting Foundation (GSSF) matches, the “Five to Glock” course pits you against five targets as close as 5 yards and as far as 25 yards—all in the same array—with two shots on each of the five required. If you don’t want penalty points, every shot has to be in the 8-inch center circle of the 10-point ring. In a Steel Challenge match, you’ll find stages where you have to make the same adjustments of speed vis-à-vis accuracy on steel “gongs.” Obviously, you slow down for the ones that look smaller on the other side of the gun sights, and can speed up on the ones that are larger. The trick is finding the optimum pace!
In the 1970s, Ray Chapman created the Bianchi Plates, a row of six steel disks 8 inches in diameter, roughly the size of a pie plate. At the Bianchi Cup, then and now, they are shot at distances of 10, 15, 20 and 25 yards, with the shooter getting an extra second of time for each increment of increased distance. Only one shot per plate is allowed. In GSSF shooting, the same plates are shot from 11 yards, but instead of fixed time, the speed is left up to the shooter. The gunner who nails all the plates fastest wins; yes, extra shots are allowed when the game is played under those rules. Any plate left standing is a 10-second penalty added to your time.
On paper targets, one very useful drill is to find out what course of fire your local police department uses for handgun qualification. Shoot it. Get a good score on it. Then try shooting it faster. Try it at one and a half times the speed. Then try it at double speed. Keep on accelerating.
Suppose you’re ever in court after a self-defense shooting and the opposing lawyer asks you in cross-examination, “What made you think you were competent to carry a gun, like a trained and qualified police officer?” I think it would be nice to be able to answer, “Sir, the record shows that I have qualified to twice the required police standard, shooting our local law enforcement agency’s service handgun course at double the speed.”
Finding Your Edge
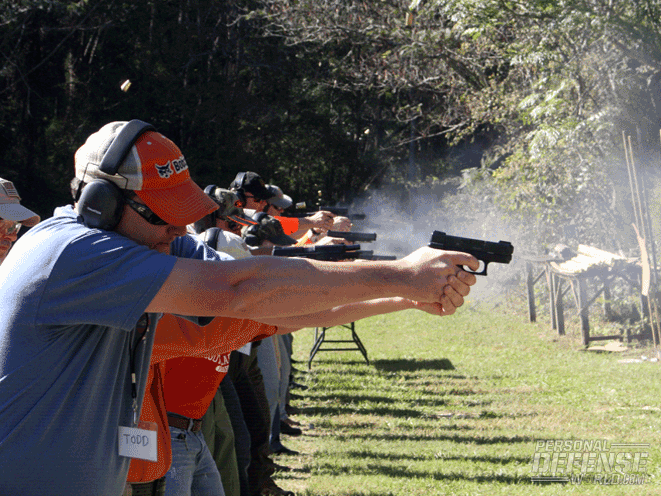
One drill I like to do with advanced students is what I call the “edge of the envelope.” How do you find out how fast you can do something right? Well, you keep doing it faster and faster until you do something wrong, and then you slow down. Obviously, you have to do this in the safety of a training environment. It works like this: Pick a given distance and a given target. Shoot a tight group in the maximum scoring zone, and then keep shooting faster and faster until your shots start straying out into the next lower scoring area. Then, slow down just enough to keep them in the spot you’ve pre-determined you want them to go.
RELATED: GlockStore’s Pyramid Trigger System Boosts Shooting Accuracy
Think about it. Have you ever driven an Emergency Vehicle Operation course? I have. One popular training element there is the slaloms. You drive through a twisting path that is marked by orange cones set in the margins. You go faster and faster until you start knocking over the orange cones. Those displaced cones have just shown you where “the edge of the envelope” is. Now you drive it again, slowing down a little bit, until you find the sweet spot where you can navigate the path fastest without knocking over a cone. You have just found the edge of the envelope with that particular vehicle under those particular driving conditions.
It works the same way with the gun. You keep shooting faster and faster until your six (or however many) shots are no longer all staying in the center ring of the target. If even one strays out, you need to slow down. When you’ve found the maximum speed at which you can keep them all in the 8-inch circle of the IDPA target, or on the 8-inch-diameter Bianchi plates, or whatever your predetermined “envelope” is, at that moment, you’ve found what your particular “edge of the envelope” is on that particular day, with that particular gun and ammunition, under those particular circumstances.
I’m getting pretty close to the edge of my own envelope, the allowed word count for this article. I hope the material presented above proves useful to you. It won’t have any value at all, though, unless you get out there with a gun, and a timer, and one or more targets and try it. Be sure to include on that equipment list some paper and a pen, or a tablet for you i-folks, to keep a record of your scores. You can’t improve on past performance if you haven’t kept track of what that past performance was. Critique yourself ruthlessly: If you ever get in trouble with a gun in your hand, you can expect the most savage of criticism and false accusation. The person who is his own most demanding critic, history teaches us, is the person who will best withstand the criticism of others. Good luck. Train hard. Train safe.
This article was originally published in COMPLETE BOOK OF HANDGUNS 2014. Subscription is available in print and digital editions below.

