Everyone out there adds his or her own sort of flavor to precision rifle training, but there are some basic principles that will always apply. Shooting a precision rifle isn’t easy, but it’s definitely not rocket science.
What follows are some basic concepts that apply to almost every application of a precision rifle. And given my background as a police officer and hunter, I tend to use techniques suited to those applications, but, to be perfectly honest, so do most people using precision rifles.
Rifle Setup
Advertisement — Continue Reading Below
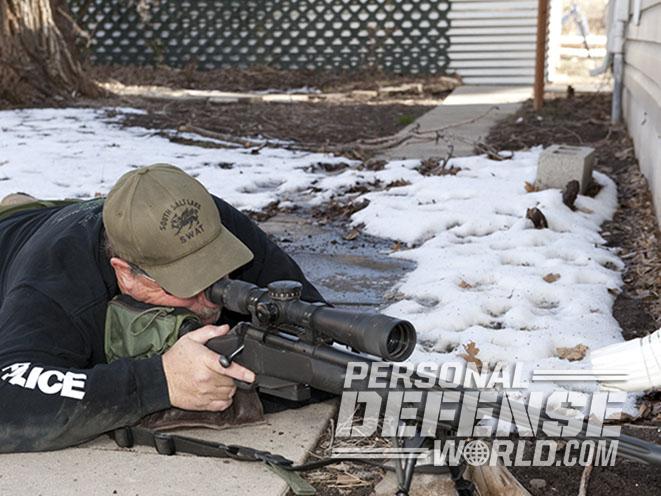
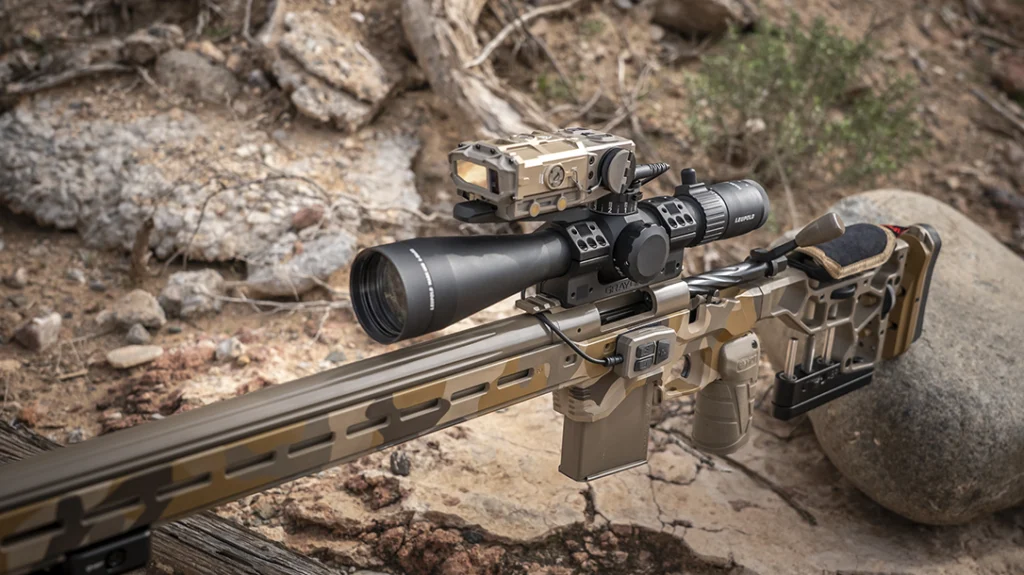
How you mount a scope to your rifle is important. For the most part, you want your optics mounted as close to the bore as possible. This makes the rifle more comfortable to get behind and helps you stay low to the ground in a prone position. You are less likely to become disconnected from the rifle. Once you “attach” yourself to the rifle, you want to stay there, if at all possible.
A large objective can make this difficult, however. Don’t use a scope that’s too big for your intended purposes. Your eye can only take in so much light. For most applications, a 50mm objective should be large enough. I prefer 44mm objectives, but the scope’s clarity and light-gathering capabilities are more important than the size of the objective. So get the best glass you can with the smallest objective you can live with, especially if you expect to shoot without a bench.
Advertisement — Continue Reading Below
- RELATED STORY: Are You A Rifleman? Put Your Skills To The Test
Your scope mount needs to be solid and capable of holding its position. No, you don’t need one that’ll survive getting run over by a tank, but don’t go cheap, either. You just need to make sure you’ve got a solid mount, and depending on your caliber and range, it’s okay to add some elevation—but don’t go overboard. Most rifles these days use a 20-MOA base, and that is fine. Keep it simple and solid.
The scope should fit your position. Set the rifle’s length of pull to fit your body. Everyone is different, especially when it comes to arm length and body dimensions. If your rifle has an adjustable stock, set the length of pull to give you as much control over the rifle as possible. Your trigger finger should naturally reach the triggerguard. This may vary a bit depending on whether you’re shooting from a kneeling or prone position, so make sure to try both.
Your cheekweld is next. If you need to adjust your stock’s cheekpiece or add some sort of pad to get your eye lined up properly, go ahead, but make sure it’s not something that can come loose or move. Set it up so that just a small amount of pressure is required to align your eye with the scope. Along with your shoulder, your cheek is a critical connection to the rifle, so get it right. You also want to be positioned so you don’t see any shadows through the scope.
Advertisement — Continue Reading Below
Shooting Positions
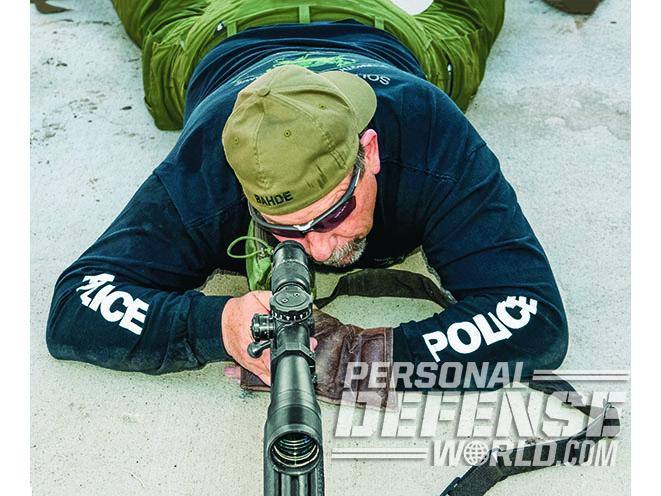
How you position yourself behind a rifle determines how accurate you can be, especially after the first shot. Your position must absorb as much recoil as possible without disturbing the rifle or allowing it to move. At the same time, you should be holding the rifle in place, not forcing it into position. Precision is consistency, and that requires a position that can easily be repeated and controls the rifle with the least amount of muscle tension.
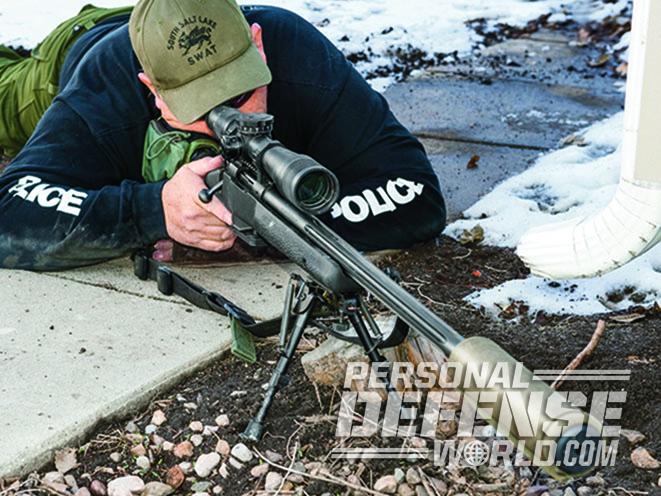
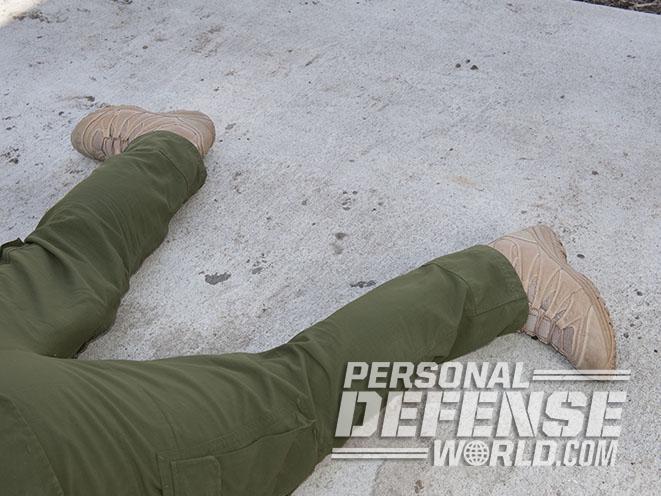
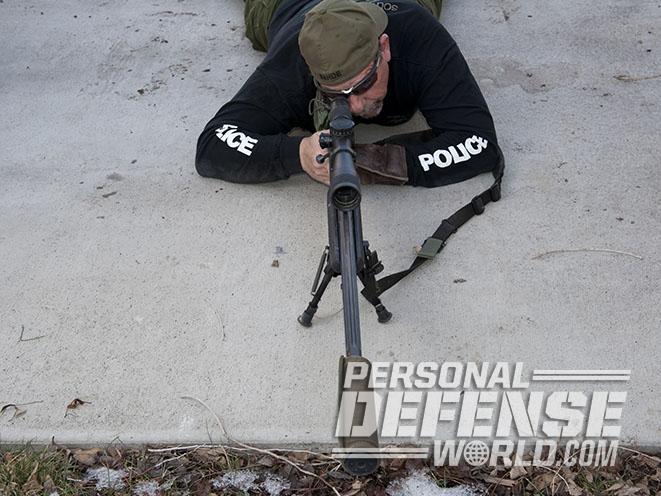
For the prone position, this is best accomplished by being directly behind the rifle. You want your spine to align as closely as possible with the bore line. It may not be exact, but it should be as close as possible. Your shoulders and arms should be square to the rifle. Your legs and body should be flat on the ground. The butt of the rifle should rest nicely against the shoulder, and your head should rest comfortably on the stock. This allows the recoil to travel straight through the length of your body, keeping the rifle in place. If correct, you can lay your head on your arm and relax. Simply lifting your head, you should be able to get right on target without moving anything else. Lying prone like this will allow you to stay in position for a long time, and it also facilitates a natural point of aim.
Advertisement — Continue Reading Below
For unsupported positions, the concept is similar. Place the rifle into your shoulder and rest the rifle on the support hand. Don’t grasp the stock with a crush grip; simply rest it on your hand. Your support hand should be lined up so that you do not have to hold the rifle in place. You want it as straight as possible. Kneeling is a good position for illustrating these concepts. The point of your elbow should be on your knee, not your thigh, for stability. Your head should fall easily to the stock and line up with the scope without effort.
Zeroing In
Advertisement — Continue Reading Below
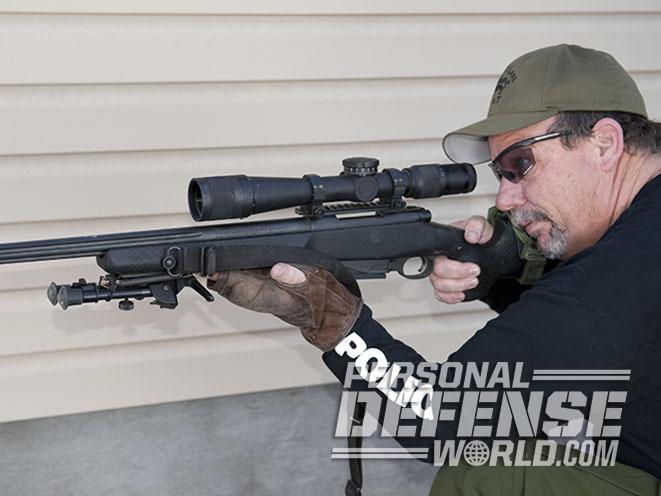
Sight alignment is simple in its essentials: You put the crosshairs on the target. You do so while keeping the rifle as level as possible. But what power setting do you use? Do you close one eye? Do you focus on the target or the crosshairs?
Use the least amount of power necessary to line up the crosshairs on the target. The higher the power, the more you’ll see your breathing or shaking in the scope. Increased power magnifies everything, including your mistakes. Also, the higher the power, the smaller the field of view. You need to see what is around your target, too.
- RELATED STORY: Range Masters – How To Improve Your Shooting Skills
Shooting with one eye closed is great for target shooting in a controlled environment. But for precise shooting on a hunt or during a SWAT deployment the hunt, you should keep both of your eyes open. This is the same concept for using a pistol. It takes some getting used to, but I shoot with both eyes open out to the practical range of my .308 Winchester rifle.
Advertisement — Continue Reading Below
The crosshairs should be in focus when you set up your scope. That is what the dial on the back of the scope is for. Look at a white wall or background and focus the reticle to your eye. A side focus knob can help you keep the threat in focus, but to be honest, one or the other will probably be out of focus. You can focus on the placement of the crosshairs on your target, but do not focus on the tiny center of the reticle. Use the entire reticle to “quarter” the target on the crosshairs. For tactical shooting, you need to focus on the threat and superimpose the reticle onto it. Focusing solely on the reticle is great if your target doesn’t move or shoot back; if it does, you need to see what it is doing and adjust as necessary.
Easy Breathing
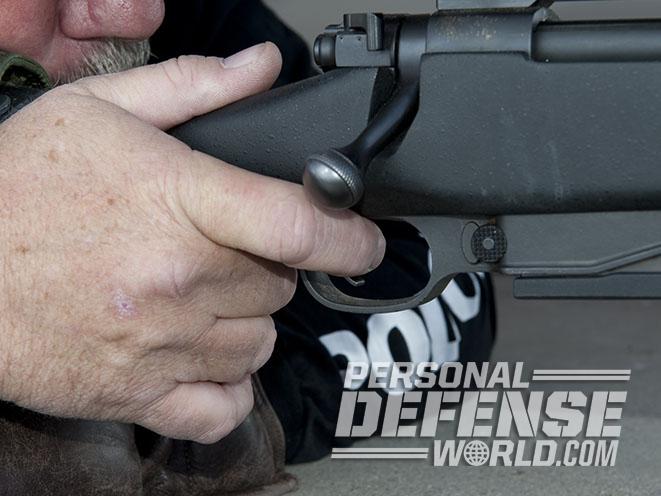
This is another area over which there is some disagreement. The idea is simple: You want to press the trigger each time at the same place in your breathing cycle. There are two ways to do that. You can control your entire breathing cycle and press the trigger at the same time. This is the old half-a-breath idea. Inhale, exhale, then hold half a breath and press the trigger. Again, this is a great idea if your target is immobile, placid and/or sensitive to your time scale. Needless to say, it’s a fantastic approach to bench or target shooting.
Advertisement — Continue Reading Below
For a more tactical scenario, you’ll have to shoot using a respiratory pause. When we breathe naturally, there is a pause after we exhale and before we inhale. Ideally you press the trigger during the pause. Not holding your breath—just breathing naturally and pressing the trigger at the pause. As a side bonus, you’ll continue to provide oxygen to your brain.
When under exertion, attempt to slow down your breathing. The pause is in a different place, but it is there. Control your breathing, find the pause and press the trigger. Practice not getting to the pause and see what happens. Bad guys and game have a nasty habit of not caring where you are in your breathing cycle, so be prepared.
Trigger Control
Advertisement — Continue Reading Below
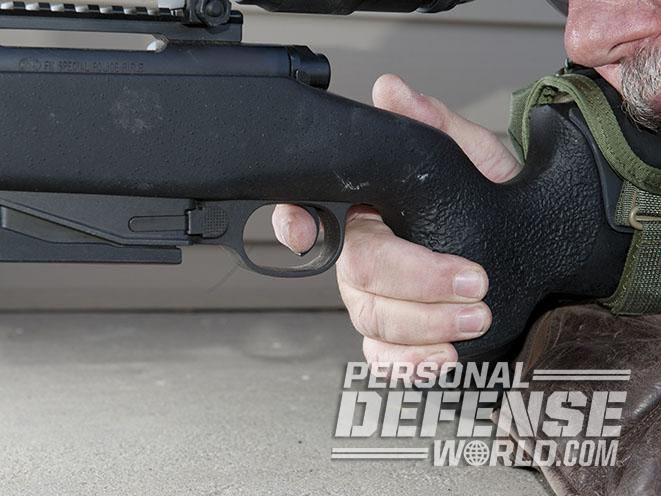
Trigger control is to many experts the holy grail of the precision shooting world. To me, it is only a part of the equation. Sure, it’s important, but it’s not complicated. Bottom line, you need to pull the trigger straight back and follow through. The straighter the pull, the less it affects the shot you need to take.
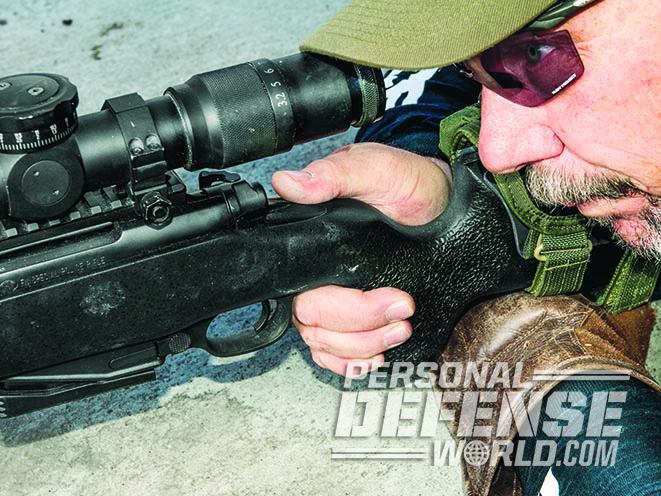
Anything that facilitates a straight trigger pull is helpful. Using the center of the uppermost pad of the trigger finger is best. Keeping the finger parallel to the trigger makes it easier to pull straight back. Also helpful is pointing the thumb on your control hand forward instead of wrapping it around the grip. Once you’ve press the trigger, count “one thousand one” and then run the bolt. Holding the trigger to the rear while assessing your shot also ensures proper follow through.
In the end, your position, sight picture, rifle setup, breathing pattern and trigger control will be less than perfect most of the time. All of these components work together, so you’ll need to practice each of them. But no single component is more critical than the rest. With a poorly setup rifle, the best shooting technique in the world will still be problematic. A proper setup with poor technique will yield the same suboptimal results. Take the time to work on the whole package and you will progress from shooting accurately to shooting with precision in no time.
This article was originally published in ‘Gun Buyer’s Annual’ 2017. For information on how to subscribe, please email subscriptions@
