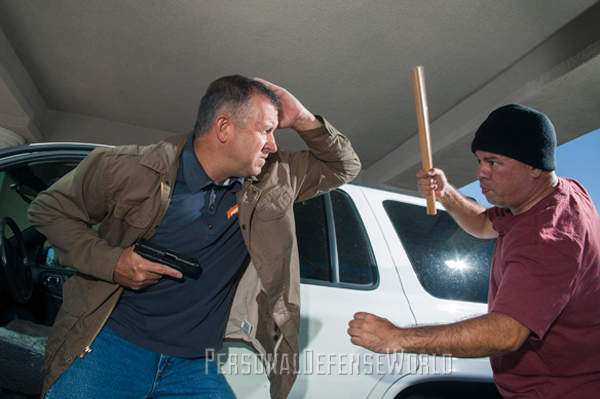
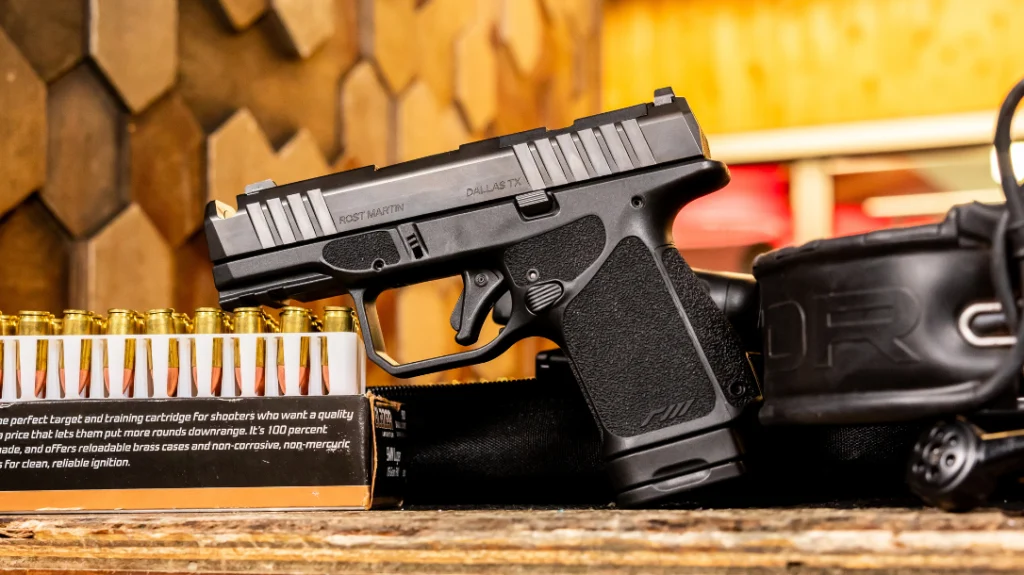
Most people understand that carrying a pocket pistol is a calculated compromise. Because pocket pistols are typically small, those who carry them accept that the guns are, by nature, close-range weapons. Unfortunately, when the nature of your weapon forces you to be closer to your target, you must also learn to cope with the fact that your target—in the form of a living, breathing and very dangerous attacker—is also closer to you. To be able to employ your pocket pistol effectively, you must be able to perceive the threat, access and deploy your gun, and shoot it well enough to get accurate, stopping hits on target. When you’re admittedly doing all that at close range, things can get complicated very quickly.
Conventional CQB Defense Tactics
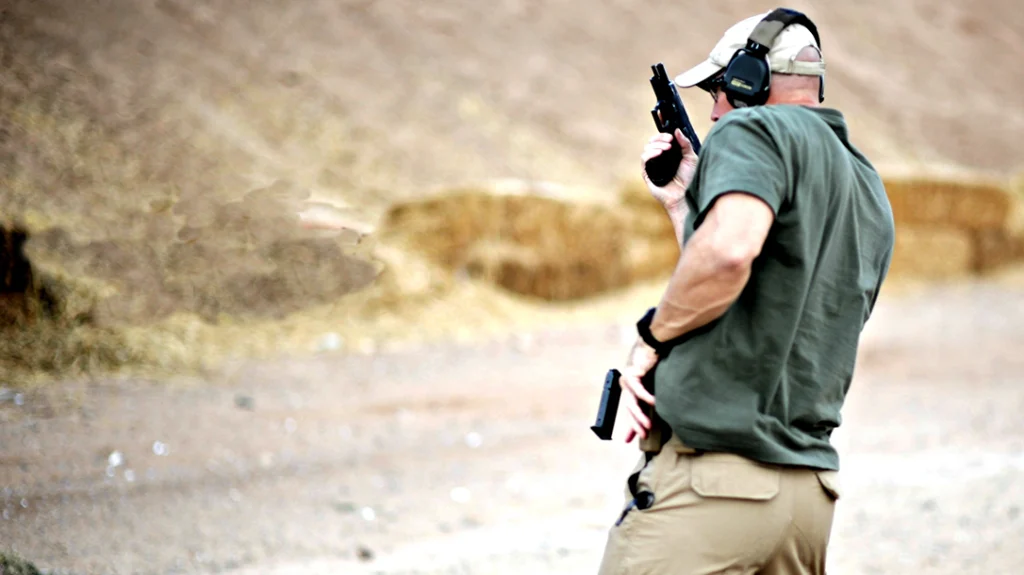
One option to address a sudden, close-range attack—like an assailant armed with a knife, tire iron or other contact-distance weapon—is to simply draw and shoot. The classic example of this is the “speed rock,” which involves drawing the gun from belt-level carry, quickly orienting the muzzle toward the target and leaning backward as you deliver fire. To keep your non-gun hand safe, it’s usually indexed against your chest as you shoot. Although this may seem like a good idea, functionally what you’re doing is training to react to an attacker’s stab, cut or strike by purposely lowering both your hands. The odds that he’ll be able to successfully target you in the process are high.
Another option to get your gun into the fight against a close-range attack is to use a conventional draw. Typically, this involves assuming a solid grip on the gun while simultaneously indexing your support hand against your torso. Once the gun clears the holster and you orient it toward the target, your support hand slides safely under it to create a two-handed firing grip. This draw works extremely well provided you have adequate time and a safe distance from your attacker to execute it. However, if your attacker is close enough to be stabbing, cutting or striking while you’re drawing, you once again have a major problem.
Advertisement — Continue Reading Below
One of the other disadvantages of a traditional draw is that it typically conditions you to extend the gun toward the target. In a close-range encounter, this habit can give your attacker the opportunity to grab your gun or your arm and either disarm you or, at the very least, prevent you from shooting accurately. To avoid this, you should practice alternative shooting techniques that keep the gun close to your body while still allowing you to shoot effectively—what’s commonly known as a “weapon-retention” position.
RELATED: How to Clear a Room by Yourself – Solving a Complex CQB Problem
The Guarded Draw
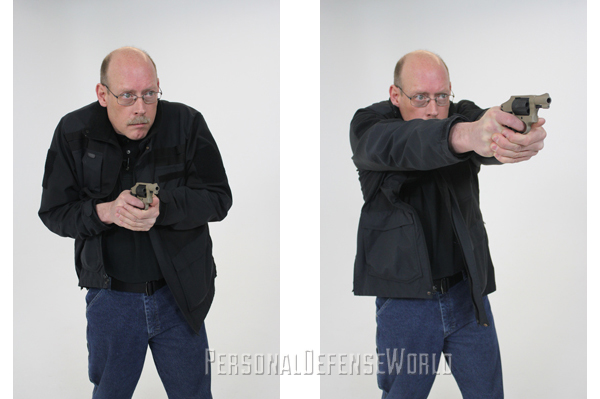
I have experimented with a number of different weapon-retention positions, and the one I prefer is as follows: The palm of the support hand is anchored firmly against the forehead, just above the eyebrow on the same side of the body. This creates a strong triangle of shoulder, elbow and head that protects the head and neck well. Your gun hand should be anchored on your pectoral muscle so the base of your thumb is just below your nipple. Your muzzle, hand and elbow should all be aligned as if you are about to throw a punch with the pistol (a very useful close-range tactic). Pick a target below your shoulder level, and your guarding arm will remain safely out of the line of fire.
Advertisement — Continue Reading Below
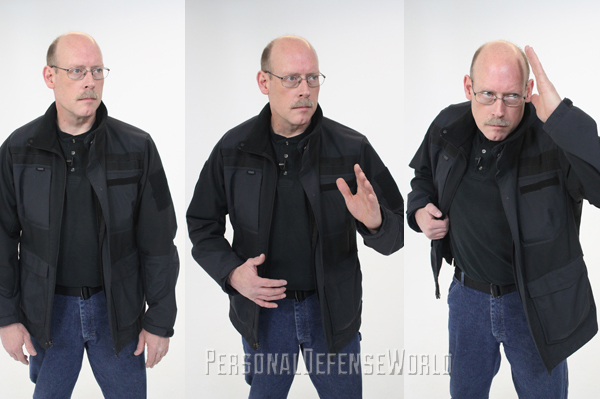
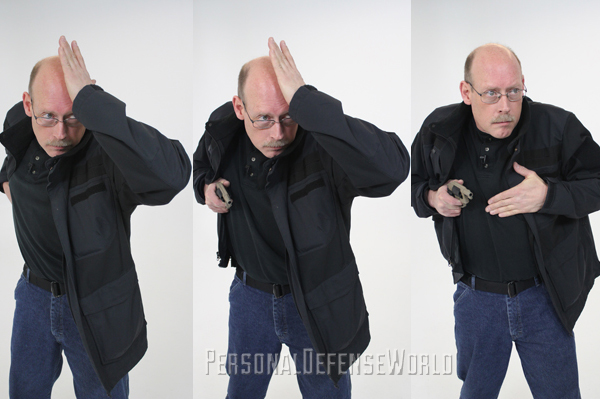
The weapon-retention position is ideal for close-range encounters because it combines an effective defensive guard with a one-handed drawstroke that gets the gun into the fight while protecting it from being grabbed by your attacker. Because it offers these advantages, I actually make it a formal part of my preferred drawstroke, which I call a “guarded draw.” Basically an “educated” startle response, the guarded draw is performed as follows (as described from the perspective of a right-handed shooter): When you perceive the attack, first bend your left arm at the elbow so the angle of the forearm and elbow is 90 degrees. Pivoting your arm at the shoulder, raise the pre-bent structure on a vertical plane, keeping your left hand open and your fingers extended. At the top of the arc of motion, your left palm should anchor solidly on your forehead, just above your left eyebrow. Note that by bending your elbow before you raise your arm, you create a strong protective structure even before your palm anchors to your forehead. This structure also allows the outside of your forearm—your most expendable “shield”—to create a powerful wedge. If you wear glasses (as we all do at the range), this movement also allows your hand to easily clear your glasses without smashing them into your nose or eyes.
While your left hand is establishing its guard, your right hand should be simultaneously moving as directly as possible to your gun, clearing any covering garment on its way. Achieve a solid grip on the gun, lift it straight out of the holster, and move it as directly as possible to the pectoral index. Once it’s there, lower your elbow until you feel the gun is kinesthetically aligned with the target, ensuring your line of fire is below your own shoulder level. By defaulting to a guarded draw, you can make sure that you are protected from contact-distance threats while you access your gun. If after you’ve reached the weapon-retention/guard position you need to engage a target at a distance, slap your chest with your left hand to physically index it below and away from the muzzle and then bring your hands together into a traditional two-handed shooting position. Against a close-range attack, survival involves a lot more than just shooting. Learning to get your guard up while you draw can make all the difference.
Check out this article about how to Take Your CQB Carbine Training Next Level!
Advertisement — Continue Reading Below
