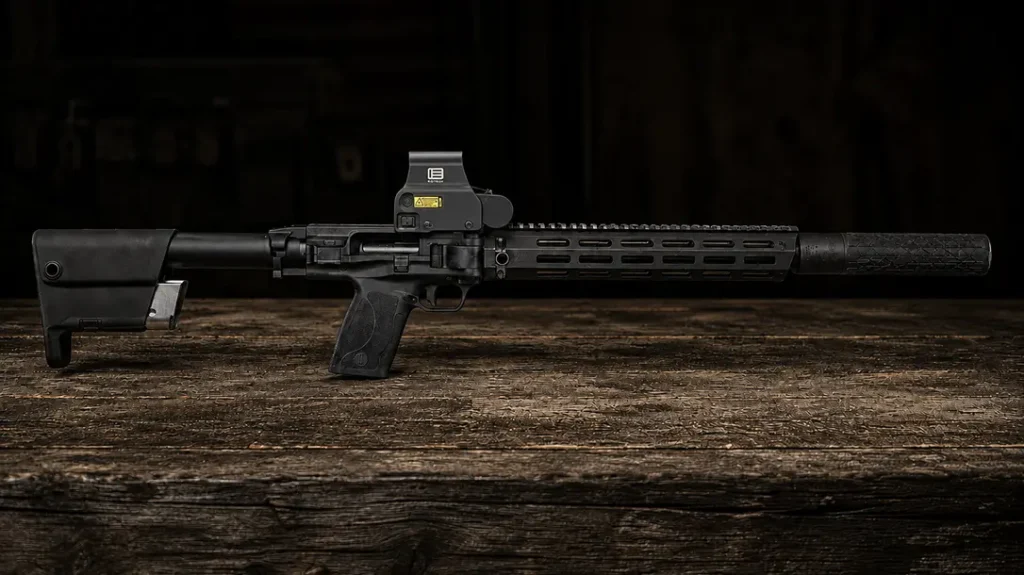
Semi-automatic rifles like AR-15s and AK-47s offer many advantages when it comes to personal defense in heavily-populated areas. But these “urban rifles” don’t replace handguns and higher-powered battle rifles—they complement them . So if you own one, it’s important to understand its role in personal protection and develop skills in using it. I recently attended a live-fire course on urban rifle skills taught by defensive rifle expert John Farnam, who owns Defense Training International. The course was offered at a past Rangemaster Tactical Conference, or Tac-Con, and presented some worthwhile advice.
CQB Carbine Training: Square One
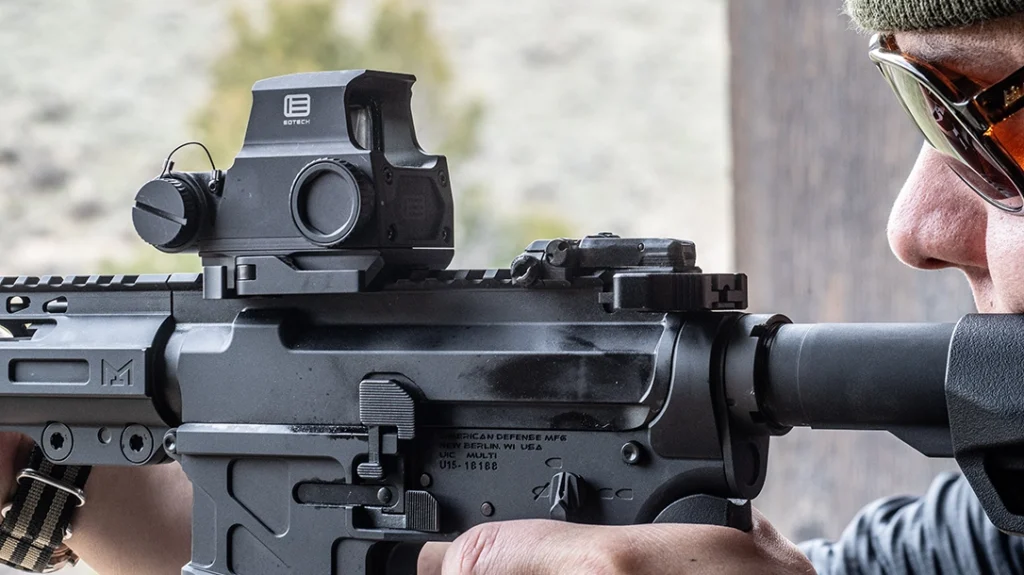
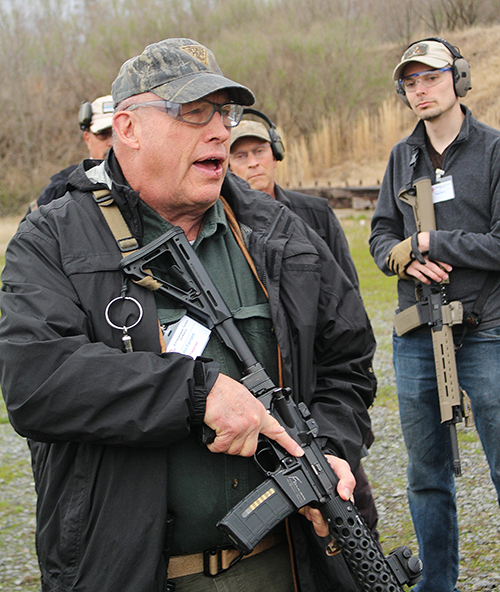
John began by stressing that urban rifles require specific gun-handling skills. That’s because rifles are not carried in holsters, and their triggers are always exposed. John also said that rifles are designed to be carried loaded. This places added emphasis on using the safety and keeping your trigger finger in a high register position well above the magazine release button. The mag release on many urban rifles is too close to the trigger for it to be a good index point. In addition, a finger on the release could lead to an unexpectedly dropped magazine. At that point, you’ve just converted your semi-auto into a single-shot unless you have an extra magazine handy.
Rifle Manipulation
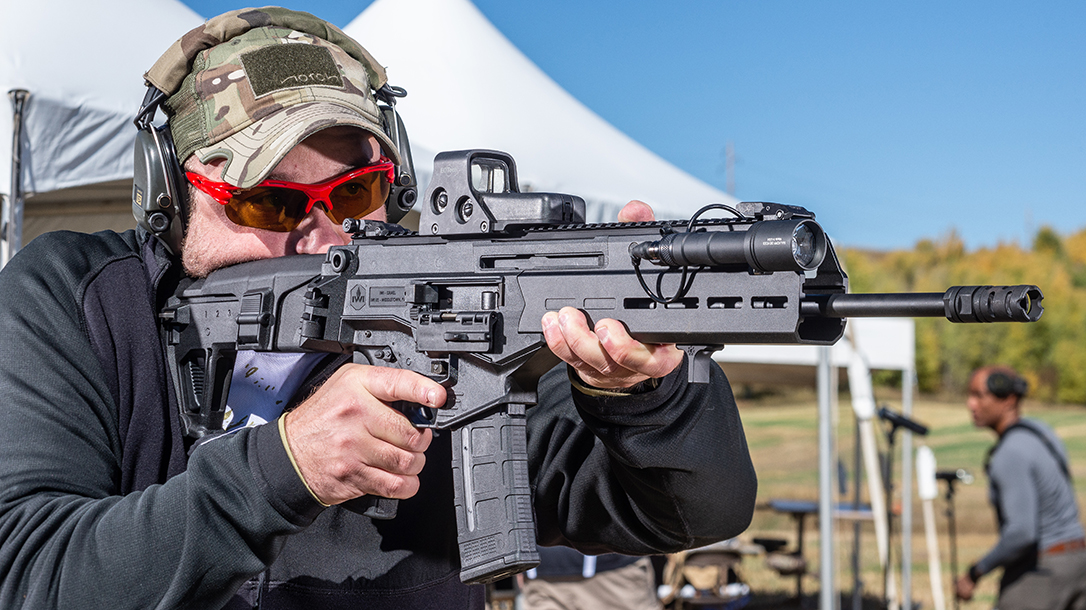
His next point was that it takes two hands to manipulate a rifle. This presents a real problem because you may need one or both of those hands to reload, open a door, transition to a pistol or perform a variety of other tasks. When this happens, you’ll see why your sling is not just a carrying strap. It’s a major piece of safety equipment. The sling must be strong and well-secured to the rifle. It must also be adjusted to fit you. If you need to let go of the rifle for any reason, the gun should drop safely with the muzzle pointed at the ground and the grip and forend where they can be easily reached.
Advertisement — Continue Reading Below
John strongly emphasized that the muzzle must always pointed at the ground, unless the rifle is being actively used for self-protection against an identified threat. He also reminded the class that it’s important to never let the muzzle sweep any part of your body or anyone else’s body, unless you’re responding to a threat. Also, raising the muzzle in the air can easily give your position away if you’re trying to remain hidden behind low cover. So muzzle awareness is key.
Carbine Ready Conditions
John’s last gun-handling tip concerned the three conditions of rifle readiness for ARs. In “Carry Mode,” the muzzle is pointed at the ground, the chamber is loaded, the trigger finger is index high, the firing-hand thumb is on the safety (which is on), the dust cover is closed and a full magazine is securely in the mag well. “Transport Mode” is used when travelling in vehicles. Again, the muzzle is pointed in a safe direction. He said to check that the chamber is empty before the trigger is pulled to drop the hammer. Then the dust cover is closed and a full magazine is inserted. The safety is off so that you can fire as soon as you cycle the charging handle.
Advertisement — Continue Reading Below
Finally, there’s “Storage Mode.” The chamber is empty, the muzzle is pointed in a safe direction and the hammer is dropped to relieve tension on the hammer spring. If the gun is stored in a dusty area, the dust cover should be closed and an empty magazine should be placed in the mag well. These three modes can be appropriately modified for non-AR semi-autos. Always remember to remove the magazine and then double check that the chamber is empty before dropping the hammer when placing a rifle in Transport or Storage Mode.
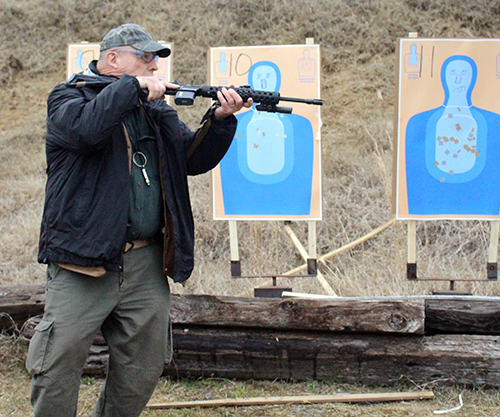
Live Fire
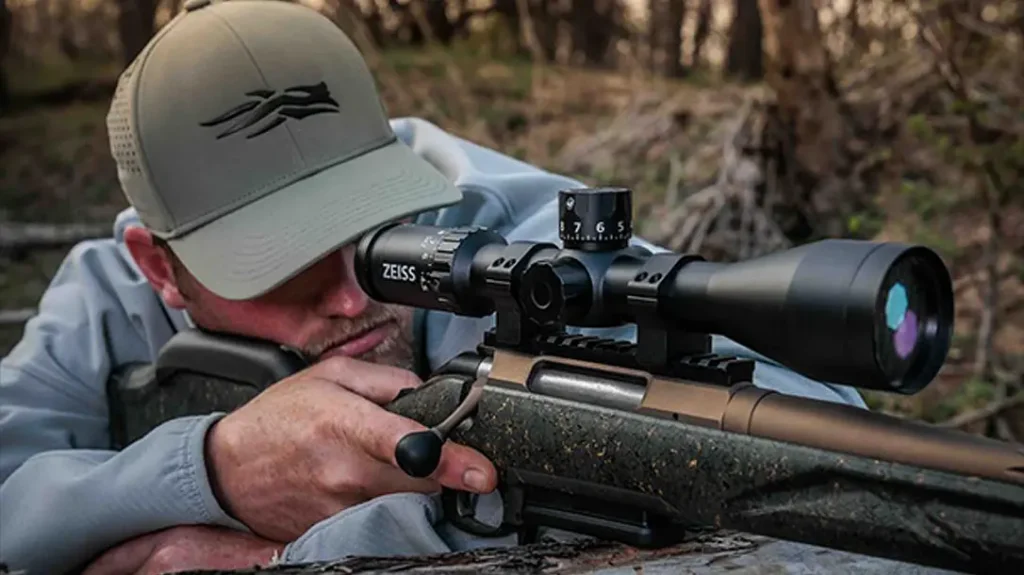
Before the live fire portion of the class began, John discussed sighting in a .223 Remington/5.56mm NATO AR. He prefers to sight in at 240 yards because then the bullet strike will be close to the point of aim at 40 yards. I fed this trajectory into my Sierra Infinity ballistics program. The results indicated that the trajectory of a .223 Remington and 5.56mm NATO round loaded with either a 55- or 62-grain bullet will rise no more than 3 inches above the line of sight all the way to 240 yards. In addition, it will only be 3 inches low at 280 yards. This is what ballisticians call a “point-blank zero.” Other popular urban rifle calibers will have different trajectories and point-blank distances, so adjust your sight-in distance accordingly.
Advertisement — Continue Reading Below
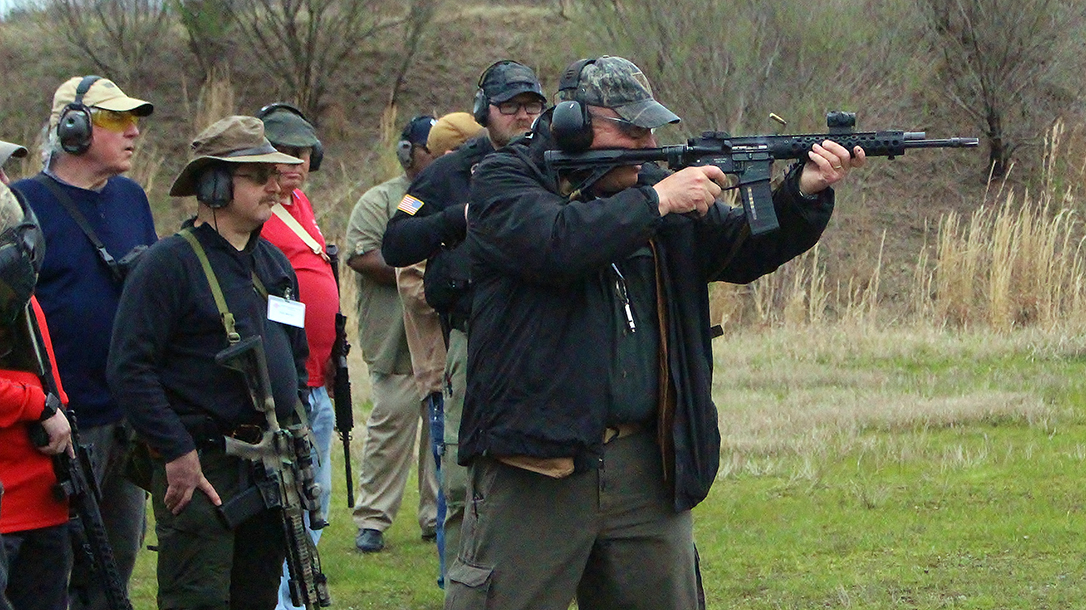
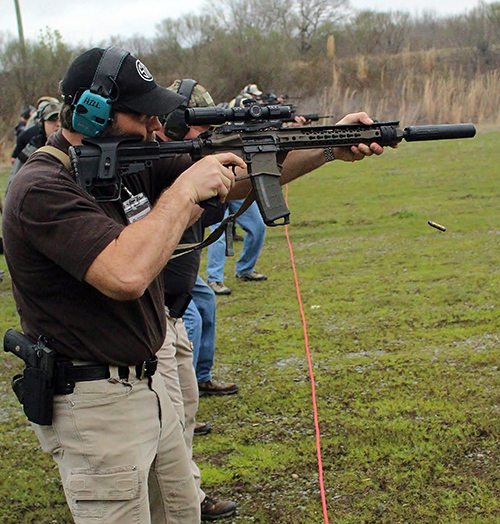
John also stated that most engagements in urban areas will be between 20 and 75 yards, so that’s where he believes most drills should be conducted. John’s first drill was the “Accuracy Drill,” which is fired from a distance of 20 yards. This drill involves mounting the rifle on your shoulder on command (or the beep of a timer), firing two chest shots from low-ready and scanning left and right from the ready position with the muzzle pointed in a safe direction. Then John instructs his students to index their trigger fingers, leave the safety in the off position and move two steps to one side. The safety goes back on in every drill as soon as you know there are no other threats.
Go Fast, Get Hits
The goal here is to shoot fast, but not so fast that more than 20 percent of your hits are outside the center of the chest. No shots should be off target. This drill builds skills in speed, accuracy and movement. The movement component can be dropped if you’re not on a range where you can move safely in the presence of other shooters. But since movement is a vital part of the techniques taught by many contemporary instructors like John, learning how to safely move with the safety off is very important.
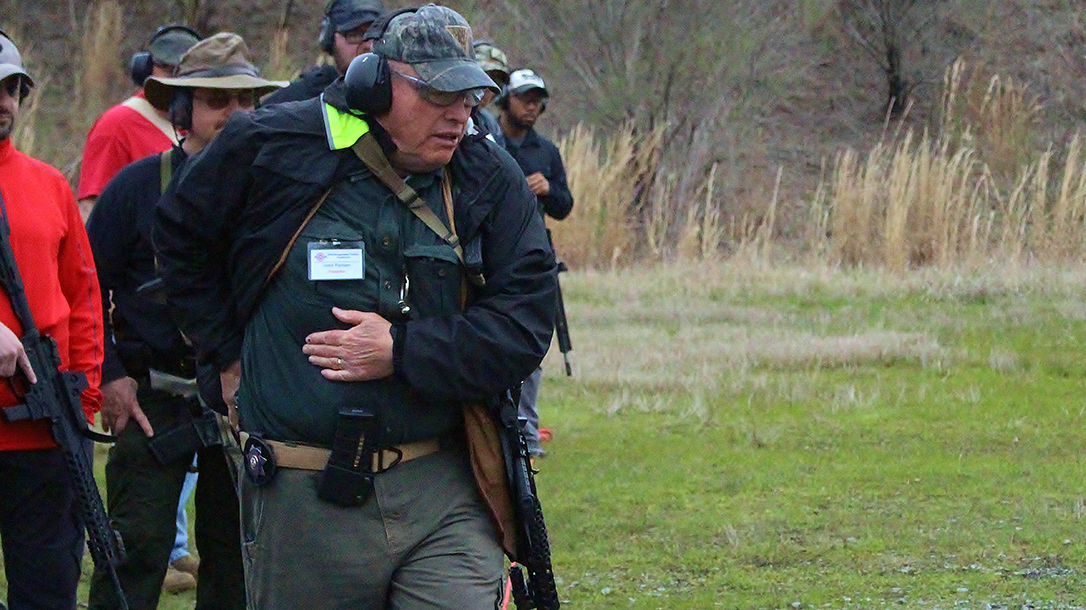
Next up was the “Move and Mount Drill.” This drill simulates responding to an attack in progress. At the “go” command, the shooter moves two steps left or right and simultaneously disengages the safety and mounts the gun. He or she then fires one shot at the navel and one center chest, then takes two more steps in the same direction and checks for other threats. John prefers to fire the first shot at the navel because it allows him to see what the attacker’s hands are doing as John engages. Remember to keep your trigger finger off of the trigger in the high-index position whenever you’re not shooting.
Advertisement — Continue Reading Below
The “Empty Rifle Drill” begins with each shooter having only one round in the rifle, a fully loaded pistol and a spare magazine for the rifle. The spare rifle mag should be fully loaded, which means that you should be able to depress the top round about half an inch. If you can’t depress the top round, you have too many rounds in the magazine and risk a misfeed.
Advertisement — Continue Reading Below
Pistol Transition
When given the signal, you fire one round from the rifle. Then you let the rifle hang by its sling and draw your pistol while moving either left or right with your trigger finger safely indexed. Stop and fire five or six rounds from your pistol, holster it and move again as you insert the fresh magazine in the rifle. Don’t look at the magazine or magazine well. Then stop, chamber a round and fire two more shots from the rifle. Again, always keep your trigger finger in the index position when moving.
The final two drills John taught were performed at close range. The “Jaw Weld Drill” is best performed with rifles chambered for light-kicking cartridges like the .223 Remington, 5.56mm NATO and .30 Carbine. This drill is fired from a retention position and is designed to be used in close quarters where there is a possibility of being disarmed. The rifle is firmly held in both hands and laid horizontally on top of the shoulder with the stock under the jaw and in line with the shooting eye. When a target is sighted at close range, the rifle is mounted and fired several times while the muzzle is pointed at the center of the chest. With practice, it can be quite accurate for CQB.
Advertisement — Continue Reading Below
The “Hostage Drill” involves using distraction. With the rifle in low-ready, you look the “hostage-taker” in the eye and loudly ask, “What do you want?” Then, when the attacker begins to answer, quickly mount the rifle and fire two shots into a rectangular target area surrounding the eyes and bridge of the nose. Remember to adjust for the offset between the line of sight and the line of the bore.
Special Skills
Rifles are more than just big handguns. They have different capabilities and require special training to be effective tools for self-defense. So if you buy one, it’s a good idea to get training and then find a range where you can practice what you’ve learned. For more information about John Farnam’s training courses, visit defense-training.com.
This article originally appeared in a previous issue of Tactical Life Magazine. Get your print or digital subscription at OutdoorGroupStore.com.