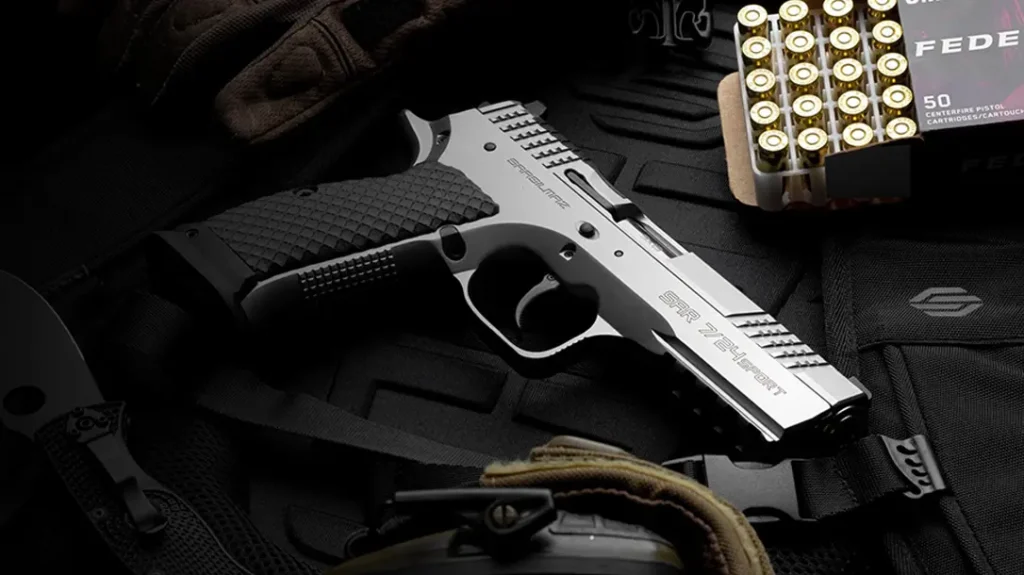
When it comes to upgrading your firearms, stippling a gun is an interesting concept. The idea is to create a better grip for your firearm by using heated tools to engrave dots.
Stippling your own guns and firearm accessories may sound like a fad to some. To others, it’s a useful and permanent solution to a nagging problem. The naysayers to stippling will drone on and on about how they don’t need the extra work. To me, stippling is about making my weapons and equipment as comfortable and functional as possible. When you are more comfortable with your gear it eases the stress, and we all know the mental aspect of shooting is critical to success.
Advertisement — Continue Reading Below
What Is Stippling?
The dictionary defines stippling as the following: “To paint, engrave or draw by means of dots or small touches.” A little-known fact is that the word originates from around the 1660s in Holland, derived from the Dutch word “stippelen”. This a technique that evolved into a painting style that we now call pointillism, made popular by artists like Vincent Van Gogh, Georges Seurat, and Paul Signac.
- RELATED STORY: DIY Workshop: Stippling for a Better Grip on Your Pistol
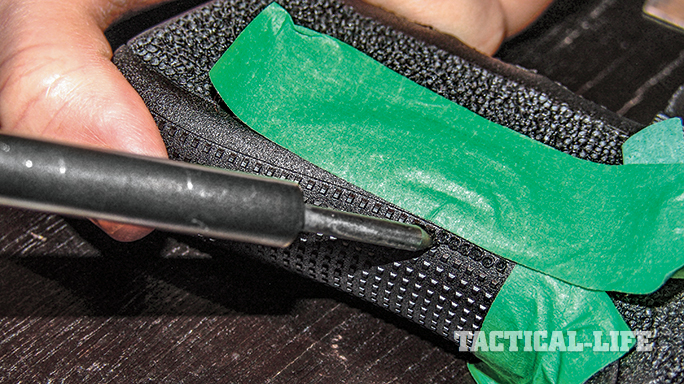
Stippling a gun involves making permanent modifications to a firearm or component. Generally, either hand tools like steel punches/hammers for metal projects or a soldering iron with interchangeable tips for polymer projects are used. All it takes is desire, patience, practice, and a few tools.
Why Should You Bother Stippling a Gun?
It’s an honest question asked by more than one person, myself included. I found out about stippling by a fluke, to be honest. It was in the middle of a Browning Hi-Power rebuild and wanted some sort of texturing on the front strap. I spoke with my gunsmith who suggested I check out stippling. Once I shot the pistol with the stippled front strap, I was sold on the idea.
Advertisement — Continue Reading Below
Adding texture to any smooth service obviously allows the user to grasp the object more firmly. It enhances the control a user can exert on said object. It doesn’t matter if it’s a hockey stick, a golf club, or a firearm, the principle is the same: More grip equals more control. I am willing to try just about anything that will enhance my shooting skills.
The Steps of Firearm Stippling
Firearm Stippling Step 1: Acquire Firearm Parts
To begin, I chose to focus only on polymer parts, such as the Magpul PMAG and various plastic pistol grips. I chose polymer parts for several reasons. Reason one, plastic parts are cheaper and more readily available. Secondly, working with plastic parts require cheaper tools that I can source from any local hardware store.
Firearm Stippling Step 2: Get a Soldering Iron
A soldering iron that can be purchased for around $25 and some sandpaper are really the only tools you will need for stippling plastics. An exhaust fan is highly advisable due to the fumes given off by melting the plastic. Firearm Stippling Safety Tip: Beware of the heat. Soldering irons get hot, most of them more than 700 degrees Fahrenheit.
Advertisement — Continue Reading Below
Firearm Stippling Step 3: Practice Stippling Before Stippling Your Own Guns or Accessories
The old adage of “practice makes perfect” still rings true even in the days of instant gratification. I found it most helpful to experiment on handguards, grips, and stocks I had gotten free from friends or at little cost on Internet forums. The great thing about AR-15s nowadays is that everyone wants aftermarket parts and very few people keep factory plastic furniture. Ask around and you will have plenty of parts to practice on.
When practicing stippling a gun, don’t be afraid to experiment using other style bits to form new patterns, and be sure to talk with other firearm stipplers – you never know what you may learn!
Firearm Stippling Step 4: Have a Plan of What You Want to Accomplish
Stippling a gun is not something to do on a whim. Remember that failure to plan is a plan to fail. Hopefully, you’ve done enough practicing to get a better grip (no pun intended) on how you want your firearm or firearm accessory to look.
Advertisement — Continue Reading Below
Firearm Stippling Step 5: Prepare Your Workspace
Alright, now it’s time to get into a well-ventilated area with plenty of good lighting and start stippling. But hold on a sec, make sure that distractions like music, children, and noise are limited as these can increase the chances of making a mistake.
Firearm Stippling Step 6: Work Slow and Steady
There’s absolutely no need to rush when it comes to stippling a firearm or firearm accessory. Take your time, pause for the occasional break, and enjoy the process.
We realize that stippling isn’t for everyone and I wasn’t sure it was for me until I tried it. I, by no means, am an expert at stippling or grip reductions. I simply saw a way to enhance my shooting experience by grabbing a soldering iron and trying it out for myself.
Advertisement — Continue Reading Below
In closing, I want to take this moment to thank Joe Kim and Frost Modular Systems of Anchorage, Alaska, for their help with stippling knowledge and for saving me from ruining my M&P.
