Advertisement — Continue Reading Below
For those of you looking for the video on scope lapping, it’s at the bottom of this post.
Sitting impatiently by the front door you test the limits of just how many times a UPS tracking number can be refreshed to see where the last piece to your long-range puzzle is. The rifle has been there for weeks; the buttstock half worn down from the countless times you’ve shouldered it and imagined sending some traffic. Same for your optic, which you’ve test mounted on everything except the family dog to see how sharp that reticle is out at a grand. And now they’re here, the sole linkage between what you see, and what you shoot, your scope rings.
Advertisement — Continue Reading Below
We’ve all been there, torque wrench and Loctite in hand, ready to unite this scope and this rifle in ballistic matrimony. But, alas, patience is a virtue, and there are a few steps we need to endure before we can run off to start punching paper.
Specifically, scope lapping and leveling.
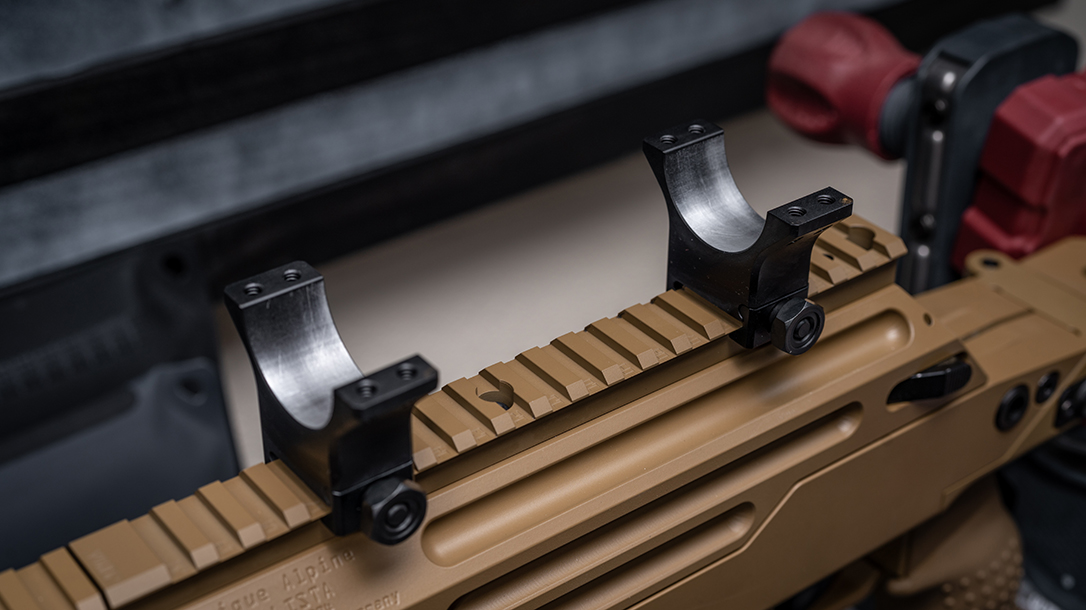
Leveling I get but lapping? Yes, lapping, or more simply put, precision sanding. Lapping is the precision process of sanding out small imperfections and variances on the inside of your scope rings. And no, it’s not just for “cheap” rings; those rings that you just sold a kidney for, yeah, they could use some attention as well. But that can’t be; these rings are cut with a CNC (computer numerical control) machine and are perfect! The first part of that is true, but the second part is wishful thinking. The truth is that even the best CNC machines are calibrated to a tolerance, and that tolerance is not .0000”. Boeing uses a lot of CNC machines when building the 737 and, well, you get it.
Advertisement — Continue Reading Below
Scope Lapping Issues
- Imperfect alignment between your front and rear ring.
- Reduction in surface area contact between your scope rings and scope tube.
Fortunately the solution is so simple that it’s lappable…
What you’ll need: A lapping kit. Profound, I know.
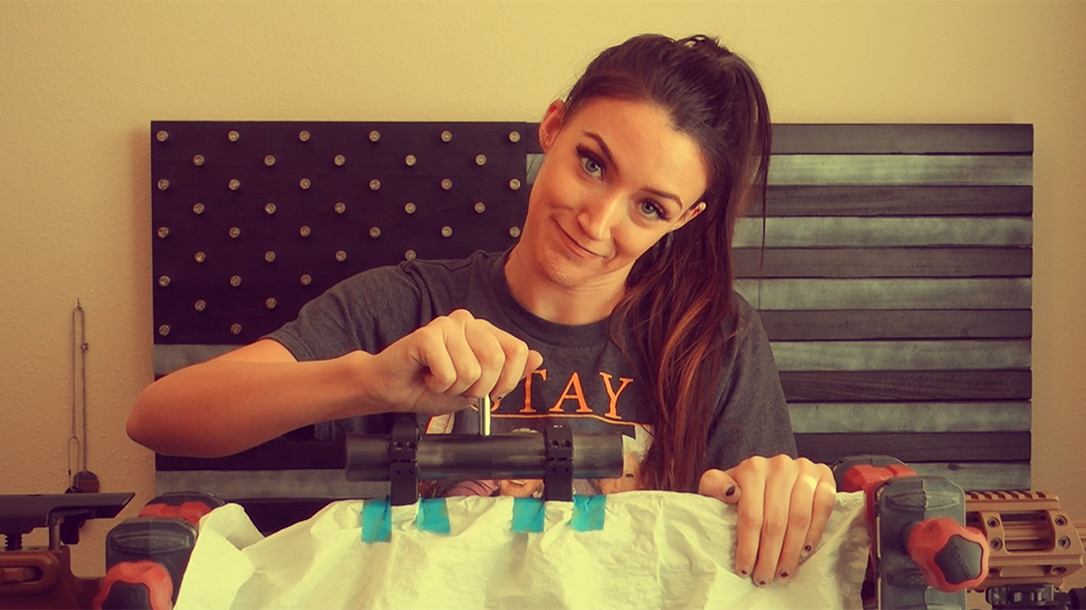
Most kits include the lapping rod, lapping compound, alignment rods and lapping rod handles. You’ll also need a torque wrench complete with the right bit for your scope rings, rags, a light degreaser, and it wouldn’t hurt to have a plain white sheet of paper and a trash bag (draping the trash bag over your rifle and only exposing the rings will save you during clean up). Oh, and elbow grease, you’ll need that.
Advertisement — Continue Reading Below
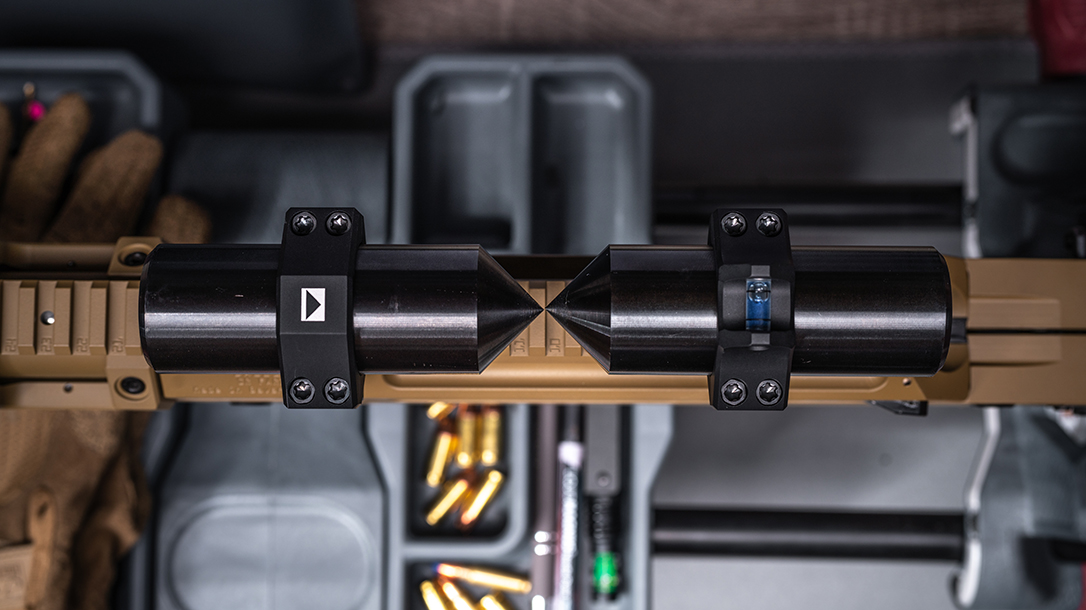
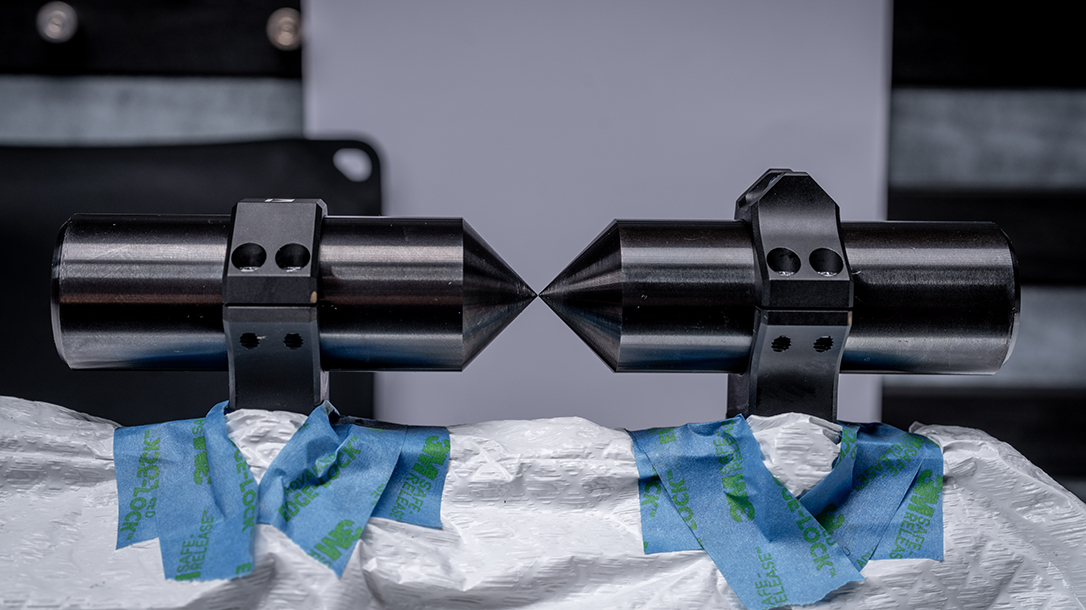
Start by cleaning the insides of the rings and screw threads to ensure any grease or debris is removed. While ensuring proper location along the rail for eye relief, mount the bases of your scope rings to your rifle. At this point you need to do an initial alignment check. Place your alignment bars in your ring bottoms, pointing toward each other, with a small gap between the two.
Tighten down the tops of your scope rings over the alignment bars all the way to your recommended torque. You can now check initial alignment, both vertically and horizontally. Depending on the type of rings you’ve chosen to use you may be able to make small alignment corrections at this time, with either the windage knob for horizontal alignment, or scope ring shims for vertical alignment. If the bars are already aligned perfectly, well, lucky you. You may go now. For the rest of us, it’s time to start lapping.
Get After It
Remove the alignment bars from your scope rings and apply a generous amount of lapping compound to the insides of your rings. Place your lapping bar in the rings and tighten the tops of the rings down enough to apply slight pressure, but not so tight that you are struggling to move the lapping bar. Use a back and forth motion, while rotating minimally. As you remove that material, you’ll need to retighten your scope rings in small increments to maintain consistent pressure. After one or two adjustments, remove the lapping bar and check your progress. Use a rag and a light degreaser to remove all of the lapping compound before reinstalling the alignment bars to see where you’re at. Holding that plain white piece of paper behind and beneath your alignment rods will make this much easier to see. Granted, I’m blind as a bat.
Advertisement — Continue Reading Below
Unfortunately you may need to repeat the process a few times to achieve perfect alignment and surface area contact; just know that when you’re about to send it at long range, having complete confidence in the ballistic matrimony between your scope and rifle will be well worth the time invested.
For more information, visit btibrands.com/brands/wheller-engineering.
