As we move through 2024, more and more shooters are asking about, adding, or fully integrating red dots into their handguns and everyday carry (EDC) setups. It’s no secret that optics can make a big difference in shooting performance, especially for eyes that don’t work like they used to, or in low-light situations where precision matters most.
Carry Optics Guide: Keep That Red Dot Running!
But there’s one key word in that last sentence that often gets overlooked—integrating. Let’s unpack that. According to Webster, integration boils down to “the coordination of process.” It’s not just about slapping a red dot onto your handgun and calling it a day. It’s about training and checking your setup to ensure it works when you need it most. Let’s dive into how to make sure your red dot doesn’t let you down when it counts.
Many shooters make a common mistake: they buy the latest red dot with all the features, bolt it onto their gun, sight it in, and shoot a few strings at the range. Then they call it good. But integrating a red dot means more than that—it’s about refining your entire shooting system to ensure that red dot will be there when you need it most, from your first shot to your last.
Advertisement — Continue Reading Below
To make sure your red dot is truly working for you, there are a few critical steps to follow. The most important? Check and train. Let’s break that down.
Check & Train
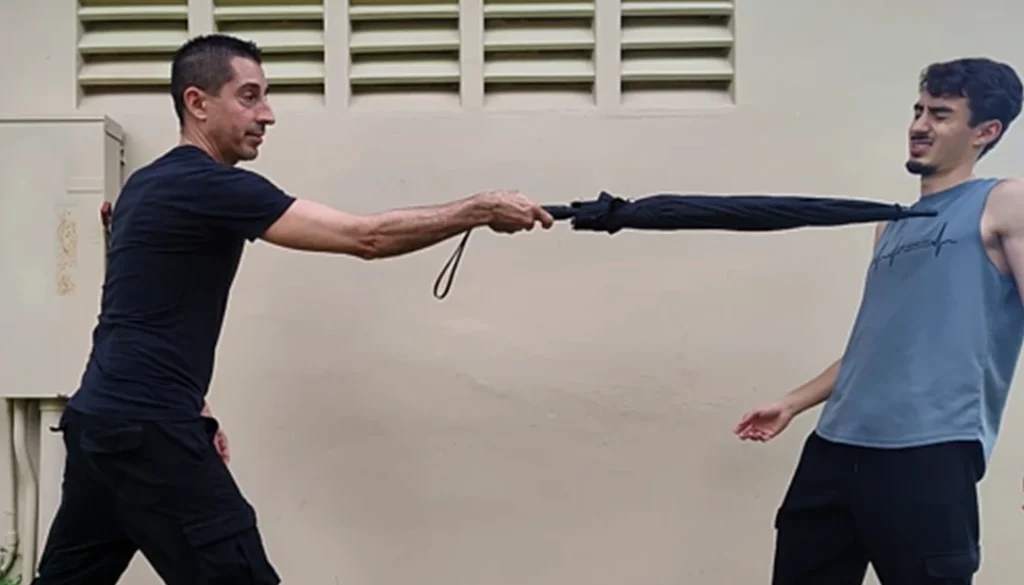
Even if you’re an experienced shooter, there’s no skipping the basics when it comes to using a red dot. One of the most common issues shooters face is struggling to “find” the dot during quick presentations. Dry fire practice is crucial here.
Advertisement — Continue Reading Below
Spend time presenting your firearm to your eye repeatedly, without live ammunition. This helps mitigate any delays in acquiring the red dot during stressful situations. As with iron sights, you need to train your body to naturally bring the sight into alignment with your eyes, without consciously searching for it.
Your red dot is going to be exposed to the same bumps, dust, and elements as your handgun. So, test it! Wear your red dot-equipped handgun in different environments. Go hiking, work in the yard, or do activities where dust and debris might get into the optic. Regularly check your red dot’s zero after carrying it, especially if it’s been bumped or exposed to harsh conditions. The last thing you want is to pull your gun when you need it and find out the dot is no longer accurate.
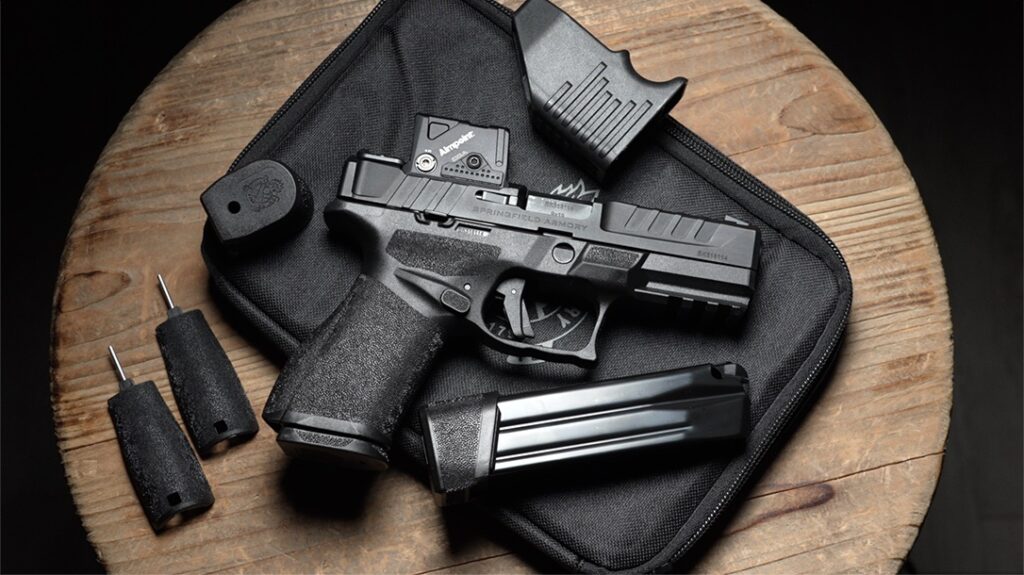
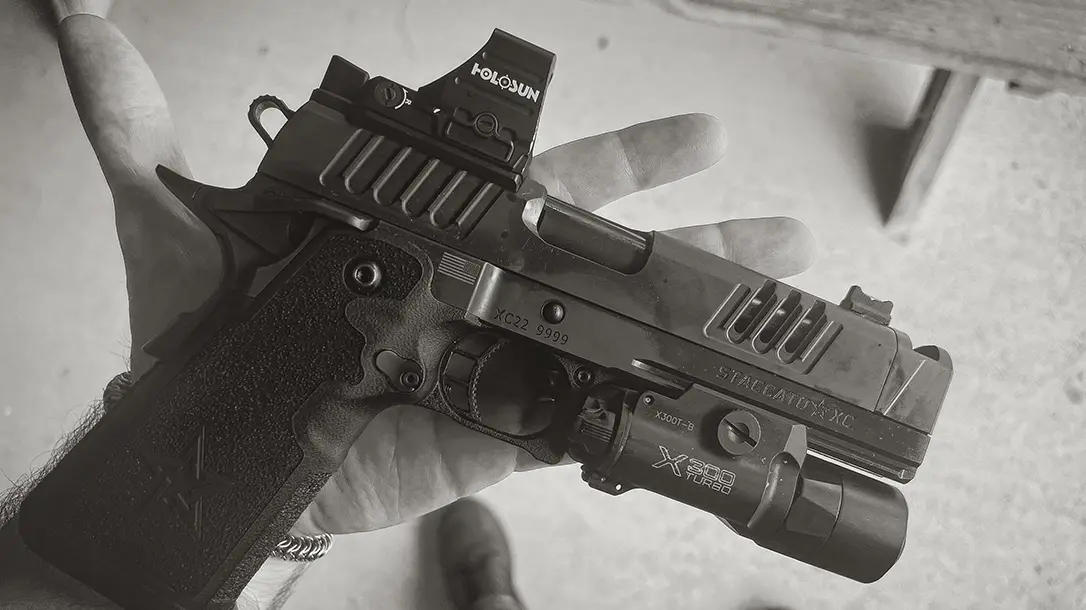
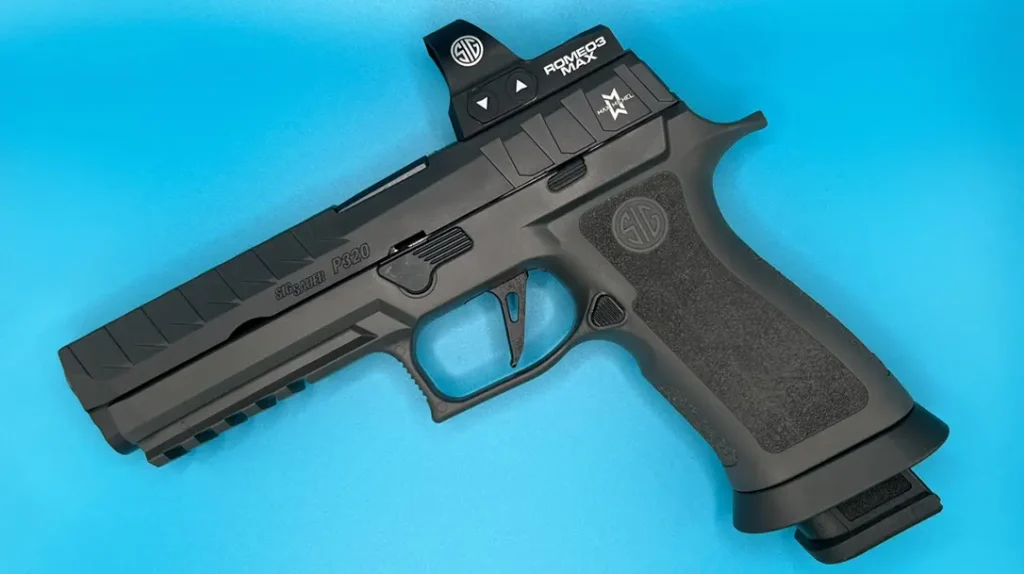
One of the more common failures with red dots comes from improper installation. Make sure you read the installation instructions carefully and torque the screws correctly. After installation, mark your screws with a paint marker (Note: Nail Polish has been suggested before, however it’s not recommended. The nail polish flows around the screws and can be a problem). This way, you’ll know if they’ve started to loosen over time. It’s a simple trick, but it can prevent catastrophic failures down the road. If those screws loosen, your dot can shift, throwing off your shots.
Advertisement — Continue Reading Below
Getting Your Eyes Into It
When using iron sights, you don’t look away from the target to find your sights. Instead, the sights come into view as you point the gun toward your target. The same principle applies to red dots. You should be focused on your target, and as you index your gun, the dot should naturally come into view. If you find yourself hunting for the dot, more dry fire practice is needed.
One thing to keep in mind is that the height over bore has changed with your red dot. The center of the optic will likely sit higher than your factory sights. Many guns come equipped with suppressor-height sights that co-witness with your dot, but this varies depending on the make and model of both the firearm and the optic. Get used to this relationship so you don’t miss a beat when it’s time to shoot.
Advertisement — Continue Reading Below
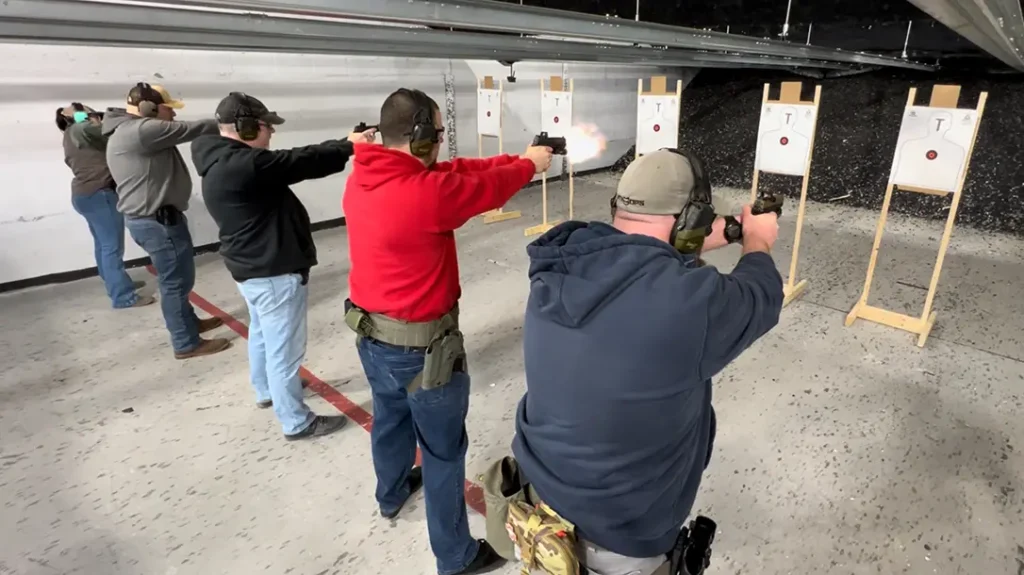
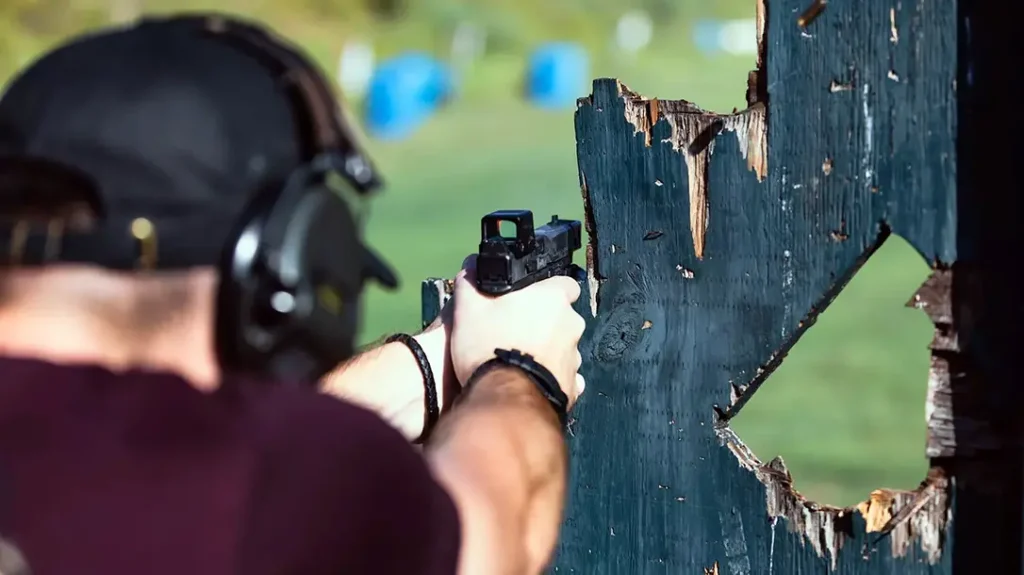
Here’s where things get real. In a defensive scenario, you won’t always have the luxury of a perfect shooting stance. You might need to fire from a compromised position, such as kneeling, lying down, or shooting around cover. It’s critical to train with your red dot from these angles. If you can’t find the dot under pressure, you won’t have time to search for it.
Train Smart
Additionally, train in varying conditions. Red dots can behave differently in extreme temperatures or in the rain. Cold weather can affect battery performance, and hot weather can cause glare or distortion. Spend time shooting in the rain, heat, and cold to see how your red dot performs in all conditions.
Advertisement — Continue Reading Below
Not all red dots are created equal. Before you add a red dot to your EDC gun, consider starting with another range handgun first. This gives you time to work out any challenges, such as dot size, brightness settings, and battery life, in a lower-pressure environment. Understand how the red dot performs for your specific eyes and how it fits with your shooting style.
At the end of the day, integrating a red dot into your carry system isn’t just about slapping it on and heading out the door. It’s about testing, training, and adapting. Make sure your red dot works in every scenario you might face, whether it’s low light, compromised shooting positions, or harsh environmental conditions.
By integrating your red dot through consistent training, dry fire practice, and real-world testing, you ensure that it will be there when you need it most. So, shoot often, train hard, and make sure your red dot won’t let you down.
Advertisement — Continue Reading Below
Find a place to shoot at NSSF.org.