If you carry a firearm for self-defense, you should be taking your training seriously. Part of that training needs to focus on Close Quarters Battle (CQB) handgun techniques. In close-quarters combat scenarios, speed, accuracy, and decisive action are paramount.
Training CQB Handgun Techniques
Training for handgun CQB focuses on rapid target acquisition, efficient movement, and maintaining situational awareness. It includes training to adopt a low, stable shooting stance, ensuring a solid base and minimal exposure to threats. Likewise, there is an emphasis on effective use of cover and concealment with quick transitions between engagement points.
These techniques are used to clear rooms and corners, while ensuring 360-degree awareness and minimal blind spots. Also addressed is an emphasis on threat identification and effective communication with teammates and the proper use of lights and lasers. This training allows operators to engage threats in close quarters, while increasing success and survivability.
Advertisement — Continue Reading Below
People who can execute these fundamentals quickly and without hesitation will be the most successful during a violent encounter. For this reason, it is better to focus on simple, proven techniques that work during fast-paced armed conflicts. Here are three techniques for dealing with weapon retention and shooting at close range.
General Purpose CQB Handgun Training Techniques
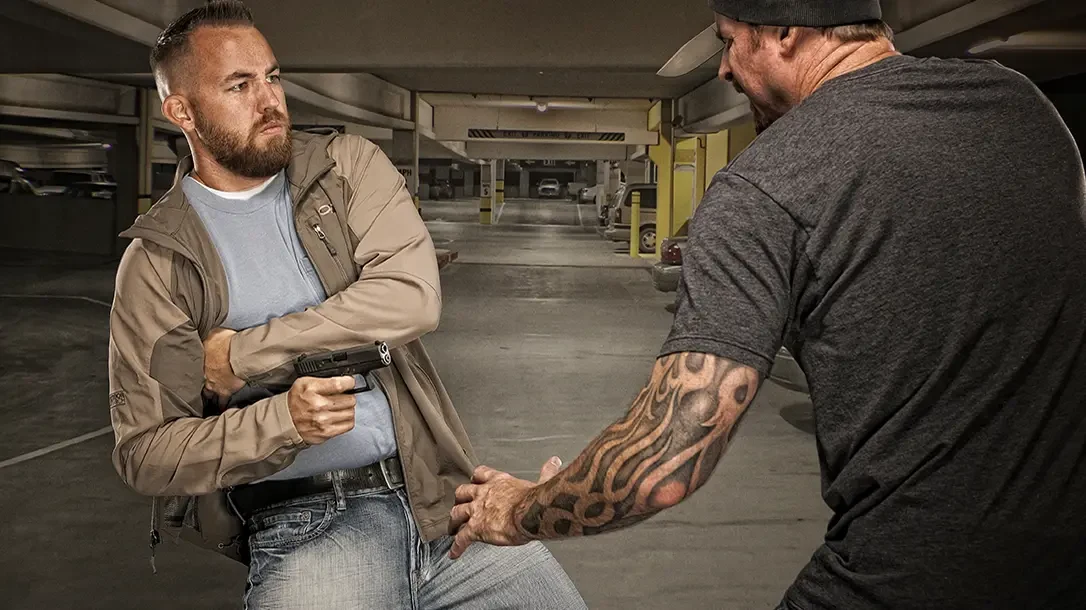
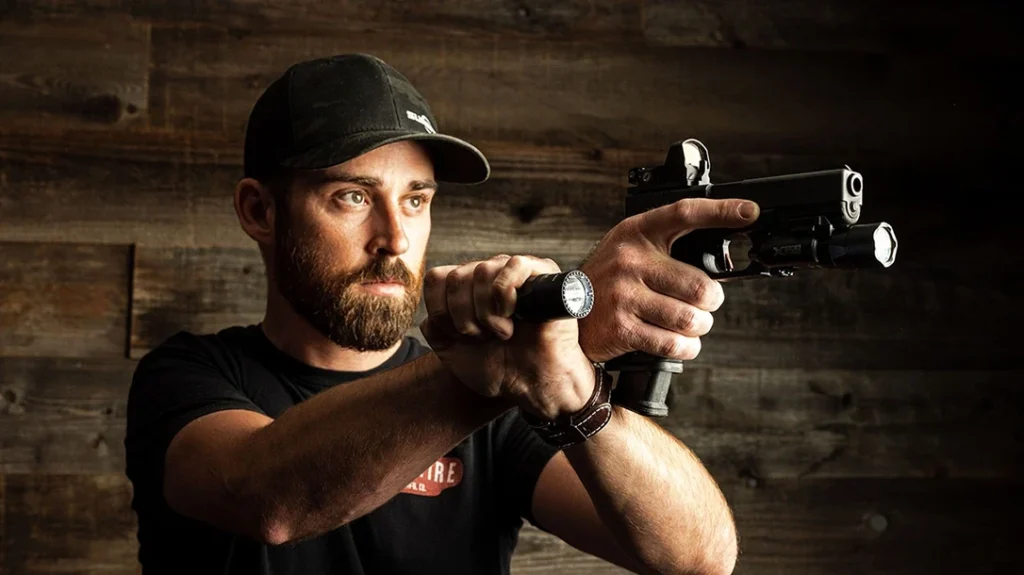
A general-purpose training technique that works well is to draw or retract the handgun to a position just under the pectoral muscles and offset to the side. The base of the shooting hand indexes into the body to keep this position consistent. Then, orient your handgun outward so it can function without interfering with the slide or cylinder movement.
Advertisement — Continue Reading Below
This works well with both revolvers and semi-auto pistols because it allows for a very strong, locked grip. The support further locks the pistol in if the hand is free. However, in low-light conditions, your support hand will likely have a flashlight and will require flashlight techniques.
A major concern with CQB is the close proximity of the threat and the potential for an attempted disarm. Weapon retention is a whole other animal in itself, and we recommend getting focused training for this as well. However, for a quick primer, we have articles on retention while standing and from the ground. Both are valuable reading for anyone who carries daily.
Advertisement — Continue Reading Below
Retreating
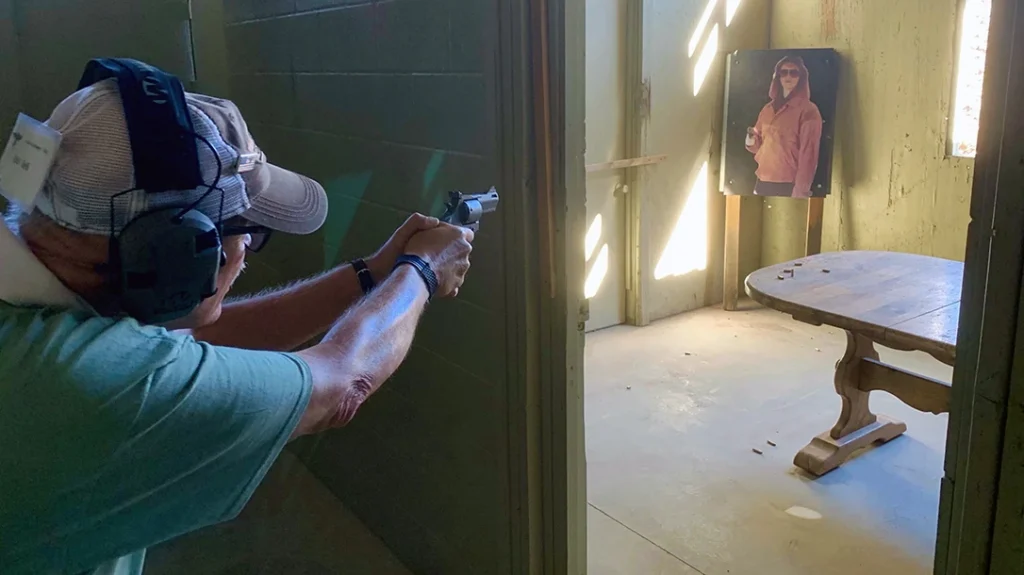
A well-known technique for close-quarters shooting is known as the “speed rock.”
It is usually taught with your feet and body squared, body arched at the hips, support hand raised, and primary hand firing the handgun as it clears the holster and is angled towards the attacker’s upper torso by your arching body.
Some trainers who lack understanding of where and why this technique is effective tend to discount it. When viewed as a general-purpose technique, it is definitely lacking because the off-balance body position is not advantageous in repelling a violent physical attack. However, where it excels is as a retreating technique. Speed rock is best utilized while being forced backward and trying to create distance.
Advertisement — Continue Reading Below
This technique is used to create distance out of nothing and resembles the draw stroke and firing process of World Fast Draw Association techniques. The firearm has very little movement itself. Body movement is used to assist the draw and firing of the handgun.
In the real world, even the good guys end up behind the curve and backpedaling. You may end up against an obstacle or pinned in an area where you can’t escape. At this point, the speed rock allows you to build just enough distance so you can draw and fire. The speed rock is very effective for getting a gun into a fight while under attack.
Advancing
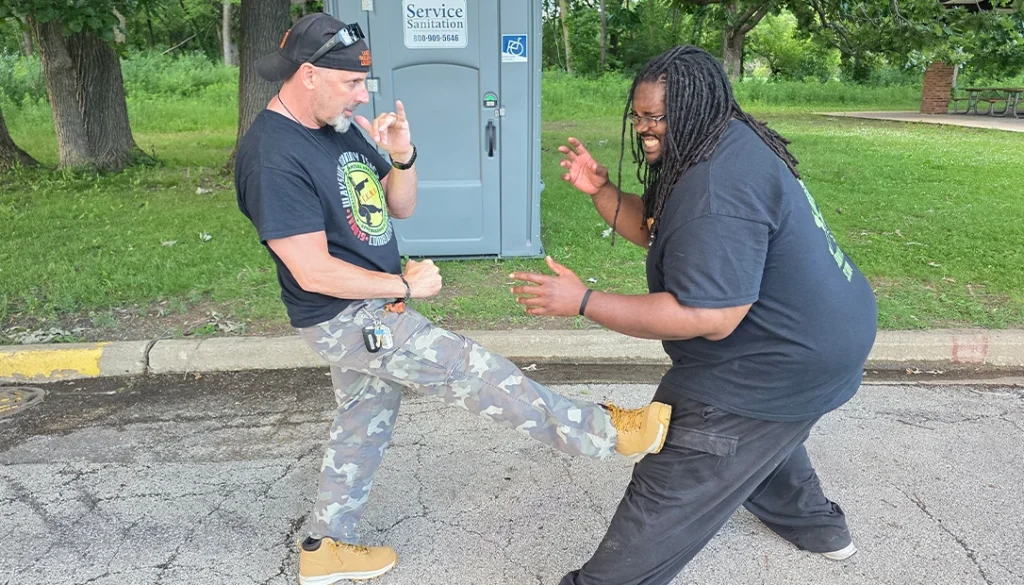
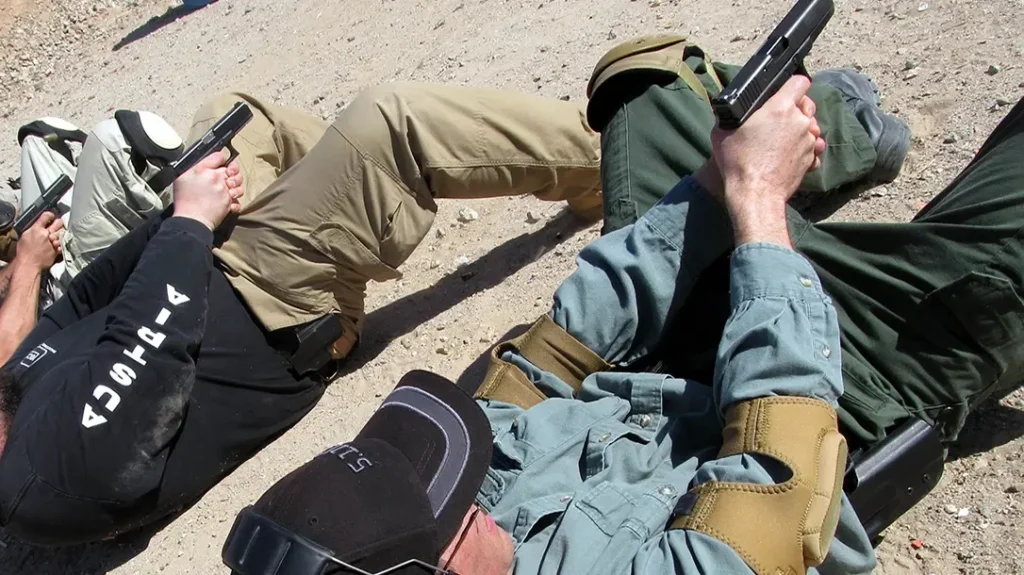
In the advancing position, hold your support arm just below your chin, bending backward towards you to form a “V” with the point forward. It has limited use for most people. However, it is effective in positions where you have to aggressively close on bad guys.
Advertisement — Continue Reading Below
Essentially, this technique uses the hand position for general-purpose weapon retention with the firing hand. However, it makes better use of the support hand for both protecting the pistol and driving opponents away from you. This transitions quickly and easily to and from the Harries flashlight technique.
As with most techniques, it is not as effective when taught incorrectly. If you assume this position and remain static, the opponent can move you offline or push the extended arm down. However, when an extreme forward drive is employed, it becomes more difficult for the opponent to react.
Advertisement — Continue Reading Below
When going through doors as the first man on a team, the triceps area of the support arm in the “V” drives the door completely open for the team while protecting the pistol. This allows for instant engagement of any bad guys just inside the door.
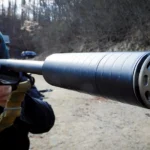
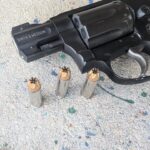
This is a very advanced technique with limited application. It does not work well with compensated firearms and can be an issue with “blasty” revolvers. Be very careful when working with it.
CQB Handgun Training
Nothing can replace solid, professional training for CQB handgun techniques. There are some very well-established subject-matter experts in this type of shooting. Spend some time investigating an instructor’s background. This ensures that they have the experience to safely and efficiently teach close-quarters shooting techniques. Professional training is a great investment and will pay off in spades.