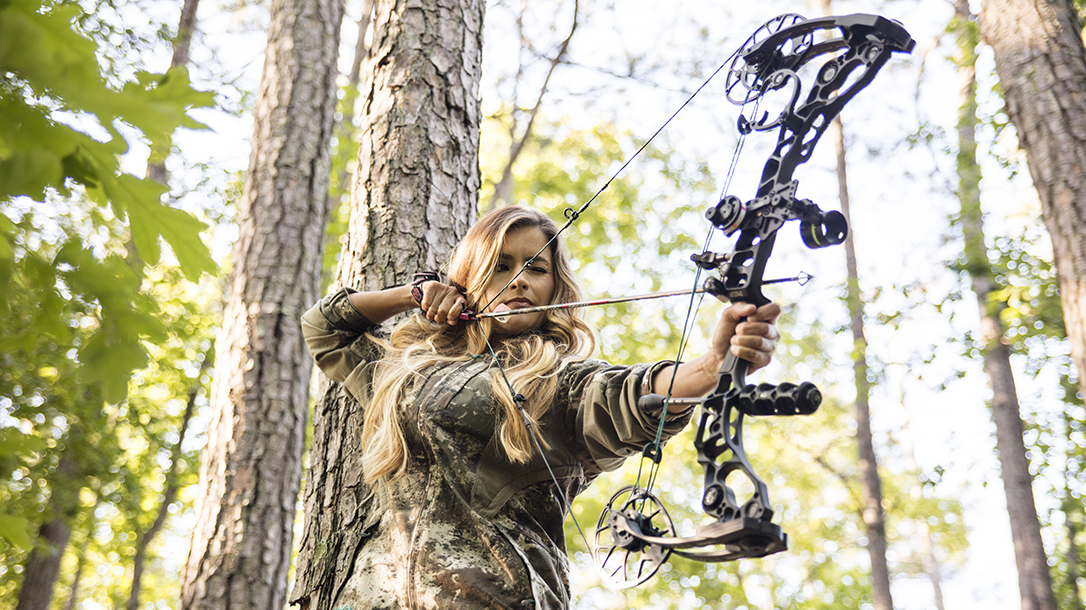
As I sit in a tree stand with sweat dripping down my face, I feel as though I’m completely melting in the Georgia heat. I thought this was supposed to be fall, but just like Georgia’s weather, the seasons can be a bit unpredictable. I sit hour after hour, bow in hand, waiting for the buck of my dreams to appear from behind cover. But I can’t really blame him for not wanting to come out in such heat. And yet, my determination to put food on the table overpowers the tortuous heat.
The sun starts setting, and a cool breeze hits my face. A wave of happiness washes over me. The breeze not only makes me comfortable, but I’m now sitting perfectly so that my scent gets carried away from where I’m hoping a whitetail will soon appear. Just as soon as my sweat clears from my face, four does appear in front of me.
Advertisement — Continue Reading Below
The beauty of watching deer in their habitat is mesmerizing. I sit in anticipation for a buck to arrive, and with every minute that goes by, the sun sets a little more. I’m quickly losing light and hopes of taking a buck. Should I call it a day? But I’m overcome with a severe case of missing out, so I decide to sit out the rest of the sunset.
Soon I hear footsteps coming from my left, but the bounty of Georgia leaves makes it hard for me to see what is coming toward me. With all the time I spent in the tree, I’ve memorized the distances to markers all around me, so when a buck comes, I can quickly adjust the sight pin on my bow. No whitetail in sight, but I still hear footsteps slowly approaching. Then, I see antlers—finally, a buck!
Buck Fever
He slowly comes into my neck of the woods, starting at about 70 yards. I silently hope that he steps closer.
Advertisement — Continue Reading Below
Nibbling on the forest floor as he moves, he slowly makes his way near a tree that I know is exactly 42 yards away. I slowly, quietly stand up, attach my release to my bow and adjust my single pin to 42 yards. He finally stops.
I take a deep breath in, draw my bow, relax my grip and place the buck perfectly within my sight. With a controlled exhale, I ever so lightly pull the trigger on my release.
It’s as if life goes in slow motion the moment the arrow is released.
Advertisement — Continue Reading Below
I hear the arrow leave my bow, and in what feels like 30 seconds, I hear a thump and quickly watch as my beautiful buck darts across the field.
Sitting alone in my stand, all I can do is pray my eyes did not play tricks on me. Did I really just get a buck?
I wait about 15 minutes before I climb back down to trace the path. I approach the field and can spot the glow coming from my knock. To my excitement, the arrow is blood stained. Then I start to follow the trail of blood that will lead me to a buck—and dinner for my family.
Advertisement — Continue Reading Below
As I approach my buck, I’m overwhelmed with thankfulness. So thankful for the time spent in a tree observing nature, and thankful for the game I have just taken. With the tiny bit of sunset left, I get to work on my deer. Solo hunts have given me several opportunities to quickly learn how to field dress a deer—the most crucial and important step. How I handle the deer makes a big difference in how the meat will taste on my table.
Field Dressing
Properly field dressing your game is the essential first step in prepping it for consumption. Proper field dressing can help preserve the meat and prevent the growth of bacteria. Of course, techniques for field dressing deer and other large animals depend on the size of the animal. While deer can be left intact and taken to a processor soon after the kill, large animals like elk and moose may require quartering for transport out of the field. Butchering your animal also helps cool the meat down faster.
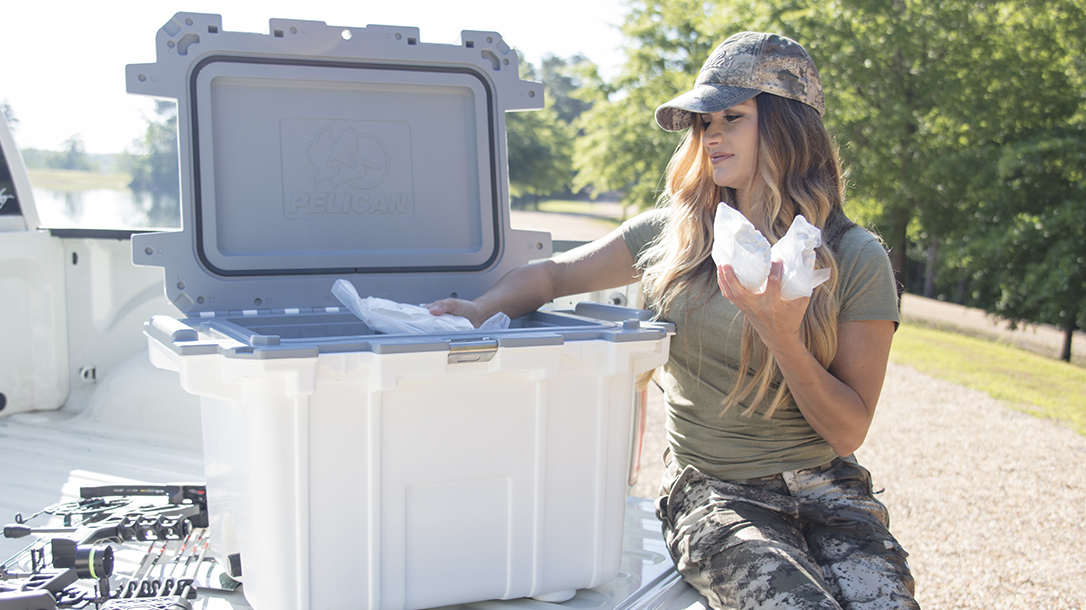
When you’re in the field, use clean water or alcohol swabs to clean your knife frequently between cuts to avoid dragging bacteria into the meat. If you are keeping the carcass whole, the cavity will need to be cleaned out in the field. Remember to keep the heart and liver and place them in their own sealable plastic bag. These are beautiful pieces of meat that shouldn’t be overlooked. Then place those bags on ice in a cooler as fast as possible.
Advertisement — Continue Reading Below
If the cavity is left whole, it’s important to cool the carcass down as quickly as possible. To lower the animal’s body heat, I first fill some plastic bags with ice and place them in the body cavity. Then I use the nylon cord that I keep in my pack and tie the cavity shut. This helps to cool the animal down from the inside but also prevents dirt, insects and other contaminants from entering the carcass when I carry it out.
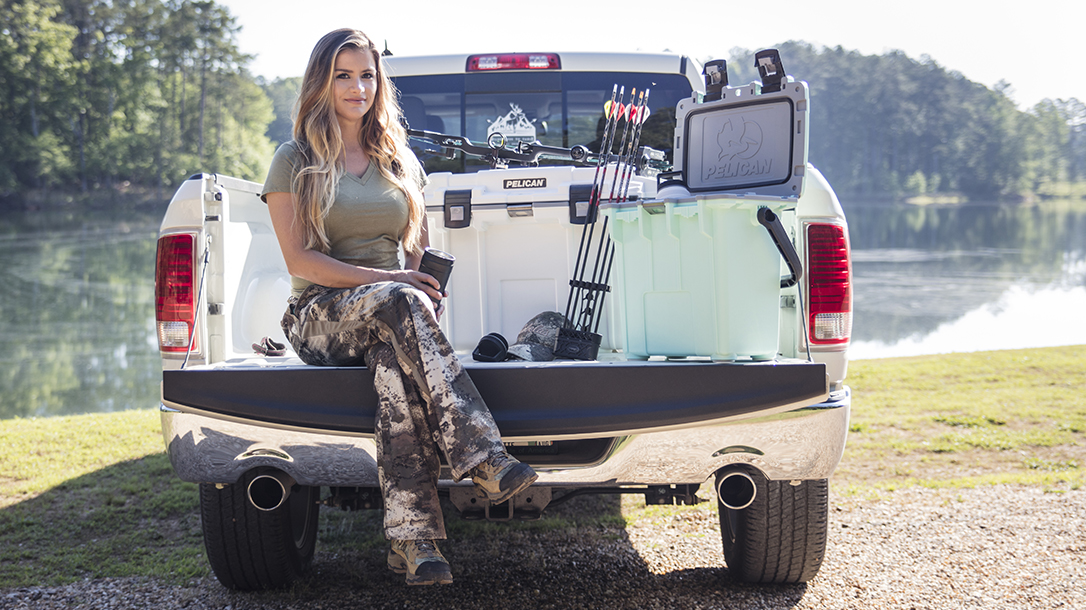
From there, I recommend taking your animal to a processor or a processing kitchen with a large refrigerator to finish breaking the animal down. Please keep in mind that when you pick your meat up from a processor, it’s absolutely crucial to bring a well-chilled cooler with you. You will need to keep the meat as cold as possible while traveling. If you put ice in a cooler at the same time as the meat, the cooler will be warm. So, ice your cooler down ahead of time.
Advertisement — Continue Reading Below
Chill Out
And let’s face it: Bacteria is everywhere. It’s in the soil, air, water, and thus our food as well. When the temperature is right, our food provides the necessary nutrients and conditions needed for bacteria to grow. This is why temperature control is so critical in keeping your wild game bacteria-free and to prevent any foodborne illness. The temperature “danger zone” for bacterial growth ranges from 40 to 140 degrees Fahrenheit. The best thing you can do for your wild game meat is to field dress it and get it on ice in a cooler as fast as you possibly can. Carrying a refrigerator/freezer thermometer inside your cooler to verify that the temperature of your cooler is below 40 degrees can be a lifesaver.
Of course, freezing wild game prevents bacterial growth, but it does not kill the bacteria that is already there—it simply hibernates, so to speak. So, once thawed, those pesky bacteria can again become active and lead to an illness. Thawed meats should be handled in the same way as fresh meats! And the best way to thaw wild game is in the refrigerator. Simply take the frozen meat and let it thaw overnight in your refrigerator. If you need your wild game thawed quicker and it’s vacuum-packed, you can thaw it under cold running water, but never at room temperature. Once the game meat is thawed, it’s best to cook it quickly.
For more from Bri Van Scotter, please visit WildernessToTable.com.
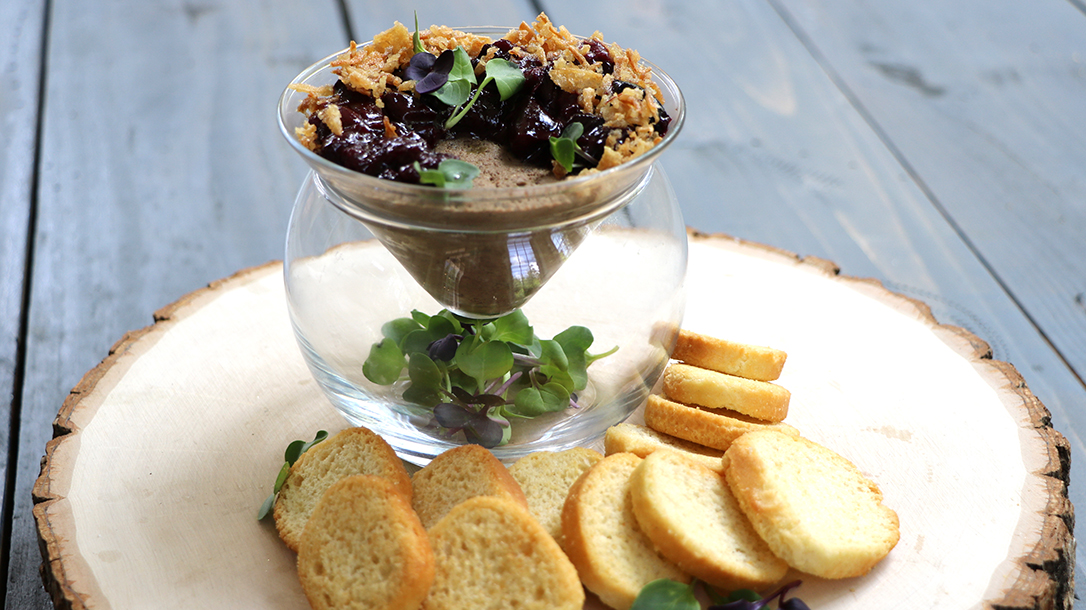
Venison Recipes No. 1: Deer Liver Pate with Spiced Cherry Compote & Crispy Fried Onions
For the deer liver pate:
- 1 pound deer liver, skinned and cut into medium-sized pieces
- 1 cup of buttermilk
- ½ cup butter, unsalted and cubed
- 1 Tbsp. beef tallow
- 1 cup of onion, small diced
- 3 garlic cloves, minced
- ½ Tbsp. fresh thyme, chopped
- ½ tsp. salt
- ¼ tsp. black pepper, ground
- ¼ cup port wine
Soak the deer liver in the buttermilk for at least an hour or more. Drain off the buttermilk and pat the liver pieces dry. In a large skillet, heat 3 tablespoons of butter and the beef tallow together. Then add the onions and cook until they are translucent and soft. Add the minced garlic and cook for another minute.
Add the liver pieces to the pan and season them with the thyme, salt and pepper. Cook the liver pieces until they develop a nice crust on both sides but are still pink in the middle. Then add the port wine and cook until it has almost completely evaporated. Scrape the pan with a wooden spoon right after the port is poured into the skillet.
Take the skillet off the heat and let it cool. Once cool, add the skillet mixture to a food processor and puree. Once a puree has formed, add the rest of the cubed butter and puree until smooth. Then add the puree to ramekins or mason jars, cover them with plastic wrap and refrigerate for 24 hours.
For the spiced cherry compote:
- 1 cup sweet cherries, frozen
- Half tsp. cinnamon, ground
- Quarter tsp. cardamom, ground
- Half tsp. garam masala, ground
- Quarter tsp. salt
- Quarter tsp. black pepper, ground
- 2 Tbsp. balsamic vinegar
In a saucepan, combine all of the ingredients together and simmer on low heat for about 20 minutes, or until the cherries have become soft. Remove from heat and let it cool to room temperature before serving.
For the crispy fried onions:
- ½ cup all-purpose flour
- ½ cup water
- 1 egg, beaten
- 1 tsp. salt
- ½ tsp. baking powder
- pinch of cayenne pepper
- 1 large onion sliced very thin
- oil for frying
In a large bowl, whisk the first six ingredients together. Then separate the onion slices into rings and dip the rings into the batter. In a deep fryer set to 375 degrees, fry the onions in batches for about 3 to 4 minutes, turning them throughout to fry evenly. Cook until golden brown and crispy. Let the onions dry on paper towels.
To serve the pate, top it with the spiced cherry compote and crumble the crispy fried onions on top. Serve the dish with bruschetta chips.
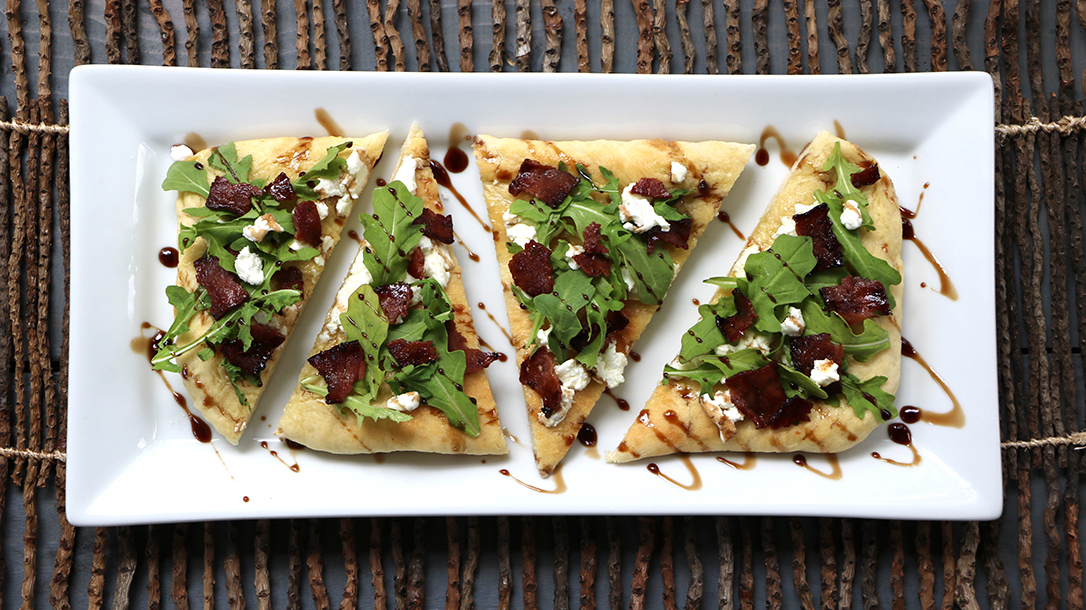
Venison Recipes No. 2: Venison Bacon Flatbread
For the venison bacon:
- 10.5 ounces Insta-Cure
- 2.5 ounces brown sugar
- 10 garlic cloves
- 1 onion
- 3 Lemons, cut in half
- 1 gallon water
- 1 venison roast cut from the hindquarter
Mix all of the ingredients together except for the venison. Mix them until the Insta-Cure dissolves. Let the marinade sit for at least 4 hours. Then, using a marinade syringe, gently inject the mixture into the venison roast in multiple areas. Inject the marinade until all of the blood is pushed out. Then place the roast in the refrigerator to marinate for 2 days.
Pat the roast dry and smoke the marinated roast until a temperature of 130 degrees is reached. Slice into desired thickness, usually about 0.25 inches thick. Fry the slices in a frying pan with a dash of canola oil. Once cooked, remove the bacon from the pan and place it on a paper towel to absorb excess oil.
For the flat bread:
- 1 pound pizza dough, homemade or store bought
- extra virgin olive oil
- 4 ounces goat cheese
- baby arugula
- balsamic crème
Preheat an oven to 425 degrees. Lightly grease a sheet pan with the extra virgin olive oil. Then spread the dough out until it almost reaches the corners of the pan. Using your fingers, slightly press them into the dough, creating little indentations. Brush the dough with the olive oil and bake for about 15 minutes or until golden brown.
Once out of the oven, crumble the goat cheese on top of the dough. Then top with baby arugula and crumble the venison bacon on top and drizzle balsamic crème over the flatbread to finish.
This article is from the fall 2017 issue of Ballistic Magazine. For subscriptions or individual copies, please visit OutdoorGroupStore.com.