It was around 7:30 a.m. when I drove under the black steel raven straddling Gunsite Road. Writers milled around the classroom, sipping coffee and smiling about the donated Team Wendy EXFIL LTP helmets. Some tried to figure out how to turn on their FLIR ONE thermal cell phone cameras. On the white plastic tables near the back, several new optics were attached to various Ruger rifles.
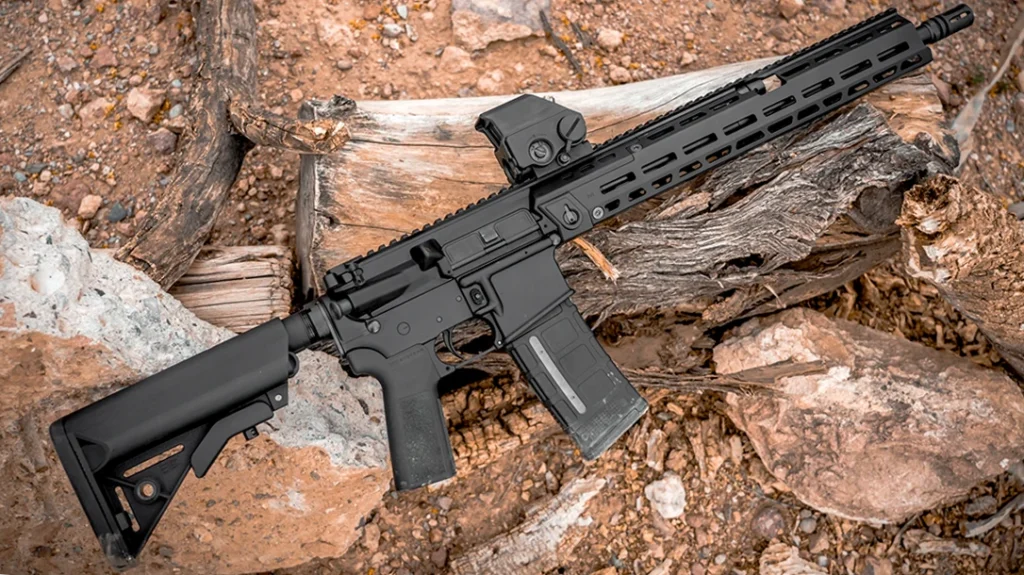
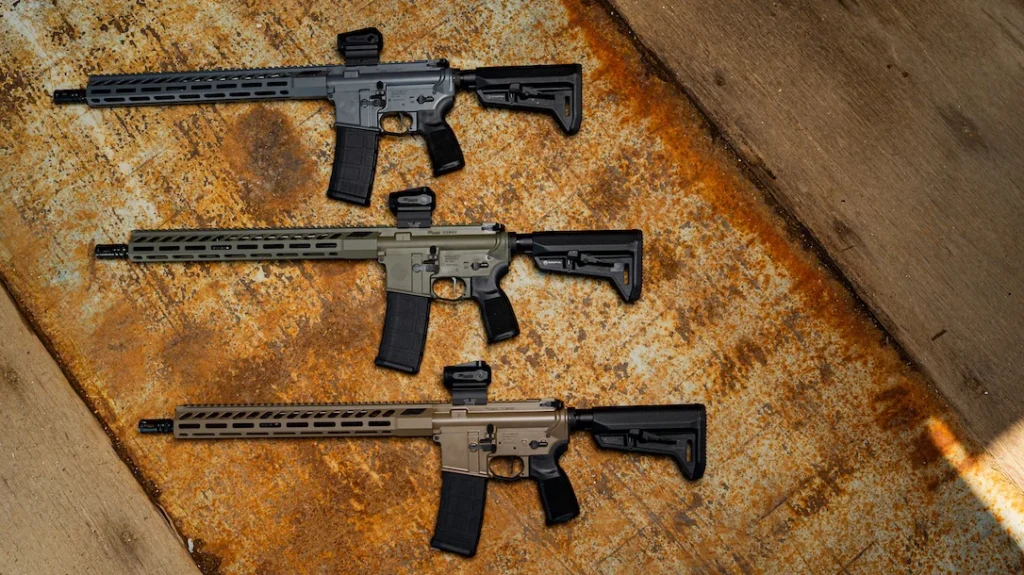
I wandered over to check things out—new PC Carbines, AR-556 MPRs and Precision Rifles lined up neatly, sporting the recently released FLIR products. I picked up one of the impressive-looking optics and was reminded of the scene from Jurassic Park where the boy, Tim, finds a set of night-vision goggles under his seat in the Ford Explorer and shows the lawyer.
Advertisement — Continue Reading Below
“Look what I found,” he says.
The lawyer asks if they are heavy.
“Kinda.”
Advertisement — Continue Reading Below
The lawyer quickly responds, “Then they’re expensive. Put them back.”
I decided to set the optic down. Shortly after that, the meeting was called to order for an hour-long presentation and safety briefing. Then it was time for a field test.
Scavenger Hunt
In the gravel parking area outside, every attendee was handed a Breach PTQ136 thermal monocular. Like FLIR’s ThermoSight Pro Series optics, the Breach is built around the company’s 12-micron Boson sensor. This relatively new sensor is much smaller and allows for increased optical magnification over its 17-micron predecessor. (The micron value refers to the pixel pitch. Basically, the smaller the number, the higher the pixel density and the higher the output resolution.)
Advertisement — Continue Reading Below
Earlier in the day, a couple FLIR employees had set up a thermal scavenger hunt in a triangular patch of scrub brush near Gunsite’s “Scrambler” course. The targets were stuffed animals; some had been filled with ice while others had stick-on hand warmers attached to their chests.
The exercise served as an introduction for working with the Breach’s menu system, and it gave us an idea of how the various color palette settings showed different thermal outputs for hot and cold targets. In retrospect, it probably looked like a dozen visually challenged man- children running around the desert, tripping over bushes on a strange Easter egg hunt. But the idea was sound, and I ended up finishing with a new stuffed bald eagle.
A quick aside: Long-wave infrared (LWIR) isn’t just about temperature. LWIR cameras use sensors that interpret the radiation of an object — lensed through a rare earth metal called germanium — and convert the incoming data via internal computing into an image that is viewable on a screen through the eyepiece.
Advertisement — Continue Reading Below
‘Scientific’ Testing
One thing that I found interesting in my research: What a person sees through the eyepiece of a thermal optic is a combination of the temperature of an object and the emissivity of the surface of that object. What does that mean?
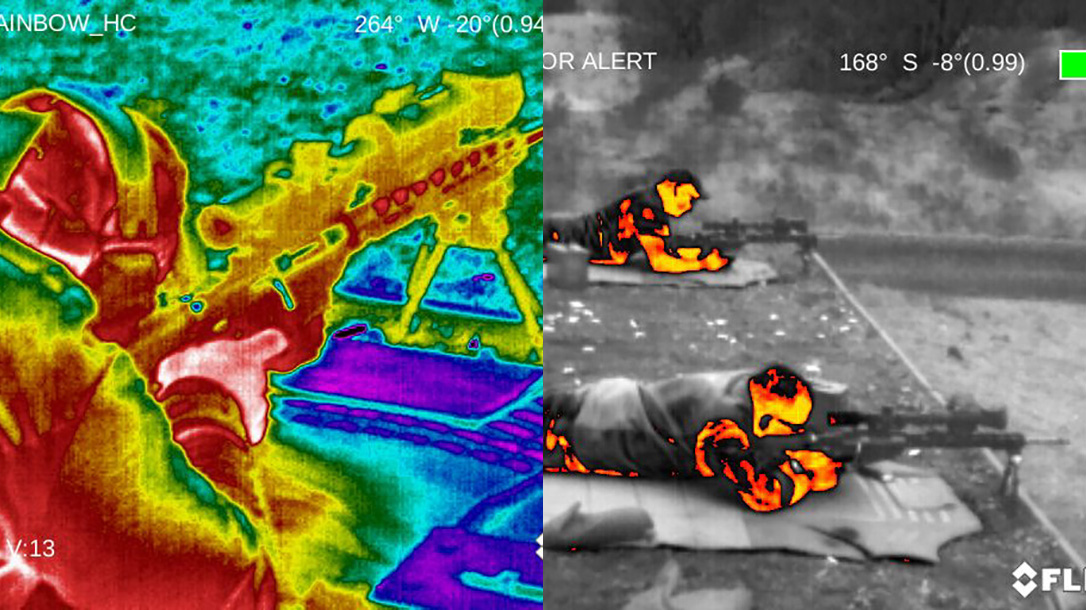
I did a test in my house using the FLIR Breach PTQ136 and some insulated cups—one with a brushed stainless steel exterior and the other with a textured black powder-coat finish. Just sitting on the counter, they looked almost the same. Using Breach’s Rainbow HC color palette, they were the same blue-green as the walls and surrounding countertop. I then put them in my oven at 200 degrees for a few minutes, set them back on the counter and took another look. They were completely different.
Advertisement — Continue Reading Below
The stainless cup looked only slightly warmer than it had before, with more of a light-green tint than blue, while the black cup was now almost totally red with hints of white. The coated cup appeared much hotter, even though they were the same temperature. This comes back to the second part of the equation: Emissivity.
The dark paint on the coated cup emits much more radiation into the long-wave range than the semi-reflective surface of the stainless cup. This is why infrared doesn’t see through glass, which reflects long-wave radiation, hence using germanium as a lens. Long-wave radiation penetrates metal, not glass.
So what? Other than just being interesting in an nerdy way, understanding this aspect of why things look the way they do through LWIR optics might help in the field. As the FLIR team put it, even if a scene is isothermal (with everything being the same temperature), differences in emissivity will produce a contrast in the image.
Advertisement — Continue Reading Below
Back at the Range
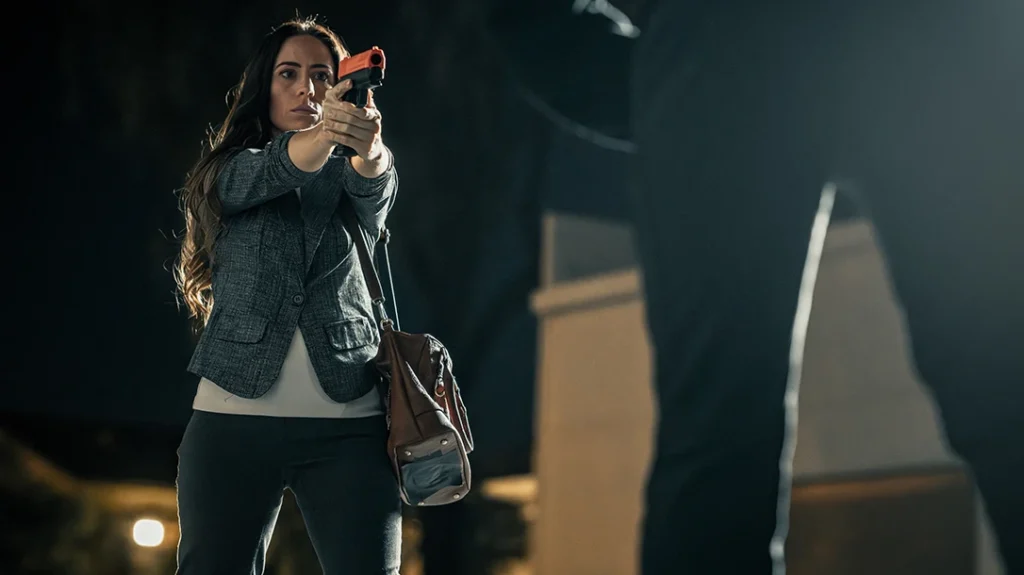
Over the following day and a half, we moved through more drills: Simunitions in the shoothouse with Armasight (part of FLIR) BNVD-51 night-vision goggles, steel drills and a gully hunt simulation with the Ruger carbines, and long-range shooting at night with the Ruger Precision Rifles.
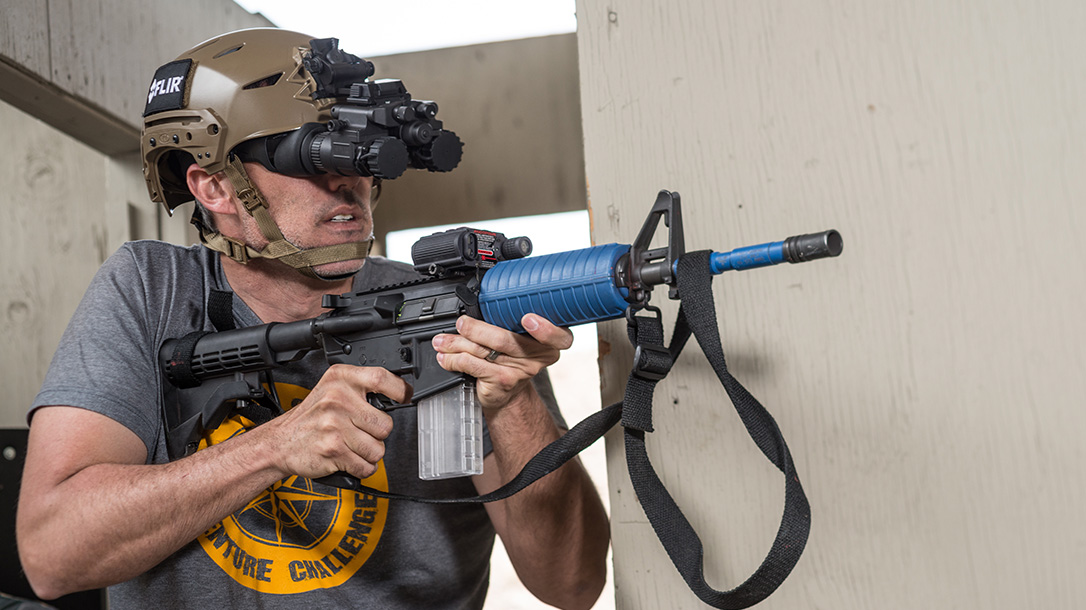
We cleared the shoothouse with the BNVD-51s mounted on our Team Wendy helmets and laser illuminators mounted on our guns. My main takeaway: Keep your weapon low with the stock tucked under your arm, and follow your head with the muzzle. You’ll naturally want to raise your rifle to sight in on a target, but with the BNVD-15, all you do is smack your goggles into the optic. Keeping the rifle low and the laser centered in your field of view is the key to fast and accurate shots.
Also, it can be tough getting accustomed to the fact that your focus abilities are limited. If you want to focus on the target with both eyes, your feet and hands will be out of focus. This is just the nature of night-vision optics. Slowing down and being mindful of where you walk is important and can take a little getting used to.
Night Vision vs. FLIR Thermal Optics
Overall, the day provided a chance to show the advantages and limitations of thermal optics versus image intensifiers. Night-vision systems work by housing a photo cathode, microchannel plate and phosphor screen in a vacuum tube. The incoming photons (light) impact the photo cathode and are converted to electrons. These electrons then impact the microchannel plate, which, by some scientific witchcraft called “secondary emission,” multiplies the number of electrons, creating more information. These multiplied electrons are then converted back to photons by the phosphor screen and sent to your eye, now intensified, thus allowing you to see bad guys or whatever else is going on under the cover of darkness.
Because these systems use reflected light, they require a sufficient level of visible light energy to work. But since LWIR optics rely solely on thermal radiation, they require no light in the visible spectrum to operate. This means thermal imagers perform just as well during the day as they do at night. Also, due to the nature of LWIR radiation, thermal vision can penetrate smoke and fog.
This difference is essential when it comes identifying threats. Night vision can give you an idea of a person’s appearance and clothing, but thermal imagers can provide clearer images. If someone is hiding in bushes, you might not be able to see them at all with night-vision gear, but thermal imagers can help you identify the potential. Obviously, the whole point of these optics is to help you detect, recognize and identify potential targets, and both systems have their strengths and weaknesses. I would say that the ability to run thermal imagers day and night definitely give them a gold star.
Learning Curve
Shooting with a ThermoSight Pro Series optic takes a little shifting in how you visibly process targets. The contrast lines are different. The numbers on signs under steel targets become mostly illegible. Background objects that go unnoticed in the visible spectrum now might stand out as glowing distractions. Red and blue steel silhouettes that contrast starkly against the tan berm are potentially now just shadows or outlines, and can be overlooked when moving quickly.
I definitely had to slow down and, especially in daylight, rely more on my off-eye for target identification.
We did a live-fire walkthrough at the Donna range, which is located in a ravine past the shoothouse. The undercut dirt walls opened into a wash where ThermBright passive thermal targets had been set. These targets, in this case hogs and coyotes, are outlined with a thermal-reflective material. When the target is angled slightly up from the perspective of the shooter, the target material reflects the sky, giving a clear outline. Each shooter walked through the course with a Ruger PC Carbine equipped with a FLIR ThermoSight Pro PTS233 optic to make quick work of the animals.
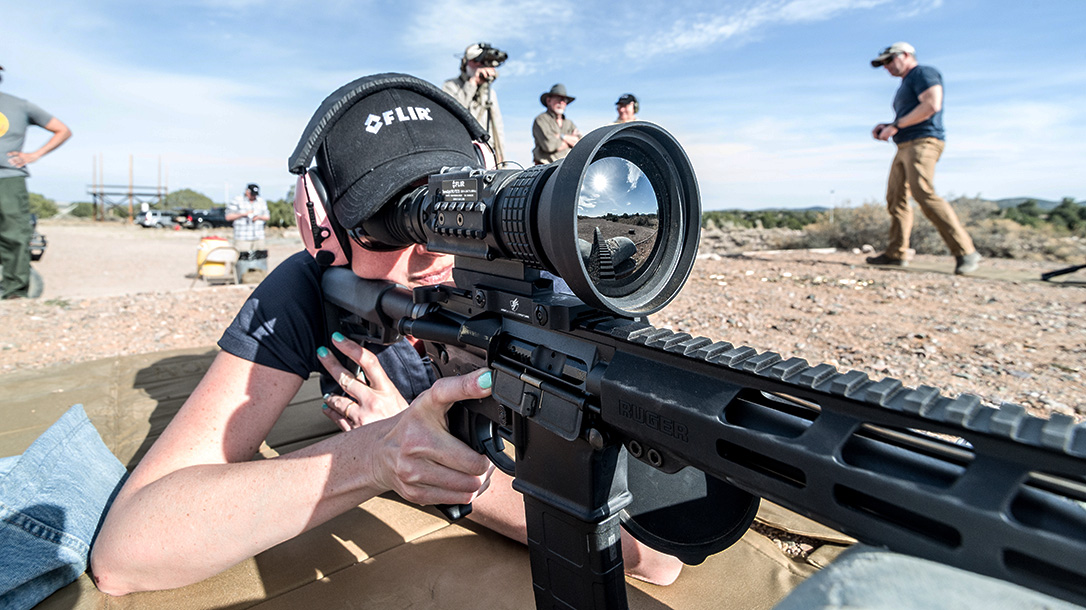
300-Yard Testing
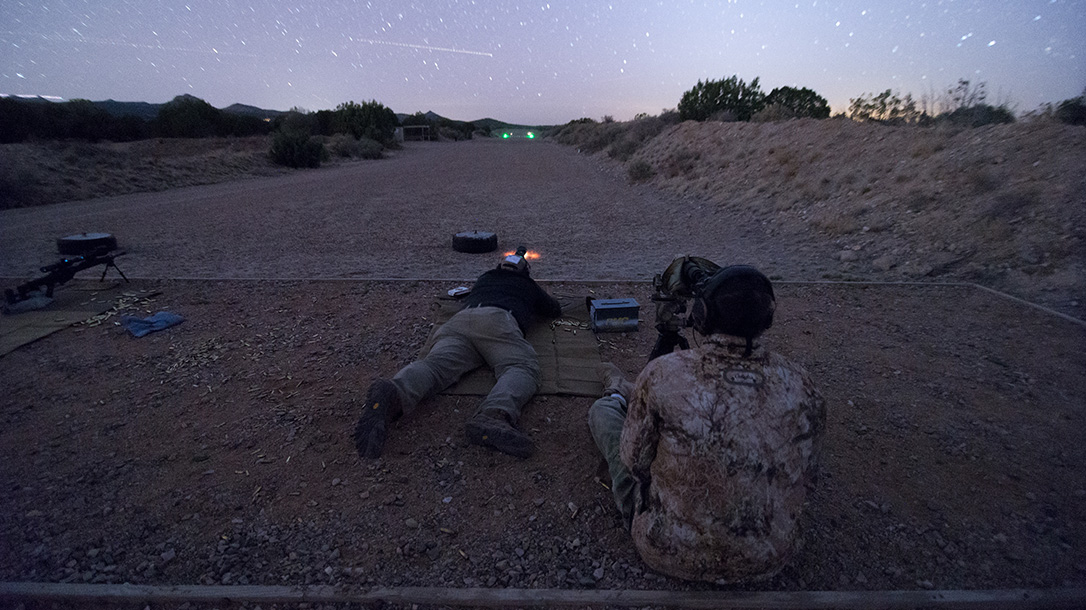
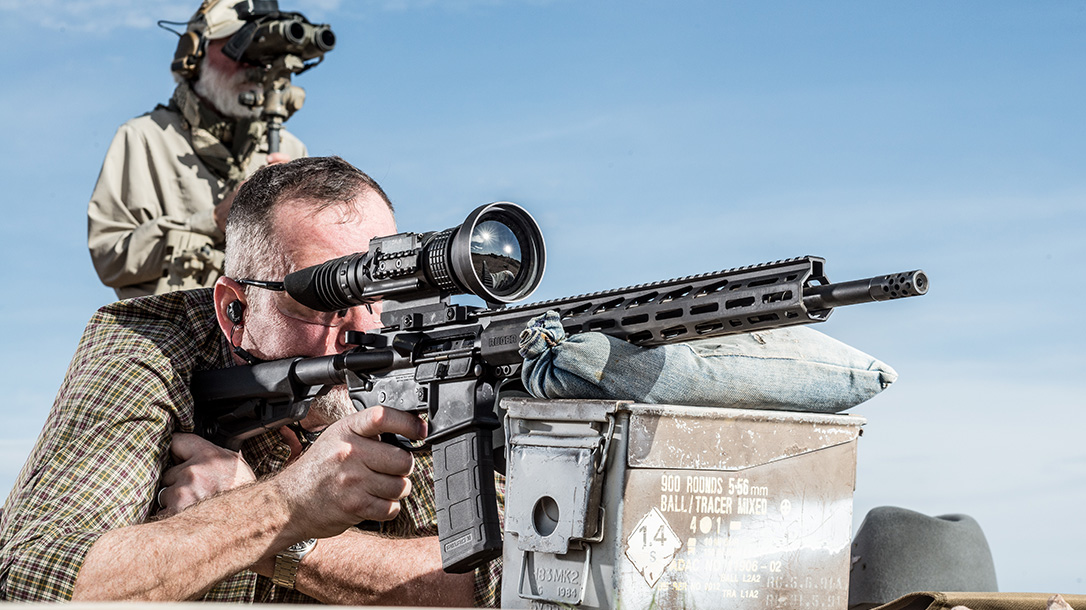
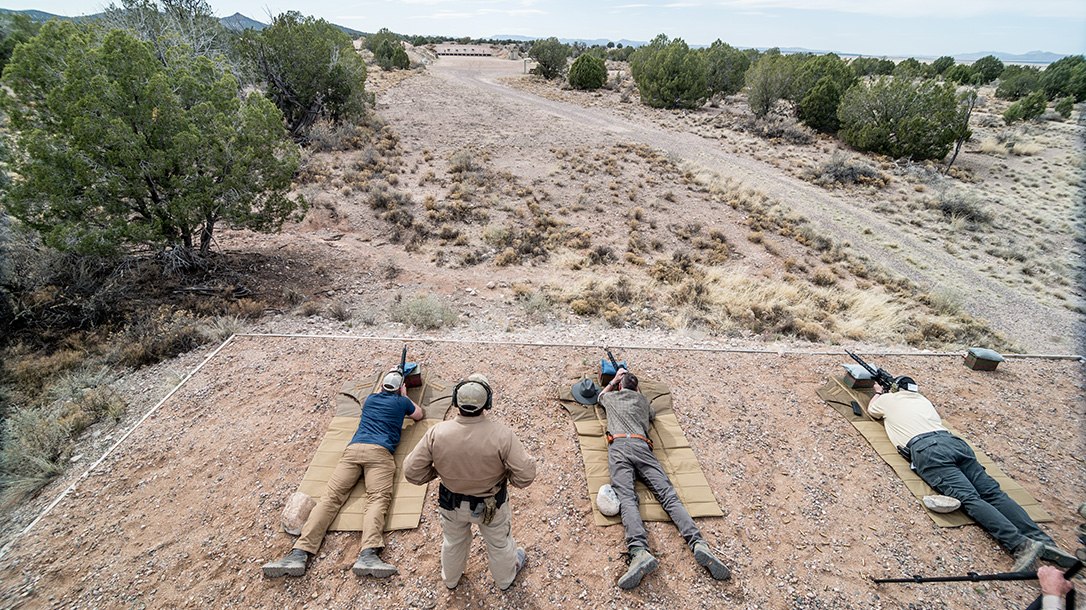
The final event took place on the 300-yard range. We gathered in the dark to tackle steel targets with Ruger Precision Rifles wearing Armasight CO-XLR-LRF night-vision sights behind day scopes. Thanks to these optics, the targets were as bright as day. One by one, we positioned ourselves behind the rifles and took turns shooting. Those of us waiting for a turn simply saw the muzzle flash and heard the ringing steel.
We all mentioned how easy it was. How it almost seemed like cheating. Joe Montana once said, “If you ain’t cheating, you ain’t trying.” A half-century earlier, John Lyly made the point that all is fair in love and war.
At the end of this event, I think we all agreed on one thing: Day or night, we would rather be on the side of the guys packing FLIR gear.
For more information, visit flir.com.