Hornady has long been known as an innovative leader in top-quality ammunition for personal defense, hunting, and precision shooting. Now, you’ll see its name tied to Hornady Security and SnapSafe. These are new and separate companies formed to focus on practical storage solutions for gun owners of all types. The surge in first-time gun purchases during COVID left many new gun owners asking themselves…where do I put it? Fortunately, Hornady Security has the answer with its SnapSafe In-Wall Safe.
The Hornady SnapSafe In-Wall Safe
How do you keep your guns from being stolen when you’re away? Similarly, how do you keep them out of the hands of children or the mentally unstable? And, how accessible do you want them so you can get to them quickly when your life is in danger?
You may only own a pistol, live alone, and reside in a state that requires no permitting for concealed carry. In that case, you might just keep it in your pocket during the day and under your pillow at night.
Advertisement — Continue Reading Below
For most folks, it’s not that simple. So, Hornady Security and SnapSafe developed many options for handgun and long gun storage. These use keypad combination, key, and touchless RFID locks for secure entry. Likewise, they are relatively inconspicuous-looking yet portable.
In addition, rugged steel vault bodies provide maximum security from unauthorized entry. As a result, they can be left in the open on a countertop or, in many cases, concealed in a drawer or underneath a bed or chair.
Advertisement — Continue Reading Below
For greater security, they can be anchored to the building’s wall or floor, furniture, or your vehicle. And, in the case of the travel lock boxes, you can possibly place them in your checked luggage, too.
In-Wall Safe Considerations
When secure concealed storage of your guns is more important than the fastest access, wall safes are a good option. The principal virtue of a wall safe is that it is easily hidden, so nobody but you knows it exists. As such, paying someone to install it partially defeats the purpose of having it.
Consider the in-wall safe a DIY project. Fortunately, the job is easily within the ability of anyone with moderate DIY skills. Likewise, repairing the wall is moderately easy if you move to a new residence and take the safe with you.
Advertisement — Continue Reading Below
If you rent your residence, landlords have good reason to object to a DIY wall safe installation. Specifically out of fear that you’ll damage hidden wires or plumbing.
However, if I needed a wall safe to conceal and secure my firearm, I’d install one. I would just be sure to install it in a professional and safe manner. Likewise, I would keep it a secret, and before I moved, I’d repair and paint the wall in a manner that nobody would ever know I made a big hole in it.
Advertisement — Continue Reading Below
Don’t feel too bad about this minor deception. Dirtbag renters do tremendous damage to property regularly and then just skip, leaving the poor landlord with big repair bills. I’ve been that landlord.
Details of the SnapSafe In-Wall Safe
SnapSafe In-Wall safes come fully assembled in handgun (16.3 inch x 22 inch x 4 inches) and long gun (16.3 inch x 44 inch x 4 inches) sizes. Correspondingly, they’re sized to fit between wall studs and flush with the exterior wallboard or plaster lathe surface. To change the swing of the door, you just turn the unit over. It doesn’t have a top or bottom.
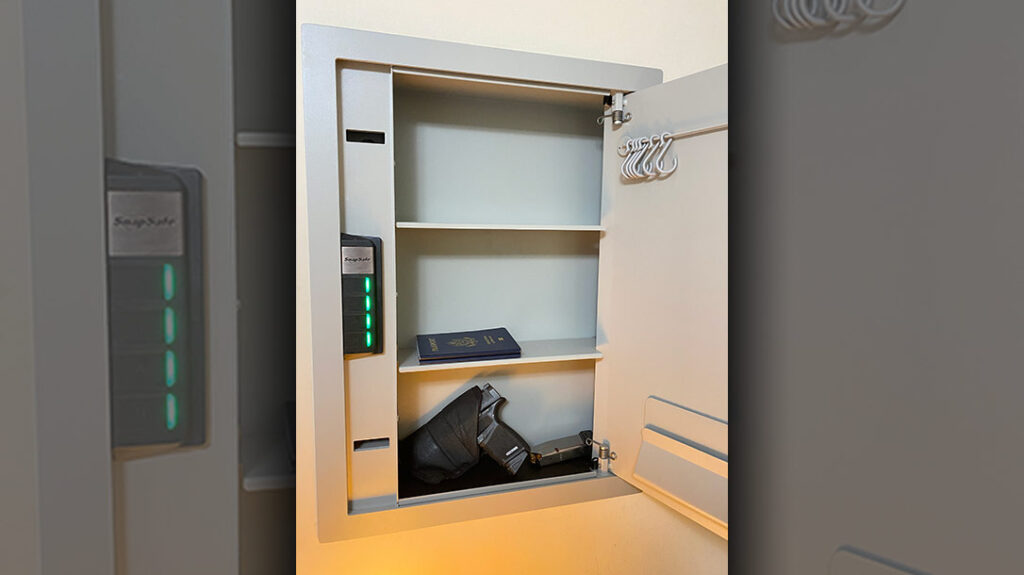
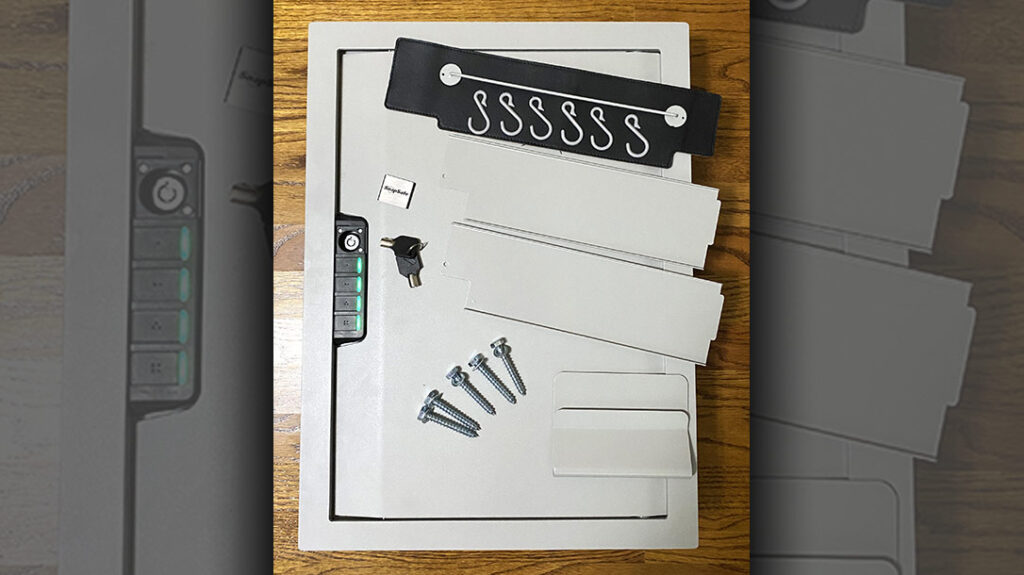
It has Braille-like dots rather than Arabic numerals on the four-key touchpad. The safe body is welded 16-gauge steel with an 8-gauge steel swinging door that pops open automatically when unlocked. It has a durable grey powder-coated finish protecting the metal inside and out.
Advertisement — Continue Reading Below
The pistol safe includes a list of accessories. These include a vinyl pad for the safe floor, two shelves, a magnetic document clip, a magnetic key rail with plastic “S” hooks, and a picture-hanger hook that snaps on the safe’s face. The rifle model has the same accessories but six user-positioned shelves if you don’t intend to store a long gun.
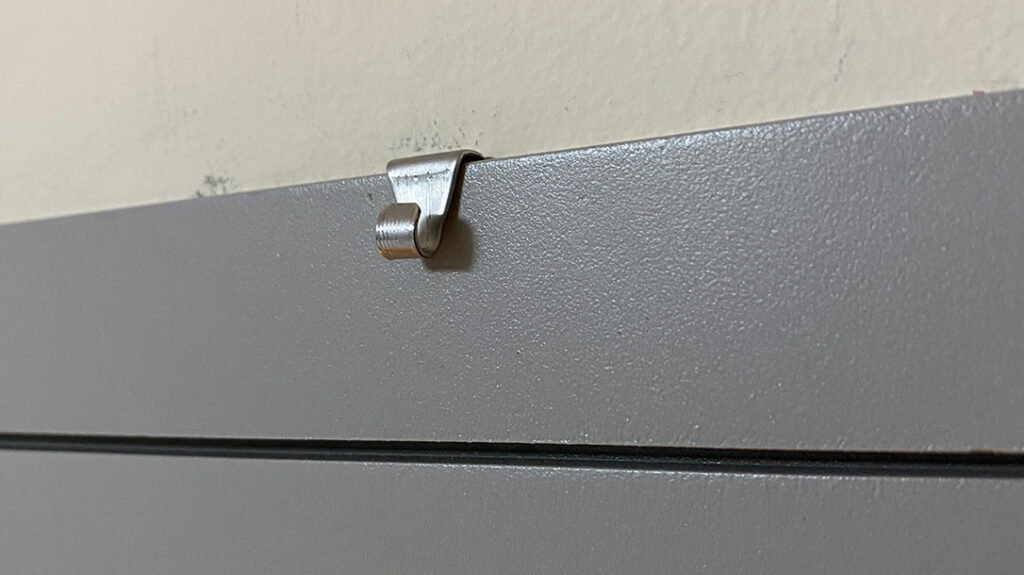
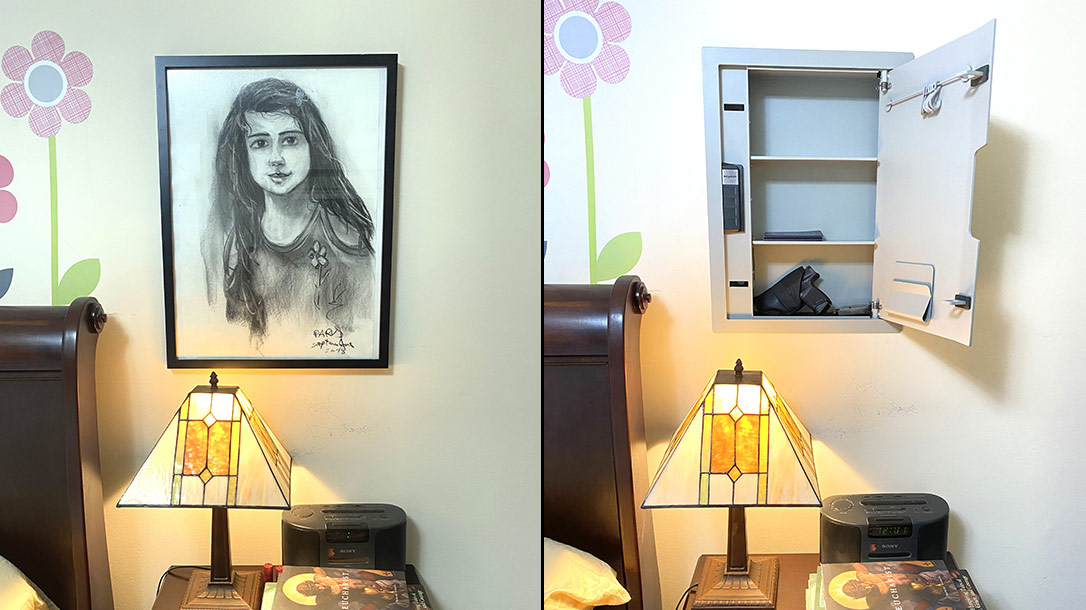
Heavy lag bolts and washers are included for securing the safe to the supporting wall studs. When finished, the face of the safe stands about 0.19 inches proud of the surrounding wall. As a result, this makes it easy to cover up with a framed picture or even a poster.
Advertisement — Continue Reading Below
Installation First Steps
Installing the safe requires a few tools to locate the wall studs, lay out the location of the hole on the wall, cut the hole, and screw in the lag bolts. In my case, I used an electronic stud finder to get an idea of where the wooden wall studs were. I then confirmed their edges with a thin tempered nail tapped through the sheetrock until I hit the solid wood.
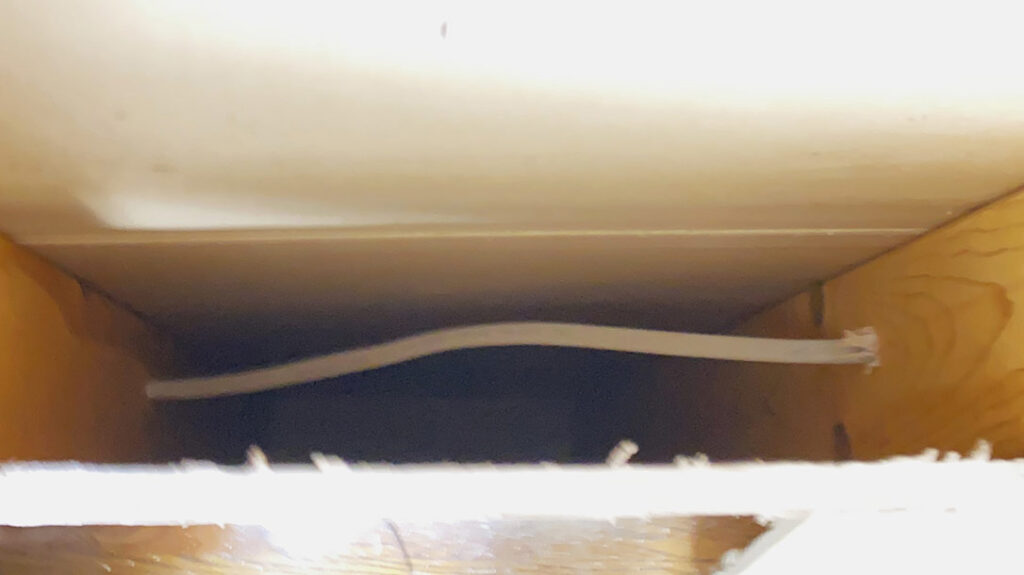
To avoid cutting wiring and plumbing, don’t locate the hole near electric switches, plugs or faucets/shower bathroom fixtures. An extra step that works well with uninsulated interior walls is to probe them with a wire coat hanger.
I push the hanger into the wall cavity through the nail hole I made at the edge of the stud. If I can swing 16 inches of wire probe around a 180-degree arc without hitting anything, chances are it’s clear.
Advertisement — Continue Reading Below
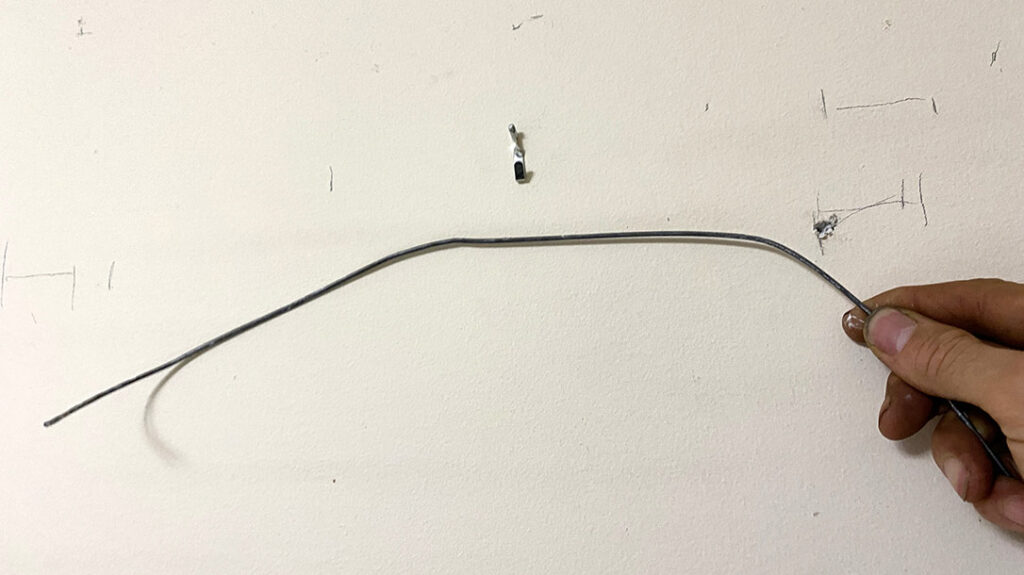
If the wall is insulated, or you do hit something with your probe, you should cut a small inspection hole big enough for you to look in the cavity. Or enough to get your arm in there to feel around for wires or pipes.
Cutting the Hole
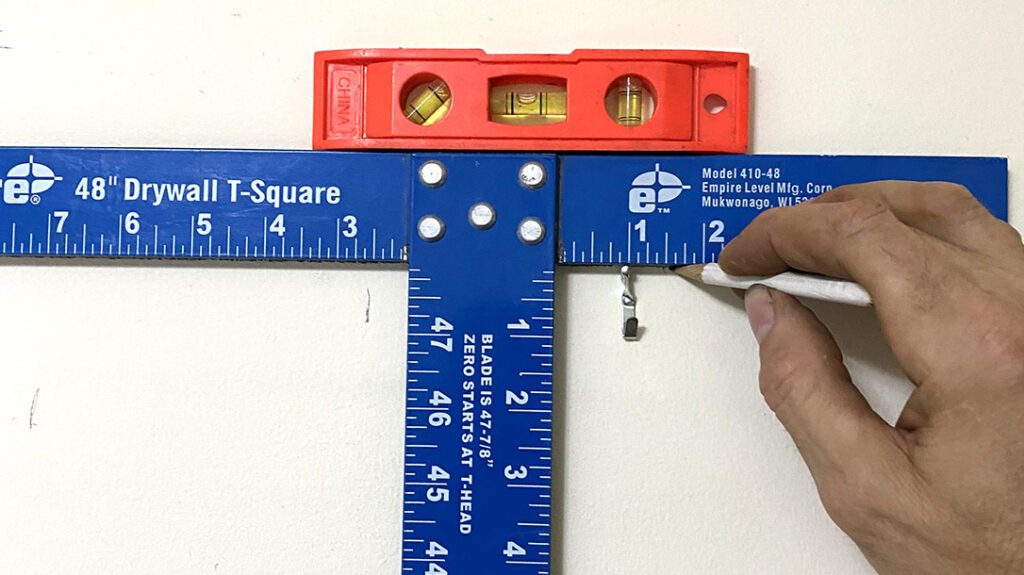
Next, I used a level, square, and pencil to mark the sides, top, and bottom of my installation hole. During this process, I made sure my cut lines were inside the wall studs.
Advertisement — Continue Reading Below
If your wall is made of plastered lathe as it is in many pre-World War Two structures, you need to saw out the opening. You can saw modern wallboard too. However, it makes a lot of dust and guarantees you’ll cut any wires you might have missed.
Since wallboard is rarely more than 5/8 inch thick, it can be cut with a utility knife in several passes. Draw the knife slowly downward or horizontally so you don’t overcut the line. Just make sure to keep your hands out of the path of the blade.
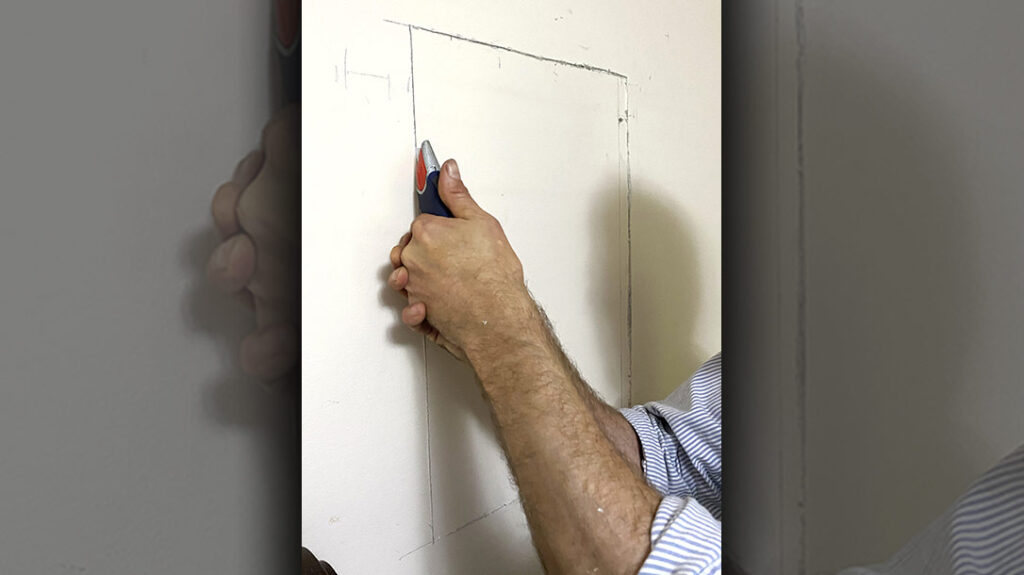
There will be some dust, so lay down a drop cloth to catch it. Check to make sure the top and bottom of the hole are level, or the safe may end up looking crooked on the wall.
I installed a wooden header and footer made of scrap 2×4 to support the wallboard behind the safe’s horizontal edges. You can skip this step with the pistol-sized safe since it only weighs thirty-five pounds. However, I recommend at least a footer with the sixty-six-pound long gun safe.
Headers and footers strengthen the wall and add a little more fire resistance to the safe. The In-Wall SnapSafe isn’t fireproof, so whatever resistance it has to heat will come from the materials that surround it.
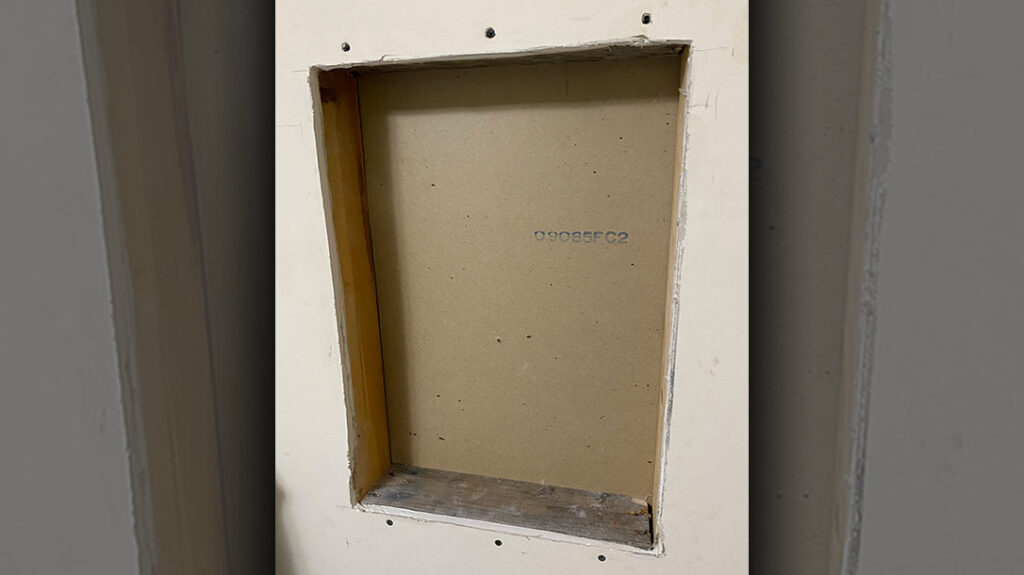
Installing the SnapSafe
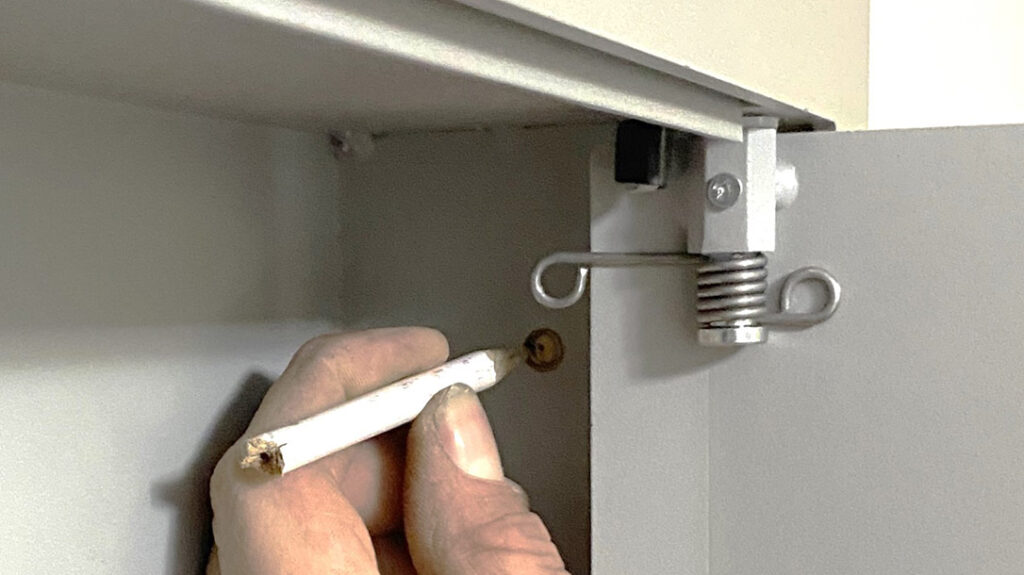
Next, I inserted the safe and marked the four lag bolt holes from the inside with a pencil. (I used a wooden rectangle to fully support the safe during this process). Then I removed the safe to centerpunch the marks and drilled pilot holes through the studs with a ¼ inch drill bit. Without a pilot hole, you run the risk of splitting the wooden stud.
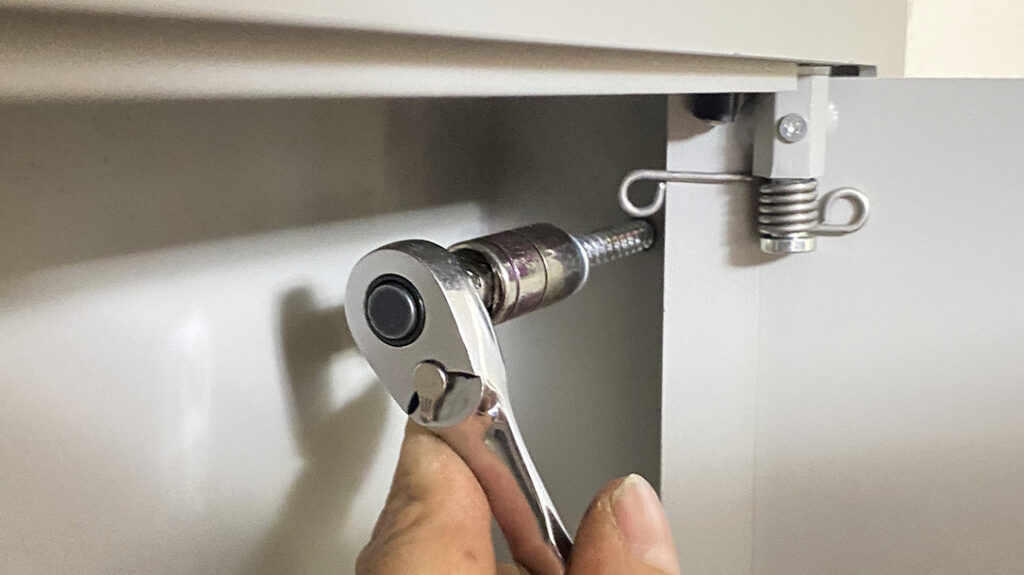
A ratchet wrench made speedy work of running in the lag bolts. The final touch was pressing the picture hanging clip on the top edge of the safe frame. Total installation time and clean-up was 1.5 hours with this ideal, between-the-studs installation.
In cases where the safe has to be in a specific spot that requires cutting a wall stud, be prepared to box in the safe on all four sides with 2×4 lumber to support it and the wall. Screw the wallboard to all four sides of the support box, keeping them within .75 inches of the edge. This will ensure that they will be covered by the flange on the face of the safe.
If your wall has metal studs, the installation will be a bit more complicated. Specifically, because the lag bolts provided won’t have much grip through the thin sheet metal. I think standard ¼-inch hex head bolts, from .5 to .75 inches long, with matching nuts, would do the job. But it will require some clever improvisation.
You could use string to draw the bolts through the holes in the studs and safe. Then, tighten the nuts on the inside.
Accessing the SnapSafe
The combination keypad is powered by four AA batteries, has optional audio, and lights up when you press a key. You program the four-digit combination of your choice. Since there are only four keys, you need to pick combination numbers between one and four.
When the batteries are getting low, the keys light up red during operation. I recommend changing the batteries annually. A tumbler keyway is hidden behind a magnetic cover next to the keypad if you forget the combination or the batteries go dead. Correspondingly, two keys are provided.
I found several online retailers selling this pistol-sized safe for around $235. However, you can also buy it directly from SnapSafe.com for $288. This includes shipping within the forty-eight contiguous states. Likewise, the tall model is $441 delivered.
For more information, please visit HornadySecurity.com and SnapSafe.com.
