Shooting is a perishable skill. That’s why we have to hit the range regularly. But you might not always have access to a range, particularly after some catastrophic event. (Think of the COVID-19 pandemic.) No, not all of us have the real estate to create a DIY backyard shooting range, but that might be something to consider when you’re looking at property to purchase for a home site or an alternate living location.
Not all of us are plastic surgeons or politicians. This means we must work within our budget. You can expect to pay about $100 per hour for dozer or backhoe work when establishing your backyard shooting range. A good operator should be able to rough out a range in two days or less. If you own a small tractor, you can reduce this expense by doing some of the work yourself. Backstops are important as well, so check with the local railroad in your area. Most railroads give away railroad ties from time to time, and they can be used to help construct your backstop. But there’s more.
Advertisement — Continue Reading Below
Planning Out Your DIY Backyard Shooting Range
Right off the bat, you need to check your local zoning ordinances regarding the discharge of firearms. No, those ordinances won’t matter when zombies come, but you need to be able to use your range now. You also need to consider your proximity to neighbors. The last thing you want is for those who live near you to call the cops every time you shoot.
It’ll also make things easier if you find a location with a natural backstop, such as a hillside. This reduces the expense of creating the backyard shooting range and provides a safe, long-term bullet-impact area. You also want to work with an experienced contractor if you go that route, and remember drainage. You don’t want your flat range to become a mud bog whenever it rains. You’ll also need grass in areas with abundant rainfall.
You should never shoot into trees, either. You may eventually need those trees down the line, and chainsaws don’t get along well with bullets. Clear the trees from your impact area.
Advertisement — Continue Reading Below
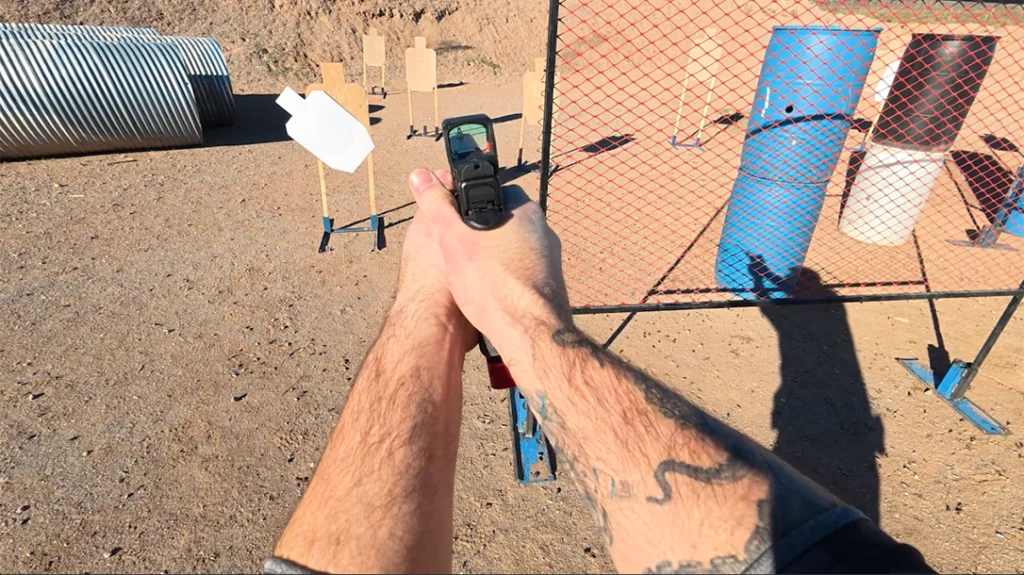
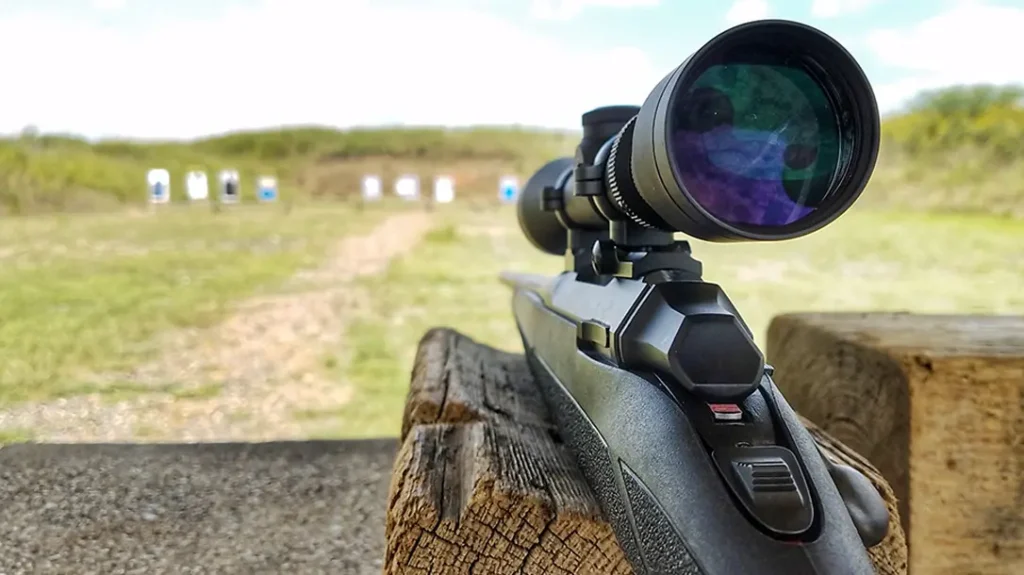
Lay out the backyard shooting range for the firearms you want to be shoot. A small pistol bay that’s only 25 yards deep will take care of most handgun shooting, but if you later decide you need to train with your rifle, 25 yards won’t be enough. You’ll also need good targets, but we’ll get to that in a minute.
And consider the proximity of your property. You might need to place the range a good distance from your residence. This might be mandated by safety or the layout of your property. Also, consider a range shack for storing your targets and gear. And did I mention rain?
Finally, place signs near your backyard shooting range and around the bullet-impact area. You obviously don’t want someone wandering into the area while you’re shooting. Those are just a few pointers but be creative. It’s your personal range, so build it to suit your needs.
Advertisement — Continue Reading Below
Setting Up Targets
You should really invest in steel targets. Don’t think you can get a local fabricator to cut some steel for you to shoot at. At a minimum, these targets need to be made of through-hardened AR500 steel. This stuff isn’t available on every corner, so your best bet is to go to a premium steel target manufacturer like MGM Targets. You may remember we, at Ballistic Magazine, torture tested MGM Targets using a Dillon M134 Minigun, so they hold up.
I suggest you pick up at least two steel targets from MGM. The first is the company’s Proper Popper target. It’s similar to a standard pepper popper, but by virtue of an ingenious clamp on the back, you can cover the target with a shirt to make it seem more realistic. This way, the “kill zone” is hidden.
Advertisement — Continue Reading Below
The other MGM target that offers a lot of value for the dollar is the IPSC Silhouette Auto Reset Target. This one will rock backward when it’s hit with a rifle round, even at long range. You never have to reset it; it’ll work for handguns, too.
Target Stands
I’d also strongly suggest you pony up the money for several target stands as well. Over the years, I’ve made my own out of wood and PVC pipes, but they never hold up and can’t handle much wind. MGM’s Cardboard Target Stand is a steel base with legs and retails for about $40. You’ll never regret buying several of these. But the company also has what it calls the 3-Gun Cardboard Target Stand, which has a spike you drive in the dirt to make it easy to stand up, even on a hillside. The best part is that these stands retail for about $30.
If you really want to get fancy, you might consider the MGM Attack Target. This target actually charges the shooter and can be used to simulate laterally moving targets, too. It runs off a spring/ratchet system and requires no electronics or pneumatic air. It’s expensive but offers a lot of training value. There’s nothing else like it on the market.
Advertisement — Continue Reading Below
Backyard Shooting Range Target Boards
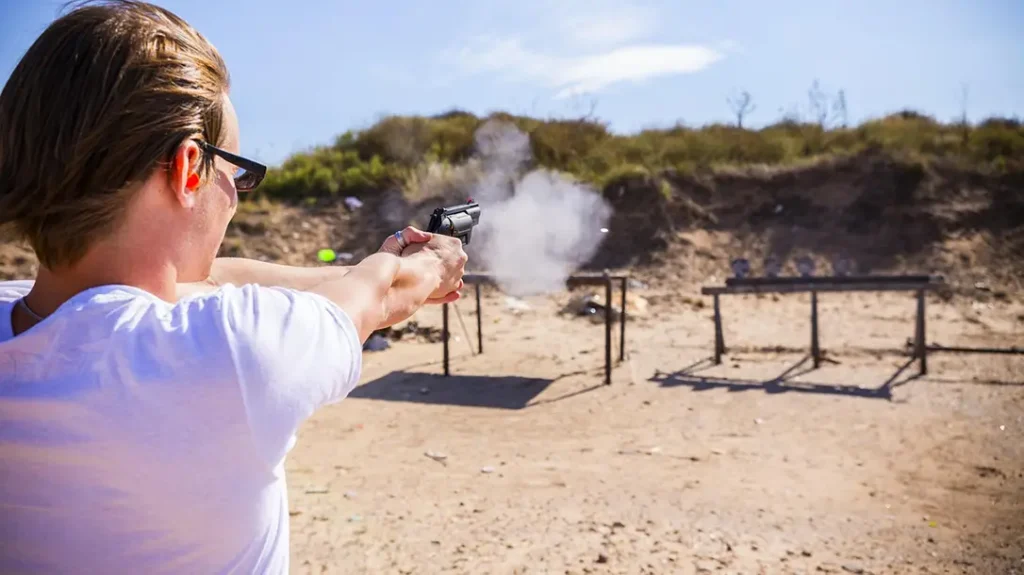
For a static target board, most shooters make the mistake of building a permanent structure. I even did this until I designed a replaceable target board. You can buy what you need for about $30, and it’ll last at least a year before it needs to be replaced. Build a frame that’s 4 feet by 4 feet square, and let two sides extend down as legs. Then, bury two 2-foot sections of 3-inch PVC pipe in the ground 4 feet apart. Place a downspout attachment to the end of these pipes and you can slide the target frame down into them. Now cover the 4-by-4-foot square with plywood or cardboard, and when you shoot it up, just replace it.
Having a backyard shooting range isn’t just about having an unoccupied field or a section of woods where no one is wandering around. If you have the space, you can put together a workable, long-lasting DIY backyard shooting range for less than $2,000 that will get you through the good times and the bad.
Advertisement — Continue Reading Below
