Muzzle brakes were derived from artillery but offered very little for commercial use until 1926 with the development of the Cutts Compensator. The muzzle brake was designed to help in perceived recoil, and while they do a good job, the tradeoff comes with the increased audible signature of the blast. In contrast, the suppressor was designed in 1902 for the civilian market to help prevent hearing loss. Nevertheless, learning how to install a muzzle brake becomes a worthy endeavor.
Installing a Muzzle Brake for Improved Performance
Many of today’s rifles are equipped with suppressor-ready barrels. If you have a rifle that doesn’t have a threaded barrel, installation of a suppressor is as easy as screwing on the adapter and/or installing the can. The same method applies to muzzle brakes. If your existing rifle isn’t suppressor ready, a gunsmith can thread a barrel easily. For firearm owners interested in understanding how this works, I will explain this process.
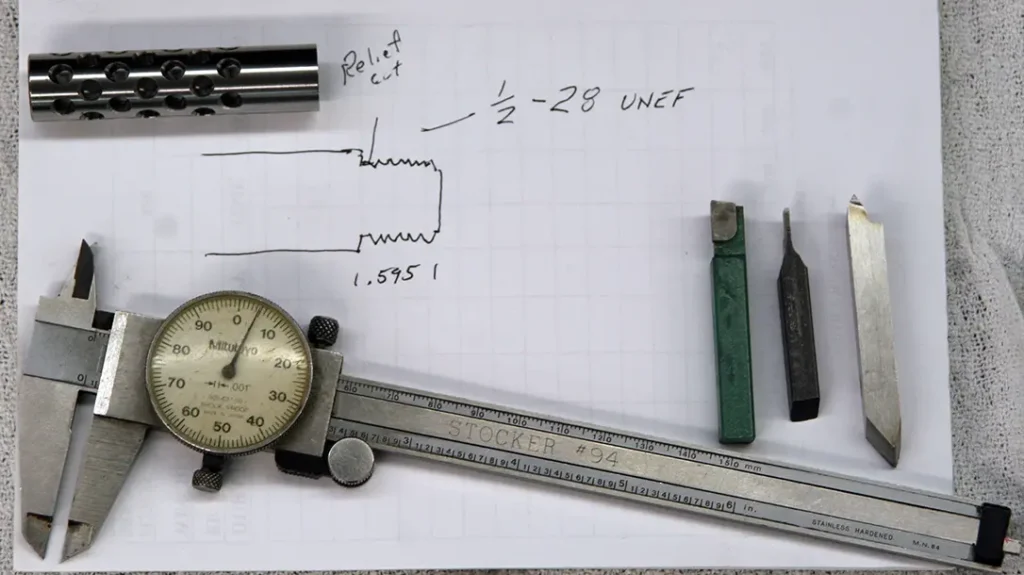
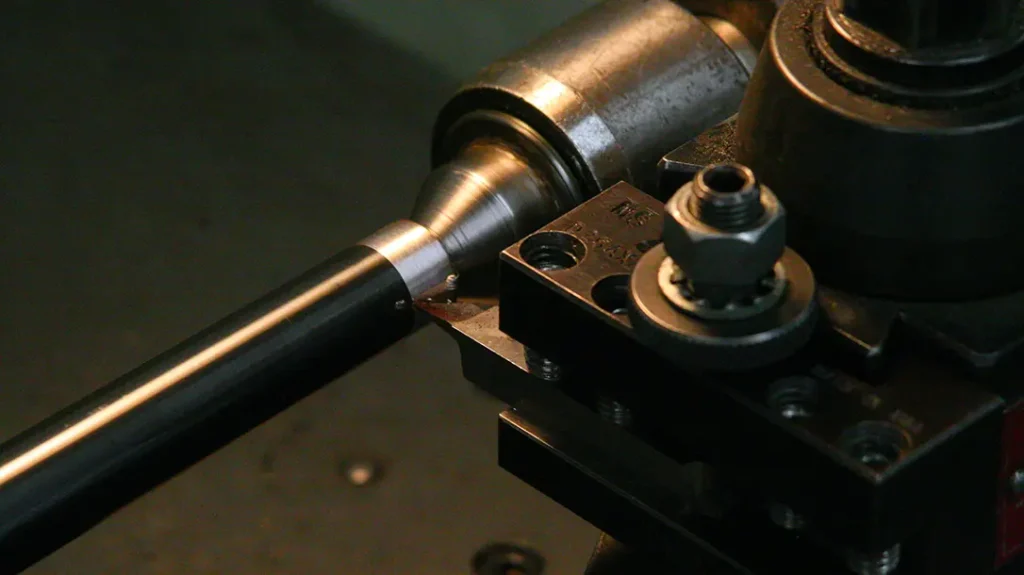
First, I inspect and measure the barrel to ensure the barrel has enough “meat” to allow the section to be turned and threaded. Next, I draw a sketch or blueprint I can refer back to while I am machining from the inside of the recess of the brake to the end of the barrel. This ensures the barrel bottoms out against the bottom of the brake. I prefer to remove the barrel from the action so I can put the barrel in the lathe between centers. This keeps the freshly turned section concentric with the bore.
Advertisement — Continue Reading Below
Once the barrel is mounted in the lathe, I don’t remove it until the job is complete. The barrel can be turned while still mounted on the receiver, but care must be used as even a few thousandths off center can cause the bullet to strike the brake. The results aren’t pretty.
Advertisement — Continue Reading Below
Turning Down the Barrel
Once installed in the lathe and using the blueprint as a guide, I turn down the section of the barrel where the brake will screw on. Then I use three different lathe bits to machine the section. I use a standard turning bit to turn the barrel to the proper dimension. I carefully measure the barrel after each pass to ensure I machine the barrel to the proper dimension. There is no room for error. If too much is removed, the barrel is ruined. I use a micrometer or dial indicator to measure each pass.
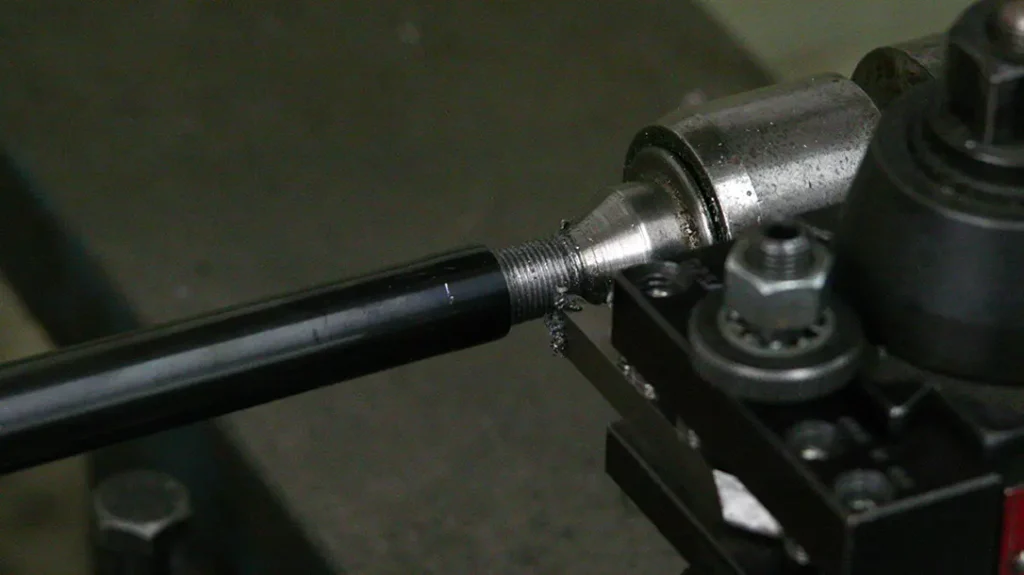
Once I hit my desired dimension, I switch bits to a threading bit and set up the lathe to thread the turned section of barrel. With the lathe set at the slowest setting and the gears at the required settings, I engage the lathe to cut threads. I cut very shallow threads on the first pass, but subsequent passes are deeper until a V-thread is cut. The threads on this barrel are ½ -28 UNEF. This means the diameter of the turned section is .500 or ½ inch. Then I cut 28 threads per inch.
Advertisement — Continue Reading Below
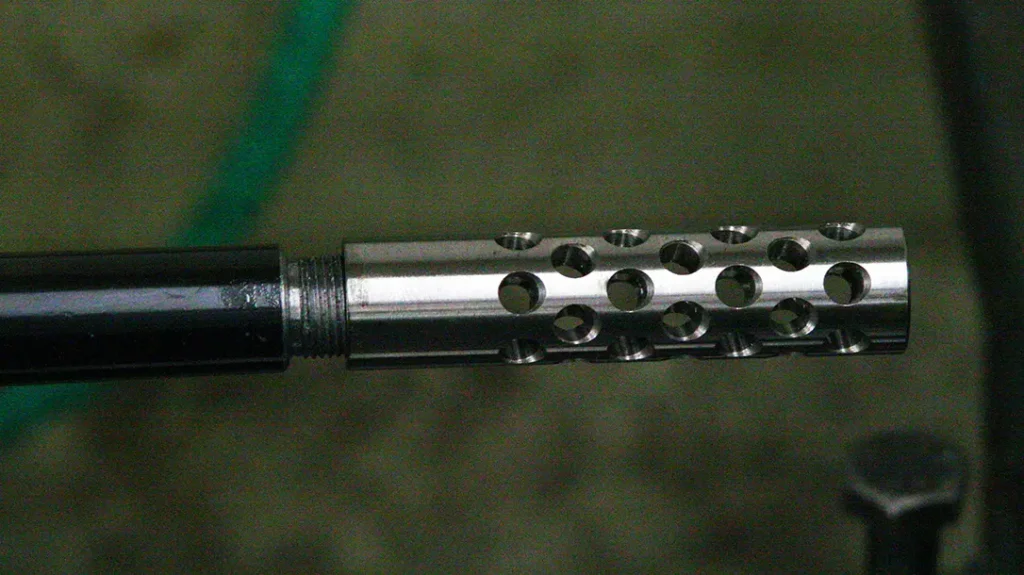
Unified Extra Fine pitch, or UNEF, is a thread standard. Each manufacture must be checked before machining as many brakes or adapters have different threads. The instruction with the brake or adapter usually tells what thread and pitch is used. Once the threads are cut to a V, I will check the fit to ensure the brake screws on. I will again change out bits to a square bit to cut the shoulder and butt joint where the brake meets the barrel.

Advertisement — Continue Reading Below
Install a Muzzle Brake: Final Steps
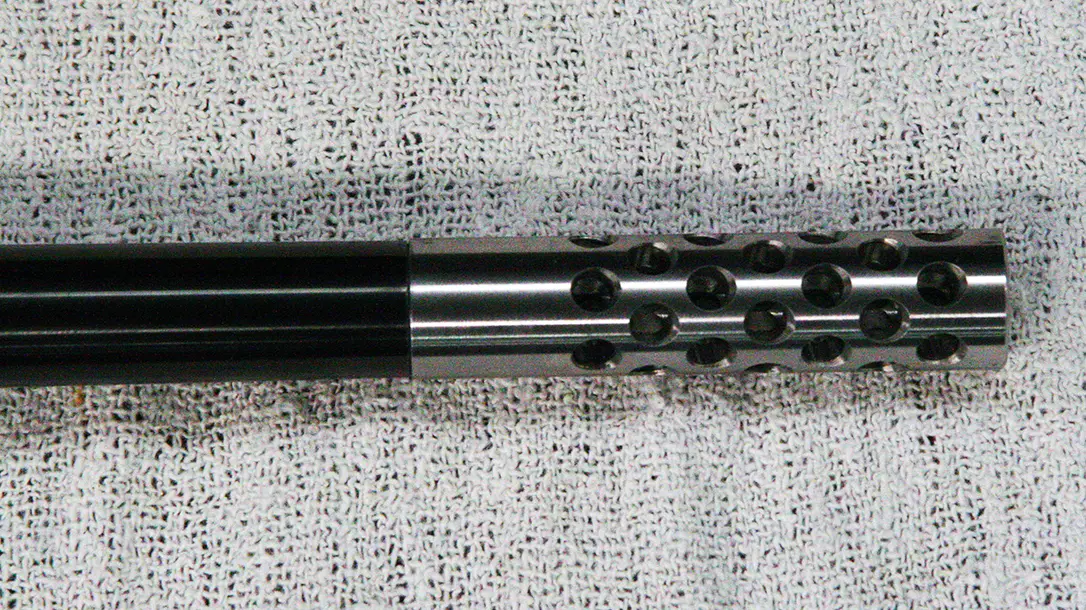
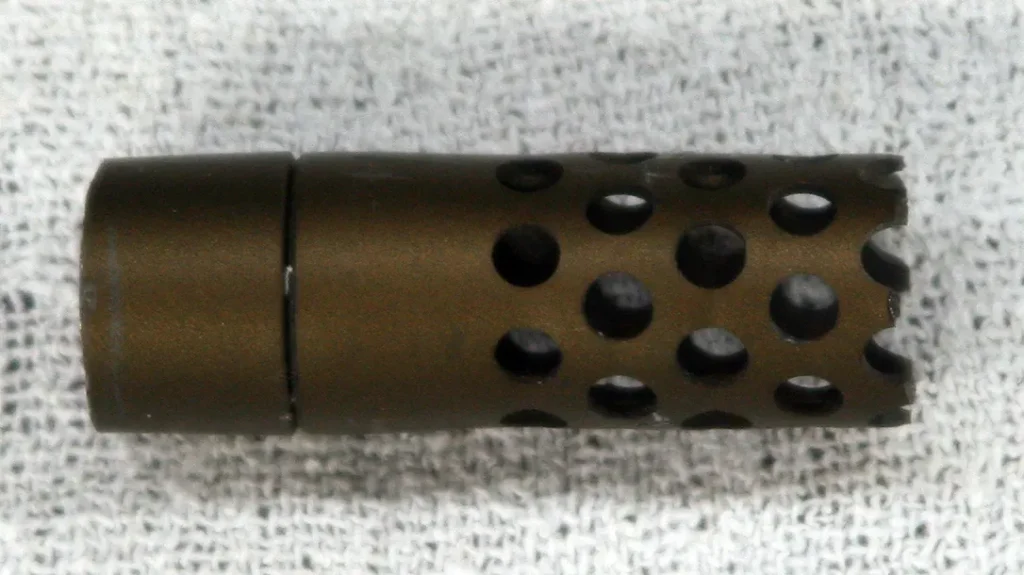
Radial brakes will be screwed in and tightened up. If the brake needs to be timed or put in proper orientation, the shoulder relief cut on the barrel can be adjusted. This is accomplished by taking small cuts until the orientation is correct. At this point the barrel can be removed from the lathe, cleaned and prepared to install the brake. Before I install a muzzle brake, I will inspect the crown to ensure it wasn’t damaged during the machining process. If I have doubts, I will touch off the crown with a crowning tool. To prevent the unturned barrel from rusting, I use a bit of cold blue then degrease the threads and brake and install the brake. The holes in the brake serve as a wrench to tighten the brake. The barrel can then be reinstalled on the action, cleaned and test fired.
Having a brake or suppressor installed onto your favorite rifle is pretty cut and dried, if care is taken.
Advertisement — Continue Reading Below