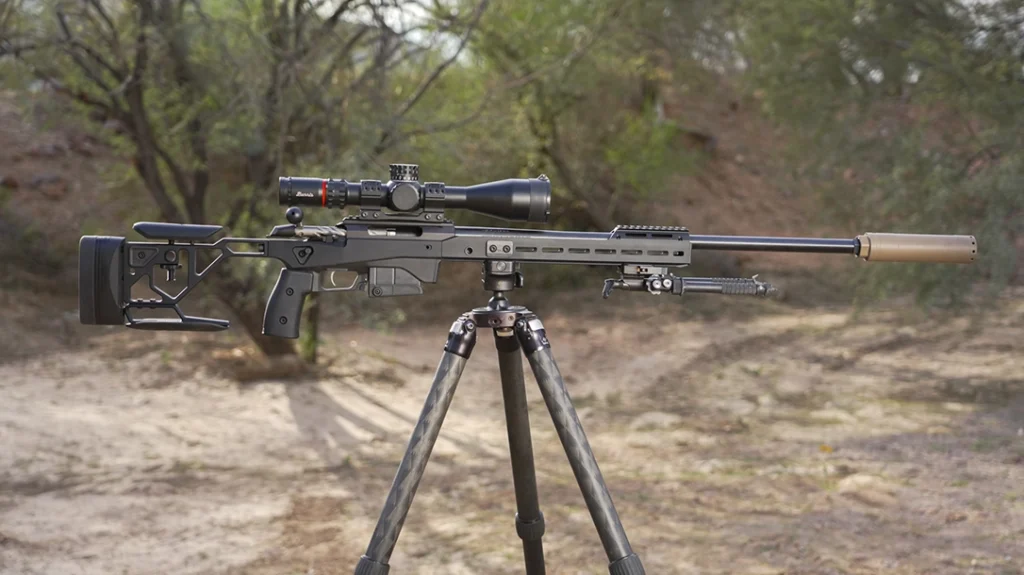
There are numerous reasons to reload your own ammunition: cost savings, the ability to customize loads, being able to load rare, hard-to-find cartridges, and increased accuracy over factory ammunition. I reload pistol ammunition to reduce my costs because I shoot quite a bit. For my rifles, my reloading goals are to both reduce cost and increase accuracy. Not only does reloading my own ammunition allow me to produce rounds with tighter tolerances than factory ammunition, but I can also tune the load to my specific gun by varying the bullet profile and weight, type and amount of powder, seating depth and even experiment with multiple brands of primers. I wanted to load 6.5 Creedmoor ammo for short-range precision shooting and .338 Lapua Mag rounds for longer ranges.
Being somewhat new to precision rifle reloading and anxious to learn more, I contacted Robin Sharpless, executive vice president at Redding for assistance in learning the craft. Redding offers a very wide range of quality products for reloaders, including presses, dies, powder measures and just about every accessory needed. Many of the company’s offerings are designed for high-accuracy reloading.
Redding Tools
Advertisement — Continue Reading Below
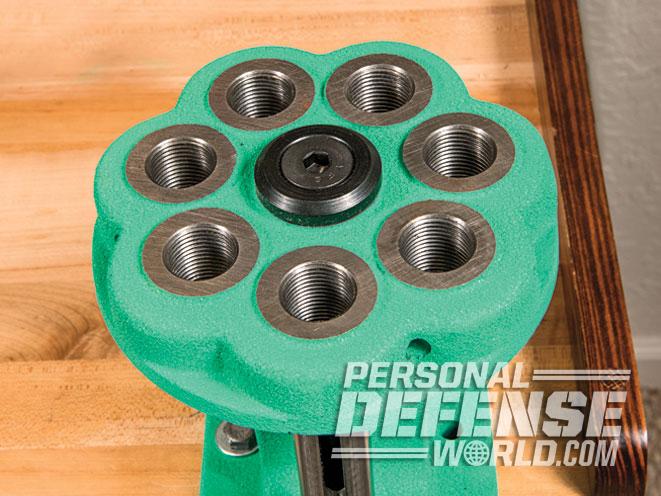
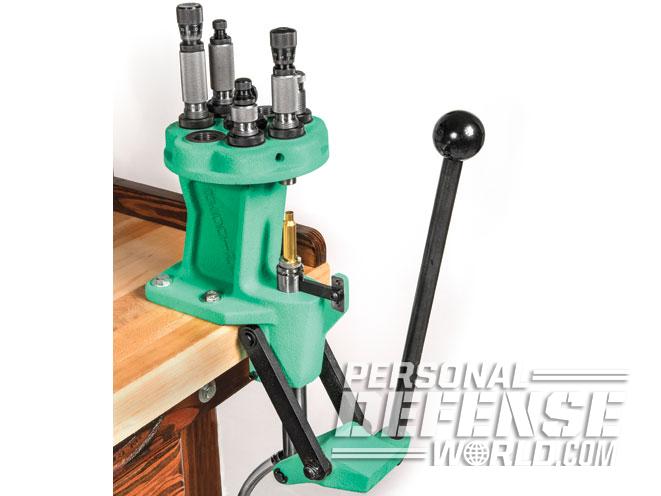
When it comes to high-accuracy reloading, a single-stage press offers precision far beyond that of progressive presses. Loading is slower, but it can be more accurate. I am using Redding’s T7 Turret Reloading Press. It’s essentially a single-stage press with a rotating turret that allows a die change by rotating the turret, without the need to remove and reinstall the dies. Not only does this save time, but it also reduces the potential of errors when removing and reinstalling dies—you won’t accidently change an adjustment. The T7 turret press has stations for seven dies and you can swap the turret if you need more. It is an extremely heavy and solid press weighing 28 pounds. It was designed to have minimal deflection, keeping alignment perfect like a single- stage unit. In fact, people using the T7 turret press have set numerous IBS Benchrest records.
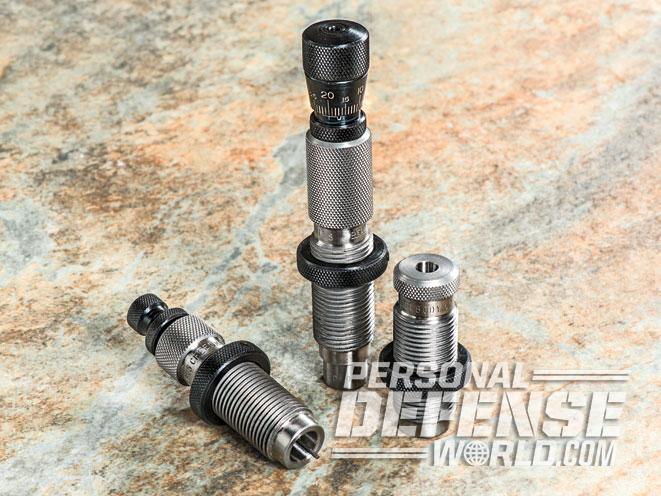
The dies that I am using are Redding’s Type S-Match Die Set. The set includes a Neck Bushing Die, a Competition Bullet Seating Die and a Body Die. Redding’s Type S-Match Die Sets offer numerous advantages over basic dies. The Neck Bushing Die utilizes a user-changeable bushing to resize the neck to the precise measurement required for the dimensions of the specific brass used. This is important since neck sizes will vary among brass from different manufacturers. The bushings are offered from 0.185 through 0.368 inches in 0.001-inch increments, covering all calibers from .17 to .338. To determine the bushing diameter needed, measure the neck diameter of several factory-loaded cartridges with a micrometer. Take the average and subtract 0.001 and 0.002 inches from the neck diameter to obtain the correct bushing sizes. This will size the neck only enough to properly retain the bullet, allowing for a reduction in stressed-induced run-out and extending the case life. Use the smaller of the two bushings. If you find cases that have a larger neck tolerance, switch to the larger bushing.
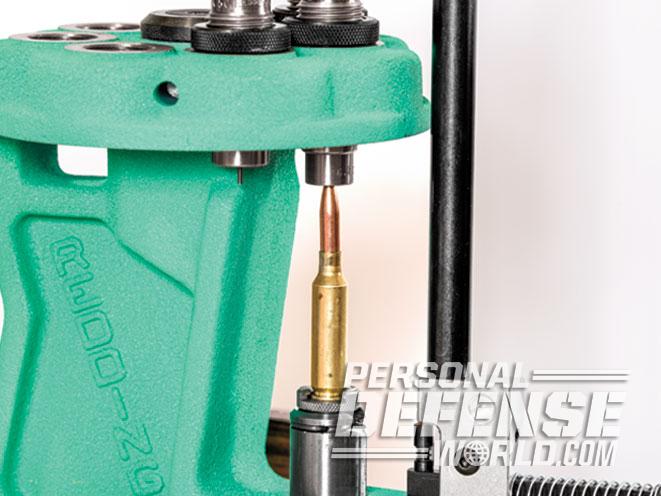
Redding’s Competition Bullet Seating Die is designed to increase the concentricity of the bullet during loading and offers a precision-measured seating depth. The die employs a sliding, internal sleeve that keeps the case and bullet in perfect alignment as the ram is raised. The increased consistency of the bullet angle during loading increases accuracy. The die also features a micrometer head, which allows the seating depth to be modified with precision in 0.001-inch increments—no guessing needed.
Advertisement — Continue Reading Below
RELATED STORY: 7 Reloading Accessories For Creating Accurate, Reliable Ammo
The Body Die resizes the full length of the case body, including the shoulder, without affecting the neck. This die is used when the case has been reloaded a number of times and the shoulder is no longer within specifications, making chambering difficult. This is typically three to five reloads, but the exact number of uses it takes to stretch the case will vary based on case size, thickness and load pressure. Since the 6.5 Creedmoor is not a very high-pressure load, my cases took eight reloadings to get to that point.
Beyond the press, dies, Neck Bushing Die and powder scale, a few accessories are needed as well. For lubrication, Robin prefers Imperial Sizing Die Wax and Imperial Dry Neck Lube. Also, a Redding Competition Shellholder Set was used with the Body Die.
Advertisement — Continue Reading Below
Die Another Day
After installing the smaller of the two bushings in the Neck Bushing Die, die setup is next. With the shell holder in place on the ram, raise the ram and screw the Neck Bushing Die down until it touches the shell holder.
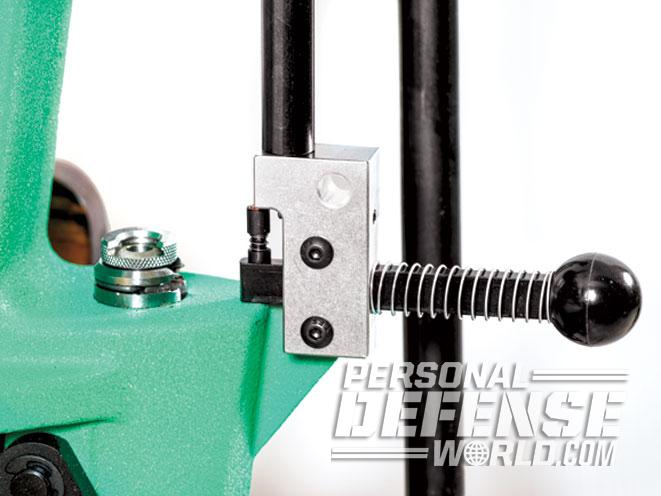
Screw out the decapping pin to the point where it will not punch out the primers. Place a case with a spent primer in the shell holder. Repeatedly screw in the decapping pin a little bit at a time until the spent primer is removed when the ram is fully raised. When done, tighten the locking ring of the decapping pin.
Advertisement — Continue Reading Below
RELATED STORY: Reloading 101 – How To Load Your Own Ammunition
To position the Redding Competition Bullet Seating Die, raise the ram and screw the die down until the outer wall of the die touches the shell holder. Then, raise the die a quarter turn and tighten the locking nut. Note: The Redding Competition Bullet Seating Die has an inner sleeve that extends lower than the outer wall of the die. The sleeve will push inward as you screw the die down. It’s important not to mistake the inner sleeve for the outer die wall.
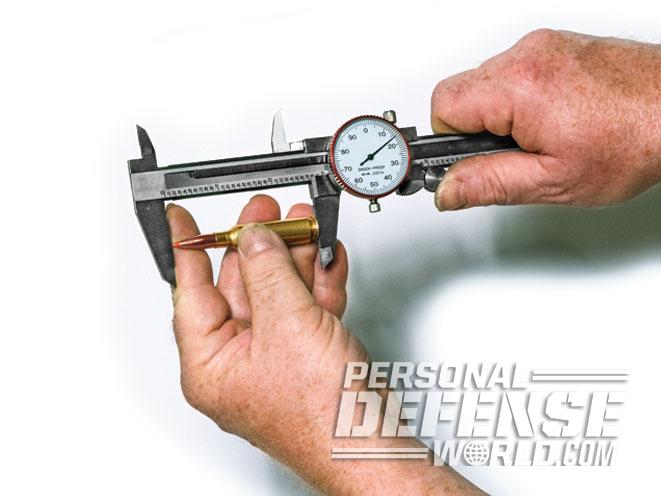
Raise the micrometer turret of the Competition Bullet Seating Die to a point where it seats the bullet too high in the case. Place a bullet on a case and seat it with the press, then measure its overall length precisely with an accurate micrometer. Subtract your intended cartridge length from the actual length of the reloaded cartridge. Dial in that measurement change on the micrometer head to lower the seating depth to the proper height.
Advertisement — Continue Reading Below
Reloading Steps
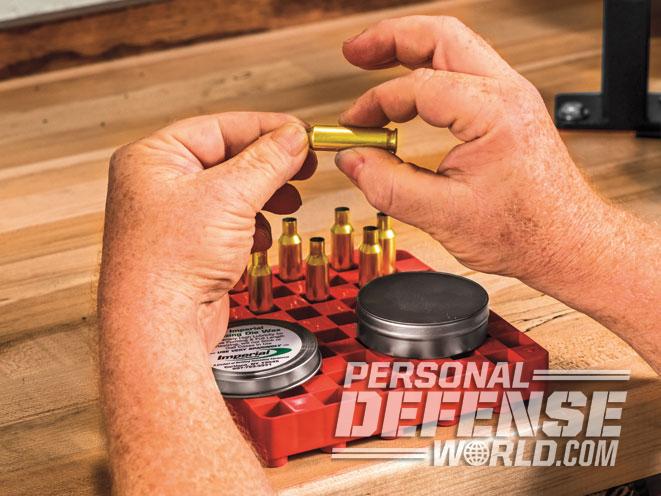
Now let the reloading begin! Starting with a cleaned case, hold it by the neck with one hand and rub the forefinger of your other hand onto the tub of Imperial Sizing Die Wax to put just a touch of lube on your finger. Be careful: A little goes a long way, and too much lube can gum up the die. Rub your forefinger and thumb together to smear the lube onto your thumb, then rub the lube onto the entire case body below the neck.
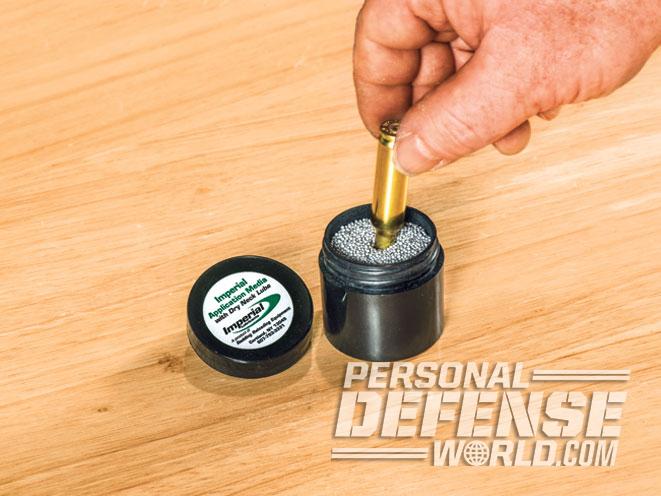
At the first station, insert the case and raise the ram to resize and deprime the case. Wipe the case with a cloth to remove the case lube, then clean out the primer pocket, making sure that the flash hole is open. Once clean, set the new primer in place. Dip the top of the case in the Imperial Dry Neck Lube up to the neck as lubricant for the bullet seating.
Advertisement — Continue Reading Below
RELATED STORY: Powder Precision – Measuring Powder Charges
Rotate the press turret to the second station, and with the proper amount of powder in the case, place the case in the shell holder, sit a bullet atop and cycle the ram to seat the bullet. The cartridge is complete!
The third die in the set, the Redding Body Die, is used when the case has been shot a number of times and its shoulder has been pushed forward, making it difficult to chamber the round. The Body Die works in conjunction with the Competition Shellholders to customize the case’s shoulder placement, essentially changing the headspace to fit the rifle exactly. The Competition Shellholder Set includes five shell holders ranging from 0.002 to 0.010 inches in 0.002-inch increments. This process creates a custom die just by changing the shell holder.
Advertisement — Continue Reading Below
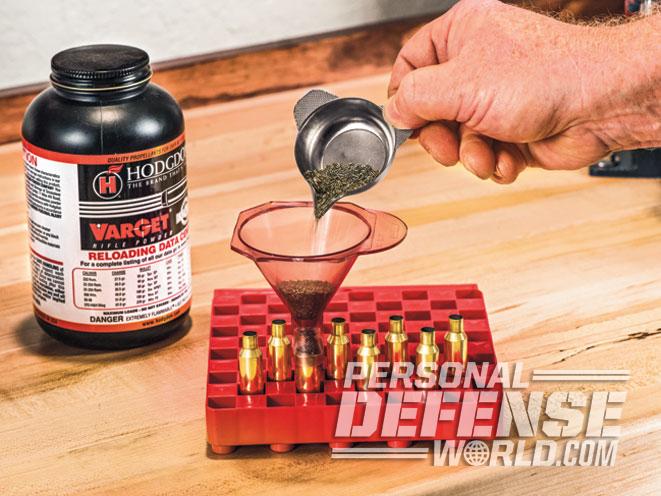
In order to fit all rifles, cartridges are made to minimum SAMMI chamber sizes. However, most rifles are not minimum SAMMI chambers. The use of the Body Die and Competition Shellholders tunes the brass to the specific rifle. If another rifle has a different chamber, all that is needed is to swap out the Competition Shellholder.
The outside dimensions of all of the Competition Shellholders are the same, only the internals are different, so, once set, the Body Die will not need to be changed in order to modify the shoulder placement—just change the Competition Shellholder.
RELATED STORY: The 10-Shot Rule For Determining Handload Accuracy
Advertisement — Continue Reading Below
To set up the die, install the +0.010-inch Shellholder (this shell holder has the least movement) in the ram and fully extend it upward. Lower the Body Die until it touches the Shellholder. Lower the ram and screw in the Body Die a quarter turn, then lock it in place.
With the brass lubed, run it through the Body Die. Clean off the lube and chamber the case (with no bullet) in the rifle. If it does not chamber freely, step down in Shellholder size and run it through the die again. Repeat until the case freely chambers in your rifle. Use that Shellholder in the Body Die for that rifle permanently. Note: Use a standard shell holder (not the Competition Shellholder) with the Neck Bushing Die and Competition Bullet Seating Die.
Better Accuracy
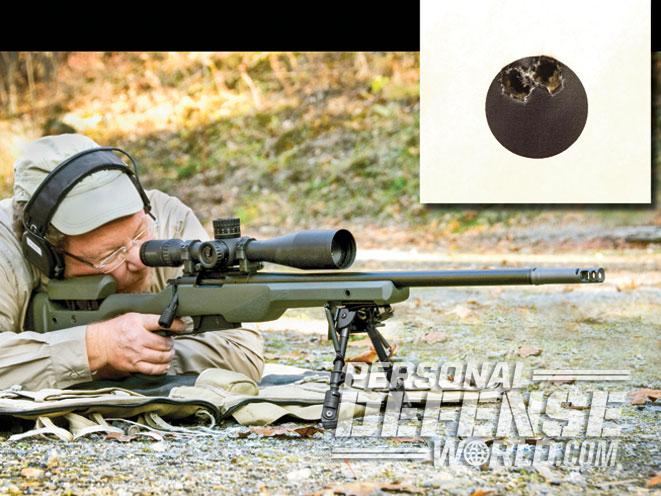
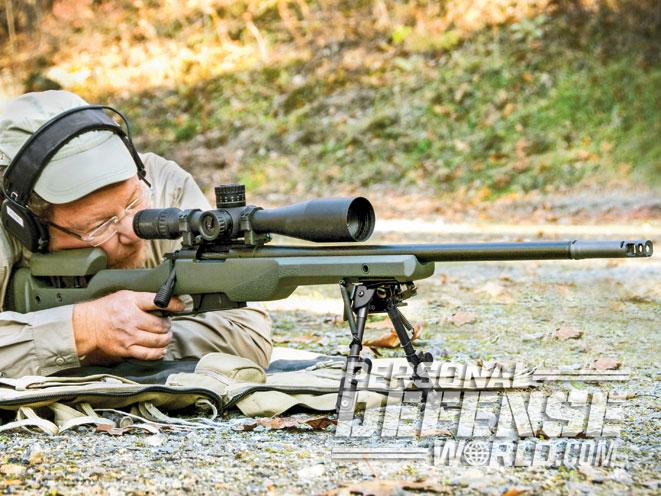
Right off the bat, my shooting results with my reloads were outstanding. I shot my personal best group of 0.3 MOA while firing from prone with a bipod and shooting bag. As a first-time reloader using high-quality equipment and tools from Redding and a little over-the-phone instruction, I created ammunition more accurate than what is made commercially.
To go even further, the next step to increasing accuracy would be to vary the bullet seating depth. This changes the “jump” the bullet takes from the case to the barrel’s rifling. By moving the bullet a few thousands of an inch either way, you can fine-tune the cartridge to your rifle even further. The micrometer turret on the Redding Competition Shooting Bullet Seating Die makes precision changes easy.
RELATED STORY: High-Volume Handloading – Time-Saving Tips For Using a Progressive Press
It was easy to build my own ammunition that is more accurate than factory loads. I used a bushing to custom set the Neck Bushing Die to the specific brass that I was using. The Competition Seating Die increased the concentricity of the bullet as it was loading and enabled me to set the seating depth with measured precision, and the Body Die gave me a custom headspace to match my rifle’s chamber.
Reloading not only allows you to build custom loads, but it also reduces costs to an incredible level.. Factory 6.5 Creedmoor ammunition runs about $1.34 per round. It only costs about 33 cents per reload. The cost of .338 Lapua Magnum is an astounding $3.40 per round. I cannot afford to shoot much ammunition at that price, but the reload cost is only about 80 cents. Increased accuracy and lower cost is a hard combination to beat!
For more information, visit http://www.redding-reloading.com or call 607-753-3331.
