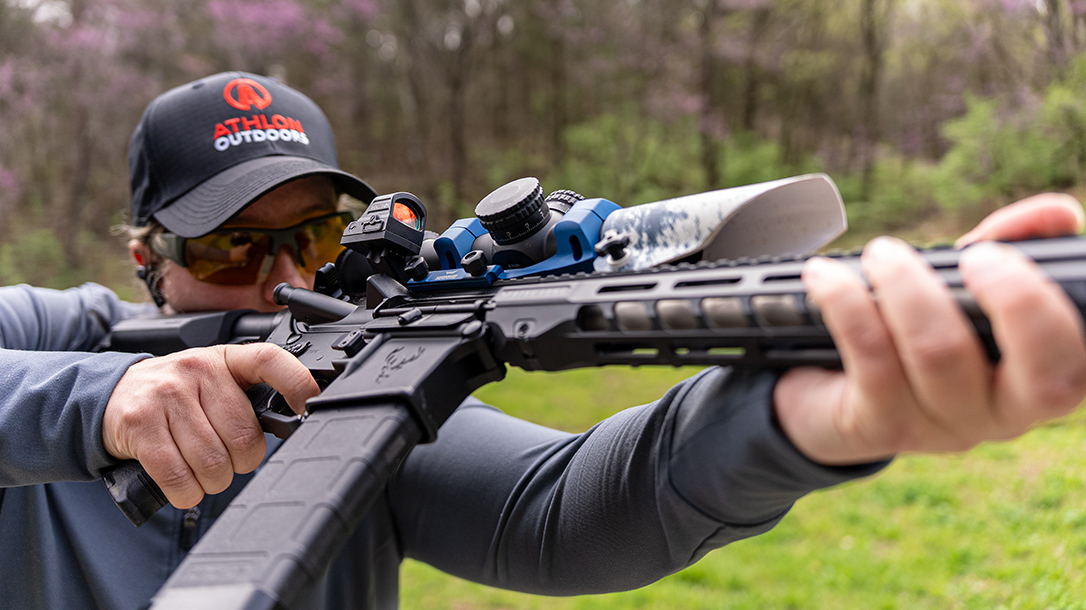
It’s funny how often I’m asked why my competition carbines have two optics mounted to the gun. At least a few times a month, I get Instagram messages, YouTube comments, or just in-person questions about why I run a primary optic system and an offset red dot optic. The reasons for this are three-fold. But to get it right, you need to incorporate a rifle optics transition drill into your training.
Rifle Optics Transition Drill
The first reason is two is one, and one is none. I learned the hard way that an extra red dot mounted serves as a backup in case one flies off your gun in the middle of a stage. Yes, that happened to me. Further, an offset red dot optic canted at 35-45 degrees enables shooters to stretch out more easily in awkward positions.
Often, a match will have positions where you must lean around a wall to reach a target or shoot through a skinny, angled port in a barricade. In these cases, an offset red dot optic is more manageable to lean out with or aim through a port than with an LPVO or primary optic on top of the gun. The final reason for having two optic systems is to have the offset zeroed for close range (7-yard zero) and the primary optic zeroed for distance (50 yards or 100 yards, depending on the red dot or LPVO, respectively). That way, you don’t have to account for height over bore at close range, especially with those pesky no-shoot targets stacked on top of scoring targets.
Advertisement — Continue Reading Below
Variable-Distance Engagements
If you encounter a stage with a mix of long-range rifle targets and close-range paper targets, chances are you will be zoomed in anywhere from a 6-8 magnification level on your LPVO. On these stages, you can switch to your offset red dot faster than moving your magnification level down to 1-2x on the clock.
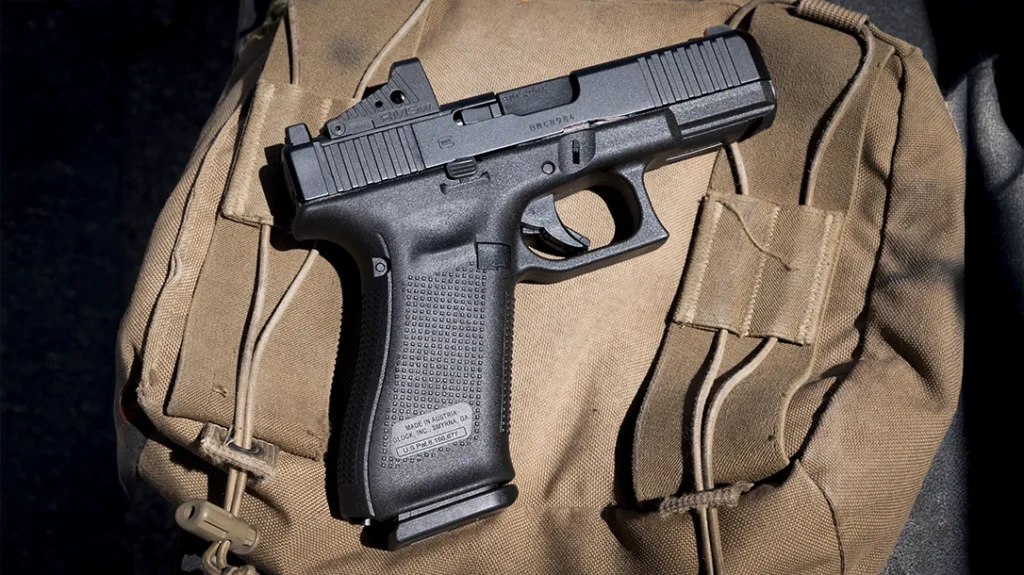
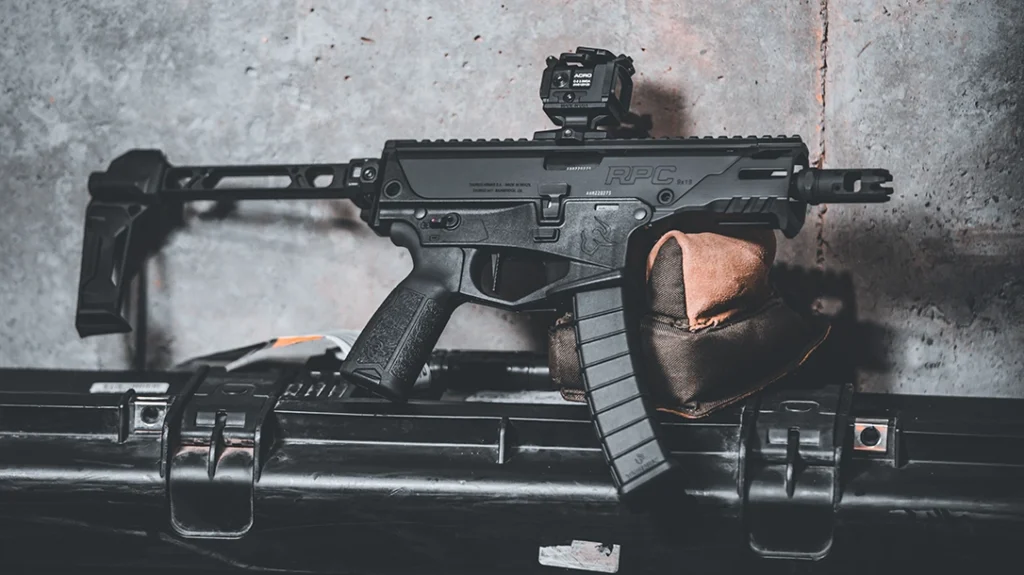
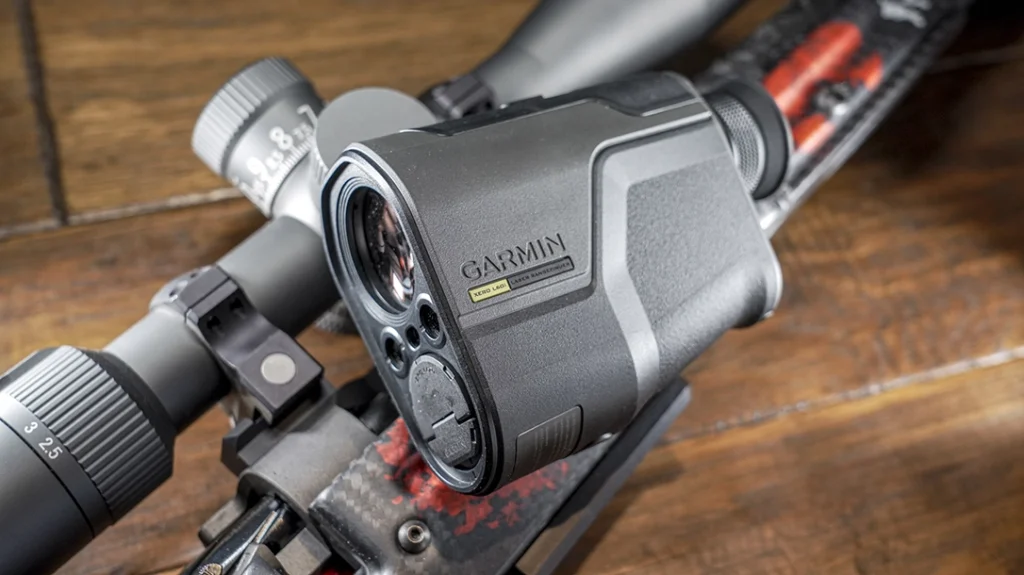
My 3-Gun rifle has an LPVO with a Holosun red dot optic mounted on a Viridian Weapons pinch mount. But my race Galil from IWI for AK Matches features a large Holosun 510C as my primary optic and a smaller, offset red dot. My competition PCC sets up similarly to my Galil, but I use a closer primary zero for USPSA and IDPA shooting competitions. This transition drill from primary to offset is applicable for 3-Gun, IDPA, USPSA, AK matches, or even 2-Gun competitions.
Advertisement — Continue Reading Below
Equipment Needed
- Rifle with two optics mounted
- Steel Target at 50 yards
- Paper Target at 7-10 yards
- Timer (Kestrel KST1000)
- Ammunition


The Drill
In this drill, the goal is speed and accuracy when transitioning from one optic to the other. On the beep, hit the steel target using your primary red dot or LPVO, transition to your offset dot, and hit the paper target. The start position is either low-ready or port arms. I like setting a goal zone to hit on the paper target by taping a white or backward paster where I want to hit. Use your timer to track your times from low ready and port arms start positions. You can mix up this drill by adding a no-shoot target over the paper target and by switching the paper target from the right side to the left side of the steel target.
Advertisement — Continue Reading Below


Pushing Speed vs. Accuracy
Practicing for whatever type of competition you plan to compete in is essential. For 3-Gun competitions, I need my two rounds to hit anywhere on a target for the threat to be neutralized and incur zero penalties. For USPSA or IDPA, anything outside of the A or Down Zero zones will incur time or point penalties, meaning accuracy is just as important as speed. Constantly tailor your drill to your shooting competition type to set yourself up for success in your next match. If your budget allows it, try using the same target types or sizes you’ll see at your next competition.
Advertisement — Continue Reading Below