Shooters are always looking for ways to improve their groups in a measurable way. Sometimes the hardest part of improvement is not knowing what to fix first. The best way to identify what you need to work on is to remove the distractions by shooting from a bench rest.
Shooting from a Bench Rest
When you are standing and shooting offhand, your stance, grip, breathing, vision, and trigger control are all working at once. That can make it difficult to isolate what is actually causing a bad shot.
Advertisement — Continue Reading Below
A very effective way to remove layers of that confusion is to simply sit down and shoot from a bench rest. Shooting from a rest gives you a stable platform and allows you to concentrate on one thing above all else: the gun and your trigger break.
This drill is not about benchrest competition or finding a new way to fight with a pistol. It is a diagnostic and refinement tool. It is designed to show you how the gun behaves when your body is taken out of the equation as much as possible.
What you learn here follows you back to your standing work later.
Advertisement — Continue Reading Below
Preparing for the Bench Rest Drill
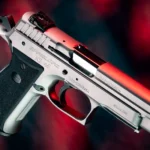
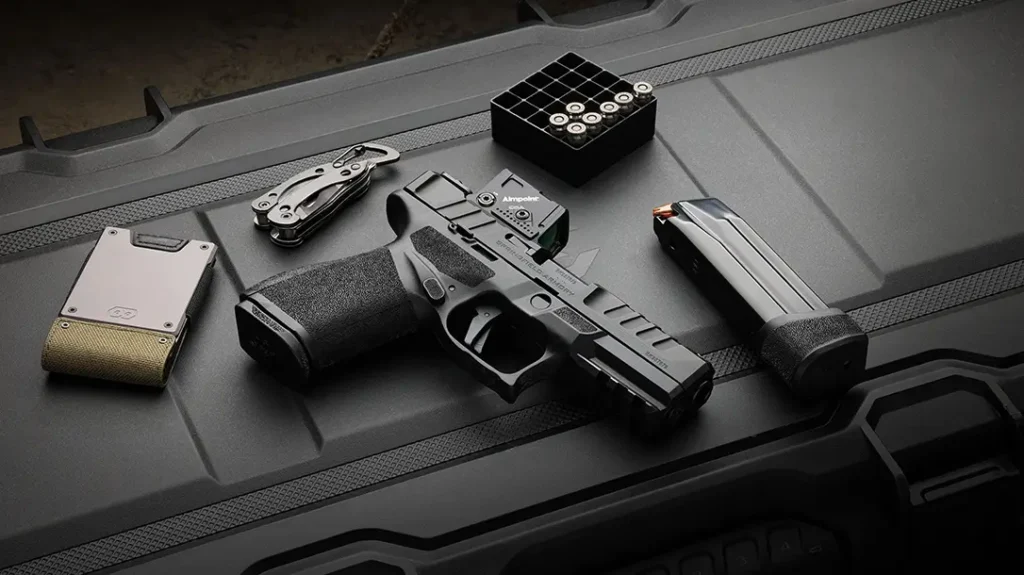
For this drill, I am running my current everyday carry gun, the Smith & Wesson M&P 10mm Performance Center. Built on the M&P M2.0 frame, this pistol takes a proven duty platform and pushes it firmly into hard-use territory.
The tuned Performance Center action, ported barrel, and slide cuts work together to manage recoil and keep the gun flat under rapid fire. The aggressive M2.0 grip texture locks the pistol into the hand. Finally, the optic-ready slide allows direct mounting of modern red dots.
On this gun, I am running a Meprolight MPO Pro-F. It is a rugged enclosed-emitter optic built for duty and outdoor use. It offers excellent protection from debris and weather, along with a crisp reticle that is easy to track during slow fire.
Advertisement — Continue Reading Below
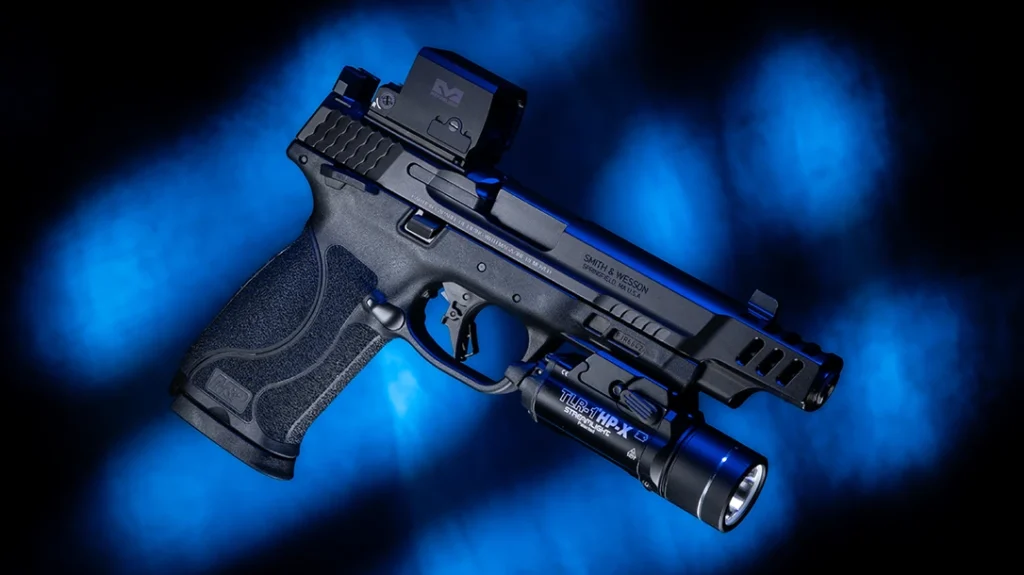
I also have a Streamlight TLR1 HPX on the rail. It is more light than is needed for this drill. However, this is my carry pistol as configured for real life, and that is exactly how I want to train it. The purpose of this drill is not to create a sterile test environment. It is to learn how your actual gear behaves when everything else is stripped away.
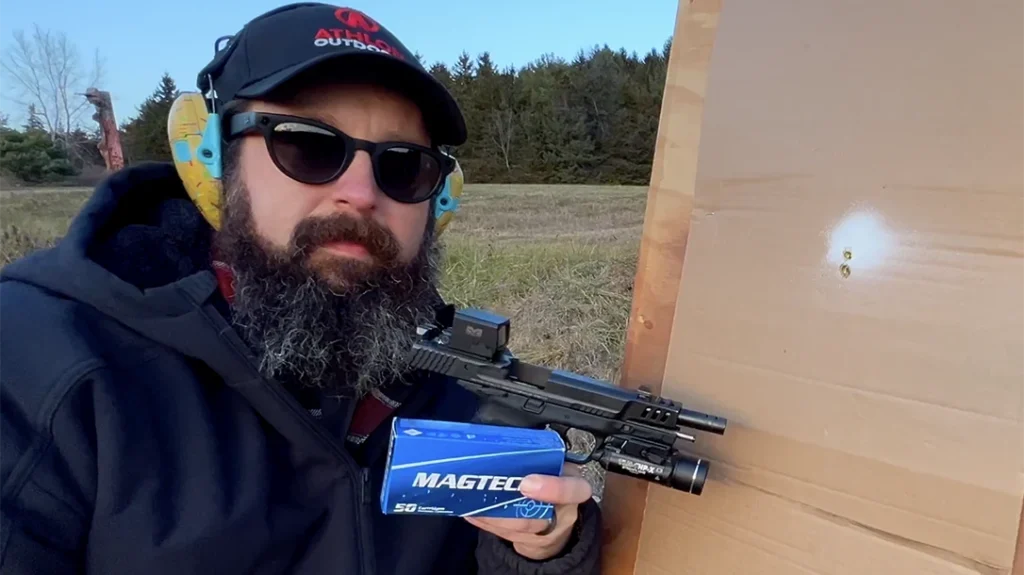
Ammunition for this drill is Magtech 180-grain FMJ 10mm. It is advertised at roughly 1230 feet per second. I would not mind another thirty feet per second, but I find excellent accuracy with this load, and it cycles perfectly in this gun. Reliability matters more than raw speed in a diagnostic drill like this.
Advertisement — Continue Reading Below
Finding a Bench Rest
When people hear “shooting from a rest,” they often picture a formal bench with sandbags. That works just fine, but it is not required. For this session, I used a simple road case with a rag folded on top. The goal is comfort and consistency, not perfection.
You can use a range bag, a backpack, a truck hood, a barricade, a stump, or anything else that gives you a stable surface and keeps the muzzle safely oriented downrange. The only requirement is that the gun feels supported and repeatable from shot to shot.

Advertisement — Continue Reading Below
Before you ever load the gun, get set up dry. Place your rest where you think it will work best, sit or lean into it, and press the gun into position without firing. Dry fire a couple of times from the rest to make sure your neck, shoulders, and wrists are relaxed.
If you feel like you are fighting the position, move the rest or adjust your body. This drill is about removing unnecessary effort, not adding it.
It is best to place the rest first with a target area already in mind. Then, hang the target where it lines up naturally with your comfortable sight picture. You should not be craning your neck or forcing the gun downward unnaturally to see the target.
Advertisement — Continue Reading Below
Comfort matters here because fatigue creates its own form of error. The point of this is to eliminate error sources one by one.
Distance and Targets
Distance is very much a choose-your-own-adventure decision with this drill. If you struggle to hold tight groups at fifty feet, bring the target closer. Precision takes time to develop, and there is no benefit to training frustration. Conversely, if you are already stacking rounds at twenty-five feet, it is time to push things farther out and demand more of yourself.
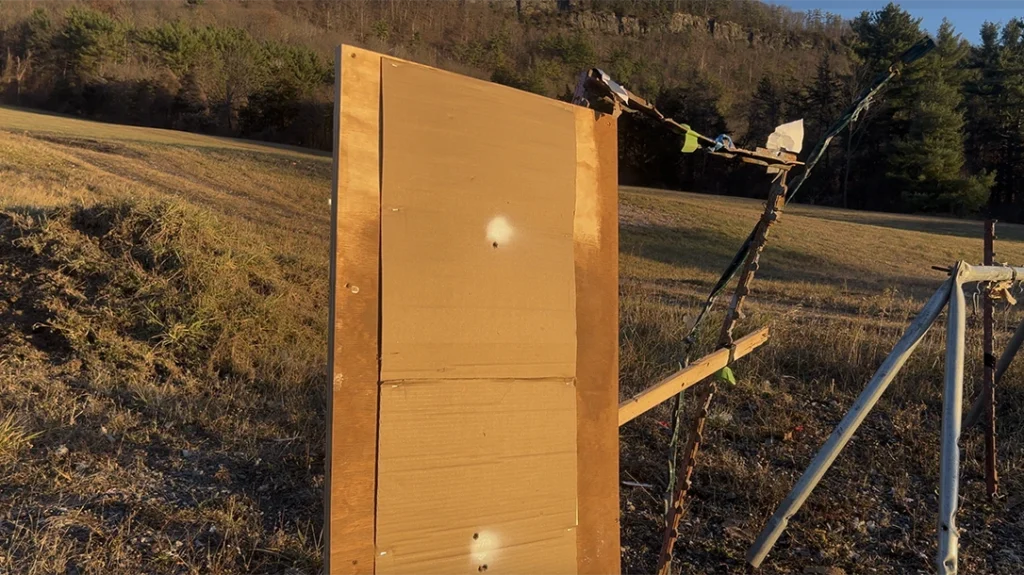
Target selection is also flexible. A piece of cardboard with a painted dot works fine, especially if you have binoculars to check impacts without walking downrange. At fifty feet, a shoot-n-C style target can remove some of the guesswork and speed up your feedback loop. Again, the goal is not aesthetics. It is clear information.
How the Drill Works
Once your rest and target are set, load the pistol and settle into position. We are going to keep shot strings short. Three rounds per string is a very good place to start. Longer strings tend to introduce fatigue and mental drift, especially when you are sitting in a position you do not normally shoot from.
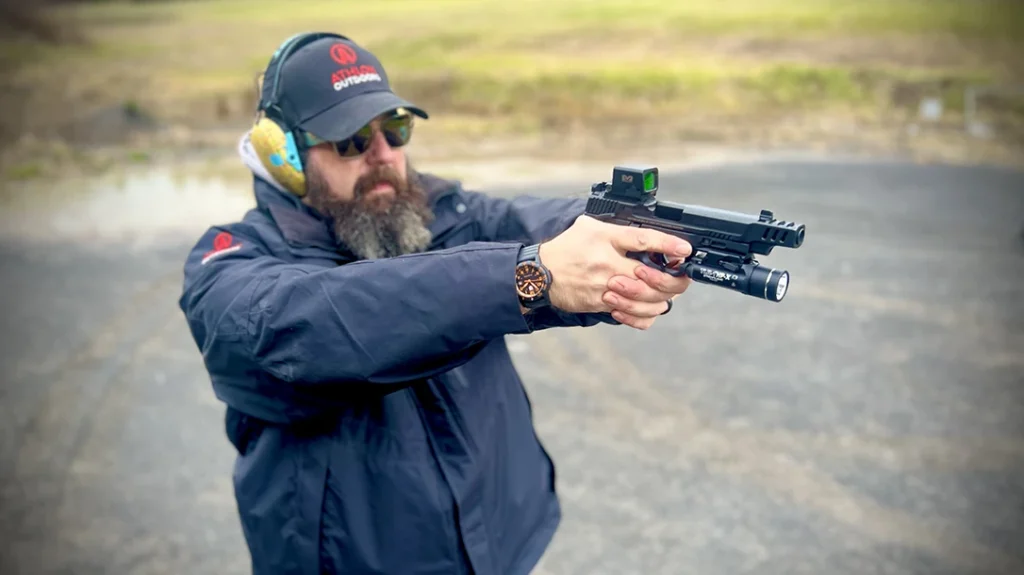
As you press out into the rest, let the weight of the gun settle into the support naturally. Do not muscle it down. Let the rest carry the load. Your job is to apply clean trigger pressure without disturbing the sight picture. With the MPO Pro-F, this is very easy to see. The dot or reticle will tell you immediately if you are moving the gun during the press.
When the shot breaks, stay on the gun. Let the pistol recoil, track the return, and watch the sight settle back into place. Call the shot before you ever look at the target. You should be able to say where that round went based on what you saw in the optic or irons at the moment of the break. Then look at the target to confirm whether your call was correct.
If the group is tight and where you intended, you are doing your job. If the group shows vertical stringing, inconsistent lateral spread, or a consistent bias in one direction, that information belongs to your trigger press more than anything else.
This is where the drill quietly teaches you to read your own shooting. We are not here to diagnose every possible error. We are here to isolate the trigger and learn what clean looks like when distractions are removed.
Ammo Saver Mindset
One of the strengths of this drill is how little ammunition it requires. You can accomplish meaningful work with a single box of ammo. Three-round strings, deliberate pace, and honest feedback go much farther than dumping magazines without reflection.
This is a drill you can run on a lunch break, early in the morning before work, or at the end of a longer range session when you want to finish with purpose instead of noise.
It is also a drill that scales with you. As your skill increases, the target moves back. As your confidence grows, the allowable group size shrinks. The process stays the same.
It is worth repeating that this is not about finding a new way to shoot. This is about sharpening your understanding of the fundamentals so that everything else you do becomes more efficient.
If you are landing excellent hits from the rest but struggle while standing, that is simply information. There are drills for stance, grip, and movement that address those issues directly. This drill feeds those efforts by cleaning up your trigger work first.
In the end, shooting from a rest is a quiet teacher. It does not flatter you, and it does not lie. It shows you exactly what the gun and your trigger finger are capable of when everything else steps out of the way. That is a powerful thing to carry back into every other drill you run.
Shoot safe.
WHY OUR ARTICLES/REVIEWS DO NOT HAVE AFFILIATE LINKS
Affiliate links create a financial incentive for writers to promote certain products, which can lead to biased recommendations. This blurs the line between genuine advice and marketing, reducing trust in the content.