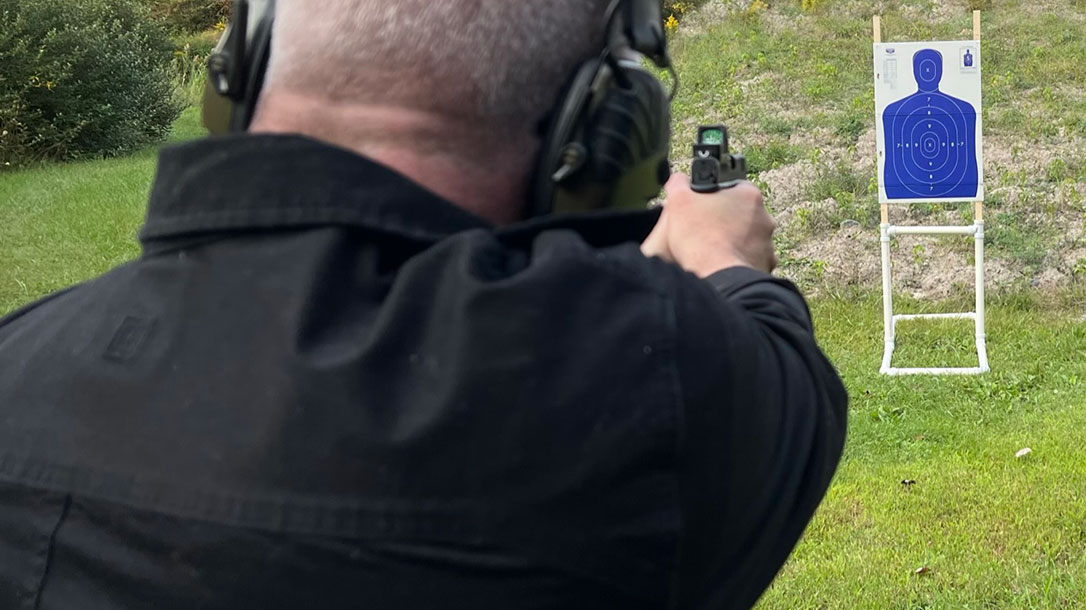
You might be one of those fortunate enough to have a beautiful berm in your backyard and your own shooting area. But not all are so lucky and have to find other berms. Sure, going to a range is always a good option. But they can tend to be expensive and are often crowded. So, the next best option is to find a good berm somewhere secluded and legal to shoot and go to it. Now you just need a good target stand that is portable enough to easily take to your shooting location.
How To Build Your Own Portable Shooting Target Stand
There are many different target stands on the market, but they are often expensive and fairly heavy. If you plan to do all of your target shooting in your backyard, this may not be a problem. However, if you have to travel somewhere to do your regular shooting, this can become cumbersome.
Everything I needed to build this shooting target stand cost me $51.77 with tax (minus tools) at Menard’s. And I even bought a couple of extra pieces for backup. While the initial investment is close to premade stands, it is very cheap and easy to replace any part. This is especially important if you have new shooters shooting with you. And, once again, it is totally portable.
Advertisement — Continue Reading Below
However, it is worth noting that it is not designed to hold a steel target. But you might be able to configure it for that with some modifications. Feel free to get creative.
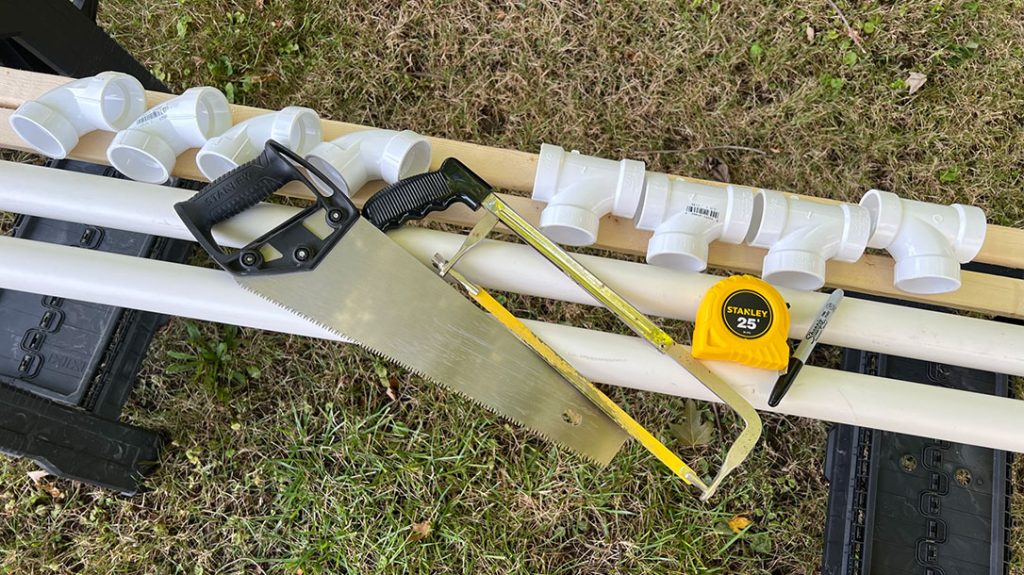
Tools Needed:
Advertisement — Continue Reading Below
- Sharpie
- Tape measure
- Wood saw
- Hack saw
- Sawhorses (optional)
Materials Needed:
- 2 – 10-foot-long PVC pipes (1.5-inch diameter)
- 2 – 8-foot-long wood furrings (1.5-inch x .75-inch)
- 4 – 1.5-inch PVC Tees
- 4 – 1.5-inch PVC Elbows
Step One
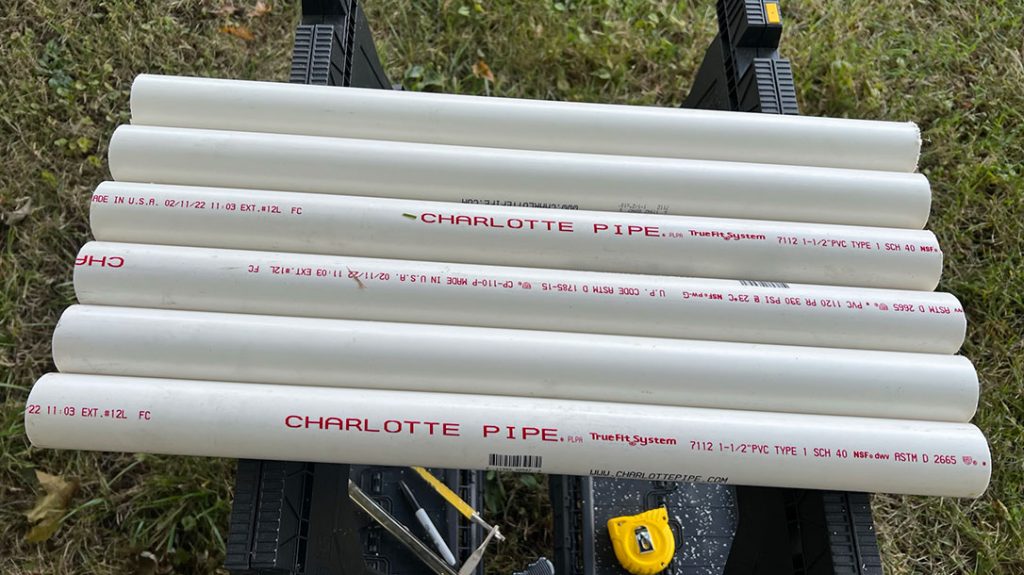
Take a 10-foot piece of PVC and measure out 2-foot, mark it, and cut it with your hack saw. You can measure out 2-foot increments along the entire length of the pipe if you would like to save time. But I prefer to do it one at a time to ensure that each piece is the exact length I want.
Advertisement — Continue Reading Below
Repeat this until you have six 2-foot-long pieces. These will make up the bulk of your base and set the height of the stand.
Step Two
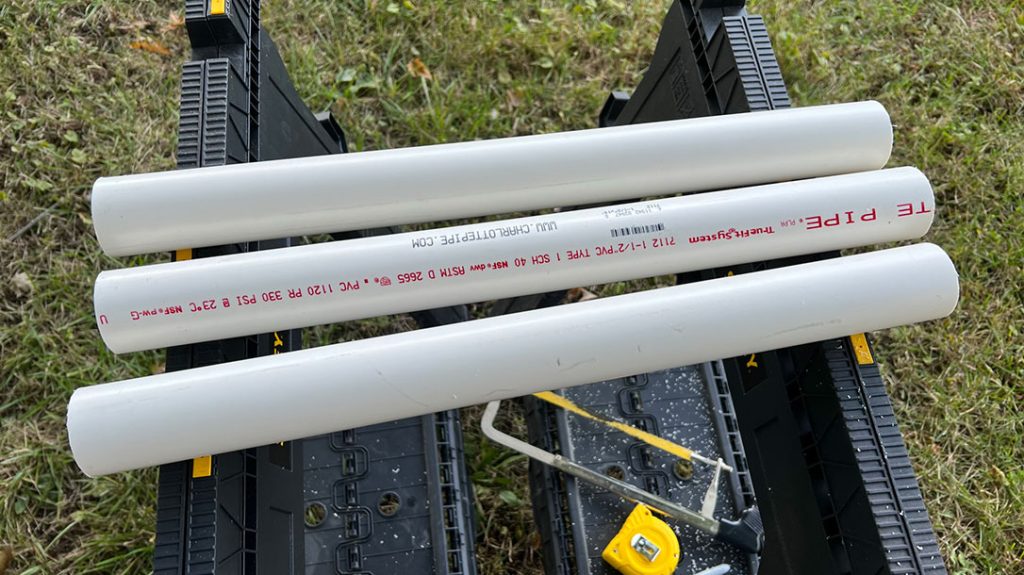
Like in the first step, you are going to cut three more pieces of the PVC. Only this time, you want to cut them 18-inches long. These pieces will make up the crossbars of your base and the crossbar of the stand itself.
Advertisement — Continue Reading Below
When you are done cutting all of your PVC, you will be left with a 3.5-foot piece of extra PVC. Put this aside for backup, just in case you need to make a repair down the road. Or, if you prefer, you can cut three shorter pieces to accommodate smaller targets. You’ll see what I mean later.
Step Three
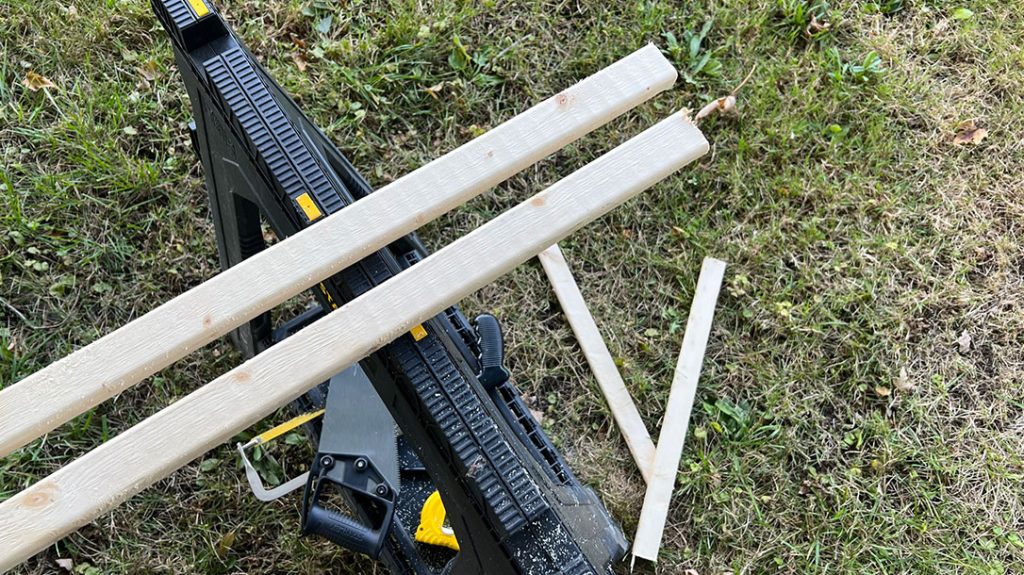
Take the two wood furrings and cut each one down to 6-foot 3-inches long. You want to make sure that you use the 1.5” x .75” furrings so they fit down inside the PVC pipe. These will be the part of the stand you affix your target to.
Advertisement — Continue Reading Below
The reason I went with wood is that PVC shatters if hit by a bullet. Years ago, a friend and I made stands like this that were all PVC, and we kept having trouble with that when we had multiple people shooting with us.
I have found that the wood can break when hit, but it is also a lot cheaper to replace. Not to mention, because it doesn’t shatter, it can often remain standing even after it is hit.
The other reason for the wood is that it is easier to affix the target to with a staple gun. Whereas a PVC frame requires other methods of attaching your target, and they require cardboard backing.
Advertisement — Continue Reading Below
Using wood also allows for the direct attachment of paper targets without a cardboard backing. Although, it is worth noting that a cardboard backing helps keep the target more stable.
Step Four
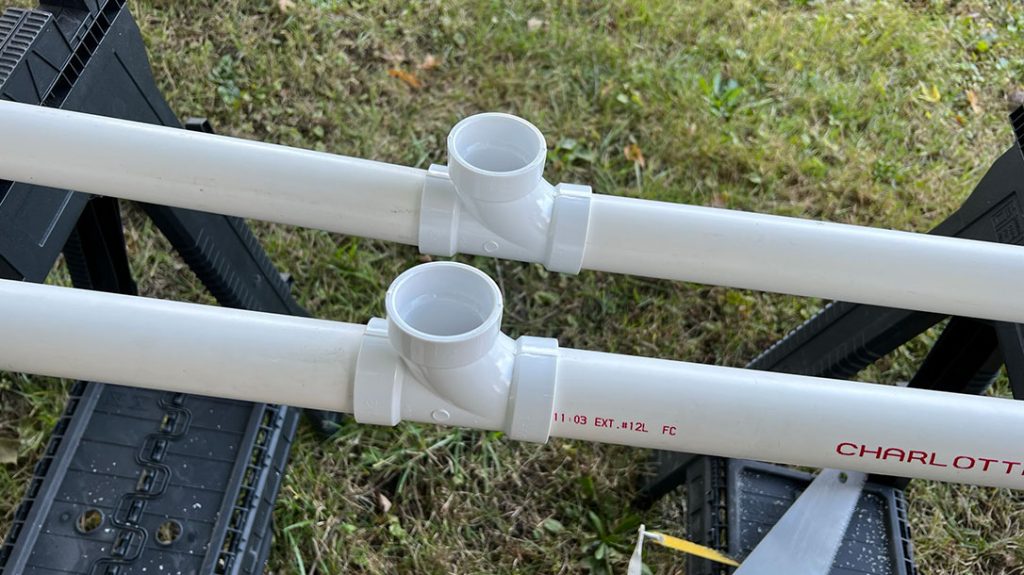
Take two of the 2-foot pieces of PVC and connect them together using a PVC tee. Repeat this step one more time. In total, you will have used four 2-foot pieces and two tees. This is the start of the main base, and the just over 4-foot length will add a lot of stability to your stand.
Advertisement — Continue Reading Below
Step Five
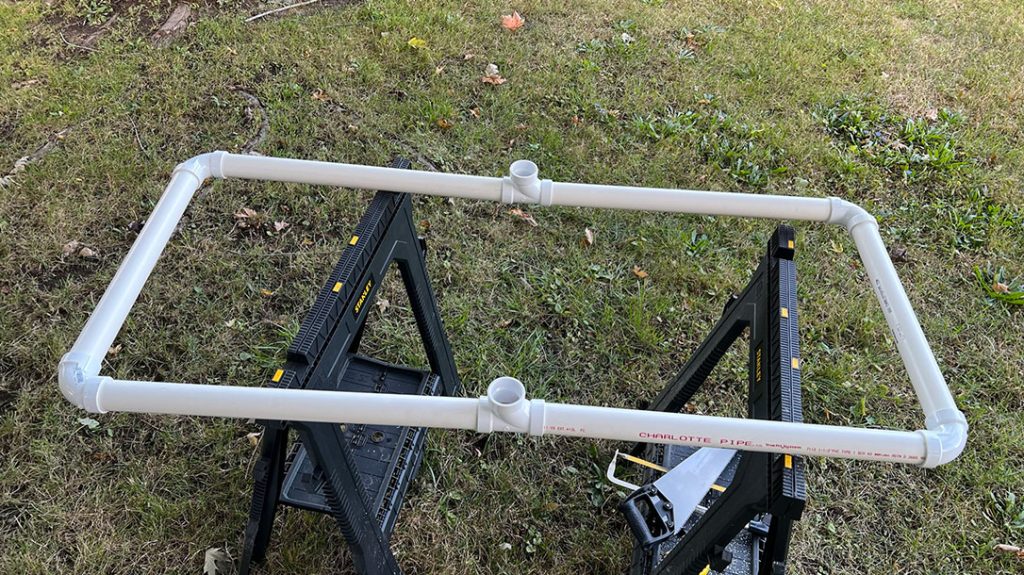
Add a PVC elbow to the end of each of the newly created base pieces. Then take two of the 18-inch pieces of PVC and connect them at each end. These are the crossbars that define the width of your stand.
When doing this, make sure that the tees in the middle of each side are facing upward so you can affix the stand. Also, as mentioned, if you’ll be using smaller targets, you can place shorter crossbars at this point. Just make sure not to go too short because you don’t want to compromise the integrity of the side-to-side balance. Especially if your shooting area is prone to wind.
Advertisement — Continue Reading Below
Step Six
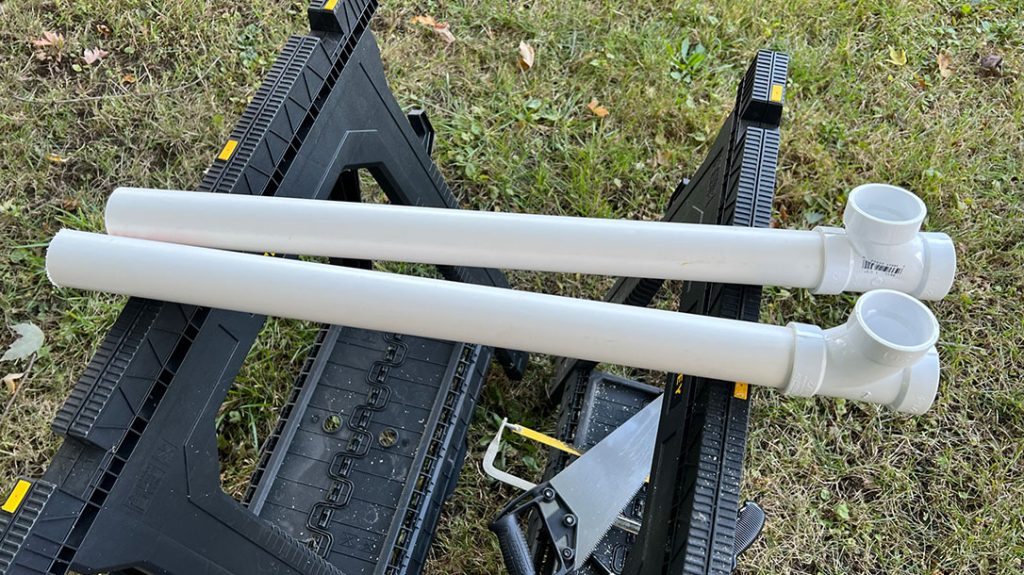
Take the remaining 2-foot pieces of PVC and attach the remaining PVC tees to the end of each. Make sure to affix them so that the tee goes out the side. This will be the connecting point for the crossbar that holds the stand at the width you would like. And you need to make sure that the opening goes all the way through the PVC tube.
Step Seven
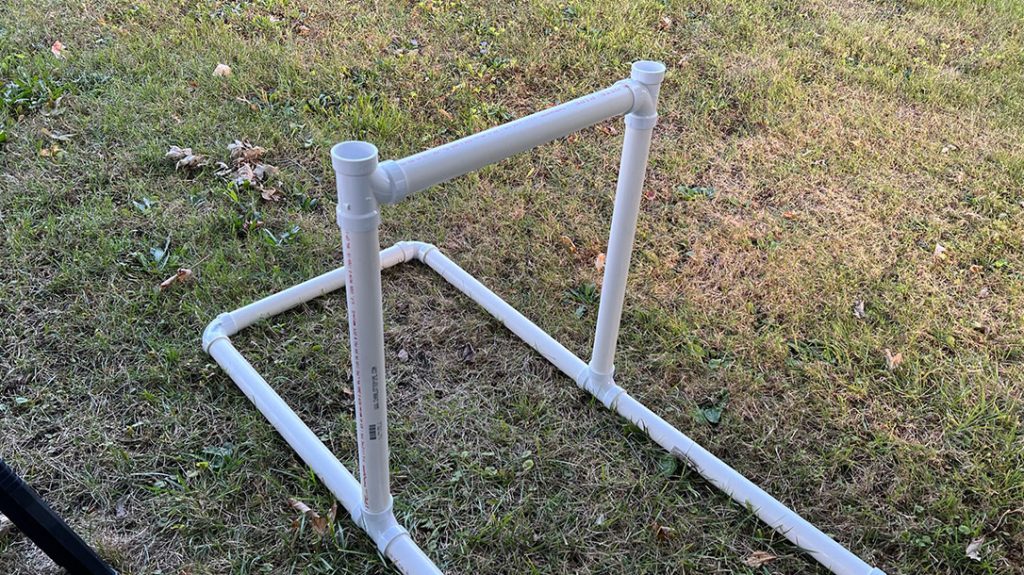
Connect the two pieces of the stand via the remaining 18-inch crossbar. Again, if you are using smaller targets, use the shorter crossbar here as well. Once the crossbar is in place, attach the stand to the base at the PVC tees in the middle.
Once all of the PVC is together, press firmly on each joint to ensure a tight fit. This will help move it around for placement while also ensuring it doesn’t come apart while shooting.
Step Eight
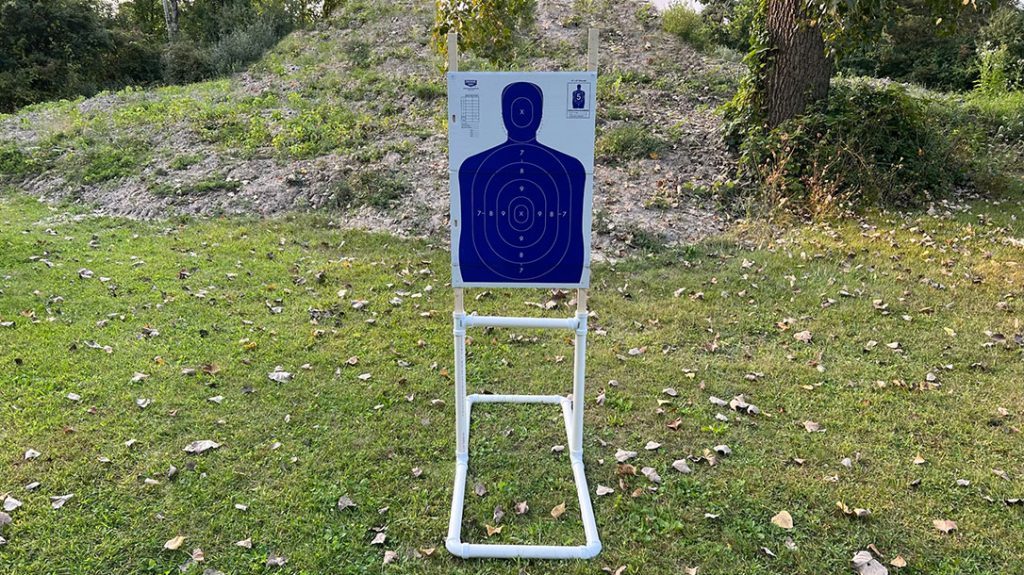
For final assembly, shove the two wood furrings down through the PVC tees and into the stand. Then, affix your target, select the best placement and get to shooting.
If you would like to provide a finishing touch, you can always paint your shooting target stand. I personally don’t, just because I take mine apart a lot and throw it into the back of my truck. So, it wouldn’t take long for the paint to start chipping away. I tend to be more utilitarian, though. Some prefer a more finished look, and that is perfectly ok.
One of the nice things about this stand is that you can custom-cut the pieces to fit your particular needs. As I mentioned, if you use smaller targets, you can make shorter crossbars. If you have a shorter berm, you can make the stand shorter.
Nothing about this stand is set in stone, make it to fit you. Also, since it isn’t that expensive and can be completely disassembled, you can make it for many different occasions and just configure it how you want at that time.
If you are a new shooter, please make sure to review the basic rules of firearm safety. They are very important and can save your or your loved one’s life/lives. Also, please feel free to download our Gun Primer for new shooters with links and first-time shooter content, entirely free.
Stay safe and happy shooting.
