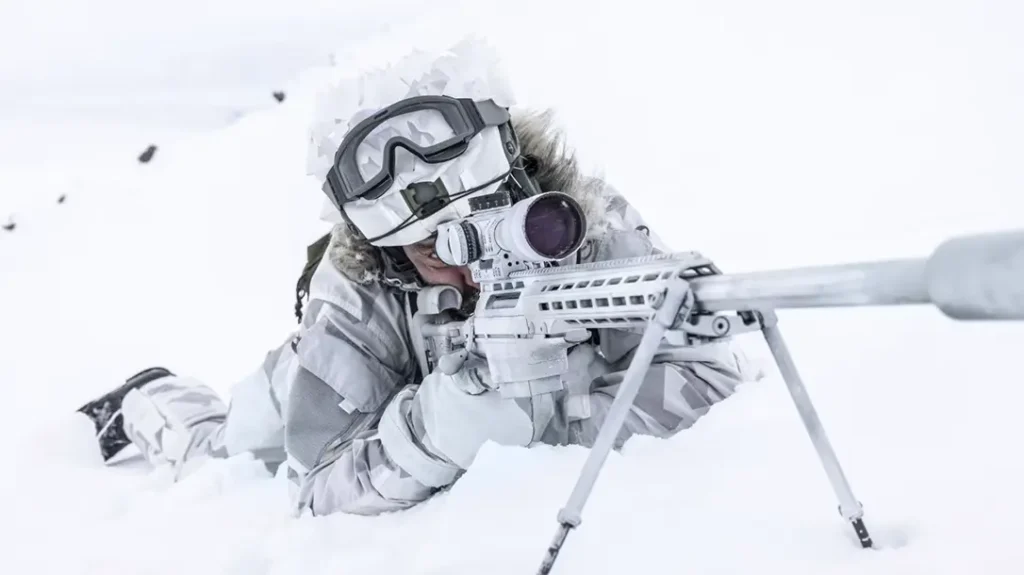
Look around, peek inside a SWAT team room, take a walk down a precision rifle competition firing line or simply Google “military snipers.” I guarantee you will find three-legged devices made of aluminum or carbon fiber, most often designed for camera equipment and modified with a mounting apparatus to attach a rifle. This is not a new concept. Rifle engagements from tripods and shooting sticks have been in the tool boxes of hunters, snipers and target shooters for decades. But for most people, this method of shooting is new. In the past, tripods were viewed as difficult to shoot with and not accurate. So why, over the past 10 years, has the tripod made such a giant leap toward the top of the “must-have” gear list?
The answer is simple: The equipment, techniques and instruction for tripod shooting have evolved and improved. A systematic process has been developed through trial and error, along with the mechanical understanding of rifles, shooters and tripods. Shooters nowadays are capable of making amazing shots from unconventional positions because they understand the why and how of tripod employment. And now you will, too.
Advertisement — Continue Reading Below
Smart Setups With a Shooting Tripod
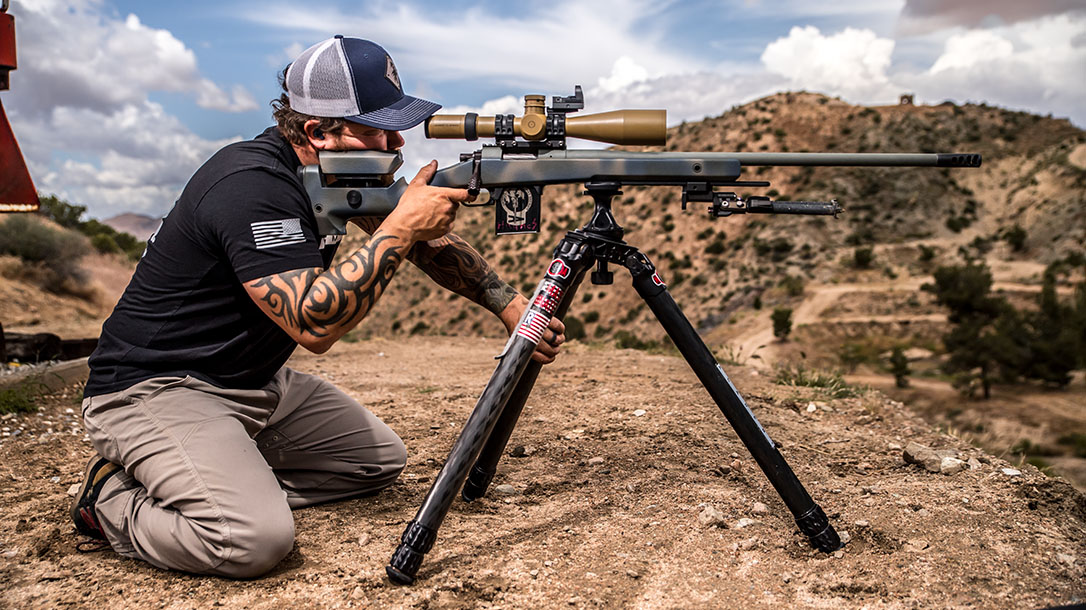
There are three common tripod shooting positions: Standing, kneeling and seated. For every position, setting the height of the tripod is both extremely important and easy. The center of your chest plate, at sternum level, is your reference point. Whether you are using some type of rifle clamp or a direct connection device, the top edge of the rifle support should be set level with your sternum. For any shooting position, setting your tripod to this height will force you to bend slightly into the rifle for better recoil management. It’s also important that you bend at the waist into the rifle, not at the knees.
Shooting tripod leg placement is critical, too. You want two legs to the rear and one leg forward. Why? In a word, recoil control. It’s not that having two legs back will reduce recoil, but it will ensure that the rifle consistently settles back on target after each shot if the recoil force is enough to lift the front leg off the ground. If only one leg is to the rear, it’ll become a pivot point during recoil, allowing the rifle to swing in the direction of least resistance.
Regardless of the position you’re engaging from, there are three fundamentals that you need to adhere to: Bone support, muscle relaxation and natural point of aim. You can employ certain methods to make this easier.
Advertisement — Continue Reading Below
Point of Aim
First, before you bend and shoulder the rifle, stand behind it and face the target. This will assist with achieving a natural point of aim. Now you can shoulder the rifle. You will need to keep your shoulders square and perpendicular to the rifle’s bore axis. Recoil is energy, and energy travels along the path of least resistance. Keeping your shoulders square will prevent the rifle from jumping right or left during the shot. Again, recoil management is critical.
Support Hand
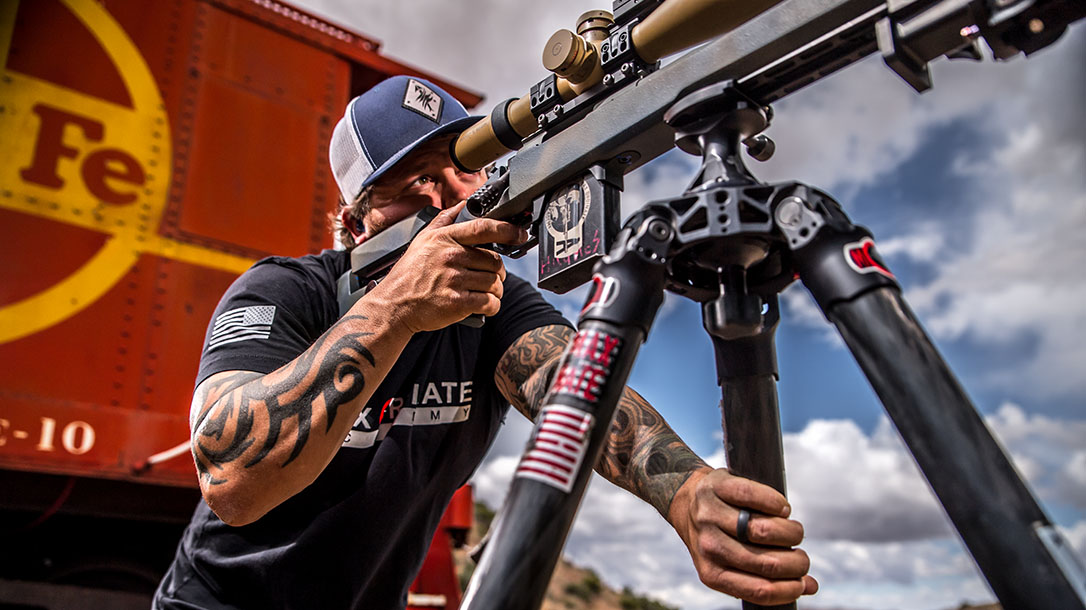
Next, what do you do with your support hand? If you place it under the buttstock, as you would while prone, you’ll be very unstable for standing and kneeling positions. To create bone support and a rigid upper body for stability, grab one of the rear tripod legs with your support hand and lock out your elbow. Rotate your hand inward at the wrist so your thumb is facing downward. This technique allows you to lock your elbow naturally, solidifying the upper-body bone support, as opposed to a thumb-facing-up position, which will require muscular tension in the triceps. You may choose either tripod leg to lock onto as long as it doesn’t interfere with keeping your shoulders perpendicular to the rifle.
Elbow
One final factor is the firing-side elbow. The principle is simple: Whenever and however you can, support this elbow. Whether you do this with a backpack slung across your body and underneath your firing arm, with a dedicated support bag from companies such as Armageddon Gear or WieBad, or simply by resting your elbow on your knee in the kneeling or seated position, supporting the firing-side elbow will pay huge dividends in the stability department, because the firing arm and hand have the most influence on the rifle.
Advertisement — Continue Reading Below
Standing Still
In addition to the techniques for upper-body positioning, there will obviously be some lower-body differences depending on your position. For the standing position, there isn’t much you can do—standing is standing. The most common error is not locking your knees but instead doing more of a squat. For the most stability, you need to lock your knees out. This can be done naturally, similar to locking out the elbow, with simple joint manipulation techniques.
By pointing your toes slightly inward, you can get that natural lockout, instantly boosting bone support from the feet to the hips. You will want your feet spread at a comfortable shoulder width or slightly wider, to about 1.5 times your shoulder width. Don’t overdo it, though, or you’ll spend time and effort trying to keep your legs from sliding out from beneath you.
Kneeling Down
I like to think of kneeling as the median position. It’s more stable than a standing position because you are closer to the ground and thus offers more options for bone support, but it’s also less stable than a seated position. With both the kneeling and seated positions, keep in mind that the more contact you have with the ground, the more stable you will be. To be successful in a kneeling position, we must first look at the two types of kneeling.
Advertisement — Continue Reading Below
Single Knee
First, let’s break down the single kneeling position, as this is the most natural for most shooters. The firing-side knee is up while the other knee is down. This will be completely opposite from what you have done when shooting without a tripod in a kneeling position. We do this to build bone support. The firing-side elbow is now given support from the firing-side knee, resulting in enhanced stability.
With the non-firing knee down, you will need to sit back on that foot to gain total bone support in the lower body. Some shooters may not be capable of sitting on their foot due to an ankle or knee injury or a lack of flexibility. To compensate for these difficulties, try placing a rear bag on the heel of your foot to sit on while your knee is down, or try placing the rear bag under your foot on the ground to provide relief. The important principle here is to know your body and find a comfortable position when kneeling.
Double Knee
With the double kneeling position, both knees are down and contacting the ground. For this position, you will find it easier to keep your body square to the rifle, but you then lose the ability to support your firing elbow with your knee, so a natural point of aim will become that much more important in achieving accuracy. Furthermore, you will need to sit back on your heels for bone support. As with the single kneeling position, you may need to use a rear bag to assist you with positioning, or you can try placing your drag bag or backpack between your legs to relieve some of the pressure on your knees and ankles. It is important to stress that regardless of which kneeling position works for you, keeping your shoulders square to the rifle is paramount for achieving a natural point of aim.
Advertisement — Continue Reading Below
Sitting Techniques
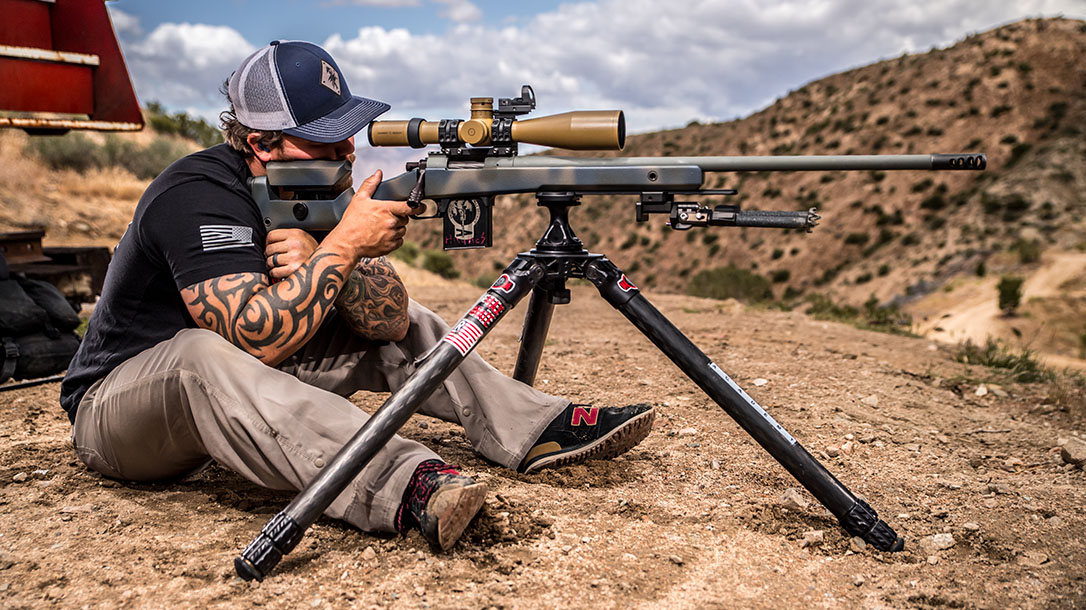
The sitting position is the most stable and comfortable. It allows you to stay in position longer while keeping your focus on what is happening downrange. Aside from the prone position, the sitting position provides maximum contact with the ground. As with the kneeling position, there are multiple approaches that can be used for a seated position, including cross-legged, open-legged and even flat-legged. Which one works best depends on the individual. Body type, flexibility and any injuries that impact positioning will all factor into which sitting position is best for you.
Each of these positions allows you to choose between grabbing the tripod leg thumb down or holding the buttstock with your support hand. The cross-legged position is often the most difficult to get into. However, it offers the most bone support and muscle relaxation. Both elbows are easily supported, providing maximum stability. The open-legged seated position provides the same dual elbow support if you keep your knees elevated and dig your heels into the ground. Regarding the flat-legged position, I have had students who are only physically capable of sitting with their legs open and flat on the ground. At this point, elbow support is nonexistent unless you place a drag bag or backpack across your legs.
The Wobble Zone
Regardless of your shooting tripod position, you’ll have to deal with some wobble. By taking the appropriate steps to achieve bone support, muscle relaxation and a natural point of aim, you can reduce this wobble zone. Ideally, it’s 1 MOA or less. There are a few key indicators to look for when utilizing the tripod.
Advertisement — Continue Reading Below
When you get into a solid shooting position and look through your optic, what do you see? This is your natural aiming point. If you are not looking at the target, you need to move your entire body to aim the rifle. If, when aiming at the target, you notice you have major wobble left and right, you are fighting the rifle’s natural aiming point. Again, you need to adjust your body positioning to aim at the target naturally.
Bone support and muscle relaxation are directly related to vertical wobble movement. Observing how the reticle moves vertically when you inhale and exhale will provide valuable information about how well your position is built. If you notice you’re your reticle travels diagonally when you inhale instead of vertically, your shoulders are most likely canted and not square to the rifle.
Last but not least, the wobble tends to affect your trigger control. When you see the reticle moving on the target, you must fight the urge to rush the shot or jerk the trigger. You can still make the rifle fire when you get the sight picture you desire by applying good trigger control techniques. Another option is interrupted trigger control, where you apply half pressure to the trigger and hold it until your wobble provides the desired sight picture, at which time you apply the remaining pressure needed to fire the rifle.
Advertisement — Continue Reading Below
Shooting Tripod Final Thoughts
Finally, there are many tripods to choose from. Because of this, you’ll want to do your research. To make the best selection, ask yourself a few questions: What is your budget? What height capability do you need? How will you attach your rifle to the tripod? And is weight a primary concern? Remembering this will help you make a better tripod purchase.
This story is from the 2019 Precision edition of Ballistic Magazine. Grab a digital or physical copy over at OutdoorGroupStore.com.
