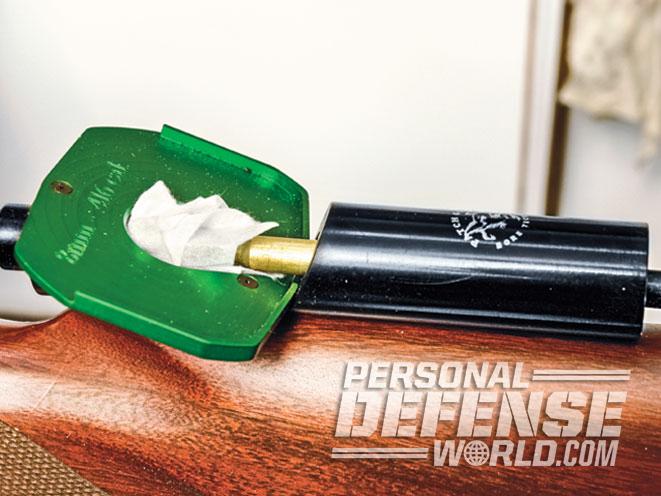
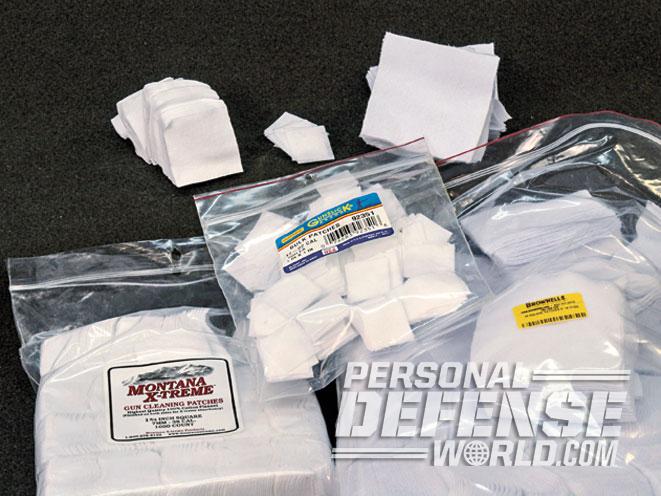
I start with a bore solvent that will remove both powder fouling and copper fouling. I make several passes using a new wet patch each time. Don’t scrub, but instead push the patch straight through the bore. You may want to let the gun soak a few minutes between patches to allow the solvent to work.
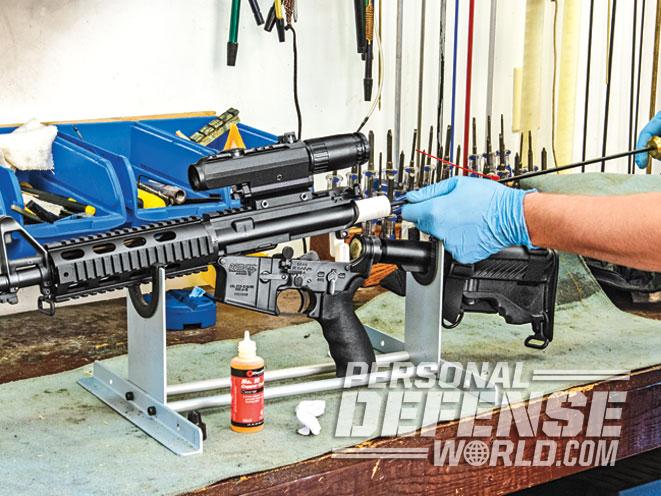
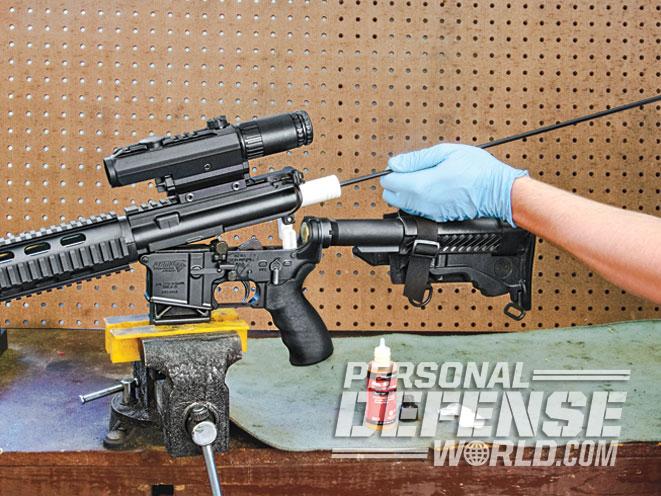
Leaving the barrel wet with solvent, use a properly fitted bronze brush soaked with solvent to make several passes. Keep the brush wet with solvent, reapplying after every couple of passes. Don’t dip the brush in the solvent bottle, as this will contaminate the remaining solvent. Instead put some solvent in a long thin container like a test tube and dip in that. Don’t reverse the brush in the bore, instead push it all the way out of the muzzle then pull it back through. Always use a bore guide or muzzle guide to keep the brush centered at all times. After use, always clean the solvent from your brush with a degreasing spray.
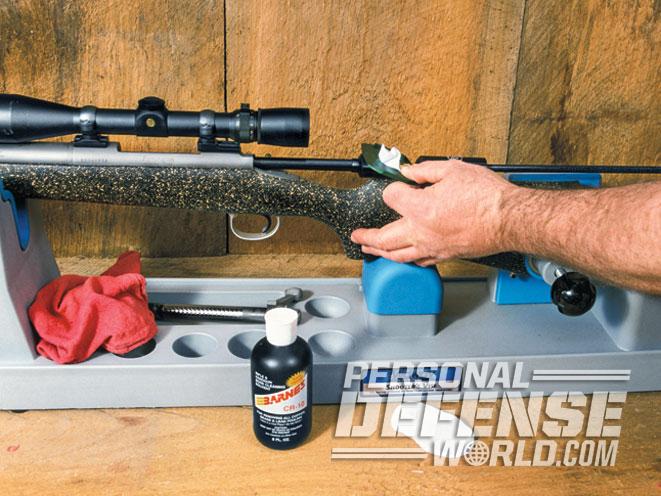
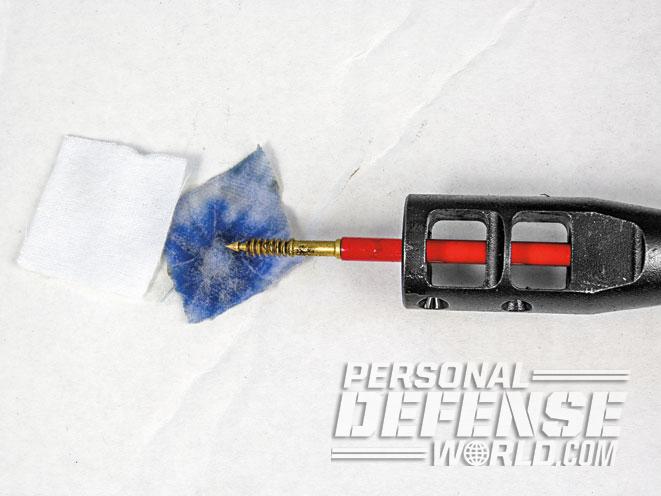
Let the gun sit for a few minutes to allow the solvent to work, and then follow with a couple more wet patches. Wait a few more minutes and run a dry patch through. If there is green or blue staining on the patch, it indicates copper fouling in the bore and that more work is needed. If there is a lot of fouling I’ll switch to a more aggressive copper solvent like Barnes CR10, but only after removing all traces of the first solvent, as they do not always mix well. Most aggressive copper solvents recommend that they not be left in the bore for more than 15 minutes. I wet a patch, run it through and let the bore soak for a few minutes. Then I follow with another patch wet with copper solvent, wait and repeat. The goal is to have no blue or green stains on your patches, indicating that there is no remaining metal fouling.
Remember, if you are using a brass jag, it can leave a “false” stain on the patch, although it’s usually on the inside rather than the outside of the patch so it’s easy to distinguish from stains from bore fouling. If you are unsure, use a plastic or stainless steel jag. When you have patches coming out with no trace of green or blue (it may take a while if the fouling is extensive), dry the bore with several clean patches.
It’s possible to have copper fouling trapped between layers of powder or carbon fouling. I like to switch solvents with the idea that one might get the fouling that the other does not. But, again, it’s important to remove all traces of the old solvent before introducing a new solvent. Even after I am getting clean patches, I will scrub the bore again with the different solvent, using patches and brushes. I keep repeating this process with both solvents until there is no sign of blue or green on any patches after letting the each of the solvents work for five minutes. Sometimes it’s a fast process and sometimes it seems like you will never get the darn thing clean. But, until you can wet the bore with copper removing solvent, wait a timed five minutes, and then run a clean patch through with no green or blue staining, the gun is most definitely not clean.
Run several dry patches through the bore to clean all the solvent. Then wet a patch with oil or CLP and run it through the bore a few times. Wait a few minutes and follow with a single dry patch. This will leave a microscopic film of oil to protect against rust. The result is that you will soon have your rifle back up to speed with your pet handloads.
When a good rifle suddenly goes bad and starts shooting patterns rather than groups with your finely tuned handloads, the first stop is always the cleaning cradle. More often than not that will correct the problem…at least the shooting end of the problem. Almost without fail, when I have encountered this in somebody else’s rifle, they insist to the point of confrontation that they “already cleaned it!” It’s gotten so when they bring it to my shop, I don’t bother to tell most of them what I did. I smile, hand them back a gun that is shooting well again and let them think I am some kind of a miracle worker.
When a good rifle suddenly goes bad and starts shooting patterns rather than groups with your finely tuned handloads, the first stop is always the cleaning cradle. More often than not that will correct the problem…at least the shooting end of the problem. Almost without fail, when I have encountered this in somebody else’s rifle, they insist to the point of confrontation that they “already cleaned it!” It’s gotten so when they bring it to my shop, I don’t bother to tell most of them what I did. I smile, hand them back a gun that is shooting well again and let them think I am some kind of a miracle worker.
Many shooters run a few patches through the bore and maybe make a pass or two with a brush and assume that they have cleaned the rifle. That’s often the equivalent of running your car through a puddle in the road and claiming you washed it. Even if they have scrubbed for days, it doesn’t ensure the rifle is clean. I once spent a week cleaning a badly fouled .17 Remington rifle, and was starting to think it was physically impossible for that much copper to be trapped in so small a bore. The truth is that a fouled bore is tough and time consuming to clean properly. Fouling is cumulative; each time that you fail to clean properly the fouling left behind is added to the collection and the problem is compounded and grows over the weeks, months or years.
Running a few patches with some solvent through the barrel is not enough. You must clean the barrel down to bare steel and remove all powder and metal fouling each time you clean. I can’t say how many patches or how many swipes of the brush will be required to clean any specific rifle, nobody can. But I can tell you how to know when you are done.