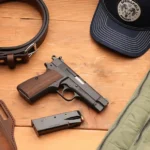
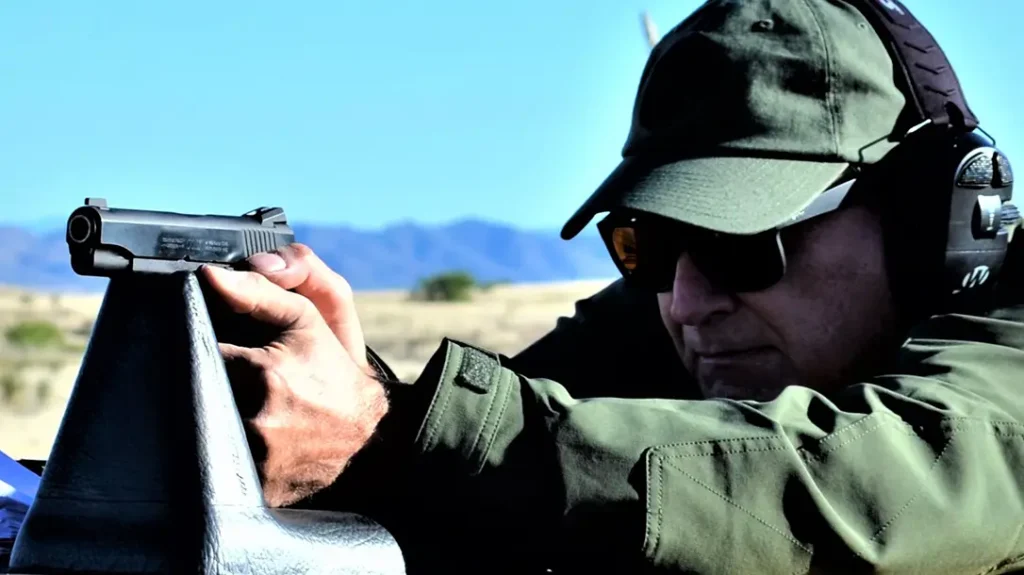
The seeds for this article were planted while I was at Gunsite Academy. Ken Campbell, the chief operating officer, borrowed some of Jeff Cooper’s Yaqui Slide belt holsters from The Sconce (Cooper’s home) to allow me to photograph them for an article. Along with the holster, Campbell left his Colt Gunsite Lightweight Commander to use in the pictures.
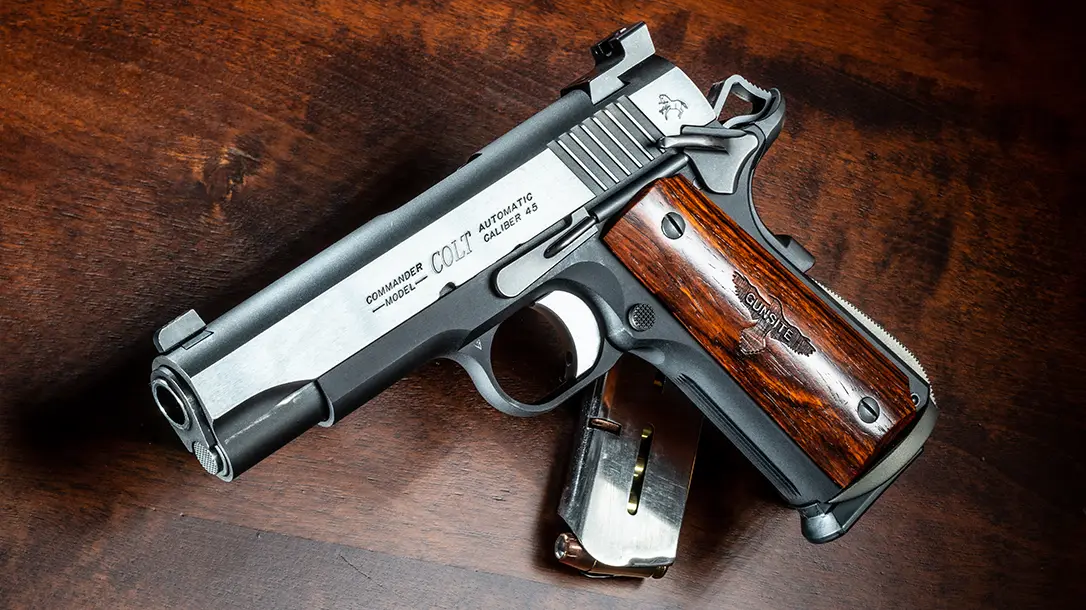
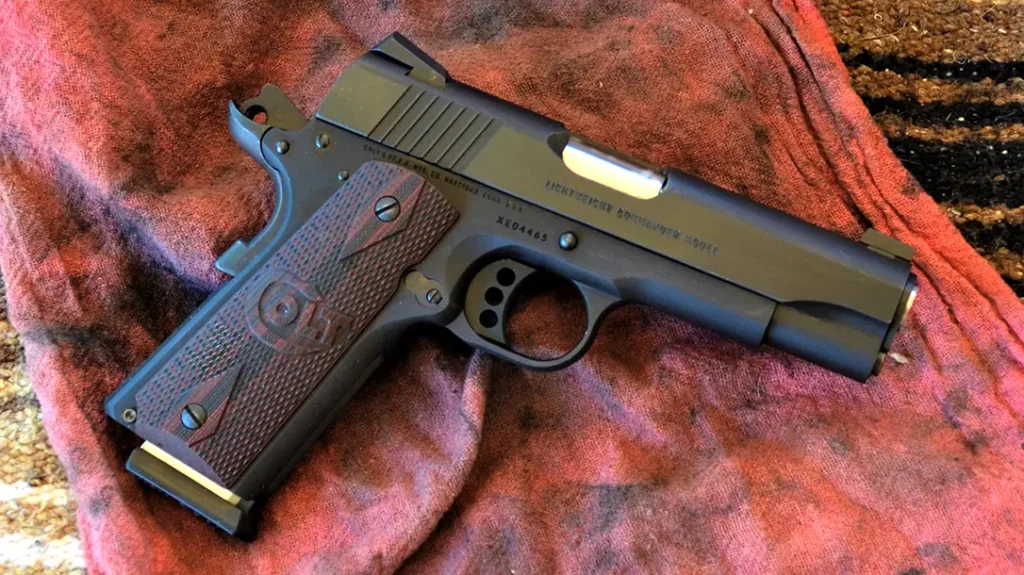
Custom Colt Gunsite Lightweight Commander
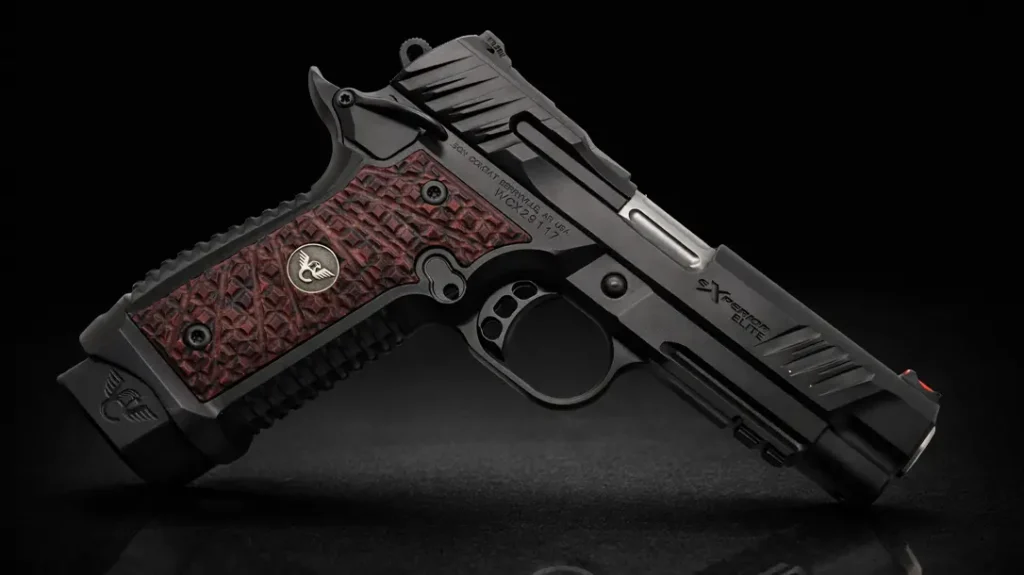
I own a lot of 1911s, including some very nice pistols built by the likes of Ted Yost and Jason Burton. But they are all full-sized, steel-framed guns. There was something about the way the Commander felt in my hand and the way it pointed. Before I returned the gun to Campbell, I had already decided I needed to add one to my collection.
Searching Internet auction sites, I found many of these guns for sale, but not at the price I wanted to pay. After several weeks of this, I decided to head to Murphy’s Guns and Gunsmithing in my hometown of Tucson.
Advertisement — Continue Reading Below
I’ve known the owner, Brian Murray since I was in college. In fact, he did some work on the 1911 I took to Gunsite the first time in 1981. Murray has an extensive selection of new guns on display in his overcrowded shop. However, what always draws me in, like a moth to a flame, is the hundreds of used guns.
I can’t recall the number of times I spotted a deal, then went home to think about it, only to return and find out the gun had been sold. So, when I saw a Colt Lightweight Commander listed for a couple hundred bucks less than what a new gun would cost, I didn’t hesitate.
Advertisement — Continue Reading Below
Though the gun was used, it had not been abused. I’m guessing it only had a couple hundred rounds through it. Murray told me the gun came from a repeat customer who traded it for something else he couldn’t live without.
Like any factory 1911, the pistol had several things I wanted to address before returning to Gunsite for another event in a couple of months.
Advertisement — Continue Reading Below
Addressing Some Issues
The Commander’s trigger pull was a mushy 5.75 pounds, with a lot of creep and overtravel. The lightweight trigger fit sloppily in its raceway and bounced up and down when I fired the gun.
I also needed to do something about the sights. Colt had outfitted this particular model with a Novak rear sight and a plain black front sight. This made it hard for me to find the front sight on presentation. And once I had achieved a sight picture the front and rear sight blurred together.
Advertisement — Continue Reading Below
Fortunately, these are all relatively easy fixes.
In the early 1980s, Colt determined it needed to change the iconic pistol’s design and add a firing-pin safety. This system presents a mechanical block to the firing pin to prevent it from gathering momentum and inertia to strike the primer—an event that would sometimes happen if guns were dropped on their muzzles.
One of the unfortunate aspects of this new safety system is that it adversely affects the trigger pull. Some smiths can tune a Series 80 trigger, so you’d never know the pistol had a firing-pin safety. Unfortunately, I do not possess their mad skills.
Advertisement — Continue Reading Below
Most smiths simply remove the firing-pin safety parts and tune the hammer and sear engagement points, which I did with my Commander.
Disclaimer
This is the point where I have to talk about liability. Neither I nor the editors and publishers of Athlon Outdoors are advocating that you remove or disable a factory-installed safety device. If you choose to work on a gun yourself, you should have a thorough knowledge of the pistol and its operation, as well as skills and tools to perform these tasks properly.
If you do not, then take your gun to a gunsmith who has a good reputation for 1911 work. Otherwise you may end up destroying some very expensive parts and wind up with a ruined or unsafe gun.
Advertisement — Continue Reading Below
This article is not so much a “how-to” piece. It is more of a list of references for parts I used to update my Commander.
Swapping Out the Action
Over the years I have used drop-in trigger kits from both Cylinder & Slide and Nowlin Arms with good effect. The kits come complete with a hammer, sear, disconnector, sear spring, and mainspring. Both kits can produce a nice, crisp 3.5-pound trigger pull without the hammer following, and no hand-fitting is required.
This is the easiest and most economical way to achieve a good, usable 1911 trigger pull without sending your gun to a smith.
But I had recently done an article on upgrading a Smith & Wesson Shield using an Apex Tactical trigger enhancement kit. So, I jumped back on their site to discover that they do, in fact, offer a 1911 Commander-style hammer (#106-111).
After reading through the part’s description, I saw that it is made from tool steel and the hammer hooks are cut with a wire EDM machine before being heat-treated. Apex sells just the hammer, so I’d have to find a source for the rest of the parts.
Brownells is a tremendous resource for any shooter, and it took no time for me to find an EGW sear (296-100-002WB) for my project gun. Machined from tool steel and precision ground to the proper geometry, the part is extremely hard, ensuring a long life.
I also ordered a 1911 Frame Slot Filler (876-011-780WB), which fills the space where the upper and lower sear levers of the Series 80 firing-pin safety sit in the frame. If you remove the Series 80 firing-pin safety parts, you’ll absolutely need the filler.
Also on my list was a Light Pull Sear Spring (206-000-065WB) and a medium-length aluminum match trigger.
Installing the 1911 Trigger
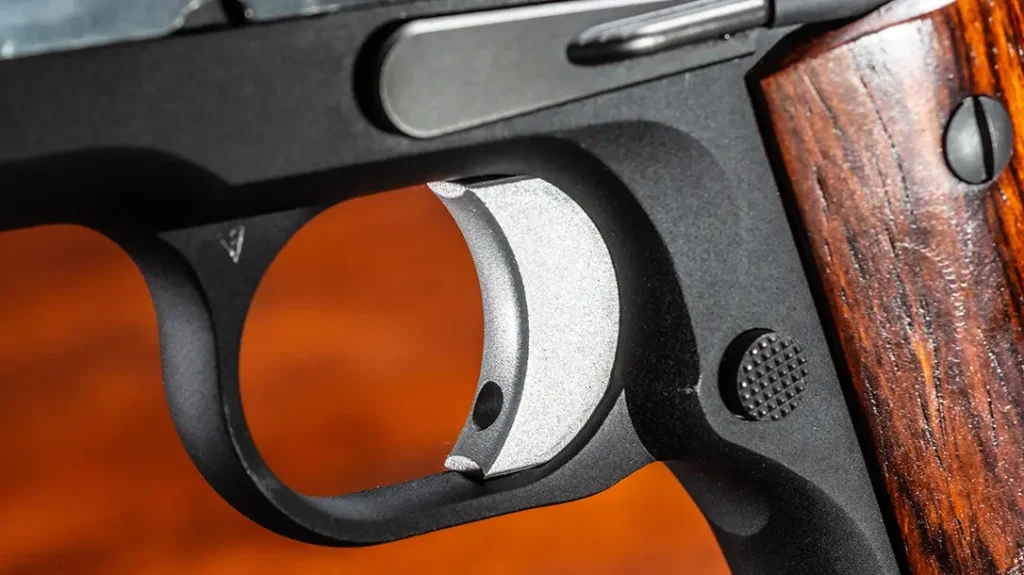
Long ago, I discovered the medium-length trigger fit my hand best. This Brownells part features a smooth face and rounded edge to keep from abrading the trigger finger during long range sessions. It is also adjustable for overtravel.
The trigger shoe is slightly oversized, allowing me to fit the part so it had zero horizontal or vertical play yet smoothly tracked back and forth. Since I replaced the sear, I had to make sure the thumb safety still worked.
The new sear was slightly bigger than the factory part. So, I had to polish the rear of the sear where it engages the thumb safety with emery paper taped to a piece of glass. It didn’t take much time—about 15 minutes, including the time it took to assemble the parts several times.
Because I had removed the Series 80 parts, I wanted to make every effort to ensure my gun wouldn’t have an inertia-type discharge. From Wilson Combat, I ordered a lightweight titanium Bullet Proof firing pin (336) and an extra power firing-pin return spring (26).
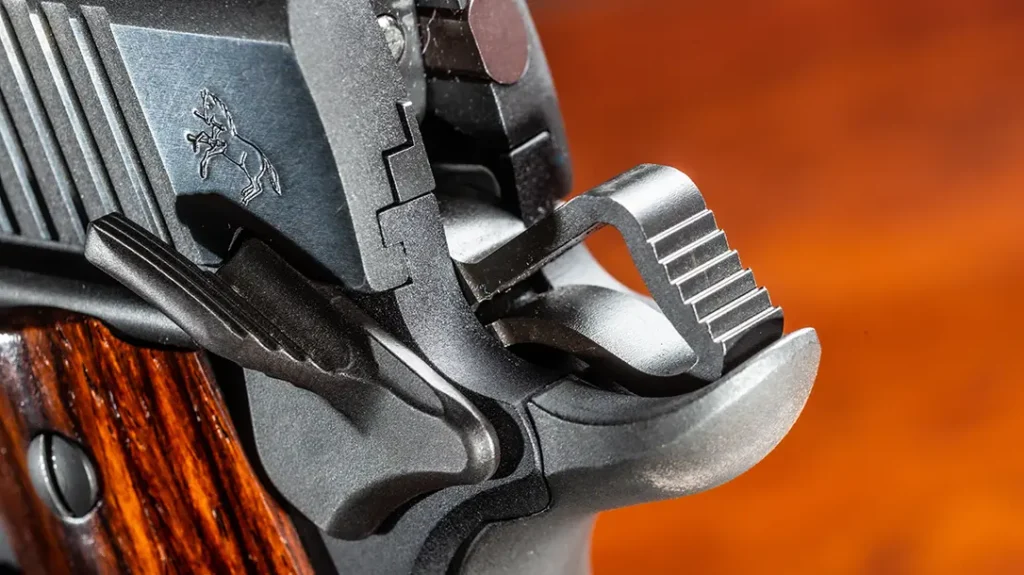
I also ordered a Bullet Proof blued slide release (414B). I have always liked this part and have included it on a number of my custom 1911s. It offers a little more surface area than the standard part without being extended. It just works well for me.
Getting the Colt Gunsite 1911 On Target
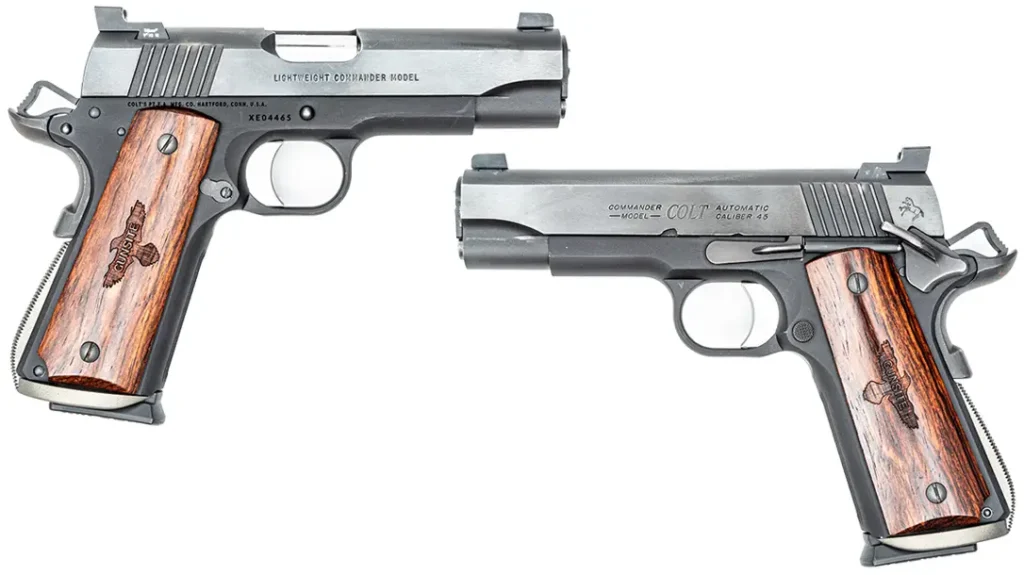
For sights, I bought a set of Trijicon HD Night Sights (CA1280) designed for the 1911 low cut. Installation required the help of a professional gunsmith to drive the factory sights out of their dovetails. Believe me, I tried but got to the point where I was frustrated and on the verge of ruining my slide.
A deep breath and a phone call put me in touch with an old friend who was able to quickly and accurately knock out the old sights, drive in the new Trijicon HD sights, and center them precisely.
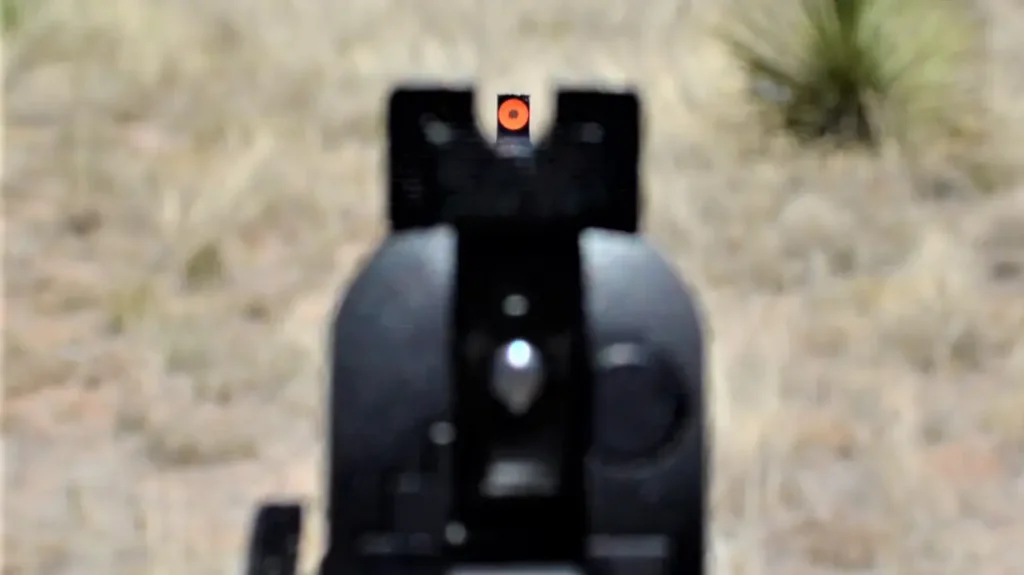
The Trijicon HD sights work best for my old eyes. The front sight features a green tritium lamp for low-light shooting. But it also has a fluorescent orange ring around the vial to attract my eye’s attention during daylight. Combined with the rugged rear sight’s deep U-notch, sight alignment is as easy as putting the ball (front sight) in the bucket.
The rear sight also has green tritium lamps on either side of the notch for low-light alignment. There’s plenty of light on both sides of the front sight to keep the front and rear sight from blurring together. I like them so much that I’d love to retrofit each and every one of my defensive guns with them!
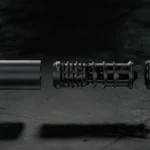
Replacing the Mainspring Housing
My last modification was to replace the plastic mainspring housing with a one-piece Smith & Alexander aluminum mag guide (GMAS). I chose aluminum to keep the gun’s weight down, and the arched design really makes for a comfortable grip. The part effectively doubles the area of the mag well, making reloads certain even under stress.
I’ve used Smith & Alexander mag guides for years on my competition guns, preferring them to the numerous two-piece designs that can work loose and tie up a gun. I never once had an issue with the S&A parts, and many of my carry guns, including my new Commander, wear them.
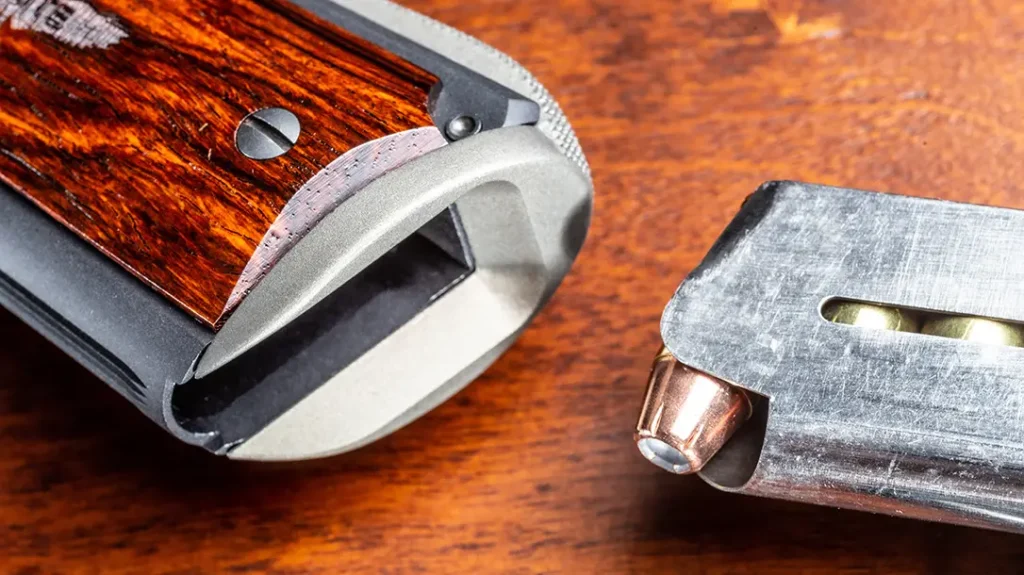
S&A’s design leaves the front of the mag well open so that stuck magazines can be ripped from the gun. When I ordered the mag guide, the only arched and checkered one available had been anodized a pewter color.
For the sake of expediency, I took this part intending to use some spray-and-bake coloring to blacken it later. As you can see, I still haven’t gotten around to it.
Keep in mind that adding this part to your gun will require using magazines with base pads—otherwise, you’ll pinch the flesh of your hand when seating the magazine.
Feeding the Gunsite Lightweight Commander
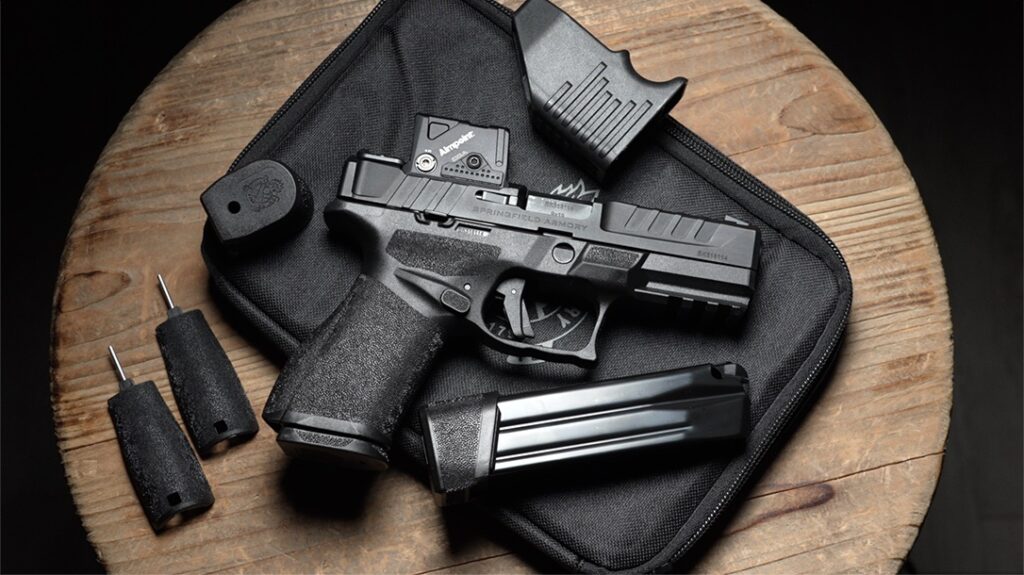
The key to any semi-auto working well is using good magazines. Wilson Combat’s Elite Tactical magazines boast an eight-round capacity and are built for hard use. From their extra-thick, stainless-steel bodies to the anti-tilt, self-lubricating followers to the polymer base pads that allow the magazine to be quickly disassembled for a thorough cleaning, the Elite Tactical magazines have never let me down.
Just before I headed back up to Gunsite with my new Commander, Brownells had a special on three ETM magazines at a price that was too low to ignore. If you own a 1911, you just can’t own too many of these quality magazines.
I also owned quite a few Wilson Combat 47DE eight-round magazines that I bought in the early 1990s for use in USPSA competitions. For these mags, I bought Wilson Combat’s spring/follower eight-round rebuild kits (47SFK-8) and extended base pads (47BEN).

These mags are nearly three decades old, and the followers and base pads have deteriorated significantly. In fact, one base pad broke into pieces while I was loading the mag. These Wilson rebuild kits give me a ready supply of practice magazines, while I will use the Elite Tactical magazines for carry use.
Testing and Finishing Touches
With all my new parts installed, it was time to test the gun to ensure all parts worked correctly. I needed to ensure the thumb and grip safeties worked as they should. I also made sure that the disconnector was functioning and that the hammer would not follow before taking the gun for a range session.
Even then, I began loading just one round into the magazine, and then two and then three, to make absolutely sure everything was working properly. By the way, after replacing the hammer, sear, sear spring, and mainspring, the trigger pull of my Colt Lightweight Commander is now a crisp 3.25 pounds.
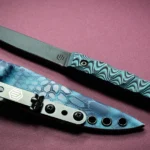
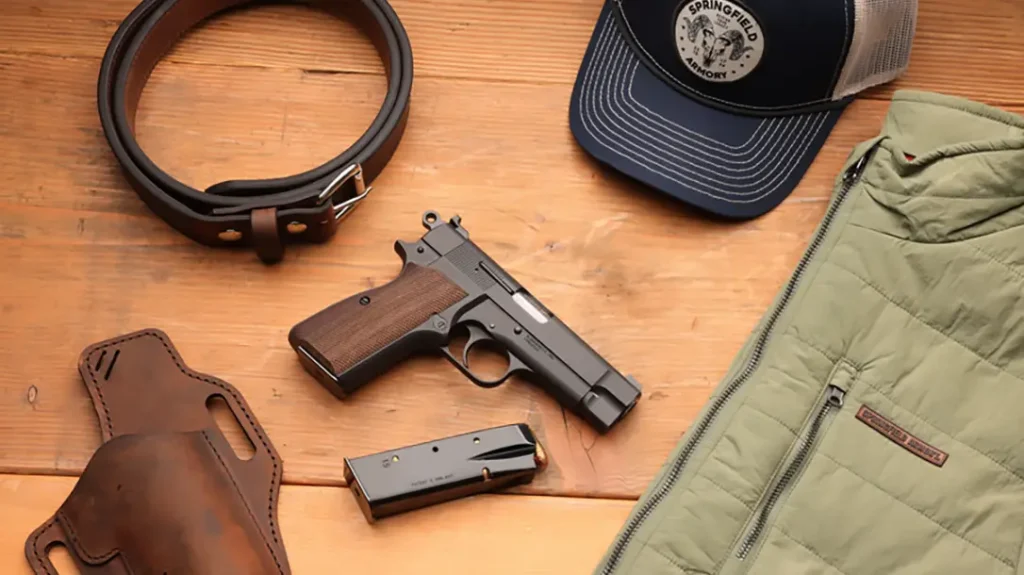
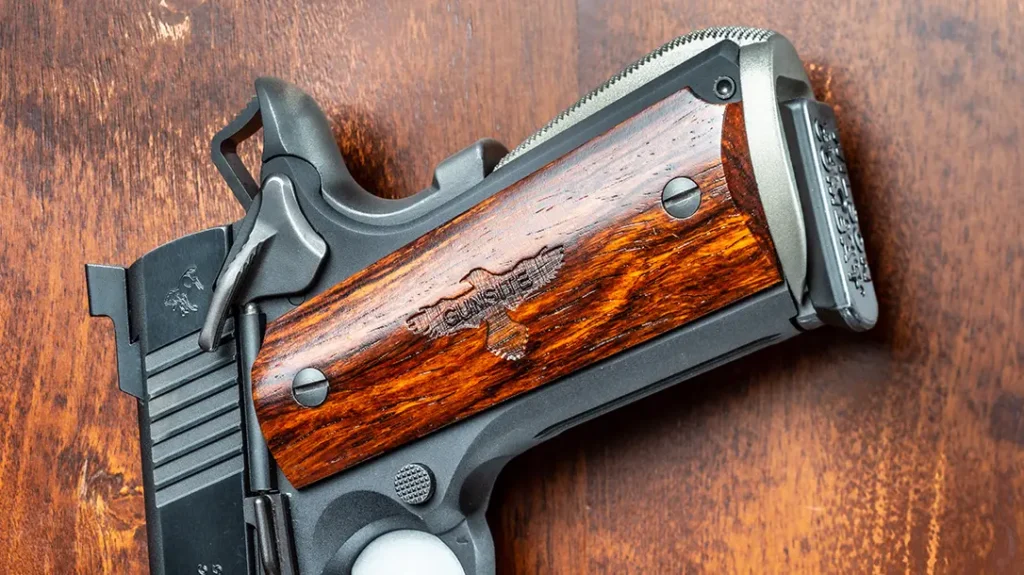
My last change was to replace the synthetic grips with a set of wood Gunsite grips purchased in Gunsite’s ProShop. Made by Herrett, the cocobolo grips add a splash of color to my gun and pay homage to Colonel Cooper and Gunsite. The Gunsite grips also identify me as a member of the Raven (Colonel Cooper’s totem) fraternity.
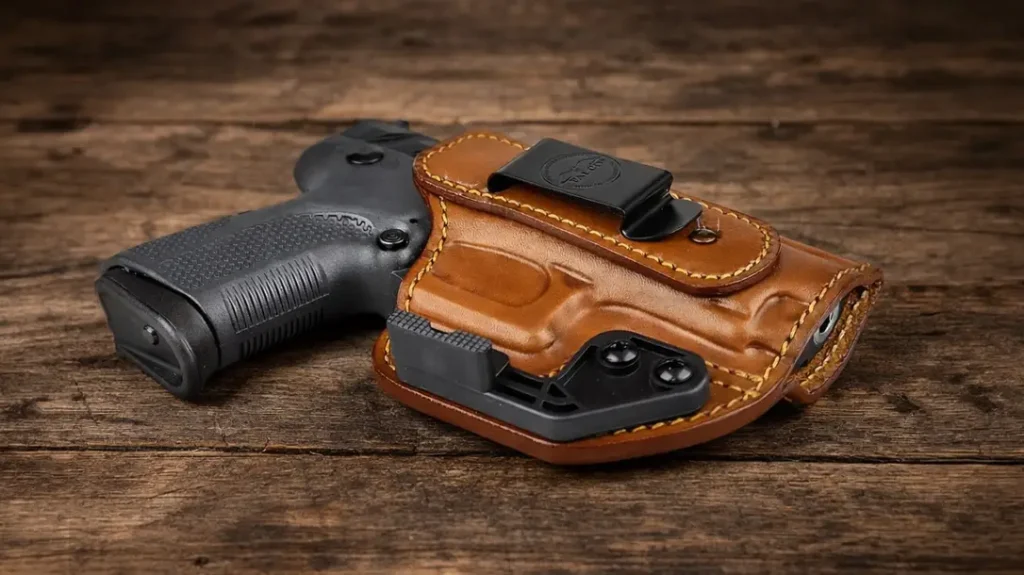
Also, in the Gunsite store, I found a Davis Yaqui Slide and mag carrier that are nearly identical to the Milt Sparks holster Jeff Cooper wore and popularized. While I was training, I split holster duties between the nostalgic Davis rig and a Bravo Concealment Kydex holster. It holds the Commander securely and locks with a satisfying pop when the gun is seated in the OWB holster.
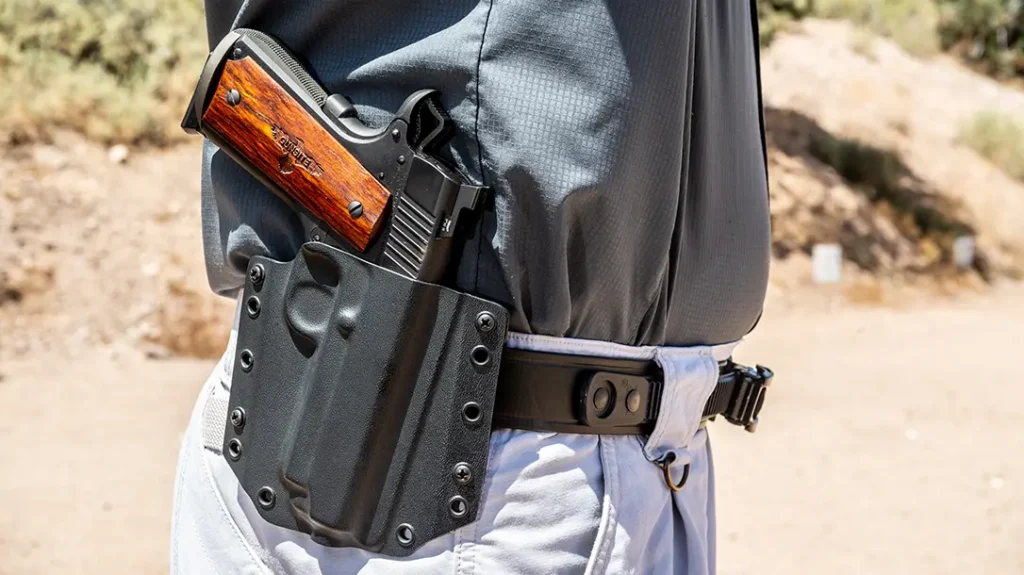
It’s fast, and its design makes one-handed reholstering easy. It, too, has a matching Kydex magazine carrier.
Reflecting on the Finished Colt Gunsite Lightweight Commander
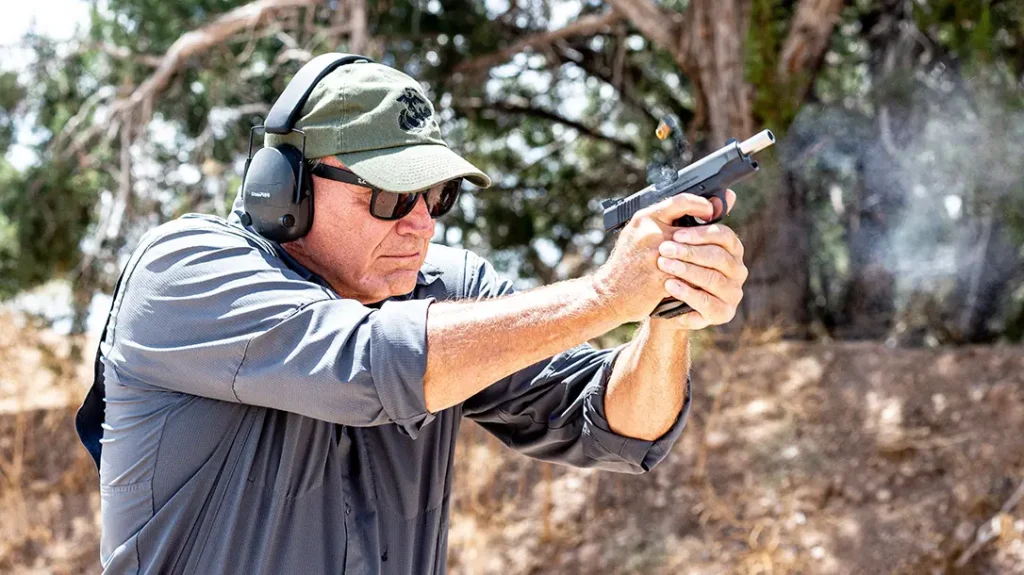
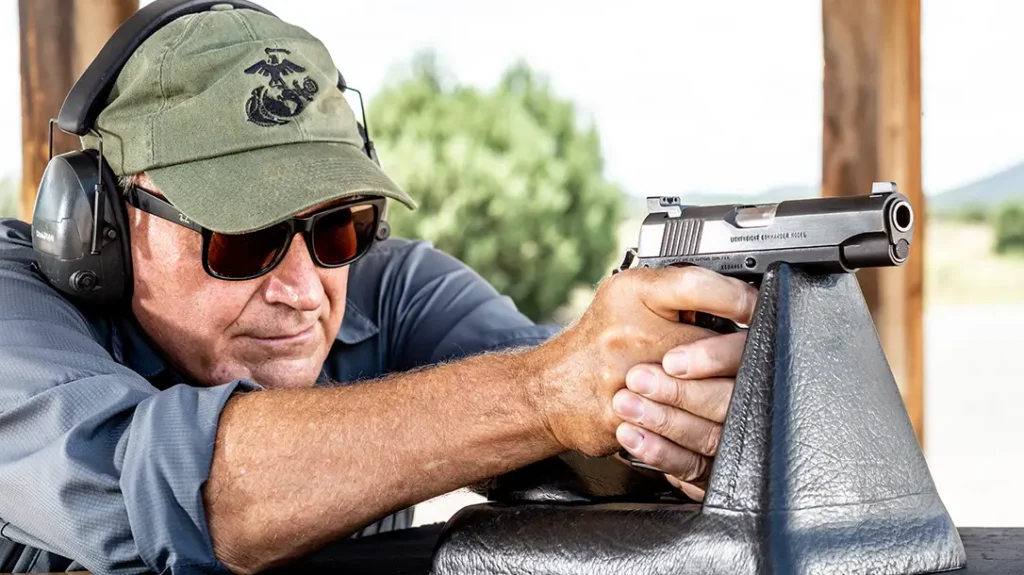
None of the modifications I made improved the gun’s mechanical accuracy. However, the sights and trigger made it much easier to shoot the gun accurately. If you’re wondering how the gun performed at Gunsite—it was flawless. Even the summer heat couldn’t make the Colt miss a beat.
On the range and in the Gunsite shoothouses, the gun continued to build my confidence with its performance. At the moment, this Colt Lightweight Commander has become my favorite carry gun and part of my everyday carry gear.